
1. Introduction
This manual provides comprehensive instructions for the assembly, installation, operation, and maintenance of your VASAGLE CUSTOS Collection Shoe Bench, Model ULHS010K02. This shoe bench features a padded seat and 10 storage compartments, designed for organizing footwear and providing a comfortable seating area in entryways or bedrooms. Please read these instructions carefully before beginning assembly and retain this manual for future reference.
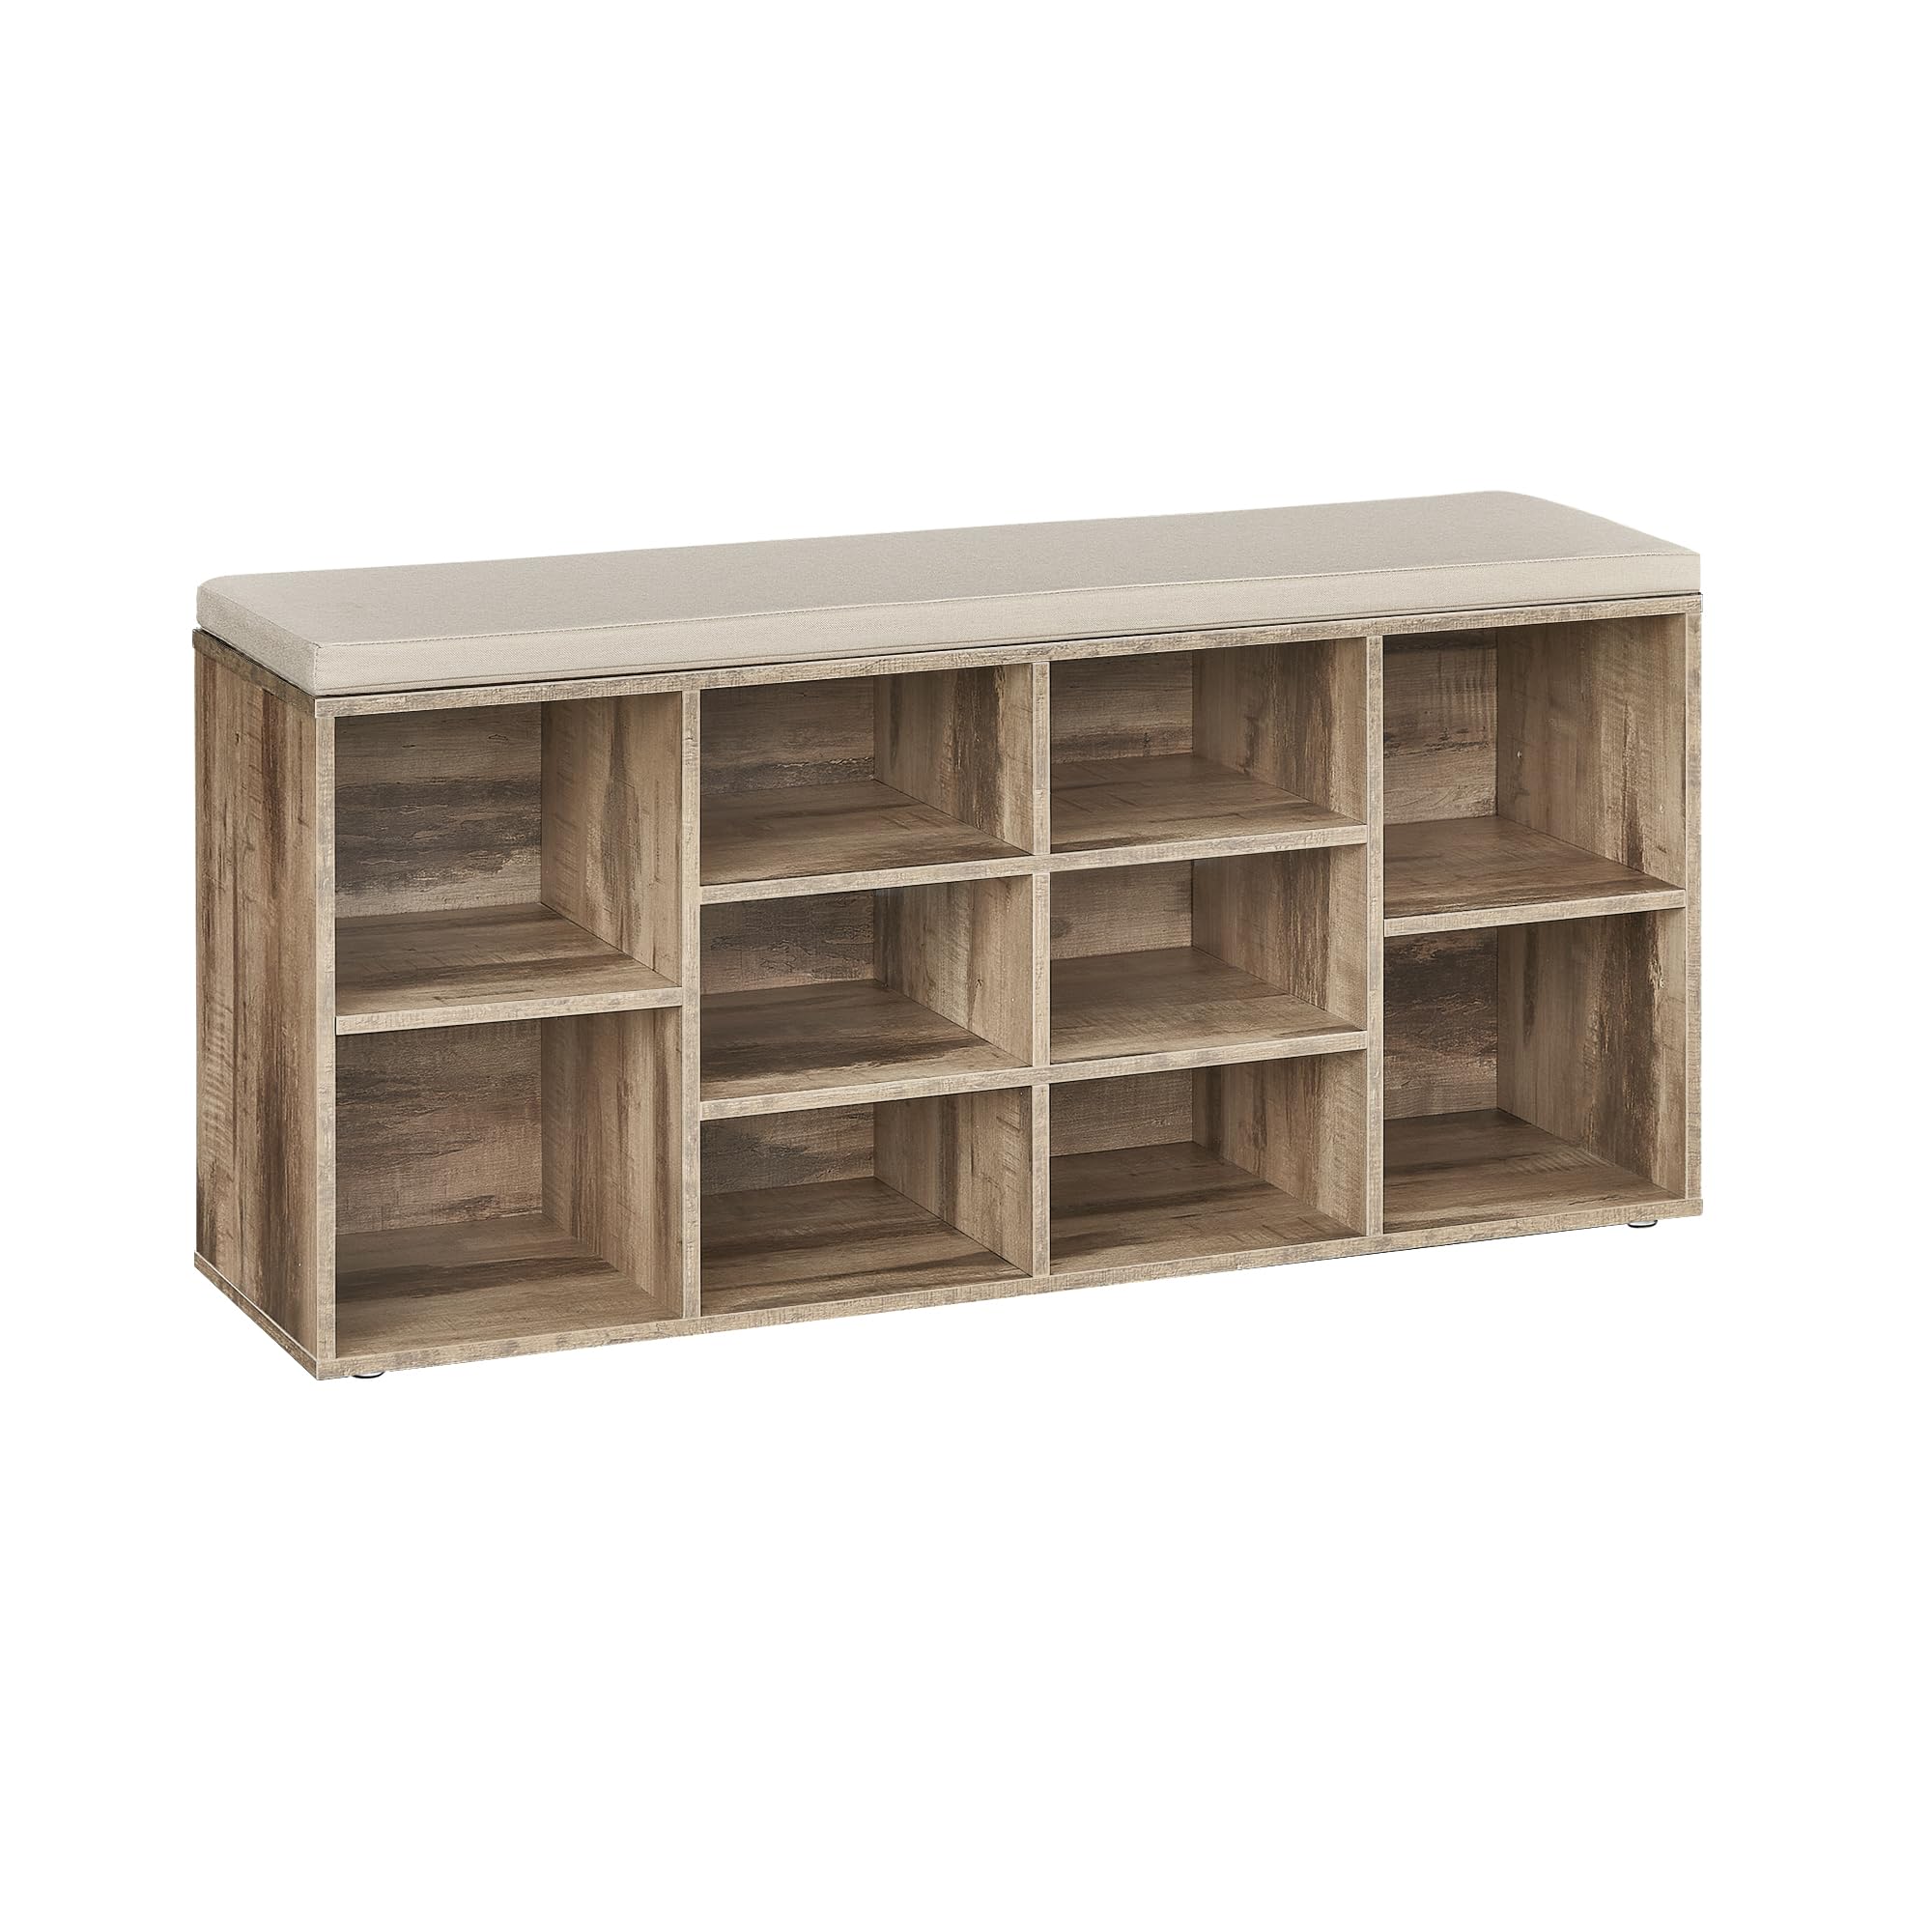
Image 1.1: The VASAGLE CUSTOS Collection Shoe Bench with 10 compartments and a padded seat.
2. Safety Information
- Maximum Weight Capacity: The shoe bench is designed to support a maximum static weight of 330 lb (150 kg). Do not exceed this weight limit to prevent damage or injury.
- Stable Placement: Ensure the bench is placed on a flat, stable, and level surface to prevent tipping.
- Floor Protection: The bench is equipped with 6 bottom pads to protect your floors from scratches.
- Children Safety: Keep small parts and packaging materials away from children during assembly.
- Proper Use: Use the product only as intended for shoe storage and seating. Avoid standing on the bench.

Image 2.1: Illustration of the bench's maximum static weight capacity and floor protection features.
3. Package Contents
Before assembly, verify that all components listed below are present and undamaged:
- 1 x Shoe Bench (main unit)
- 1 x Accessory Kit (containing all necessary hardware)
- 1 x Instructions Manual (this document)
4. Assembly Instructions
Assembly of this shoe bench is designed to be straightforward. Follow the included step-by-step instructions carefully. All parts are clearly marked for easy identification.
- Unpack all components and lay them out on a clean, soft surface to prevent scratches.
- Identify each part using the provided diagrams in the accessory kit.
- Follow the graphical instructions for connecting the panels and shelves. Pay close attention to the orientation of the planks (inward/outward facing) as incorrect placement may require reassembly.
- Secure all connections firmly using the provided hardware. Do not overtighten screws.
- Once the main structure is assembled, place the padded cushion on top. It is secured by hook-and-loop fasteners.
Video 4.1: A seller-provided video demonstrating the assembly process of a similar VASAGLE shoe bench, highlighting ease of construction.
5. Setup & Use
5.1 Placement
Position the shoe bench in your desired location, such as an entryway, hallway, or bedroom. Ensure it is against a wall or in a stable position where it will not obstruct pathways.
5.2 Using the Storage Compartments
The bench features 10 open compartments designed to hold various types of footwear. Depending on shoe size, some compartments may accommodate two pairs of smaller shoes, while larger shoes or boots may require one compartment per item. The side shelves are adjustable, allowing you to raise or lower them by 2.9 inches (7.3 cm) to fit items of varying heights, such as boots.

Image 5.1: The shoe bench in an entryway, demonstrating its capacity to hold 10 pairs of shoes.

Image 5.2: Detail of the adjustable side shelves, illustrating their flexibility for various footwear sizes.
5.3 Using the Padded Seat
The integrated padded seat provides a comfortable surface for sitting while putting on or taking off shoes. The cushion is attached with hook-and-loop fasteners, allowing for easy removal if needed.
Video 5.3: A seller-provided video showcasing the VASAGLE Shoe Bench with Cushion in use, demonstrating its functionality.
Video 5.4: A short seller-provided video demonstrating the shoe bench as a storage solution for an entryway.
6. Maintenance
- Cleaning the Bench: Wipe the particleboard surfaces with a dry cloth to remove dust and dirt. Avoid using abrasive cleaners or harsh chemicals.
- Cushion Care: The linen-look fabric cover of the cushion is zippered and can be easily detached for cleaning. Refer to the fabric care label for specific washing instructions.
- Regular Checks: Periodically check all screws and connections to ensure they remain tight. Retighten if necessary.

Image 6.1: Detail of the cushion's removable cover and attachment mechanism for easy maintenance.
7. Troubleshooting
- Difficulty during assembly: If parts do not align or fit correctly, double-check the instruction manual to ensure all planks are oriented correctly (e.g., inward vs. outward facing). Disassemble and reassemble the affected section if necessary.
- Shoes do not fit in compartments: While compartments are designed for standard shoe sizes, larger shoes or boots may require specific placement. Utilize the adjustable side shelves for taller items. For wider shoes, some compartments may fit one pair sideways and one straight in, or one shoe per compartment.
- Bench feels unstable: Ensure all screws are fully tightened. Verify the bench is on a flat, level surface. If the issue persists, re-check assembly steps.
8. Specifications
| Model Number | ULHS010K02 |
| Brand | VASAGLE |
| Product Dimensions (D x W x H) | 11.8"D x 40.9"W x 18.9"H (30 x 104 x 48 cm) |
| Material | Particleboard, Foam, Linen-Look Fabric Cover |
| Color | Camel Brown |
| Number of Compartments | 10 |
| Maximum Static Weight Capacity | 330 lb (150 kg) |
| Item Weight | 36.7 Pounds |
| Assembly Required | Yes |
| Product Care Instructions | Wipe with Dry Cloth |

Image 8.1: Dimensional drawing of the shoe bench with key measurements.
9. Warranty & Support
For warranty information or technical support, please refer to the contact details provided with your purchase documentation or visit the official VASAGLE website. Keep your purchase receipt as proof of purchase.