
Introduction
Thank you for choosing the IDIMEX MIKKA Shoe Cabinet. This manual provides essential information for the safe assembly, operation, and maintenance of your new shoe cabinet. Please read these instructions carefully before beginning assembly and retain them for future reference.
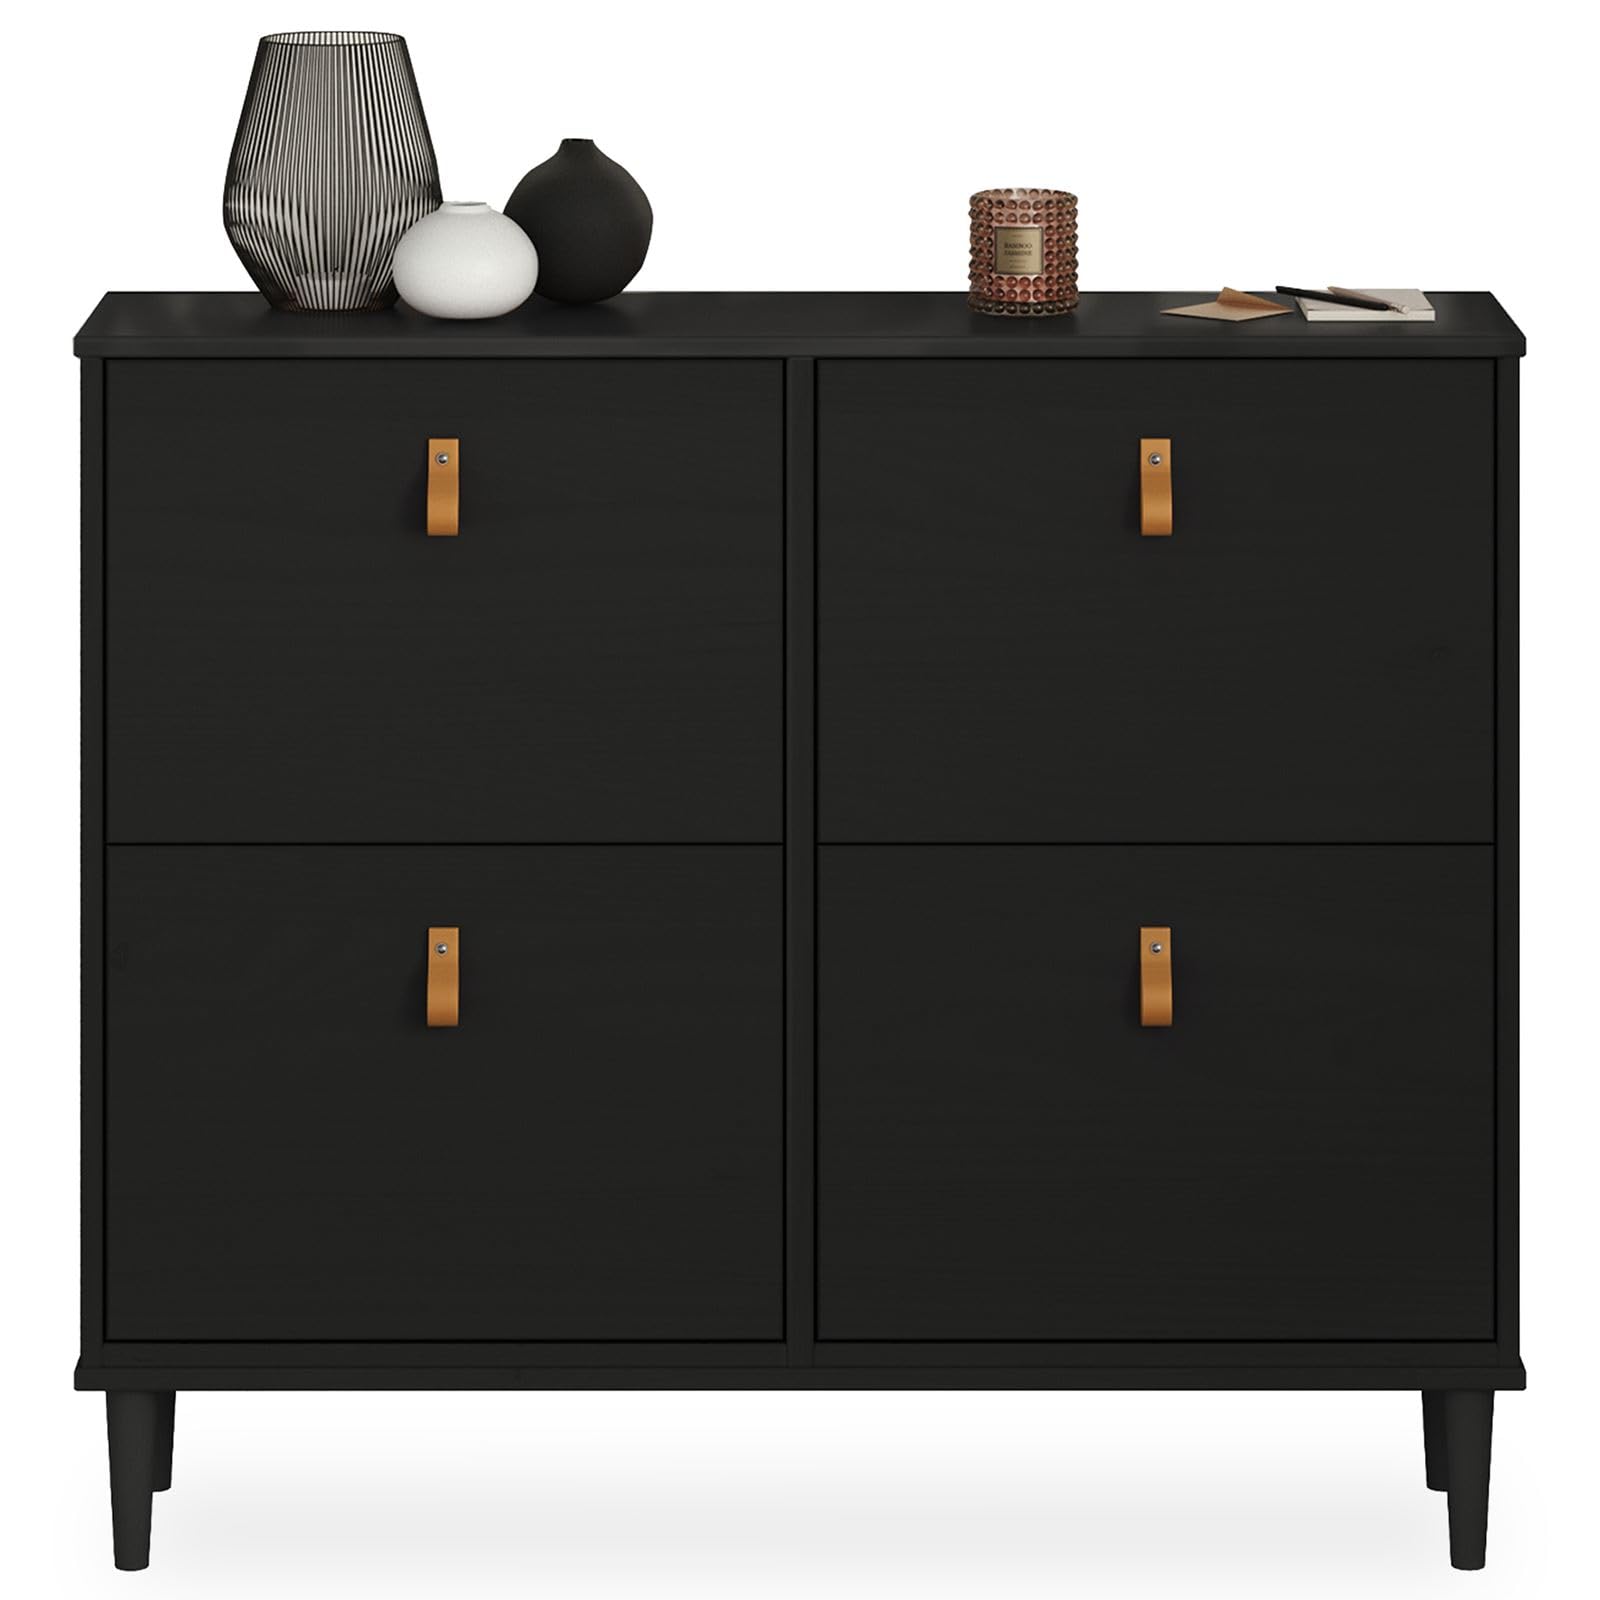
Figure 1: The IDIMEX MIKKA Shoe Cabinet in a typical home setting.
Setup and Assembly
The IDIMEX MIKKA shoe cabinet is delivered partially assembled. Customer-friendly assembly is facilitated by the included mounting instructions and hardware. Please ensure all components are present before starting assembly.
Included Components:
- Shoe cabinet panels (partially assembled)
- Mounting hardware (screws, dowels, etc.)
- Assembly manual
- Leather handles
Assembly Steps:
- Unpack all components and verify against the parts list in the included assembly manual.
- Follow the step-by-step instructions provided in the separate assembly manual for detailed guidance.
- Ensure all connections are secure and stable before use.
- Attach the leather handles to the flaps as indicated in the manual.

Figure 2: Detail of the cabinet's legs and interior flap mechanism.
Operation
The MIKKA shoe cabinet is designed for efficient shoe storage in narrow spaces. It features four individual flaps for easy access to your footwear.
Storing Shoes:
- Each of the four flaps opens downwards to reveal storage compartments.
- The cabinet can accommodate up to 24 pairs of shoes.
- It is suitable for shoes up to a maximum size of EU 43.
- To open a flap, gently pull the leather handle outwards and downwards.
- To close, push the flap upwards until it clicks securely into place.

Figure 3: Shoe cabinet with flaps open, demonstrating storage capacity.
Care and Maintenance
Proper care will ensure the longevity and appearance of your IDIMEX MIKKA shoe cabinet.
Cleaning:
- Wipe surfaces with a soft, damp cloth.
- Avoid abrasive cleaners or harsh chemicals, as these can damage the lacquered finish.
- For the leather handles, use a dry cloth or a specialized leather cleaner if necessary.
- Immediately wipe away any spills to prevent staining.
General Care:
- Avoid placing hot items directly on the cabinet surface.
- Keep the cabinet away from direct sunlight and heat sources to prevent fading or warping.
- Periodically check all screws and connections to ensure they remain tight.
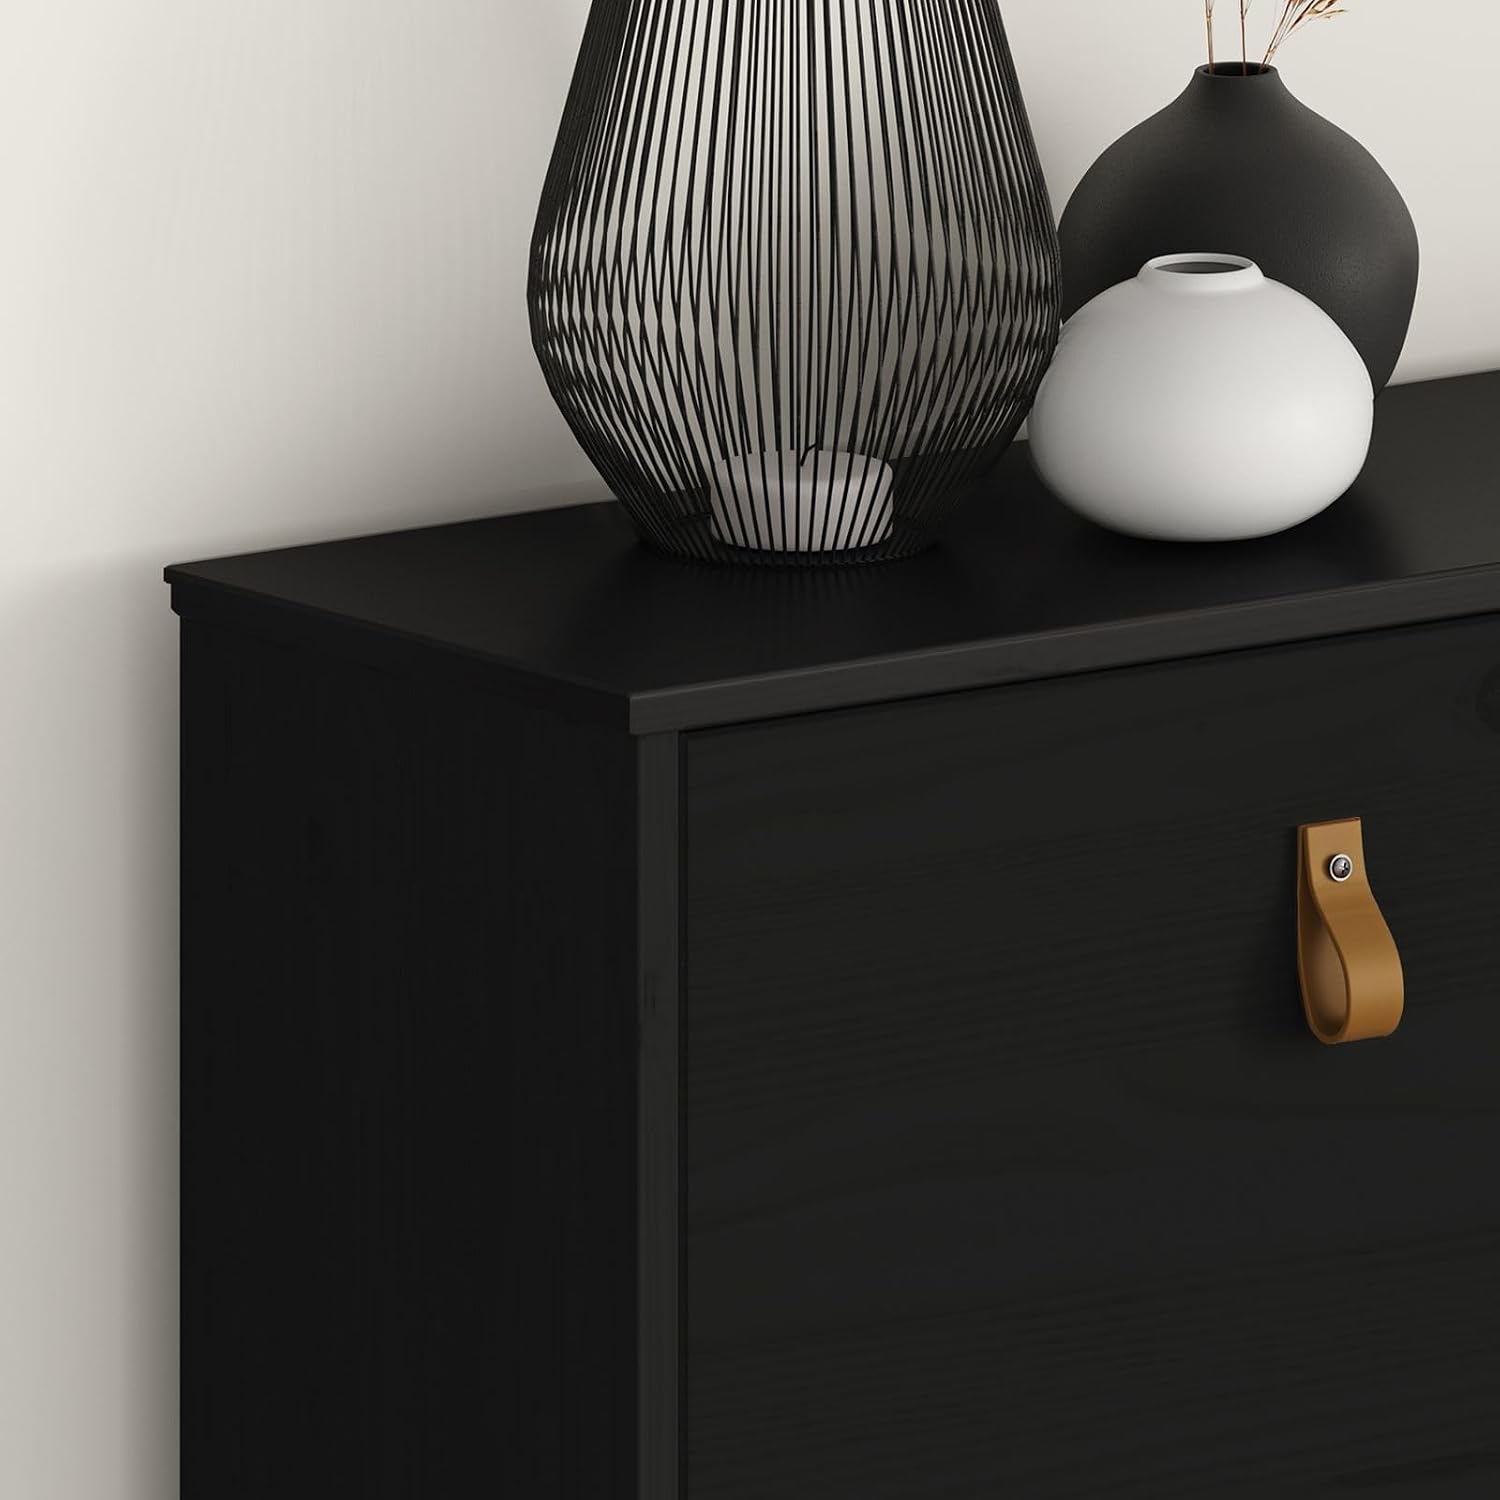
Figure 4: Detail of the lacquered finish and leather handle.
Troubleshooting
If you encounter any issues with your shoe cabinet, refer to the following common solutions:
- Flaps not closing properly: Check for any obstructions inside the compartments. Ensure the cabinet is level and stable. Verify that all assembly screws are tightened.
- Cabinet wobbles: Ensure the cabinet is placed on a flat, even surface. Check and tighten all assembly hardware.
- Scratches or minor damage: For minor scratches on the lacquered surface, touch-up pens or furniture repair kits designed for black lacquered wood may be used. Consult a professional for significant damage.
Specifications
| Model | MIKKA |
| Product Number | 84046 |
| Brand | IDIMEX |
| Color | Black |
| Material | Solid Pine Wood (lacquered) |
| Handle Material | Leather |
| Dimensions (W x H x D) | 107 cm x 92 cm x 25 cm |
| Weight | 18.5 kg |
| Number of Flaps | 4 |
| Shoe Capacity | Up to 24 pairs |
| Max. Shoe Size | EU 43 |
| Mounting Type | Floor mounting (Freestanding) |

Figure 5: Detailed dimensions of the MIKKA Shoe Cabinet.
Safety Warnings
- Read Manual: Always read the complete assembly manual carefully before starting assembly.
- Overloading: Do not overload the furniture. Pay attention to the maximum load capacity specified in the assembly manual. Overloading can cause instability and damage.
- Stability: Ensure the cabinet is placed on a stable and level surface to prevent tipping. If necessary, use wall anchors (not included) for added stability, especially in households with children or pets.
- Pinching Hazard: Exercise caution when opening and closing the flaps to avoid pinching fingers.
- Children: Keep small children away from the cabinet during assembly. Small parts can be a choking hazard.