
1. Introduction
Thank you for choosing the ANTSKU 17.8Lbs Portable Washing Machine. This manual provides essential information for the safe and efficient operation, installation, and maintenance of your new appliance. Please read these instructions thoroughly before use and retain them for future reference.
This automatic portable washer features a 2.3 cubic feet capacity, an integrated drain pump, 8 water level settings, and 10 washing programs, designed for convenience in various living spaces.
2. Safety Instructions
To reduce the risk of fire, electric shock, or injury when using your appliance, follow these basic precautions:
- Read all instructions before using the appliance.
- Ensure the power supply matches the voltage requirements (110-120V/60Hz).
- Do not operate the machine with a damaged power cord or plug.
- Keep children supervised around the appliance. This appliance is not intended for use by persons (including children) with reduced physical, sensory or mental capabilities, or lack of experience and knowledge, unless they have been given supervision or instruction concerning use of the appliance by a person responsible for their safety.
- Do not wash items that have been previously cleaned in, washed in, soaked in, or spotted with gasoline, dry-cleaning solvents, or other flammable or explosive substances.
- Do not install or store the appliance where it will be exposed to the weather or freezing temperatures.
- Always disconnect the appliance from the power supply before cleaning or performing any maintenance.
- Ensure the drain hose is properly secured to prevent water leakage.
- Do not attempt to repair or replace any part of the appliance unless specifically recommended in this manual.
- The first time you receive the product, you may find water droplets inside the machine. This is a normal phenomenon caused by residual water from the manufacturer's physical test and does not indicate a defect.
3. What's in the Box
Upon unpacking, please verify that all components are present:
- 1 x ANTSKU Portable Washing Machine
- 1 x Water Inlet Hose
- 1 x Drain Hose
- 1 x Faucet Connect Adapter
4. Product Overview

Figure 1: Key components of the ANTSKU Portable Washing Machine. This diagram highlights the water inlet, the included high-quality hose, the transparent glass lid for monitoring, convenient side handles for mobility, the built-in filter for debris removal, and the durable stainless steel inner tub.
Familiarize yourself with the main parts of your washing machine:
- Control Panel: Located on the top front, with an LED display for program and water level selection.
- Water Inlet: Connection point for the water supply hose.
- Transparent Glass Lid: Allows monitoring of the washing process.
- Side Handles: Integrated on both sides for easy movement.
- Stainless Steel Inner Tub: Durable and rust-resistant washing drum.
- Built-in Filter: Collects lint and debris during washing.
- Drain Pump & Hose: For efficient water discharge.
5. Setup and Installation
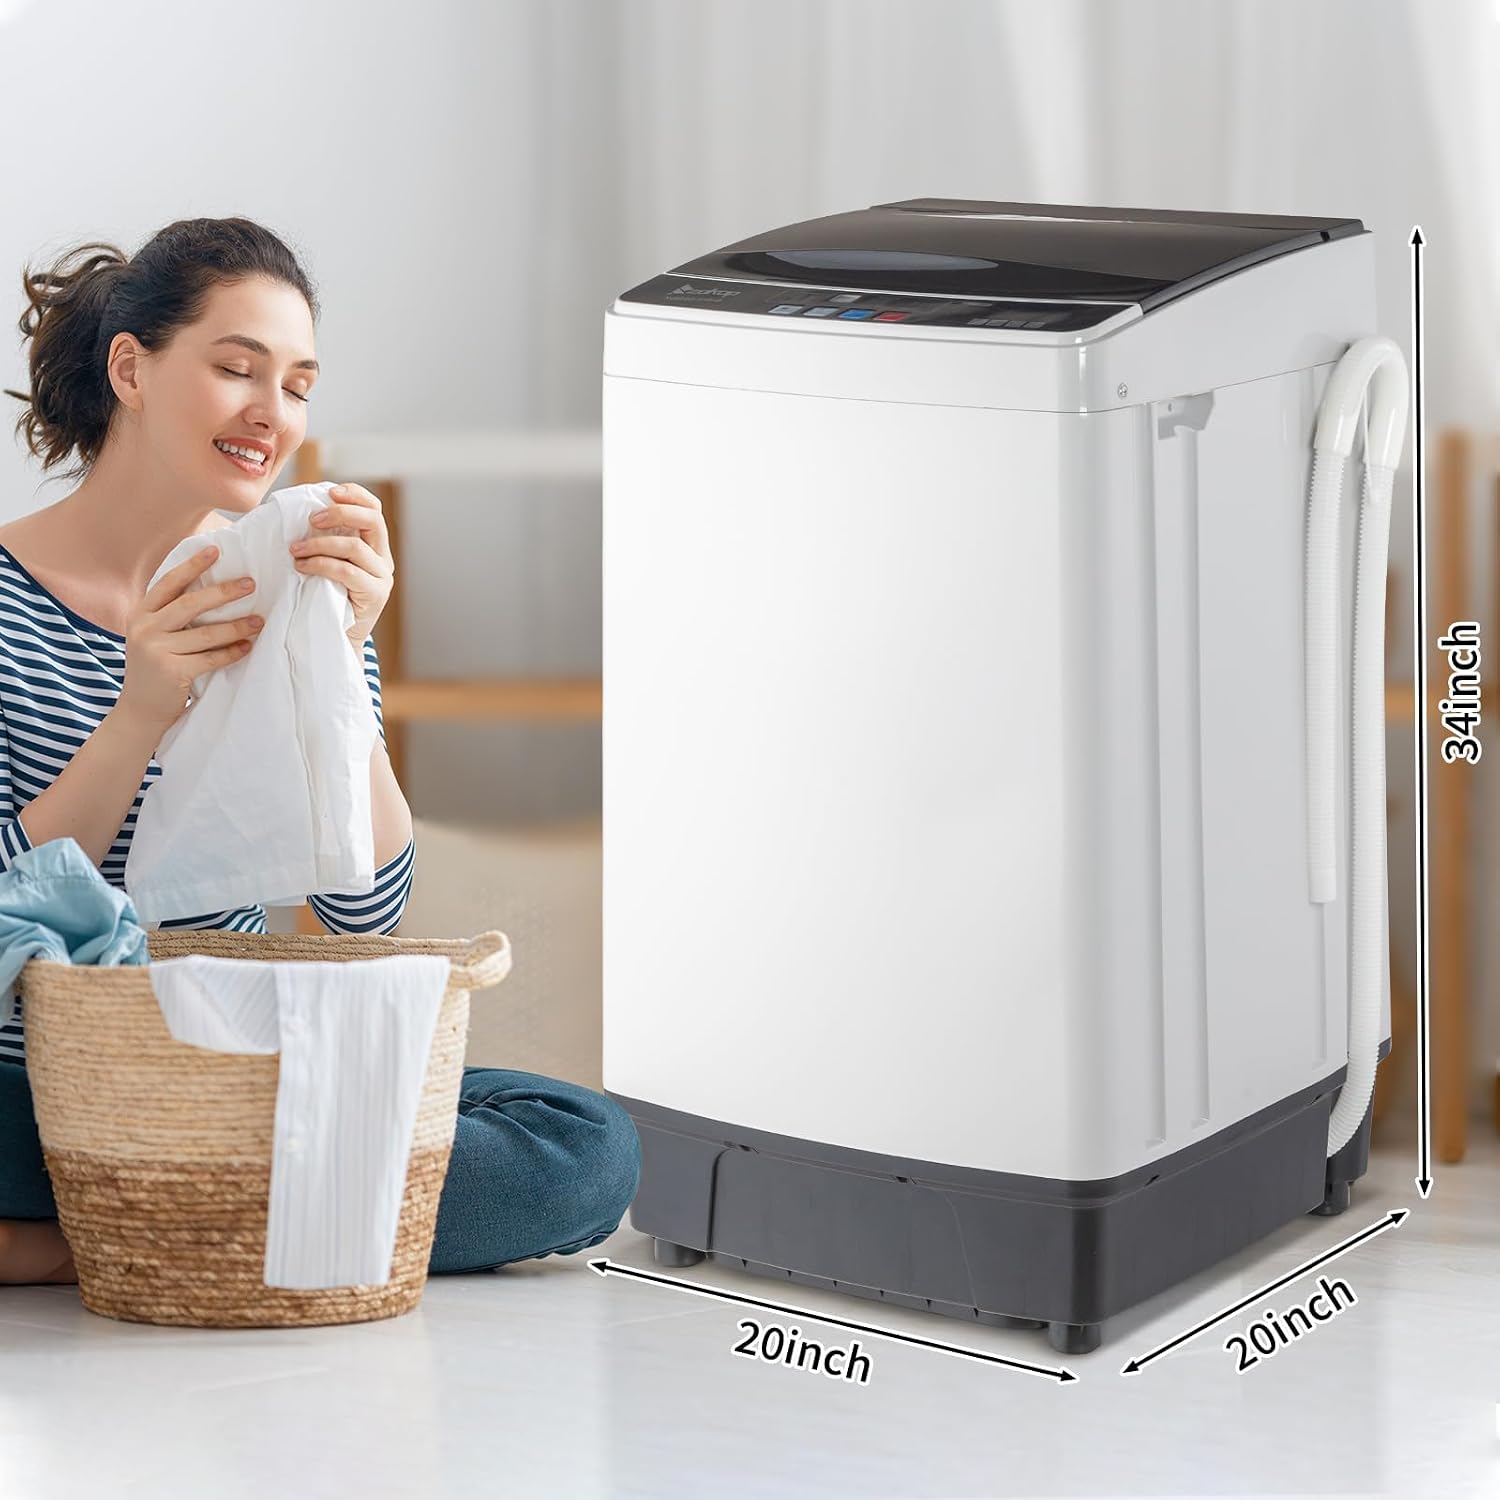
Figure 2: Product dimensions for placement planning. The machine measures approximately 34 inches in height, 20 inches in depth, and 20 inches in width.
5.1 Placement
- Place the washing machine on a firm, level surface to minimize vibration and noise during operation.
- Ensure there is adequate space around the machine for ventilation and access.
- Avoid direct sunlight or extreme temperatures.
5.2 Water Inlet Connection

Figure 3: Water inlet and drain hose connections. This image shows how to connect the inlet pipe to the machine, attach the hose to a faucet using the adapter, and secure the drain hose with its hook design.
- Connect one end of the water inlet hose to the water inlet port on the back of the washing machine. Tighten securely.
- Attach the other end of the water inlet hose to a suitable faucet. Use the provided faucet connect adapter if necessary to ensure a tight, leak-free connection.
- Turn on the water supply and check for any leaks.
5.3 Drain Hose Connection
The machine features a built-in drain pump and a 52.7-inch drain hose.
- Position the drain hose into a sink, bathtub, or a standpipe. Ensure the hose is securely hooked to prevent it from falling out during drainage.
- The drain hose should be positioned at a height between 24 and 40 inches (60-100 cm) from the floor for optimal drainage.
5.4 Power Connection
- Plug the power cord into a grounded electrical outlet (110-120V/60Hz).
- Do not use extension cords or adapters.
6. Operating Instructions

Figure 4: Smart Control Panel with LED Display. This image details the control panel, showing options for 8 water levels (H07 to L01), remaining time display, process indicators (Normal, Speedy, Air Dry, Soak, Wash, Rinse, Spin), and 10 program selections (Soak, Wash, Rinse, Spin, Standard, Bedclothes, Quick Wash, Heavy Duty, Drum Cleaning, Drying).
6.1 Control Panel Overview
The control panel features an LED display and touch buttons for easy operation:
- POWER (On/Off): Press to turn the machine on or off.
- WATER LEVEL: Press to select one of 8 water levels (H07 to L01).
- PROGRAM: Press to cycle through 10 washing programs.
- START/PAUSE: Press to start or pause the selected program.
- LED Display: Shows remaining time, water level, and program indicators.
6.2 Washing Procedure
- Load Laundry: Open the lid and place clothes loosely into the inner tub. Do not overload the machine (maximum capacity 17.8 lbs).
- Add Detergent: Add the appropriate amount of detergent to the detergent dispenser.
- Power On: Press the POWER button.
- Select Water Level: Press the WATER LEVEL button to choose the desired water level based on your load size.
- Select Program: Press the PROGRAM button to select one of the 10 available programs:
- 01 Standard: For daily laundry.
- 02 Speedy: Quick wash for lightly soiled items.
- 03 Bedclothes: For larger items like sheets and blankets.
- 04 Air Dry: Helps to remove excess moisture.
- 05 Soak: For heavily soiled items requiring pre-soaking.
- 06 Wash: Wash cycle only.
- 07 Rinse: Rinse cycle only.
- 08 Spin: Spin cycle only.
- 09 Rinse Spin: Combines rinse and spin.
- 10 Drum Cleaning: For cleaning the washing machine tub.
- Start Cycle: Close the lid and press the START/PAUSE button to begin the washing cycle. The machine will automatically fill with water, wash, rinse, and spin according to the selected program.
- Delay Start Function: This feature allows you to set a delayed start time (2-24 hours). Press the PROGRAM button to select a program, then press and hold the PROGRAM button to enter delay mode. Use the WATER LEVEL button to adjust the delay time, then press START/PAUSE.
7. Maintenance
7.1 Cleaning the Lint Filter
The built-in filter should be cleaned regularly to ensure efficient operation.
- Turn off the machine and unplug it from the power outlet.
- Locate the lint filter inside the tub (refer to Figure 1).
- Remove the filter by gently pulling or unlatching it.
- Clean any accumulated lint or debris under running water.
- Reinsert the filter securely into its position.
7.2 Cleaning the Washing Machine Tub
Use the 'Drum Cleaning' program periodically to maintain hygiene and prevent odor buildup.
- Ensure the tub is empty.
- Add a washing machine cleaner or a small amount of bleach to the detergent dispenser.
- Select the 'Drum Cleaning' program (Program 10).
- Press START/PAUSE to begin the cycle.
7.3 Exterior Cleaning
- Wipe the exterior surfaces with a soft, damp cloth.
- Do not use abrasive cleaners or solvents.
7.4 Winterization (for cold climates)
- If the machine is stored in an area subject to freezing temperatures, drain all water from the hoses and tub to prevent damage.
- Disconnect water inlet hoses and allow them to drain.
- Run a short spin cycle to remove any remaining water from the tub.
8. Troubleshooting
Before contacting customer support, please refer to the following table for common issues and solutions:
| Problem | Possible Cause | Solution |
|---|---|---|
| Machine does not start | Power cord not plugged in; Lid not closed properly; Power outage. | Check power connection; Ensure lid is fully closed; Check household circuit breaker. |
| No water filling | Water supply turned off; Water inlet hose kinked or blocked; Water pressure too low. | Turn on water supply; Straighten hose; Check water pressure. |
| Water not draining | Drain hose kinked or blocked; Drain pump filter clogged; Drain hose positioned too high. | Straighten hose; Clean drain pump filter; Adjust drain hose height (24-40 inches). |
| Excessive vibration/noise | Machine not level; Load unbalanced; Shipping bolts not removed (if applicable). | Adjust leveling feet; Redistribute laundry evenly; Ensure all shipping materials are removed. |
| Lid does not lock | Lid not closed completely; Safety switch issue. | Ensure lid is firmly closed. If problem persists, contact support. |
9. Specifications
| Feature | Specification |
|---|---|
| Model Number | XQB40-418-B |
| Product Dimensions (D x W x H) | 20.3" x 20.5" x 33.7" |
| Capacity | 17.8 Pounds (2.3 CU.FT.) |
| Item Weight | 43.5 Pounds |
| Voltage | 110-120V/60Hz |
| Rated Power | 200W |
| Operation Mode | Fully Automatic |
| Water Level Settings | 8 |
| Washing Programs | 10 |
| Max Rotational Speed | 12000 RPM |
| Drum Material | Stainless Steel |
| Drain Hose Length | 52.7 inches |
| Water Proof Standard | IPX4 |
| Hydraulic Pressure | 0.03-0.78Mpa |
10. Warranty and Support
Your ANTSKU Portable Washing Machine is covered by a 12-month warranty from the date of purchase. Additionally, a 30-day return or replacement policy is offered for your peace of mind.
If you encounter any issues or have questions regarding your product, please contact the seller or manufacturer directly. Provide your model number (XQB40-418-B) and purchase details for efficient assistance. We are committed to resolving your concerns within 24 hours.