
1. Introduction
This manual provides instructions for the installation, operation, and maintenance of your Probrico Interior Door Hinges. These 3.5 x 3.5 inch hinges feature a brushed nickel finish and 5/8 inch radius corners, designed for various interior door applications.

Image 1.1: Example applications of Probrico door hinges in different rooms.
2. Product Features
- Brushed Nickel Finish: Provides a modern aesthetic and corrosion resistance.
- Rounded Corners: 5/8 inch radius corners for compatibility with standard door preparations.
- 6-Hole Design: Standard hole pattern for easy replacement of existing hardware.
- 270-Degree Rotation: Allows for full door swing, suitable for various room types.
- Durable Construction: Made from solid metal for long-lasting performance.
- Pre-lubricated: Ensures smooth and quiet operation.
- Mounting Screws Included: Complete set for immediate installation.
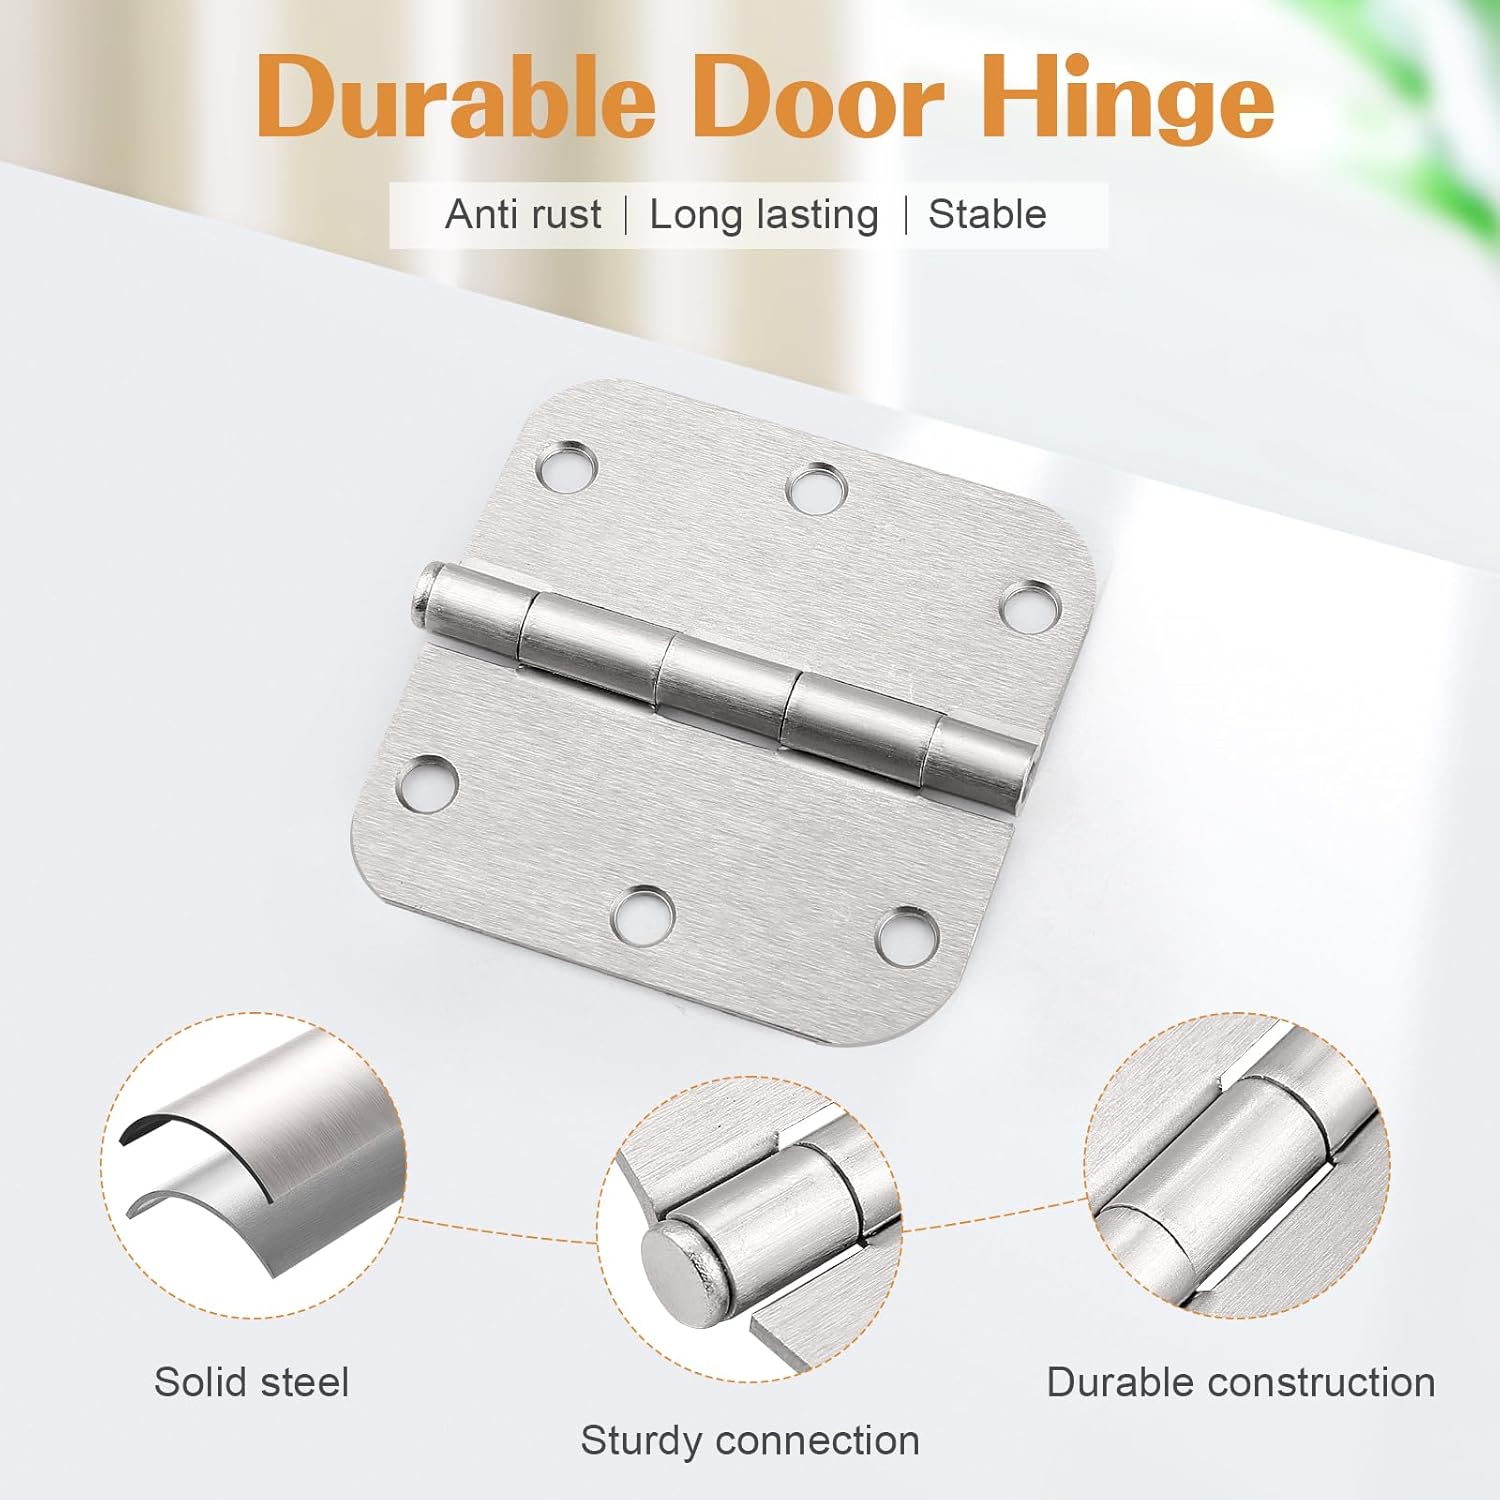
Image 2.1: Key features highlighting the durable construction of the hinge.
3. Specifications
| Attribute | Value |
|---|---|
| Material | Metal |
| Brand | Probrico |
| Product Dimensions (L x W) | 3.5" x 3.5" |
| Finish Type | Brushed Nickel |
| Mounting Type | Surface Mount |
| Hole Count | 6 |
| Corner Type | 5/8 inch Radius |
| Model Number | Probrico-35x35-BN-Metal |
| Included Components | Hinges, Screws |

Image 3.1: Detailed dimensions of the hinge and included screws.
4. Installation
These hinges are designed for straightforward installation or replacement using basic tools.
Tools Required:
- Screwdriver (Phillips head recommended)
- Pencil (for marking, if installing new)
- Drill (optional, for pilot holes if installing new)
Installation Steps:
- Prepare the Door and Frame: If replacing old hinges, remove them. Ensure the hinge mortises (recesses) on the door and frame are clean and match the dimensions of the new Probrico hinges (3.5" x 3.5" with 5/8" radius corners).
- Position the Hinge: Place the hinge leaf onto the door or door frame, aligning the screw holes. The 5/8" radius corner should fit snugly into the prepared mortise.
- Secure the Hinge: Insert the provided screws into the hinge holes. Using a screwdriver, tighten the screws until the hinge is firmly attached. Do not overtighten.
- Attach Second Hinge Leaf: Repeat the process for the other hinge leaf on the opposing surface (door or frame).
- Assemble the Door: Once all hinges are secured to both the door and the frame, align the hinge knuckles and insert the hinge pins.

Image 4.1: Probrico hinge with accompanying screws, highlighting the 5/8" radius corner.

Image 4.2: Illustration of hinge installation using a screwdriver.
5. Operation
Probrico door hinges are designed for smooth and quiet operation. The pre-lubricated pins contribute to a friction-free movement, ensuring your door opens and closes effortlessly.
- Smooth Movement: The hinges allow the door to swing freely up to 270 degrees, depending on door stop placement.
- Quiet Performance: Factory lubrication minimizes noise during door operation.

Image 5.1: The pre-lubricated design ensures smooth and quiet door operation.
6. Maintenance
Regular maintenance helps prolong the life and performance of your door hinges.
- Cleaning: Wipe hinges periodically with a soft, damp cloth to remove dust and grime. Avoid abrasive cleaners that may damage the brushed nickel finish.
- Lubrication: If hinges begin to squeak or feel stiff over time, apply a small amount of silicone-based lubricant or white lithium grease to the hinge pins.
- Tighten Screws: Periodically check and tighten any loose mounting screws to ensure the hinges remain securely attached to the door and frame.
Removing a Hinge Pin:
To remove a hinge pin for lubrication or door removal, follow these steps:
- Close the door.
- Place a nail or similar thin, sturdy object against the bottom of the hinge pin.
- Gently tap the nail upwards with a hammer until the pin begins to emerge from the top of the hinge.
- Once the pin is sufficiently raised, grasp it and pull it out completely.

Image 6.1: Guide for safely removing a hinge pin.
7. Troubleshooting
| Problem | Possible Cause | Solution |
|---|---|---|
| Door squeaks when opening/closing | Lack of lubrication on hinge pins | Remove hinge pins (refer to Section 6), clean, and apply a silicone-based lubricant. Reinsert pins. |
| Door feels loose or sags | Loose mounting screws | Tighten all mounting screws on the hinges. If holes are stripped, consider using longer screws or wood filler. |
| Hinge appears stiff | Accumulated dirt or insufficient lubrication | Clean hinges and lubricate pins as described in Section 6. |
8. Warranty and Support
For information regarding product warranty or technical support, please refer to the Probrico official website or contact their customer service directly. Keep your purchase receipt for warranty claims.
Probrico Customer Service: Please visit Probrico's Amazon Store for contact information and additional resources.