
1. Introduction
Thank you for choosing the WLIVE Nightstand with Charging Station. This versatile furniture piece is designed to enhance your living space with convenient storage, integrated charging capabilities, and customizable LED lighting. This manual provides detailed instructions for assembly, operation, maintenance, and safety to ensure optimal use of your new nightstand.
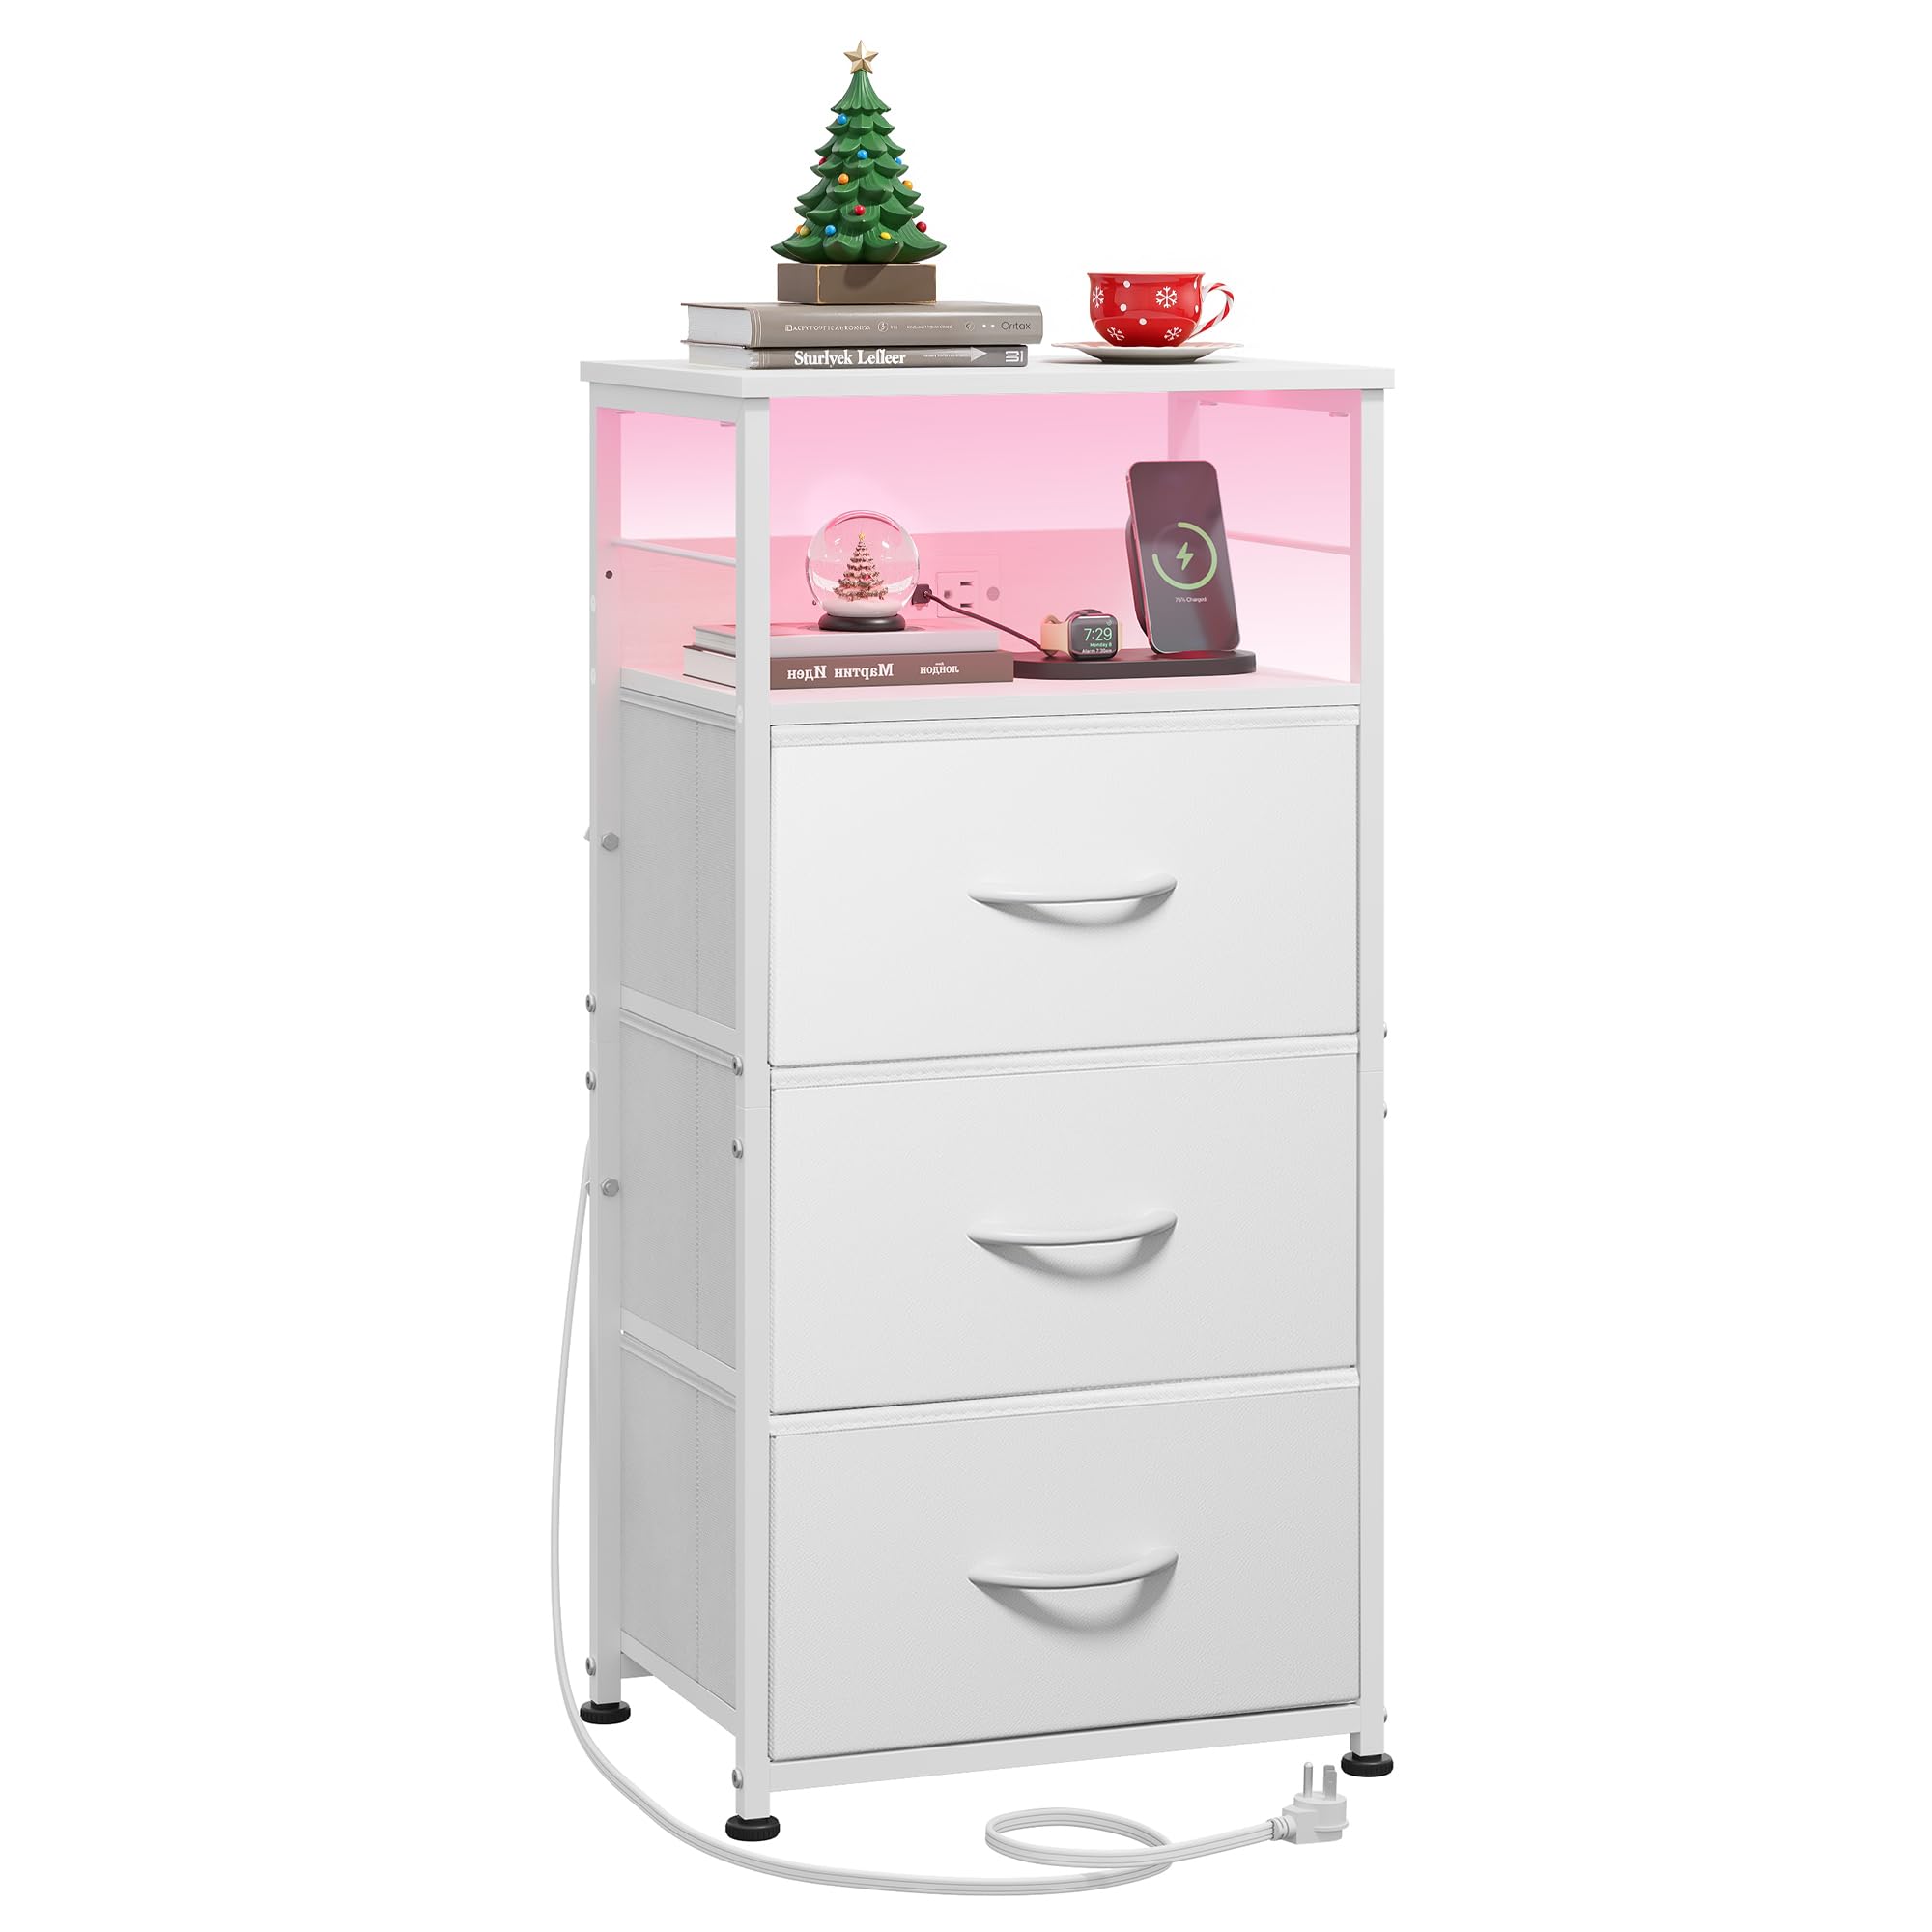
Image: The WLIVE Nightstand with Charging Station, showcasing its compact design and integrated features in a modern living room.
2. Safety Information
Please read and understand all safety warnings and instructions before assembling and using this product. Failure to follow these instructions may result in injury or product damage.
- Anti-Tip Device: This nightstand features a specially designed anti-tip device to prevent accidents. It is crucial to install this device as instructed to ensure stability, especially in households with children.
- Weight Limits: Do not exceed the maximum weight recommendations for the tabletop (55 lbs) and each fabric drawer (5.5 lbs). Overloading can compromise stability and cause damage.
- Electrical Safety: The integrated charging station includes 3 USB ports (5V/2.1A) and 2 AC outlets (125V/12A). Ensure all devices connected are compatible with these specifications. Do not attempt to open or modify the power strip. Keep liquids away from the charging station to prevent electrical hazards.
- Assembly: Assemble the product on a soft, clean surface to prevent scratches. Ensure all components are securely fastened before use.
- Placement: Place the nightstand on a level surface. Adjustable feet are provided to help stabilize the unit and protect your floor.

Image: Illustration demonstrating the correct method for installing the anti-tip device to secure the nightstand to a wall, preventing accidental tipping.
3. Package Contents
Before beginning assembly, please verify that all parts listed below are present and undamaged. If any parts are missing or damaged, please contact customer support.

Video: An animated video demonstrating the step-by-step assembly process for the WLIVE 3 Drawers Nightstand with LED Lights.
Hardware & Tools:
- A: Screws (x12)
- B: Screws (x9)
- C: Screws (x8)
- D: Screws (x6)
- E: Drawer Handles (x3)
- F: Power Strip (x1)
- G: Screws (x2)
- H: Adjustable Feet (x4)
- I: Washers (x5)
- J: Screws (x4)
- K: LED Light Strip (x1)
- L: Cable Clips (x3)
- M: Allen Wrench (x1)
- N: Wrench (x1)
- P: Anti-Tip Kit (x1)
Furniture Components:
- 1: Bottom Board (x1)
- 2: Left Frame (x1)
- 3: Right Frame (x1)
- 4: Middle Board (x1)
- 5: Back Panel for Charging Station (x1)
- 6: Back Support Bar (x1)
- 7: Top Board (x1)
- 8: Fabric Drawers (x3)
- 9: Side Panels (x3)
- 10: Cross Bars (x2)
- 11: X-Shaped Back Brace (x1)
4. Assembly Instructions
Follow these steps carefully to assemble your WLIVE Nightstand. A Phillips head screwdriver (not included) is recommended in addition to the provided tools.
- Step 1: Assemble the Base Frame. Attach the Left Frame (2) and Right Frame (3) to the Bottom Board (1) using screws (A).
- Step 2: Install Side Panels. Secure the Side Panels (9) to the assembled frame using screws (B).
- Step 3: Attach Middle Board. Place the Middle Board (4) into position and secure it with screws (C).
- Step 4: Install Back Panel for Charging Station. Attach the Back Panel for Charging Station (5) to the frame using screws (D).
- Step 5: Mount Power Strip. Secure the Power Strip (F) to the designated area on the Back Panel (5) using screws (G).
- Step 6: Attach Top Board. Place the Top Board (7) onto the frame and secure it with screws (A).
- Step 7: Install Back Support Bar. Attach the Back Support Bar (6) to the rear of the frame using screws (B).
- Step 8: Secure X-Shaped Back Brace. Install the X-Shaped Back Brace (11) to the back of the unit using screws (J) and washers (I) to enhance stability.
- Step 9: Attach Adjustable Feet. Screw the Adjustable Feet (H) into the bottom of the frame. Use the provided wrench (N) to adjust them for stability on uneven surfaces.
- Step 10: Install LED Light Strip. Adhere the LED Light Strip (K) to the underside of the top shelf or desired location. Use Cable Clips (L) to manage the wiring neatly.
- Step 11: Assemble Fabric Drawers. Insert the bottom panel into each Fabric Drawer (8) and attach the Drawer Handles (E) using screws (D).
- Step 12: Insert Drawers. Slide the assembled Fabric Drawers (8) into their respective slots in the nightstand frame.
Video: A detailed assembly guide for the WLIVE 3 Drawers Nightstand with LED Lights, provided by the manufacturer.
5. Operating Instructions
5.1. LED Light Operation
The integrated LED light strip offers customizable lighting to create your desired ambiance.
- App Control: To control the LED lights, download the "iStrip+" APP from the App Store (iOS) or Google Play (Android). Once installed, you can adjust colors, brightness, and other functions directly from your smartphone.
- Features: The app allows access to over 6000 color choices, remote control functionality, music rhythm synchronization, and a timing function.

Image: A visual representation of the smartphone application interface used to control the RGB LED light strip, highlighting various customization options.
5.2. Charging Station Usage
The built-in charging station provides convenient power access for your electronic devices.
- AC Outlets: Two 125V/12A AC outlets are available for standard electrical devices.
- USB Ports: Three 5V/2.1A USB ports are provided for charging smartphones, tablets, and other USB-powered devices.
- Power Cord: The charging station is equipped with a 4.9-foot power cord. Ensure it is plugged into a grounded electrical outlet.

Image: A close-up view of the integrated charging station, illustrating the AC outlets and USB ports in use, with a smartphone charging on the surface.
Video: A demonstration of the WLIVE LED Nightstand with Charging Station, showcasing its features including LED lights and charging capabilities.
6. Maintenance
To ensure the longevity and appearance of your nightstand, follow these simple maintenance guidelines:
- Cleaning: Wipe the surfaces with a dry cloth. Avoid using harsh chemicals or abrasive cleaners, which can damage the finish.
- Spills: The tabletop is made of waterproof board. In case of spills, wipe them immediately with a dry cloth to prevent water damage.
- Drawer Care: The fabric drawers can be spot cleaned with a damp cloth and mild detergent if necessary. Allow them to air dry completely before reinserting.

Image: A close-up shot of water droplets on the nightstand's surface, illustrating its waterproof design for easy cleaning and spill protection.
7. Troubleshooting
If you encounter any issues with your nightstand, please refer to the following common solutions:
- LED Lights Not Working:
- Ensure the LED light strip is properly connected to the power source.
- Check if the power cord for the charging station is securely plugged into a wall outlet.
- Verify that the "iStrip+" app is correctly installed and connected to the LED lights via Bluetooth.
- Devices Not Charging:
- Confirm the nightstand's power cord is plugged into a live electrical outlet.
- Check if the device's charging cable is securely connected to both the device and the USB port/AC outlet.
- Test with a different device or charging cable to rule out cable or device issues.
- Nightstand is Unstable:
- Adjust the four adjustable feet at the bottom of the nightstand to level the unit on uneven floors.
- Ensure all assembly screws are tightened securely.
- Verify that the X-shaped back brace is correctly installed.
If these steps do not resolve the issue, please contact customer support for further assistance.
8. Specifications

Image: A graphic summarizing the key specifications of the nightstand, including dimensions and weight capacities.
| Feature | Specification |
|---|---|
| Brand | WLIVE |
| Model Name | ACTG015WXF |
| Product Dimensions (D x W x H) | 11.73"D x 15.67"W x 31.93"H |
| Item Weight | 13.77 Pounds |
| Maximum Weight Recommendation (Tabletop) | 55 Pounds |
| Maximum Weight Recommendation (Each Drawer) | 5.5 Pounds |
| Frame Material | Wood |
| Top Material Type | Engineered Wood |
| Number of Drawers | 3 |
| AC Outlets | 2 (125V/12A) |
| USB Ports | 3 (5V/2.1A) |
| Power Cord Length | 4.9-Foot |
| Color | White |
| Required Assembly | Yes |
| Product Care Instructions | Wipe with Dry Cloth |
9. Warranty and Support
WLIVE is committed to providing high-quality products and excellent customer service. While specific warranty details are not provided in this manual, if you encounter any problems or have questions regarding your WLIVE Nightstand, please do not hesitate to contact our customer support team. We are here to assist you.
For assistance, please refer to the contact information provided with your purchase or visit the official WLIVE website.


