
Introduction
The GenSDH GTX5030 Metal Detector is designed for detecting various metal objects underground. It is suitable for hobbyists and experienced users for applications such as archaeology, exploration, and finding buried treasures like gold, silver, and other metal artifacts. This manual provides instructions for assembly, operation, and maintenance to ensure optimal performance and a successful metal detecting experience.
Product Components and Overview
Familiarize yourself with the main components of your GTX5030 Metal Detector.
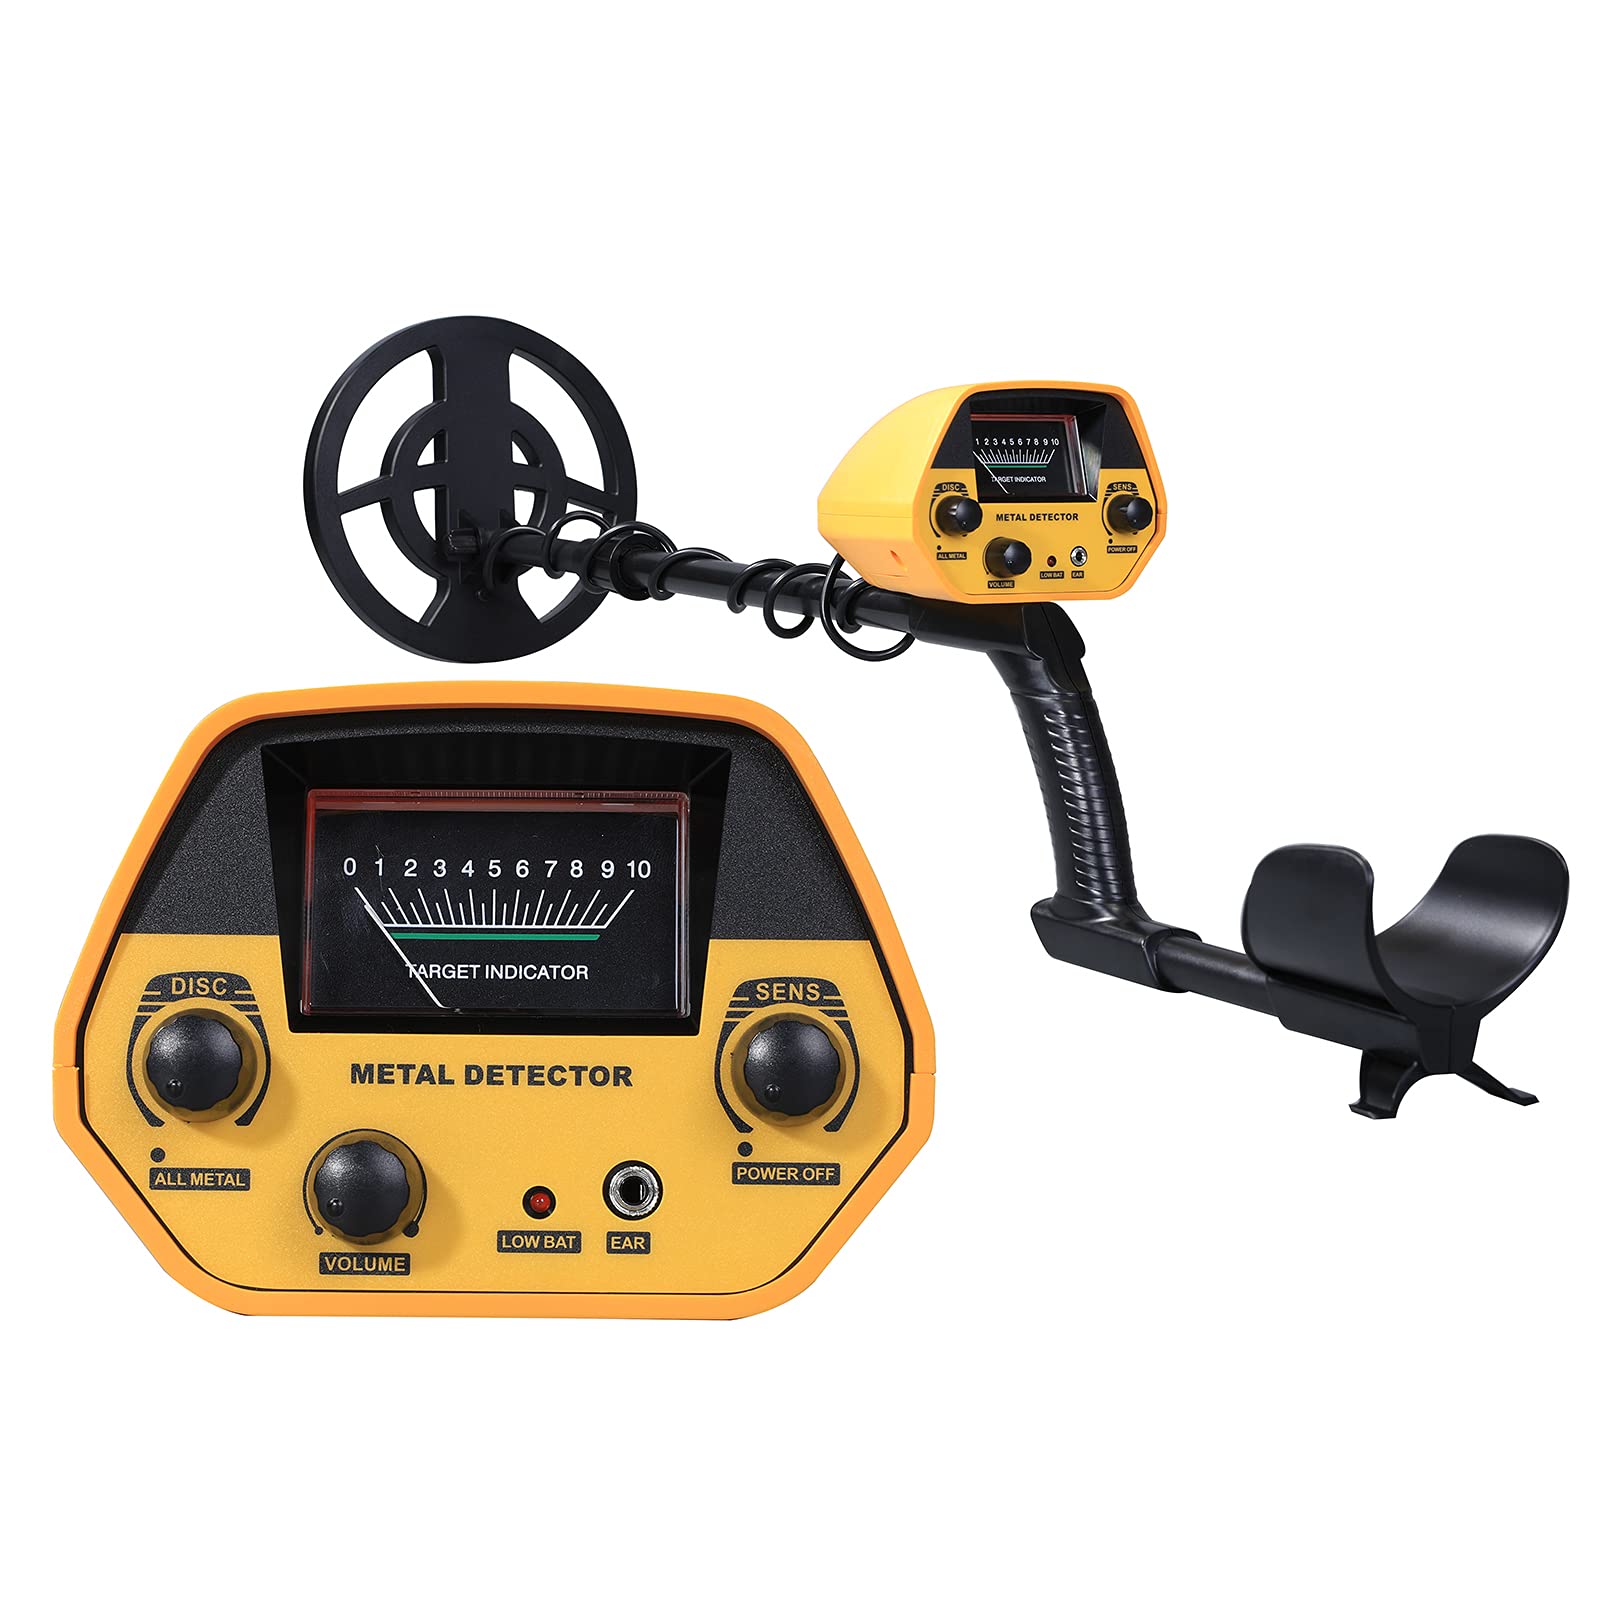
Figure 1: General view of the GenSDH GTX5030 Metal Detector. This image provides an overall look at the assembled detector, ready for use.

Figure 2: Labeled diagram of the GTX5030 Metal Detector. This diagram identifies the main parts: Machine host (control unit), DISC knob, SENS (Sensitivity) knob, External headphone jack, Hand rest, Hand grip, Volume knob, Scaling node (adjustable stem), and Probe (search coil).

Figure 3: Detailed view of the control panel, ergonomic hand rest, and robust search coil. This image highlights the key operational and structural elements of the detector, including the display, adjustment knobs, and the waterproof search coil.
Specifications
| Feature | Specification |
|---|---|
| Main Material | Metal |
| Color | Black + Yellow |
| Operation Modes | All Metal and DISC |
| Operating Frequency | 5.69 KHz |
| Power Supply | 2 x 9V batteries (not included) |
| Operating Current | Standby 10mA, Max. 70mA |
| Detection Indication | Mechanical pointer mode, Audio mode |
| Sensitivity | Adjustable. Max. depth > 180mm for a U.S. quarter in All Metal mode. |
| Volume | Adjustable |
| Adjustable Stem Length | Max. 1080mm (42.5in), Min. 780mm (30.7in) |
| Waterproof Search Coil Diameter | 200mm (7.9in) |
| Speaker or Earphone Jack | 1/2 inch (1.2 cm) |

Figure 4: Product dimensions and detailed specifications. This image provides a visual representation of the detector's measurements and reiterates key technical specifications for quick reference.
Setup and Assembly
Follow these steps to assemble your metal detector:
- Unpack Components: Carefully remove all parts from the packaging. You should have: 1 Metal Detector Main Unit, 1 Armrest, 2 Connecting Rods, 1 Search Coil, and this User Manual.
- Attach Search Coil: Connect the search coil to the lower connecting rod. Ensure the cable is routed neatly along the rod and securely fastened to prevent tangling during use.
- Assemble Rods: Connect the two connecting rods together, then attach them to the main unit. The adjustable stem allows for length customization.
- Install Armrest: Slide the armrest onto the upper part of the main unit. Adjust its position for comfortable operation, providing support for your forearm.
- Insert Batteries: Open the battery compartment on the main unit. Insert two 9V batteries (not included), ensuring correct polarity. Close the compartment securely.
- Adjust Length: Adjust the stem length to a comfortable position for your height. The maximum length is 1080mm (42.5in) and minimum is 780mm (30.7in). Secure the adjustment mechanism.
Operating Instructions
Powering On and Basic Operation
- Power On: Turn the POWER OFF knob clockwise to power on the detector.
- Volume Adjustment: Use the VOLUME knob to adjust the audio output level from the speaker or connected earphones.
- Sensitivity Adjustment: The SENS knob controls the detector's sensitivity. Higher sensitivity allows for deeper detection but may also increase false signals. Adjust as needed for your environment.
Detection Modes
The GTX5030 offers two primary detection modes:
- ALL METAL Mode: This mode detects all types of metal objects with auto ground balance and high sensitivity. It is recommended for general searching when you want to find any metal.
- DISC (Discrimination) Mode: This mode allows the detector to discriminate between different types of metal. You can adjust the DISC knob to filter out unwanted metals (e.g., iron) and focus on specific targets like gold or silver.
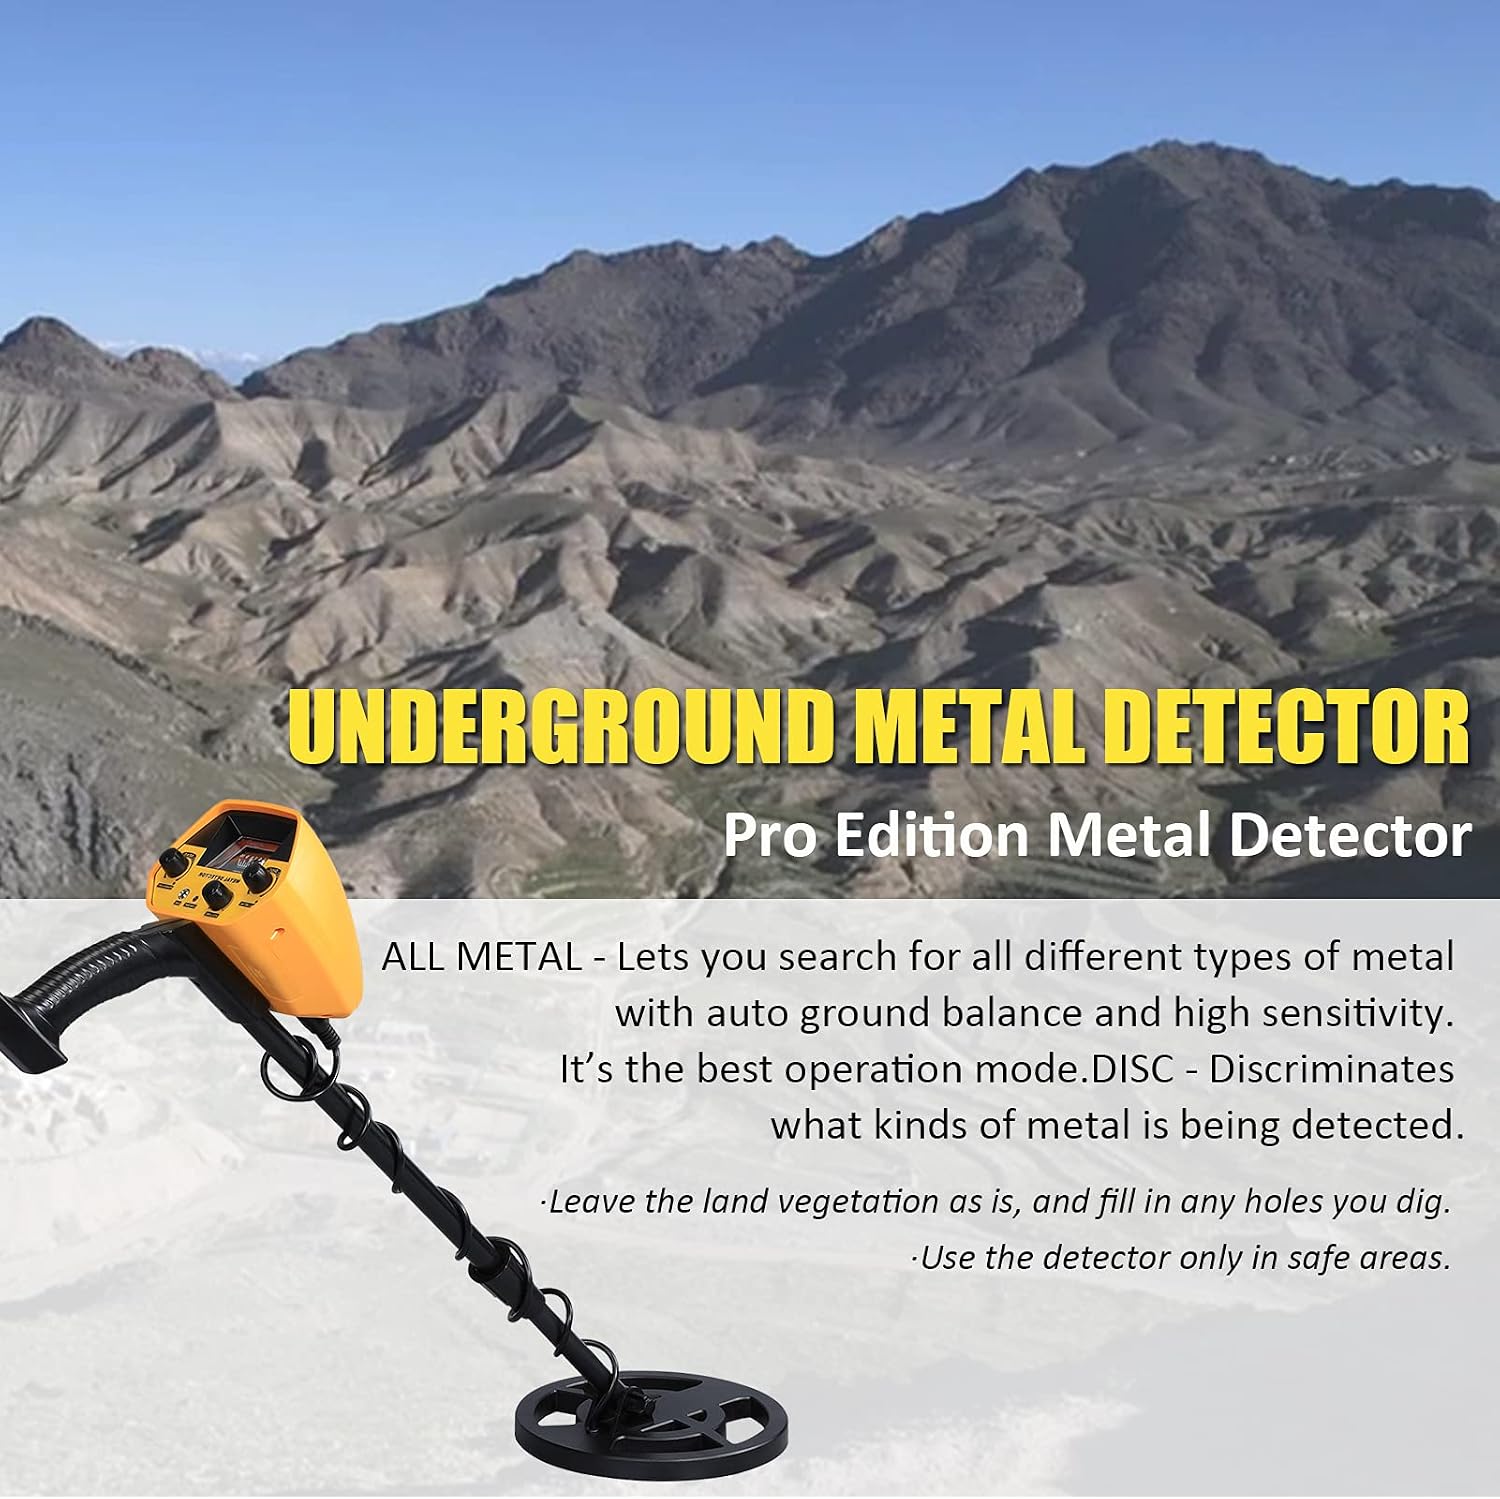
Figure 5: Explanation of ALL METAL and DISC operating modes. This image illustrates the functionality of each mode, with ALL METAL detecting all metals and DISC allowing for discrimination of specific metal types.
Interpreting Signals
- Audio Indication: When a metal object is detected, the detector will emit an audio alarm. The pitch or intensity may vary depending on the metal type and depth.
- Mechanical Pointer: The mechanical pointer on the control unit will indicate the presence and relative strength of the detected metal.

Figure 6: Sensitivity and detection depth illustration. This image demonstrates how the detector's sensitivity relates to the size and depth of detected objects, showing that larger items generally allow for deeper detection.
Maintenance
Proper maintenance ensures the longevity and performance of your metal detector.
- Cleaning: After each use, wipe down the detector with a damp cloth. Avoid using abrasive cleaners or solvents, which can damage the finish or electronic components.
- Search Coil: The search coil is waterproof and can be submerged in shallow water. However, the main control unit is not waterproof and should be kept dry at all times.
- Battery Care: Remove batteries if the detector will not be used for an extended period (e.g., more than a month) to prevent leakage and potential damage to the battery compartment.
- Storage: Store the detector in a cool, dry place, away from direct sunlight, extreme temperatures, and high humidity.
Troubleshooting
If you encounter issues with your metal detector, refer to the following common problems and solutions:
- No Power: Ensure batteries are correctly installed and fully charged. Check for any signs of corrosion in the battery compartment. Replace batteries if necessary.
- Erratic Signals or False Alarms: Reduce sensitivity (SENS knob). Move away from sources of electromagnetic interference (e.g., power lines, other electronic devices, or highly mineralized ground). Ensure the search coil cable is not loose or damaged.
- No Detection: Verify the detector is powered on and the search coil is properly connected. Ensure you are in an area where metal objects are likely to be present and that the sensitivity is set appropriately.
Safety Information
Always prioritize safety when using your metal detector:
- Always obtain permission before metal detecting on private property.
- Be aware of and comply with all local regulations and laws regarding metal detecting in public areas.
- Exercise caution when digging to avoid damaging underground utilities, cables, pipes, or historical artifacts. If unsure, do not dig.
- Use the detector only in safe areas, avoiding hazardous environments such as construction sites or areas with unexploded ordnance.
- Wear appropriate protective gear, such as gloves, when digging.
Warranty and Support
For warranty information or technical support, please refer to the documentation provided at the time of purchase or contact GenSDH customer service through the official channels. Keep your purchase receipt as proof of purchase for any warranty claims.