1. Introduction
This manual provides detailed instructions for the safe installation, operation, and maintenance of your Dreamflame 88-inch Electric Fireplace. Please read all instructions carefully before use and retain this manual for future reference.
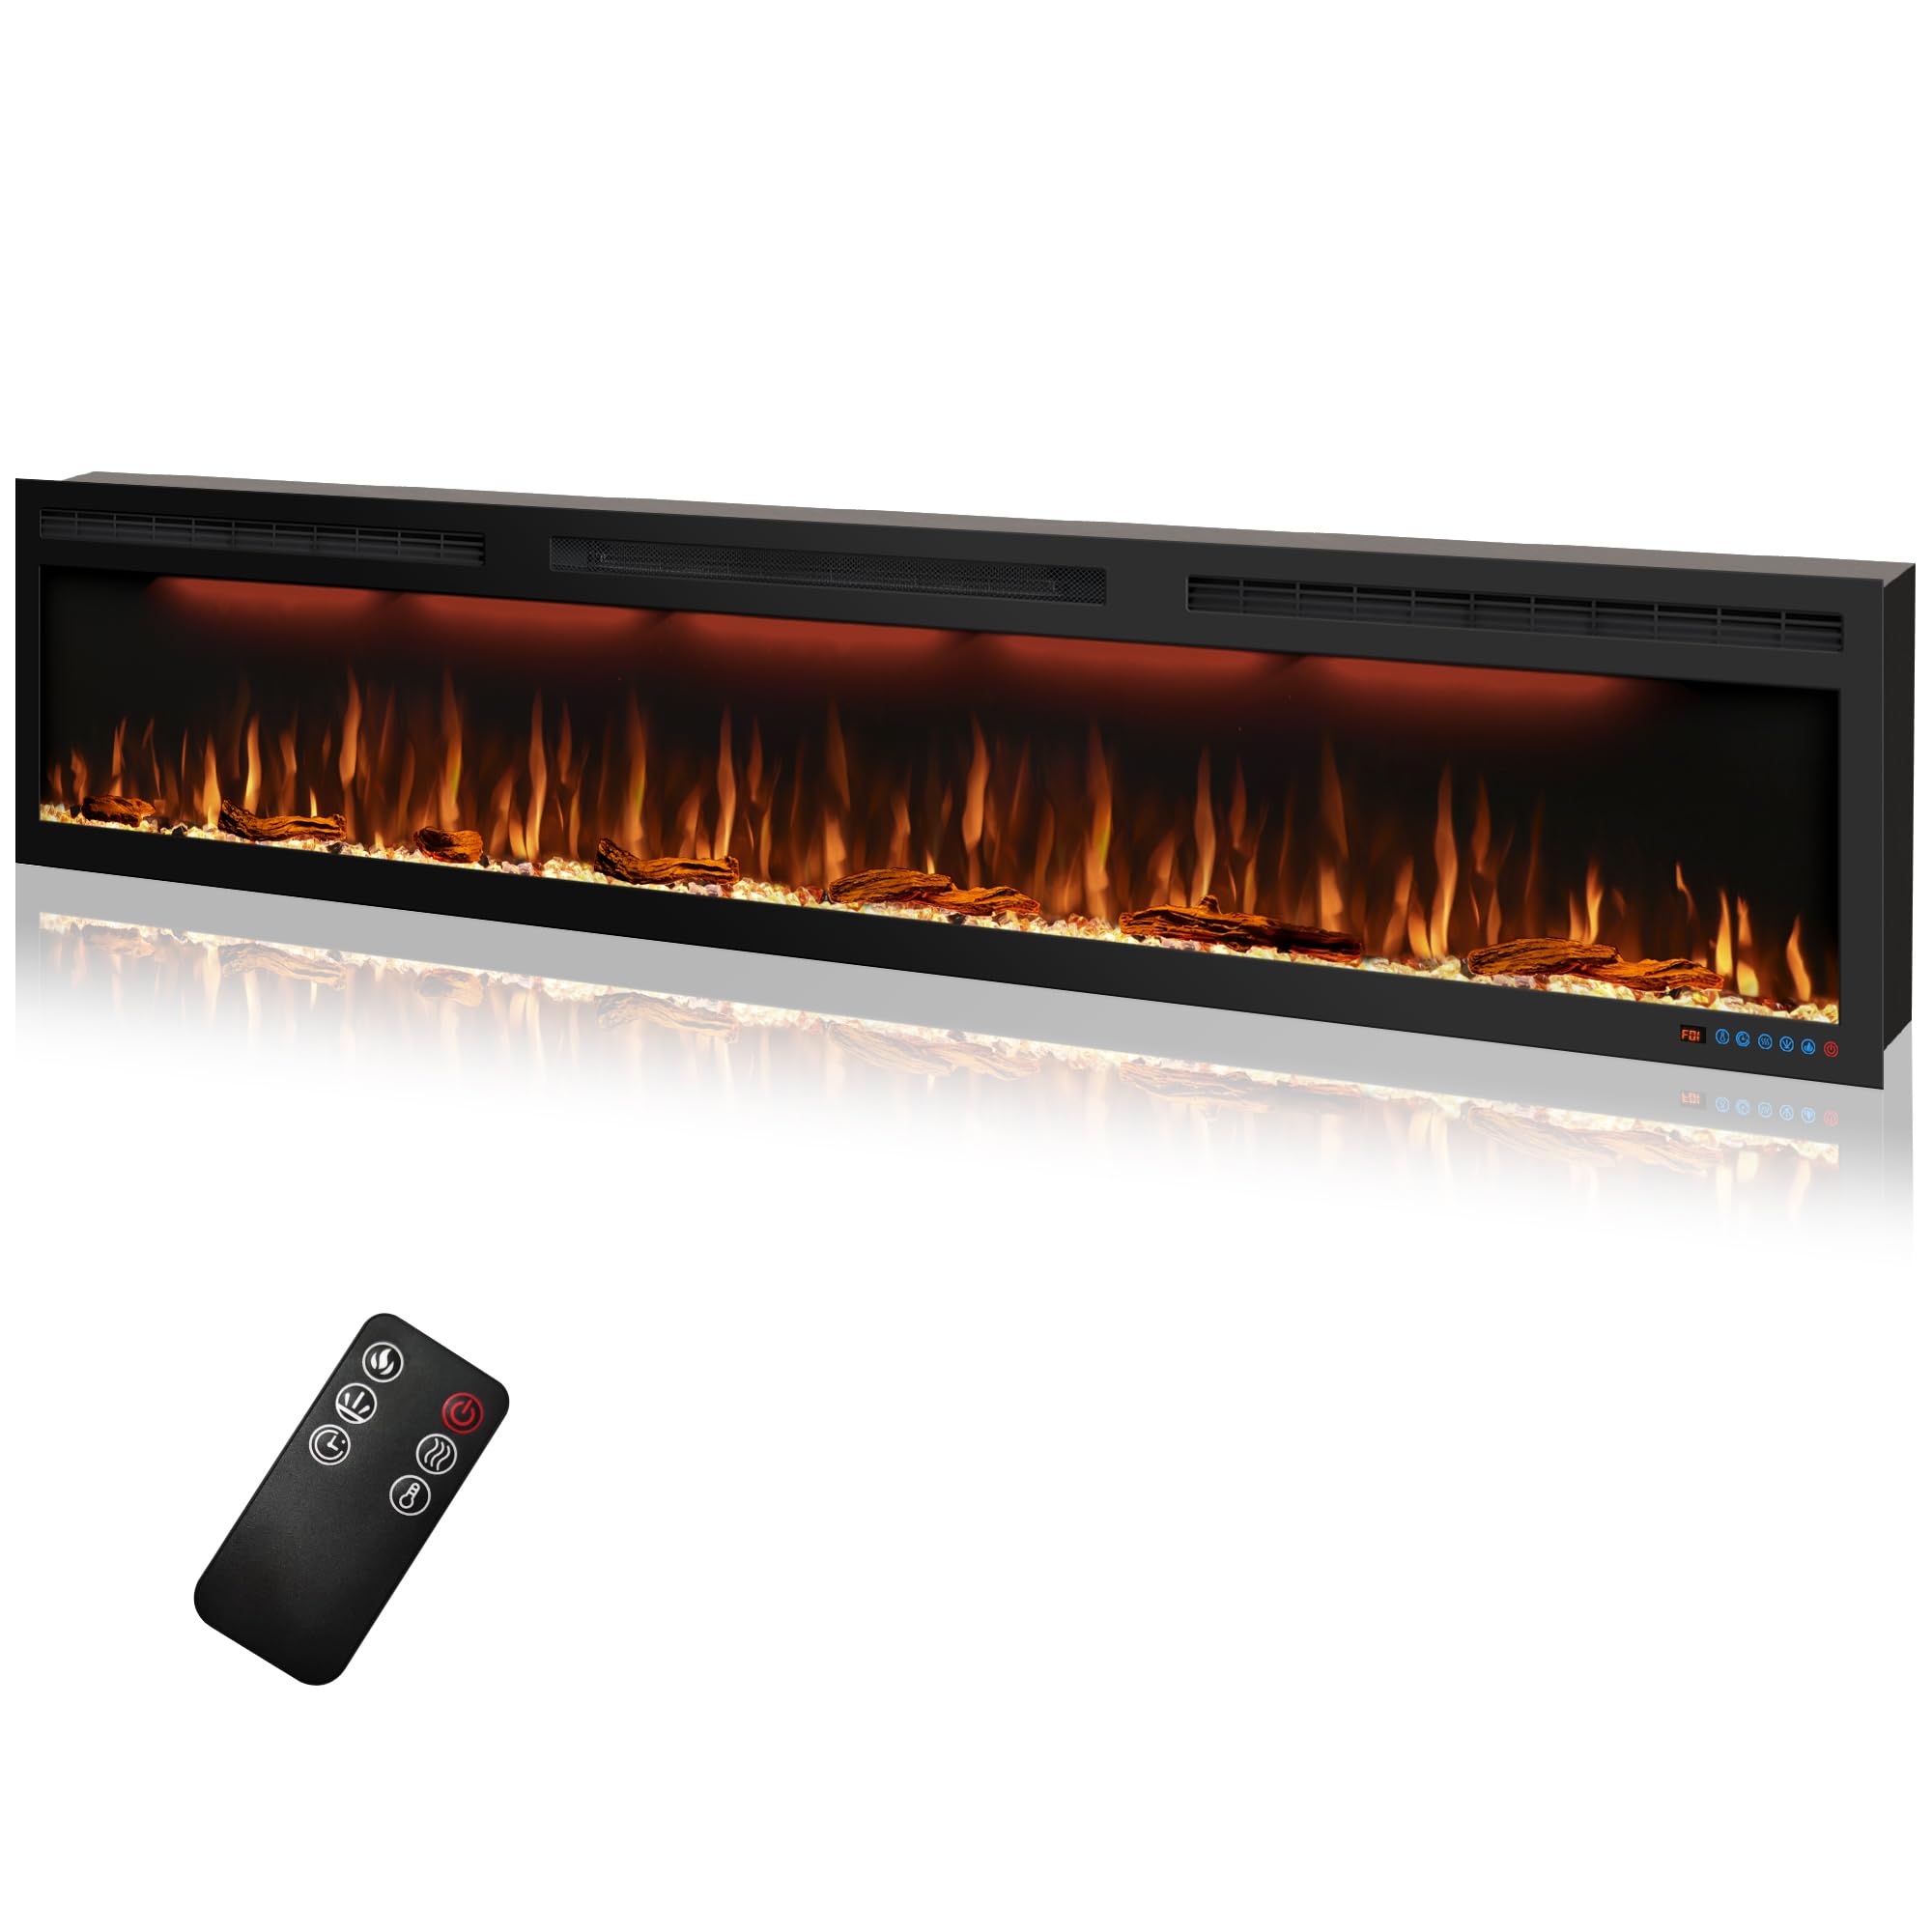
Image 1.1: The Dreamflame 88-inch Electric Fireplace and its remote control.
2. Safety Information
To prevent fire, electric shock, or injury, always follow these basic precautions:
- Read all instructions before using this fireplace.
- Do not cover the front air outlet on top of the fireplace heater. Obstruction can lead to overheating.
- Ensure the fireplace is plugged into a properly grounded outlet. Consider using a Ground Fault Circuit Interrupter (GFCI) for added protection, especially if the power cord feels warm during operation.
- This electric fireplace is equipped with a built-in overheating protection device that automatically shuts off the unit if it reaches an unsafe temperature. If this occurs, unplug the unit, wait 10-15 minutes, and then plug it back in. If the issue persists, contact customer support.
- Keep combustible materials, such as furniture, pillows, bedding, papers, clothes, and curtains at least 3 feet (0.9 meters) from the front of the fireplace.
- Do not insert or allow foreign objects to enter any ventilation or exhaust opening as this may cause an electric shock or fire, or damage the heater.
3. Package Contents
Carefully unpack all components and ensure you have received the following items:
- Dreamflame 88-inch Electric Fireplace Unit
- Remote Control (requires 2 AAA batteries, not included)
- Mounting Bracket
- Hand-painted Realistic Logs
- Crystal Clear Cube Ember Bed
- User Manual
- Screws and Wall Anchors for installation

Image 3.1: Key components of the electric fireplace.
4. Specifications
| Feature | Specification |
|---|---|
| Brand | Dreamflame |
| Model Name | 844754fd-7cf8-4360-a0ba-8de95ca5417f |
| Product Dimensions (Overall) | 88"W x 5.5"D x 17.7"H |
| Insert Dimensions | 86.8"W x 5.5"D x 16.9"H |
| Material | Metal |
| Color | Black |
| Power Source | AC |
| Heating Options | 750W / 1500W |
| Heating Coverage | Up to 400 sq ft |
| Thermostat Range | 71°F ~ 99°F |
| Flame Colors | 3 (L1-L3) |
| Top Light Colors | 3 (F1-F3) |
| Timer | 1H ~ 9H |
| Installation Type | Recessed or Wall Mount |
| Item Weight | 94.8 Pounds |
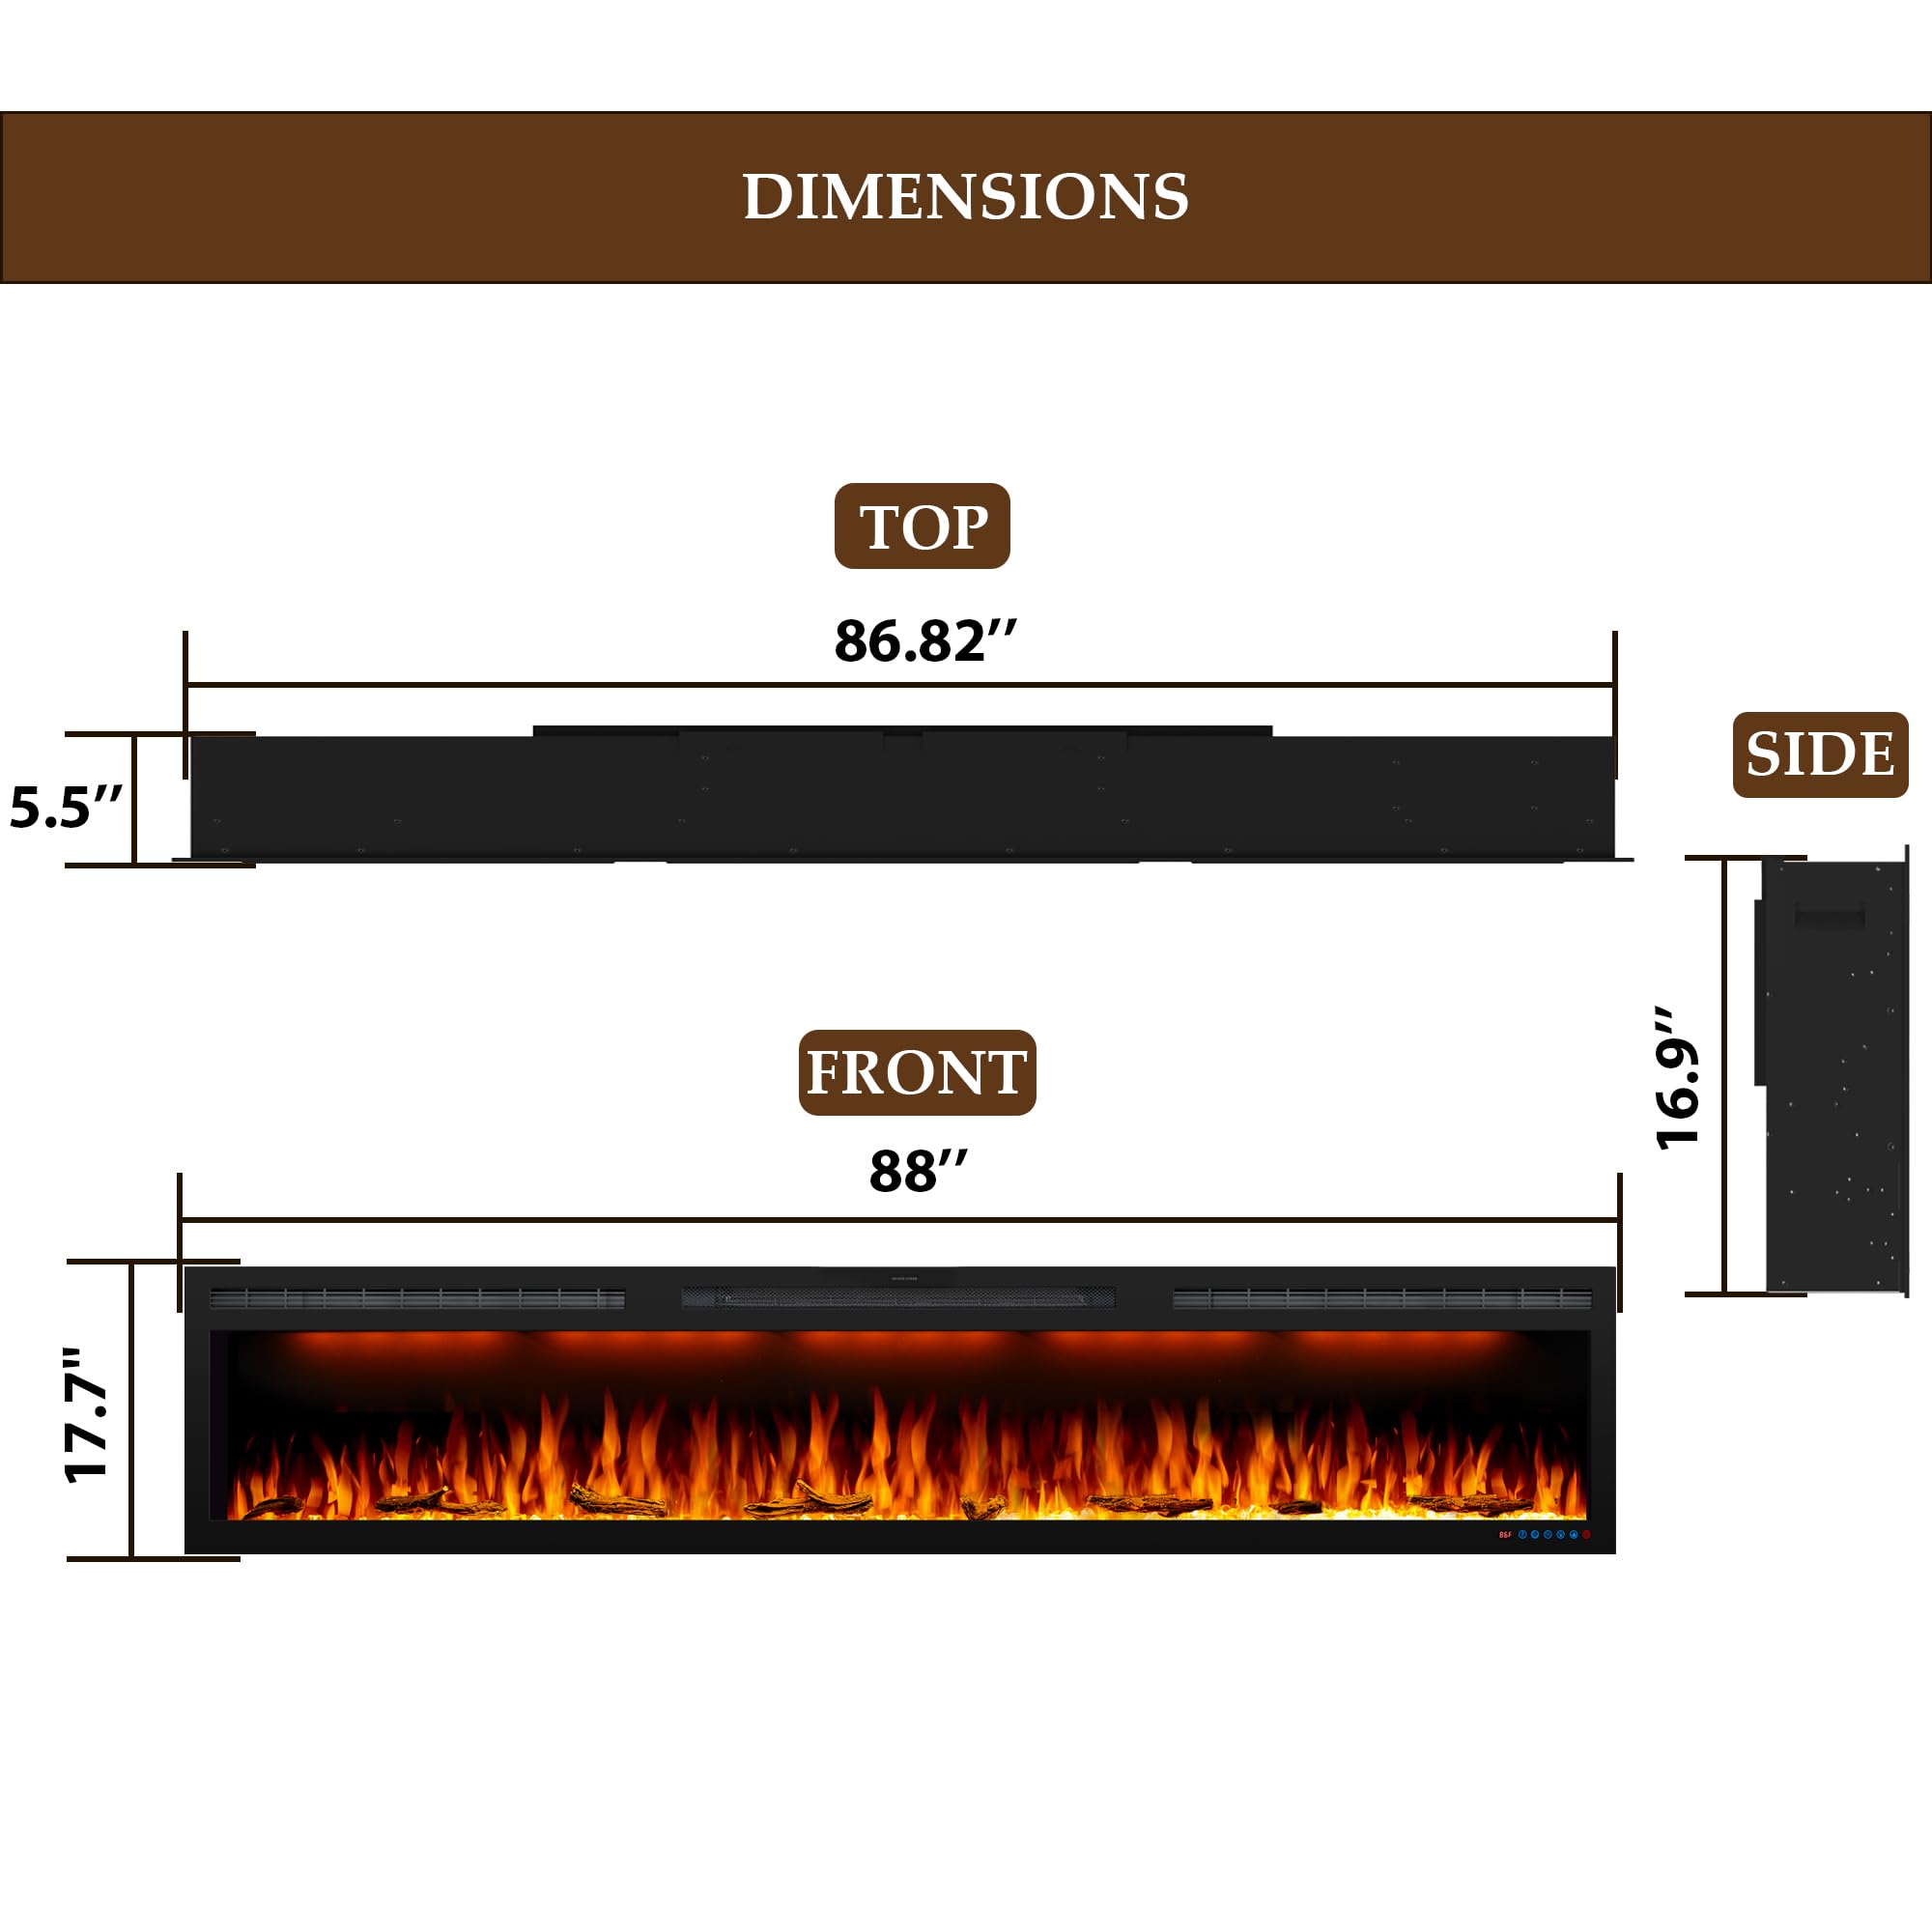
Image 4.1: Product dimensions for installation planning.
5. Setup and Installation
The Dreamflame electric fireplace can be installed as a recessed unit or wall-mounted. Ensure you reserve adequate space for the plug-in cable and air vent during installation.
5.1 Preparing the Ember Bed
- Locate the two silver screws on each side of the fireplace unit.
- Carefully remove these screws to detach the glass door.
- Install the plastic bottom tray.
- Arrange the provided realistic logs and/or crystal clear cube ember bed materials as desired.
- Reattach the glass door and secure it with the two silver screws on each side.
5.2 Recessed Installation
For recessed installation, a cutout in the wall or cabinet is required. Refer to the dimensions in Section 4. Ensure the cutout provides sufficient clearance for the fireplace unit and allows for proper ventilation.

Image 5.1: Recessed installation diagram.
- Create a wall opening according to the insert dimensions (86.8"W x 5.5"D x 16.9"H).
- Secure the fireplace unit into the opening using appropriate screws and anchors.
- Ensure the unit is level and flush with the wall surface.
5.3 Wall-Mounted Installation
The fireplace comes with a mounting bracket for wall-mounted installation.
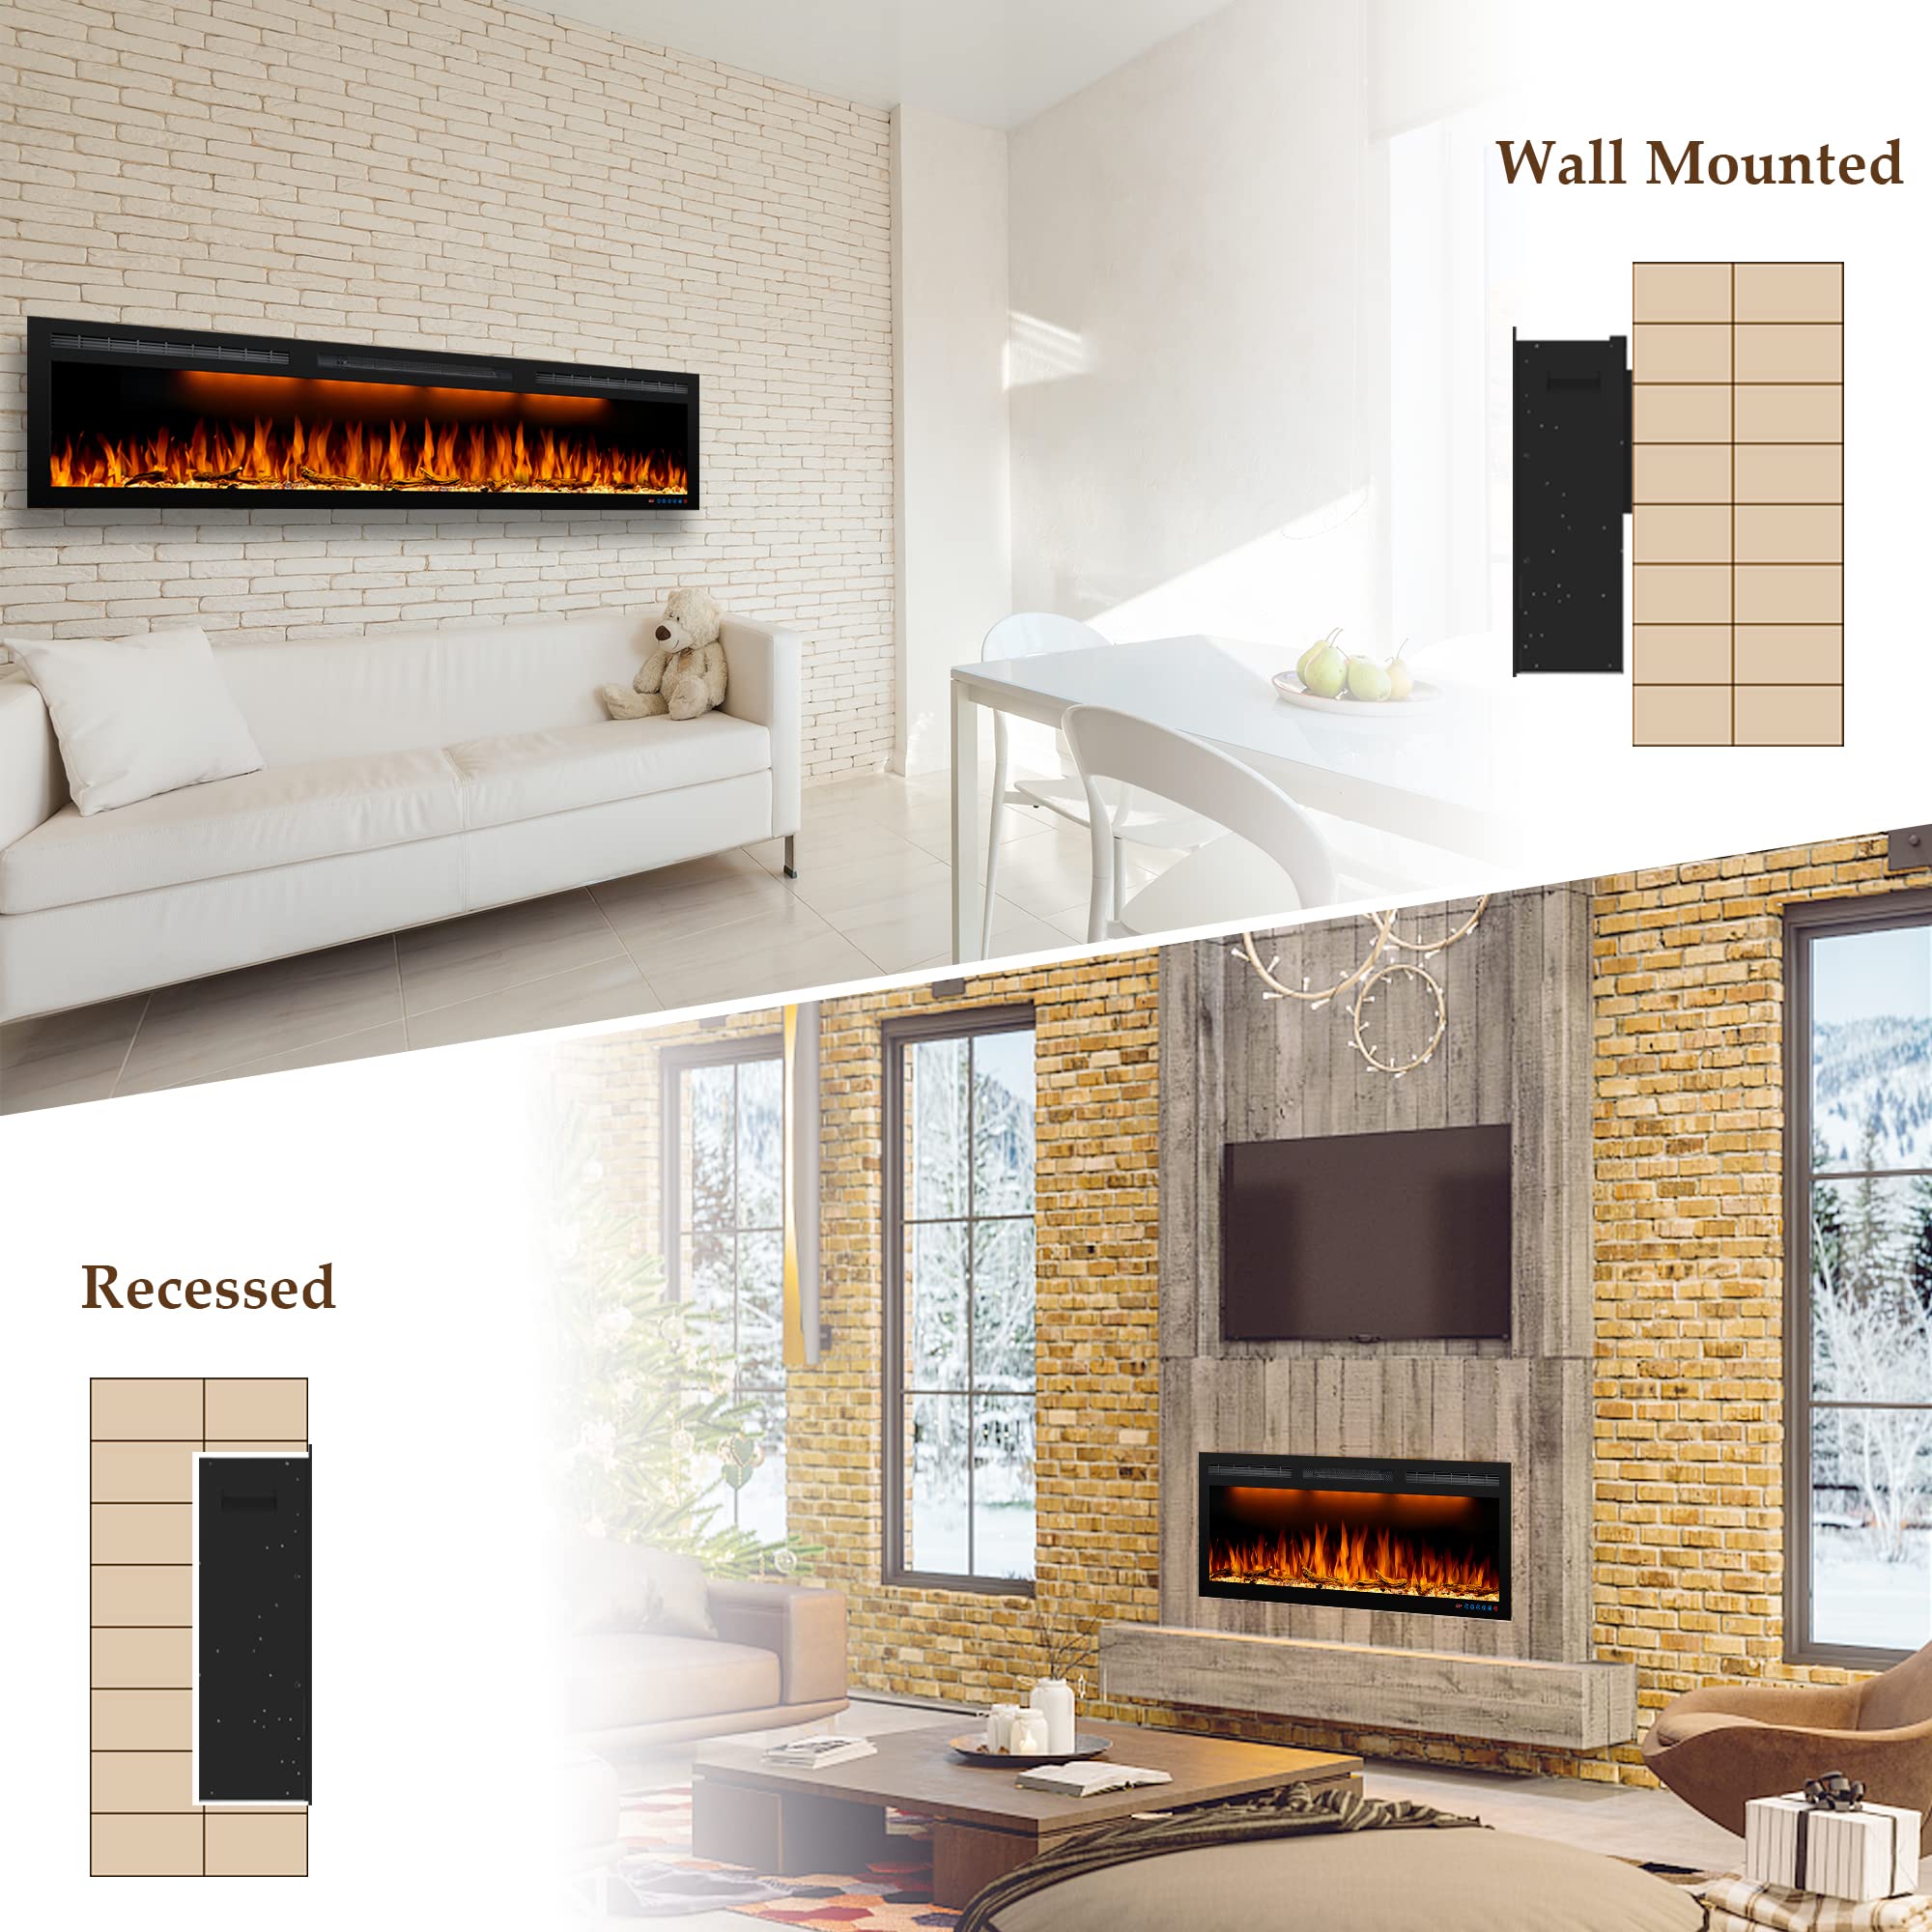
Image 5.2: Visual representation of wall-mounted and recessed installation options.

Image 5.3: Wall-mounted installation diagram.
- Select a suitable wall location, ensuring it can support the fireplace's weight (94.8 lbs).
- Attach the mounting bracket to the wall using the provided screws and anchors, ensuring it is level.
- Carefully lift the fireplace unit and hook it onto the wall mounting bracket.
- Secure the fireplace to the bracket with additional screws if necessary, as indicated in the diagram.
6. Operating Instructions
Your Dreamflame electric fireplace can be operated using the touch control panel on the unit or the included remote control.

Image 6.1: Dual control methods: touch panel and remote control.
6.1 Remote Control Functions
Insert 2 AAA batteries into the remote control. The remote allows you to control all functions from a distance.
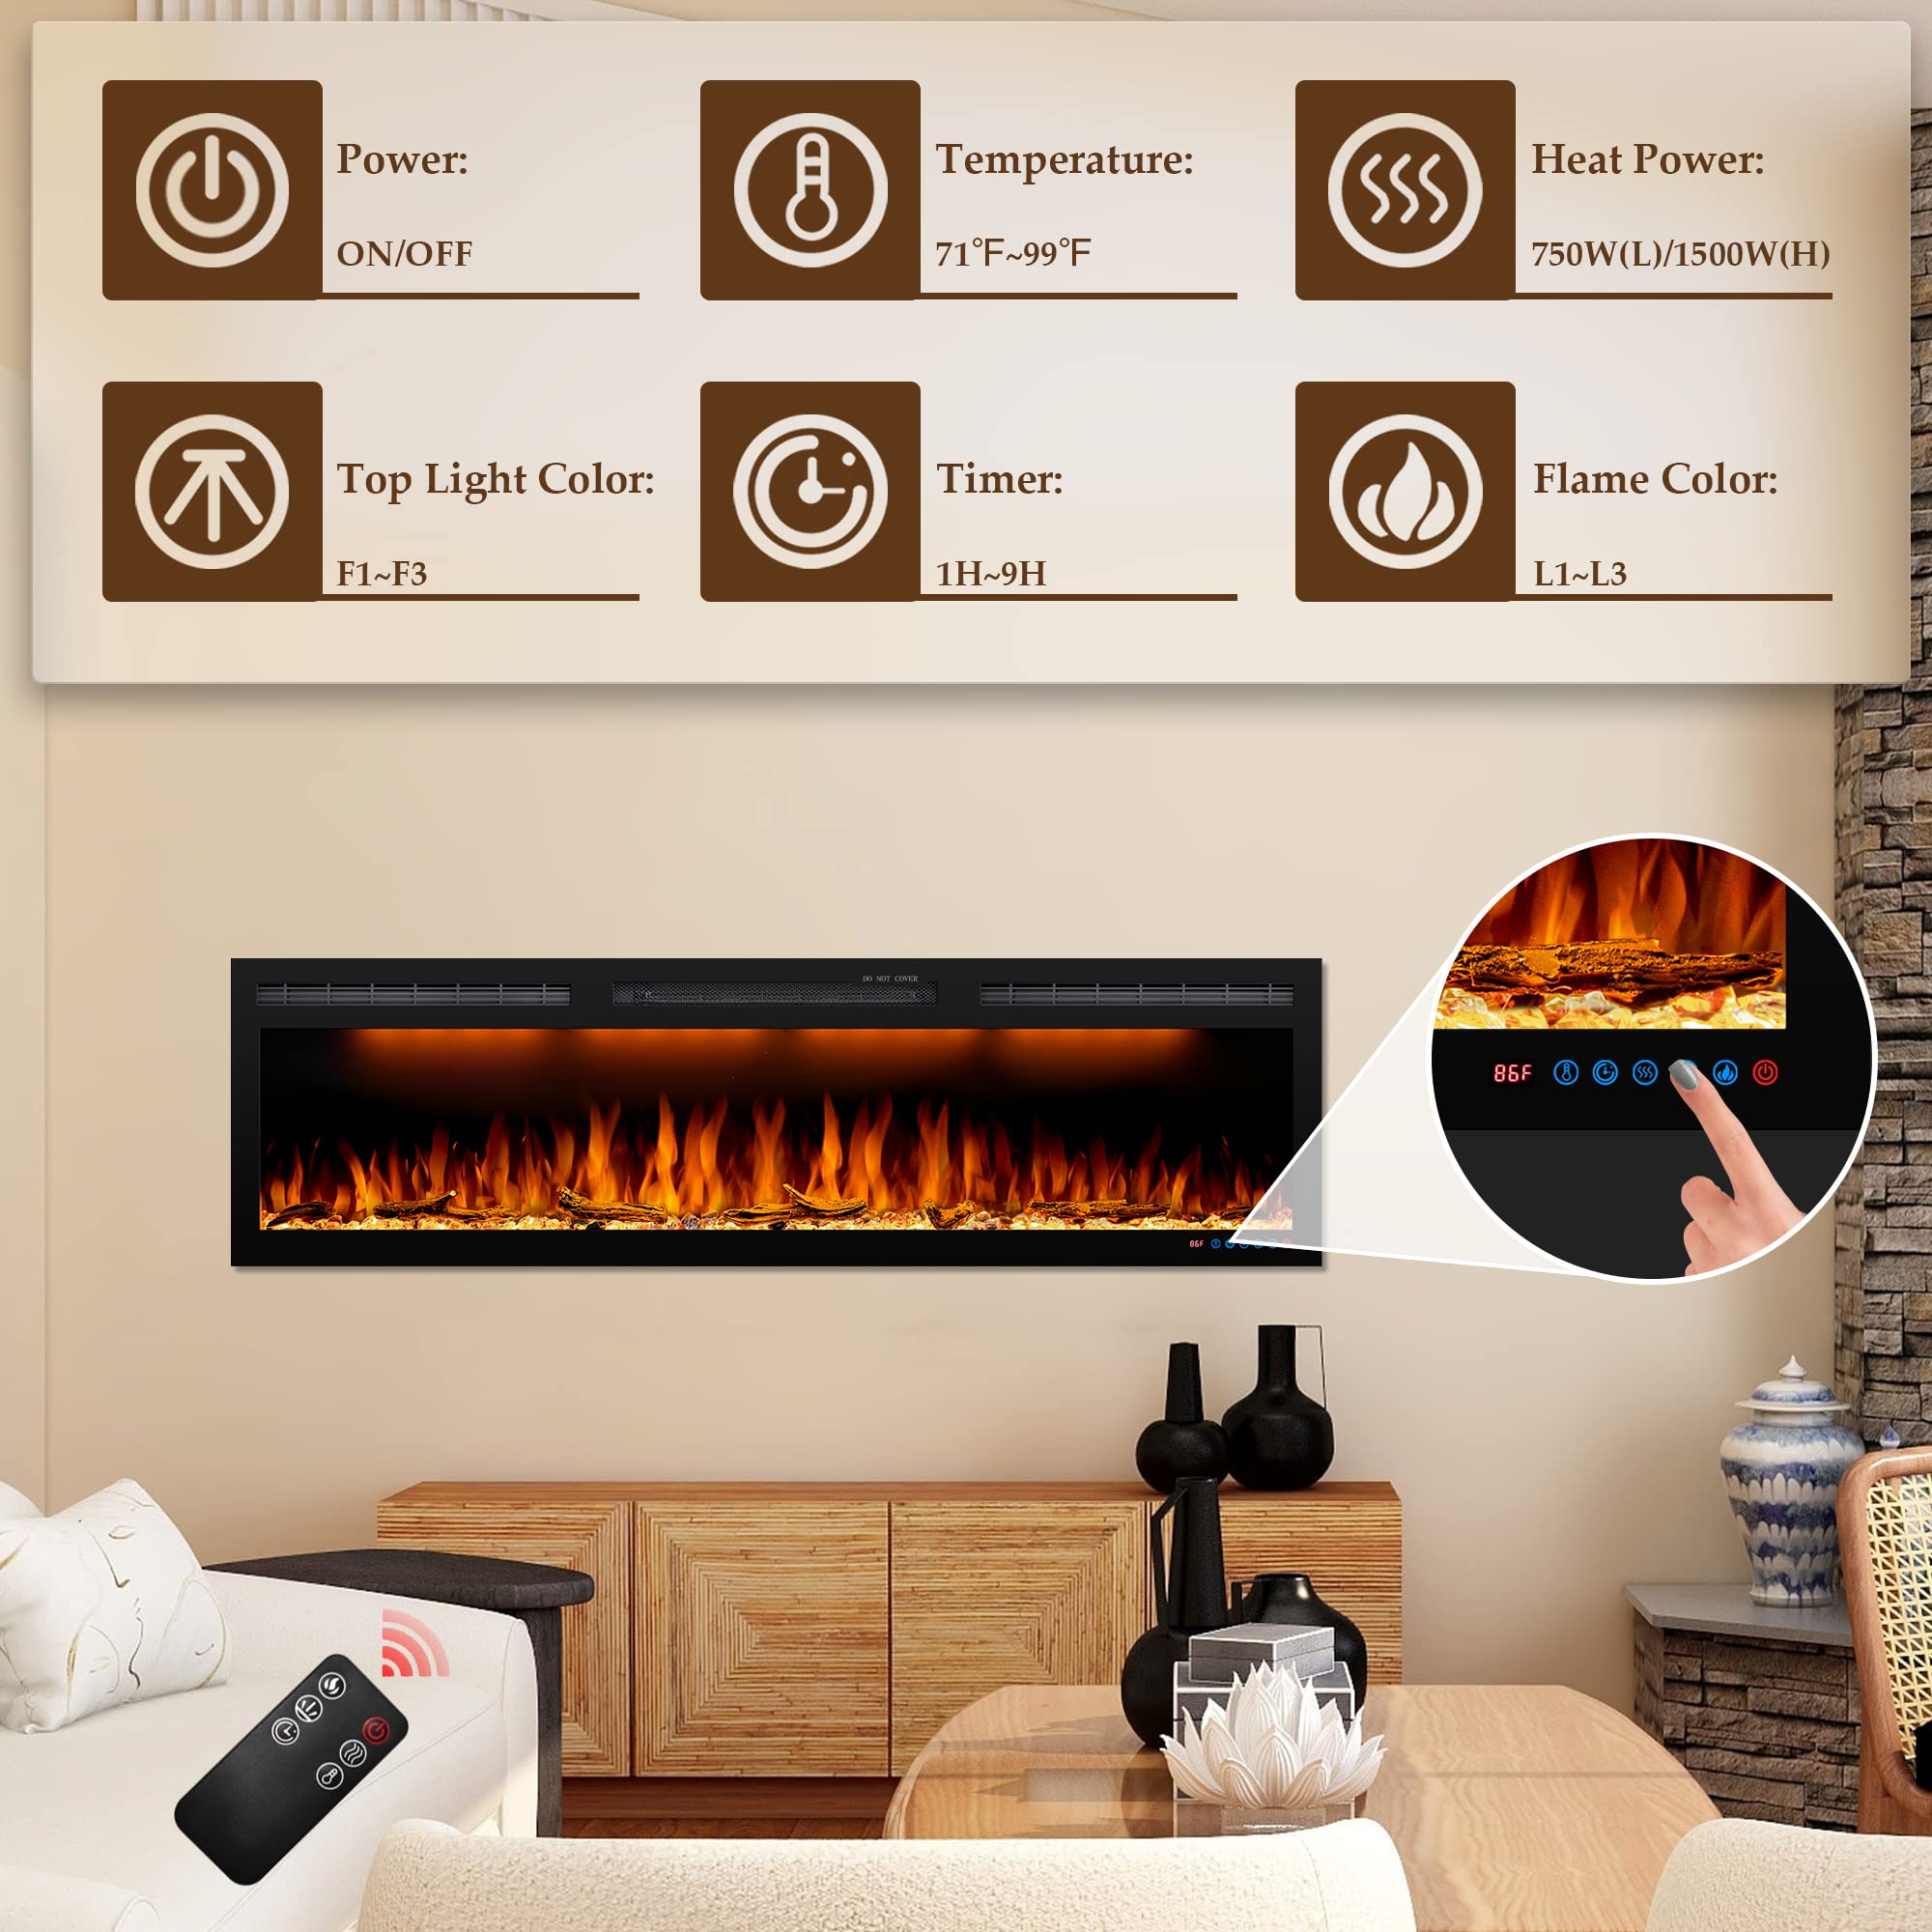
Image 6.2: Control panel and remote functions.
- Power (ON/OFF): Press to turn the fireplace on or off.
- Temperature (71°F-99°F): Adjust the desired room temperature.
- Heat Power (750W/1500W): Select between low (750W) or high (1500W) heat settings. Heat can be switched off independently while flames remain active.
- Top Light Color (F1-F3): Cycle through 3 different top light colors.
- Timer (1H-9H): Set an automatic shut-off timer from 1 to 9 hours.
- Flame Color (L1-L3): Cycle through 3 different flame colors.
6.2 Flame and Ember Bed Effects
The fireplace offers realistic flame effects and customizable ember bed options.

Image 6.3: Various flame and ember bed configurations.

Image 6.4: Combination of flame and top light colors.
- Choose between realistic logs, crystal clear cubes, or a mixture for the ember bed.
- Adjust flame colors (L1-L3) and top light colors (F1-F3) independently to create your desired ambiance.
6.3 Heating Operation
The fireplace provides supplemental heating for areas up to 400 sq ft.
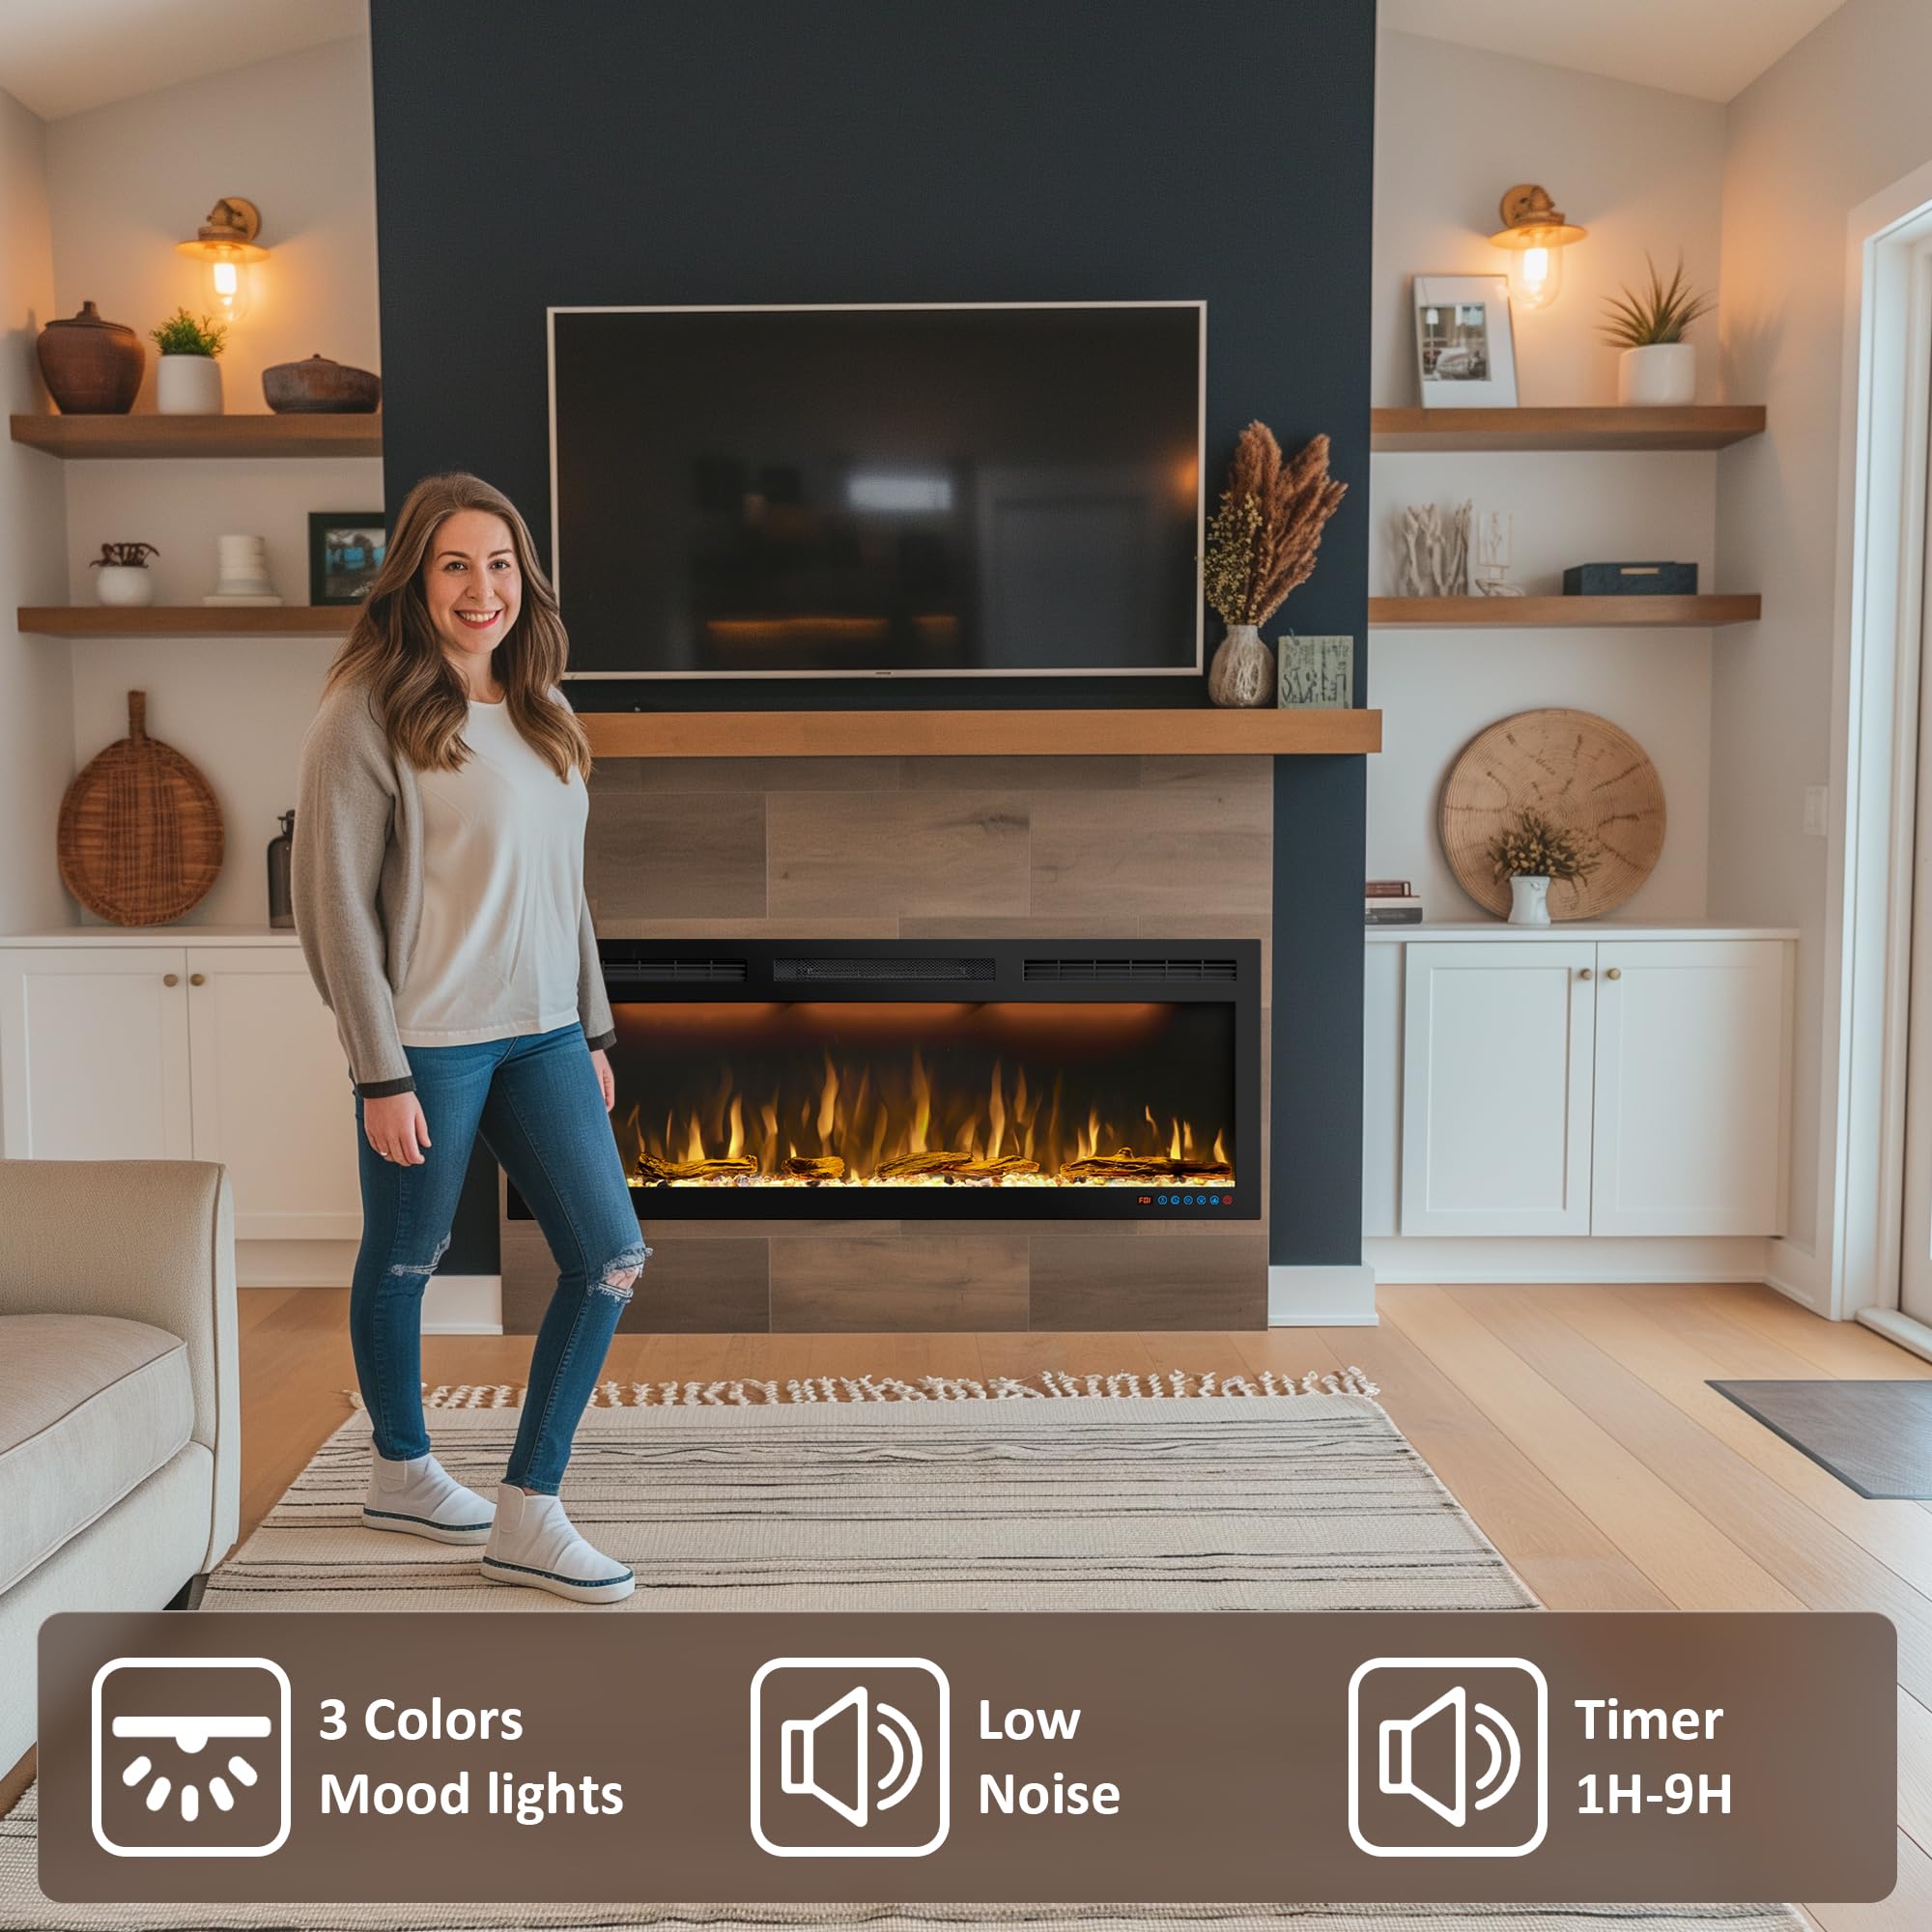
Image 6.5: Heating options and coverage.
- Select 750W for lower heat output or 1500W for faster heating.
- Use the thermostat to set your preferred temperature between 71°F and 99°F.
- The heating function can be operated independently of the flame effects.
7. Maintenance
Regular maintenance ensures optimal performance and longevity of your electric fireplace.
- Cleaning: Ensure the unit is turned off and unplugged before cleaning. Use a soft, damp cloth to wipe the exterior surfaces. Do not use abrasive cleaners or sprays.
- Glass Panel: Clean the glass panel with a soft cloth and a glass cleaner. Avoid harsh chemicals that may damage the finish.
- Air Vents: Periodically check and clean the air inlet and warm air outlet vents to ensure they are free from dust and debris, which can impede airflow and heating efficiency.
- Storage: If storing the fireplace for an extended period, unplug it and store it in a dry, dust-free location.
8. Troubleshooting
If you encounter issues with your fireplace, refer to the following common problems and solutions:
| Problem | Possible Cause | Solution |
|---|---|---|
| Fireplace does not turn on. | No power, power cord unplugged, circuit breaker tripped. | Check power outlet, ensure cord is securely plugged in, reset circuit breaker. |
| No heat output. | Heat function not activated, thermostat set too low, overheating protection activated. | Activate heat function, increase thermostat setting, unplug unit for 10-15 minutes to reset overheating protection. |
| Flames are not visible. | Flame effect not activated. | Press the flame button on the control panel or remote. |
| Remote control not working. | Dead batteries, remote out of range, obstruction. | Replace AAA batteries, ensure remote is pointed at the fireplace, remove any obstructions. |
| Unit shuts off unexpectedly. | Overheating protection activated. | Unplug the unit, wait 10-15 minutes, check for blocked air vents, then plug back in. |
If the problem persists after attempting these solutions, please contact Dreamflame customer support.
9. Warranty and Support
Dreamflame provides a 1-year quality warranty for this electric fireplace. We are committed to creating a great user experience and welcome customer feedback.
For any questions, concerns, or support needs, please contact Dreamflame customer service. Our team is available to provide lifetime support for your product.
You can find contact information on the Dreamflame official website or through your purchase platform.


