
1. Introduction
Thank you for choosing the Mesqool 10.1" Large Digital Clock. This device is designed to provide clear and comprehensive time, date, and environmental information, along with customizable reminders and photo display capabilities. It is ideal for various settings, including homes, offices, and classrooms, offering enhanced readability and functionality.

Mesqool 10.1" Large Digital Clock displaying time, day, date, temperature, and humidity.
2. Package Contents
Please ensure all parts are included in your package:
- 1 x Mesqool 10.1" Large Digital Clock (Model CR1026)
- 1 x Remote Control
- 1 x AC Power Adapter
- 1 x User Manual
- 2 x CR2032 Batteries (pre-installed for memory function)

The clock comes with a remote control and power adapter for convenient setup and use.
3. Setup
3.1 Powering On
- Connect the AC power adapter to the DC port on the back of the clock.
- Plug the adapter into a standard wall outlet. The clock will automatically power on and display the default time and date.
3.2 Initial Time and Date Setting
The clock typically comes pre-set with the correct time and date. If adjustment is needed, use the remote control or the side buttons:
- Press the MENU/EXIT/SETUP button on the remote or side panel to enter the settings menu.
- Use the UP/DOWN arrow buttons to navigate to "Date & Time" and press OK/ENTER.
- Adjust the time, date, 12/24-hour format, and date display format (MM/DD/YYYY or DD/MM/YYYY) using the arrow buttons and OK/ENTER to confirm each selection.
- Press MENU/EXIT/SETUP to exit the settings.
3.3 Mounting Options
The clock can be placed on a tabletop using its integrated stand or wall-mounted. Mounting hardware is included for wall installation.
- Tabletop: Extend the built-in stand on the back of the clock to position it on any flat surface.
- Wall-Mounted: Use the provided wall anchors and screws with the mounting holes on the back of the clock. Ensure the clock is securely fastened.

The clock can be conveniently wall-mounted, saving space and providing easy access.
4. Operating Instructions
4.1 Display Modes and Themes
The clock offers 12 unique display themes and 9 font colors to personalize its appearance. These include text time, analog clock, classic, and minimalist styles.
- Press MENU/EXIT/SETUP.
- Navigate to "Themes" and press OK/ENTER.
- Use the arrow buttons to browse through the available themes and colors.
- Press OK/ENTER to select your preferred theme.

Choose from 12 unique display themes and 9 font colors to match your personal taste or room décor.
4.2 Setting Alarms and Reminders
The clock supports up to 23 customizable schedules and 18 alarm sounds with 9 volume levels.
- Press MENU/EXIT/SETUP.
- Navigate to "Alarms" or "Schedule" and press OK/ENTER.
- For alarms, set the time, repeat days (weekdays, weekends, or everyday), choose a label, ringtone, and volume.
- For schedules, you can select from 23 pre-set reminders (e.g., medication, daily activities, visits) or create personalized messages using keyboard input.
- Press OK/ENTER to save and MENU/EXIT/SETUP to exit.
The clock offers 23 preset schedules for daily routines and allows for personalized messages.
4.3 Brightness and Auto-Dimming
The clock features an intelligent light sensor that automatically adjusts screen brightness based on ambient light. You can also manually set brightness levels.
- Press MENU/EXIT/SETUP.
- Navigate to "Brightness" and press OK/ENTER.
- Choose between "Auto Dimming" or manual brightness levels (1-10).
- If selecting manual, use arrow buttons to adjust the level.
- Press OK/ENTER to save.

The built-in light sensor adjusts screen brightness based on ambient light for optimal viewing.
4.4 Indoor Temperature & Humidity Display
The clock includes an industrial-grade sensor for real-time temperature and humidity readings, displayed directly on the screen.
- The temperature can be displayed in Fahrenheit (°F) or Celsius (°C). Adjust this in the "Settings" menu.

Monitor your environment with real-time temperature and humidity readings.
4.5 Digital Picture Frame Function
Transform your clock into a digital picture frame by inserting a USB flash drive or SD card (up to 64GB, not included).
- Insert a USB flash drive or SD card containing your photos into the designated slot on the side of the clock.
- Press MENU/EXIT/SETUP.
- Navigate to "Album" and press OK/ENTER.
- The clock will begin displaying your photos in a slideshow format.
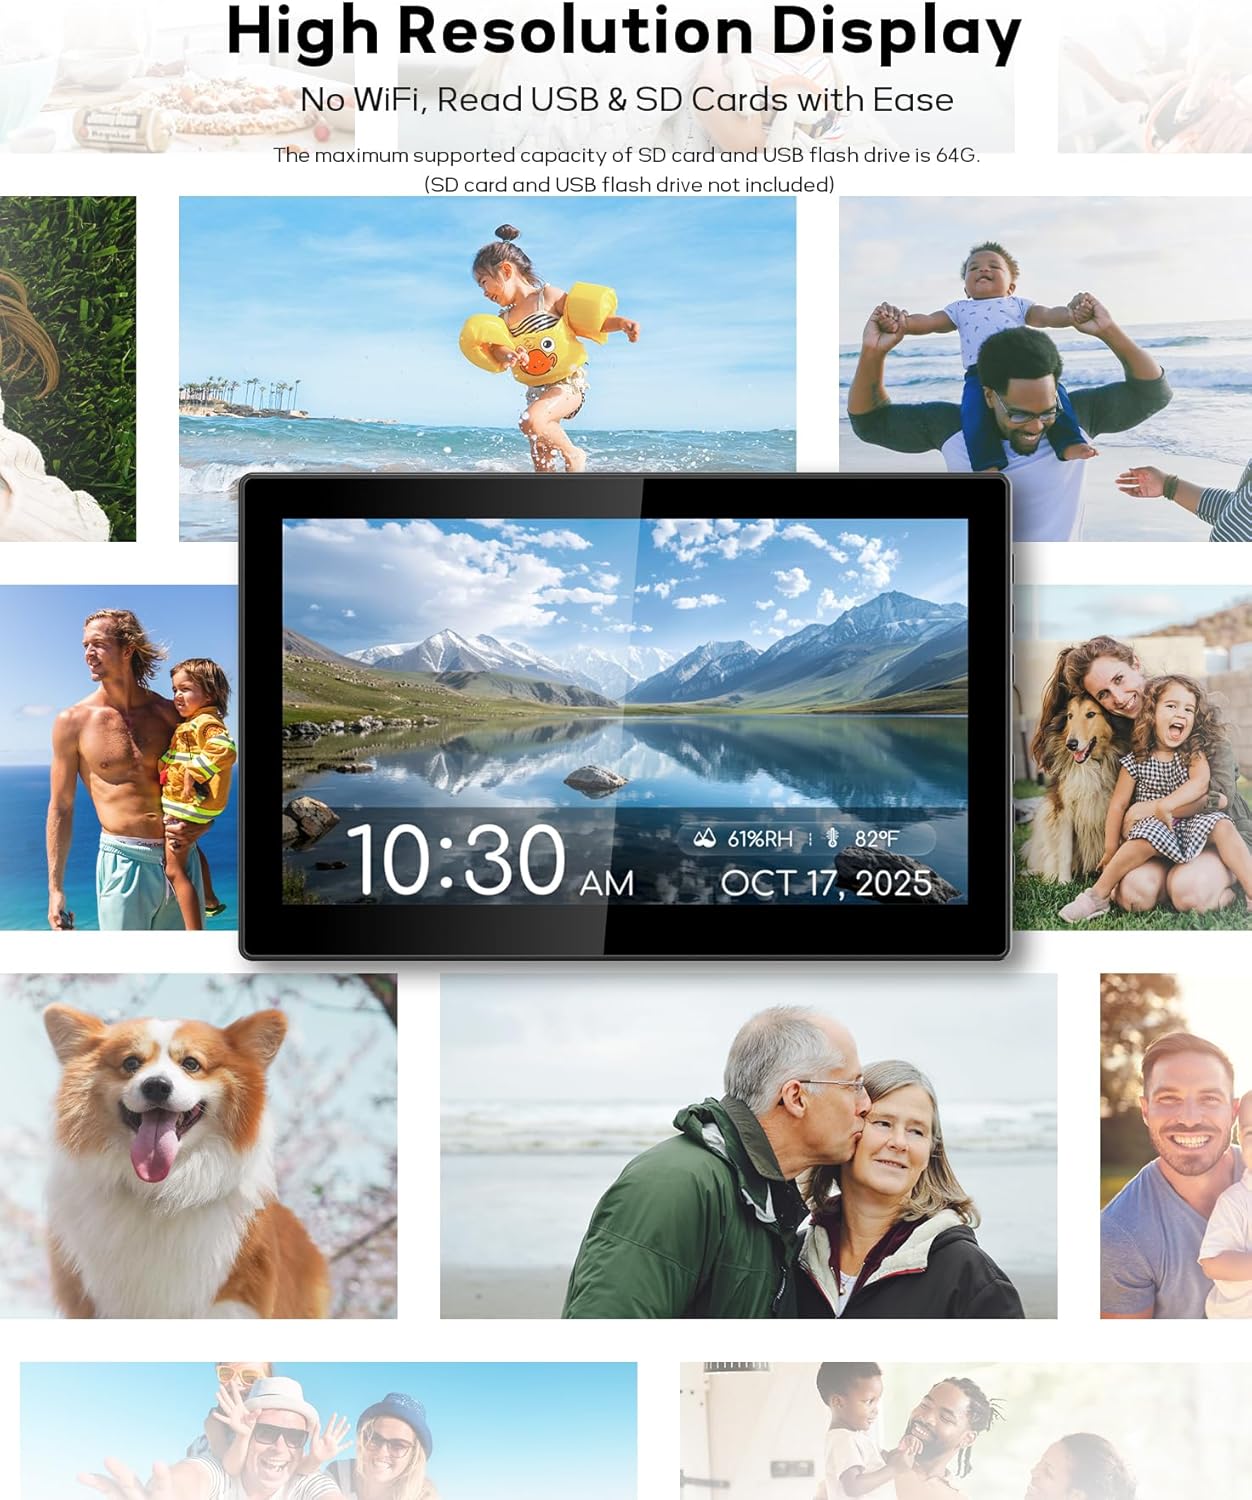
Display your favorite photos and relive precious memories on the screen.
4.6 Language Settings
The clock supports 6 languages: English, German, French, Italian, Spanish, and Japanese.
- Press MENU/EXIT/SETUP.
- Navigate to "Settings" and press OK/ENTER.
- Select "Language" and use the arrow buttons to choose your desired language.
- Press OK/ENTER to confirm.
4.7 Automatic Daylight Saving Time (DST)
The clock features an Auto DST function to automatically adjust for daylight saving time changes. This can be enabled or disabled in the settings menu.
- Press MENU/EXIT/SETUP.
- Navigate to "Settings" and press OK/ENTER.
- Locate the "Daylight Saving Time" option and toggle it On/Off as needed.
- Press OK/ENTER to confirm.
5. Maintenance
- Cleaning: Use a soft, dry cloth to clean the screen and exterior of the clock. Avoid abrasive cleaners or solvents.
- Power Adapter: Ensure the power adapter is kept away from heat and moisture. Do not disassemble or modify the power adapter.
- Battery Replacement: The internal CR2032 batteries are for memory backup only. If the clock consistently loses time or date settings after a power outage, the backup batteries may need replacement. Consult the full user manual for detailed instructions on battery replacement.
6. Troubleshooting
- Clock not turning on: Ensure the AC power adapter is securely connected to both the clock and a working power outlet.
- Remote control not working: Check the remote control batteries. Ensure there are no obstructions between the remote and the clock's sensor.
- Incorrect time/date: Access the "Date & Time" settings via the menu to manually adjust. Ensure Auto DST is correctly configured for your region.
- Display too bright/dim: Adjust brightness settings in the menu or ensure "Auto Dimming" is enabled if preferred.
- Photos not displaying: Ensure the USB flash drive or SD card is correctly inserted and contains compatible image files (JPEG, PNG). Check that the storage device is formatted correctly (FAT32).
7. Specifications
| Feature | Detail |
|---|---|
| Brand | Mesqool |
| Model Number | CR1026 |
| Display Type | IPS Digital Display |
| Screen Size | 10.1 Inches |
| Power Source | Corded Electric (AC Adapter) |
| Backup Batteries | 2 x CR2032 (included) |
| Special Features | Adjustable Volume, Auto Dimmable, Battery Backup, Calendar Display, Temperature & Humidity Display, Digital Picture Frame, Remote Control, Customizable Alarms/Schedules, Auto DST, Multiple Themes & Colors, Multi-language Support |
| Product Dimensions | 14"W x 4"H |
| Mounting Type | Tabletop & Wall Mounted |
| Supported Storage | USB flash drive, SD card (SD, SDHC, SDXC, USB2.0, max 64GB) |
8. Warranty & Support
Mesqool provides a 1-year warranty for this product. If you encounter any manufacturing defects, please contact customer service immediately for a replacement or refund.
For further assistance or inquiries, please refer to the contact information provided in your product packaging or visit the official Mesqool website.