
1. Introduction
This manual provides essential instructions for the safe and efficient operation of your Aoleaby HMI 7 Inch TG765S-MT Touch Screen. Please read this manual thoroughly before installation and use, and retain it for future reference. The TG765S-MT is a 7-inch Human Machine Interface (HMI) designed for industrial automation applications, featuring a TFT LCD with LED backlight, 800x480 resolution, and support for multiple communication protocols.
Key Features:
- 400MHz dominant frequency, 128M memory, 128M storage capacity.
- 7.0-inch, 16 million colors, TFT LCD, LED backlight, 800*480 resolution.
- Two COM ports for independent communications, supporting RS232, RS422, RS485.
- Standard clock functionality.
- Two USB ports (USB-B and USB-A) for fast data transfer and backup.
- Low power consumption, fast operation speed, and stable performance.
- Intuitive touch/key functionality.
2. Safety Information
Always observe the following safety precautions to prevent injury and damage to the device:
- Ensure the power supply voltage matches the device specifications (DC 24V).
- Do not expose the device to extreme temperatures, humidity, or corrosive environments.
- Avoid strong impacts or vibrations.
- Only qualified personnel should perform installation and maintenance.
- Disconnect power before performing any wiring or maintenance.
3. Product Overview
3.1 Model Differences
The Aoleaby HMI series offers several models with varying communication capabilities:
- TG765S-XT: RS232 communication.
- TG765S-MT: RS232/RS422/RS485 communication, USB-B port. (This model)
- TG765S-UT: RS232/RS422/RS485 communication, USB-B port, USB-A port.
- TG765S-ET: RS232/RS422/RS485 communication, USB-B port, USB-A port, Ethernet port.
3.2 Components

Figure 1: Rear View of HMI Unit
This image displays the rear panel of the Aoleaby HMI unit, highlighting the power input terminal and various communication ports (RS232, RS422, RS485, USB-B) for connectivity.
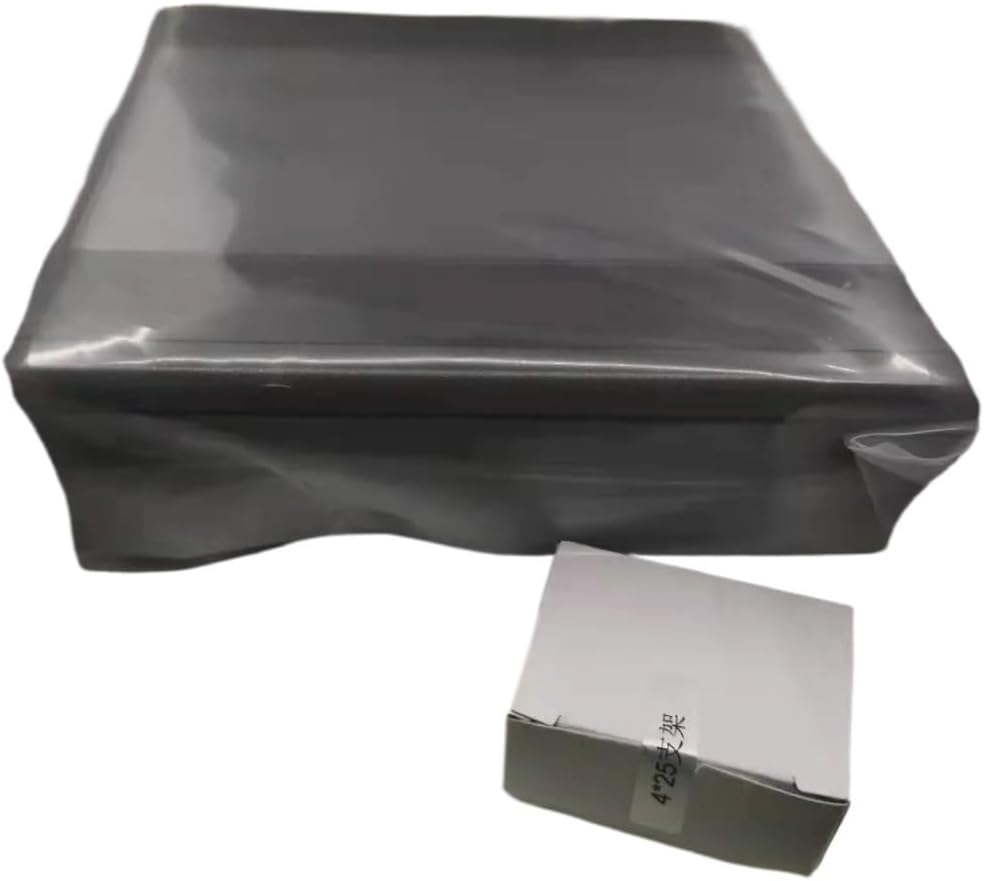
Figure 2: HMI Unit and Accessories
This image shows the Aoleaby HMI unit wrapped in protective packaging, alongside a small box containing mounting screws and fixing accessories required for installation.
4. Setup and Installation
4.1 Unpacking
Carefully unpack the HMI unit and all accessories. Verify that all components listed in the packing list are present and undamaged. Refer to Figure 2 for an example of the unit and accessories.
4.2 Mounting
- Prepare the mounting panel cutout according to the dimensions provided in the specifications section.
- Insert the HMI unit into the cutout from the front.
- Secure the HMI unit using the provided screws and fixing accessories from the rear of the panel. Ensure the unit is firmly seated.
4.3 Wiring
Power Connection:
- Connect a stable DC 24V power supply to the power input terminal on the rear of the HMI (refer to Figure 1).
- Ensure correct polarity.
Communication Connections:
- Connect your industrial devices (e.g., PLCs) to the appropriate COM ports (RS232, RS422, RS485) on the HMI.
- For RS422/RS485, ensure proper termination and wiring configuration as per your system requirements.
- Use the USB-B port to connect the HMI to a computer for programming and data transfer.
5. Operating Instructions
5.1 Powering On/Off
- Power On: Apply DC 24V power to the HMI. The screen will illuminate, and the system will boot up.
- Power Off: Disconnect the DC 24V power supply. Ensure any critical operations are completed before powering off.
5.2 Basic Navigation
The HMI features a touch-sensitive screen for user interaction. Navigate through menus and control industrial processes by touching the corresponding elements displayed on the screen. Specific navigation details will depend on the application program loaded onto the HMI.
5.3 Data Transfer and Backup
- Use the USB-B port to connect the HMI to a computer for program downloads and data uploads.
- The USB-A port can be used for connecting USB storage devices for data backup and restoration.
6. Maintenance
- Cleaning: Use a soft, dry cloth to clean the screen and casing. Do not use abrasive cleaners or solvents.
- Firmware Updates: Periodically check the manufacturer's website for firmware updates to ensure optimal performance and security.
- Environmental Checks: Regularly inspect the installation environment to ensure it remains within the specified operating conditions (temperature, humidity).
- Connection Checks: Verify that all power and communication cables are securely connected and free from damage.
7. Troubleshooting
| Problem | Possible Cause | Solution |
|---|---|---|
| HMI does not power on. | No power supply, incorrect voltage, or faulty wiring. | Check power connections, ensure DC 24V supply, verify polarity. |
| Screen is blank or unresponsive. | Software issue, display cable problem, or touch panel malfunction. | Restart the HMI. If problem persists, contact technical support. |
| Communication error with PLC. | Incorrect wiring, wrong communication settings, or incompatible protocol. | Verify wiring (RS232/422/485), check communication parameters in HMI software, ensure protocol compatibility. |
| Touch screen calibration issues. | Calibration settings are incorrect. | Access the HMI system settings to recalibrate the touch screen. |
8. Specifications
| Feature | Description |
|---|---|
| Model | TG765S-MT |
| Display Size | 7.0 inches |
| Resolution | 800 x 480 pixels |
| Color Depth | 16 million colors |
| Display Type | TFT LCD with LED backlight |
| Processor Frequency | 400MHz |
| Memory | 128MB |
| Storage Capacity | 128MB |
| Communication Ports | 2 x COM ports (RS232/RS422/RS485), 1 x USB-B, 1 x USB-A |
| Power Supply | DC 24V |
| Item Weight | 6.61 pounds |
| Package Dimensions | 1.18 x 0.79 x 0.39 inches |
9. Warranty and Support
For warranty information and technical support, please refer to the documentation provided with your purchase or visit the official Aoleaby website. Keep your purchase receipt as proof of purchase for warranty claims.
Manufacturer: Aoleaby
Contact: Refer to the official Aoleaby website for contact details and support resources.