Introduction
This manual provides detailed instructions for the safe and efficient installation, operation, and maintenance of your Ledvion 1M Single-Phase Track Light Rail. Please read this manual thoroughly before installation and keep it for future reference.
The Ledvion 100 cm single-phase track light rail is designed to provide a modern and flexible lighting solution. Constructed from high-quality aluminum, this white track rail is ideal for various indoor environments, allowing for customizable lighting arrangements.
Important Safety Instructions
- Always disconnect power at the circuit breaker before installation, maintenance, or bulb replacement.
- Installation should be performed by a qualified electrician or in accordance with local electrical codes.
- Do not exceed the maximum wattage or current rating specified for the track system.
- Ensure all connections are secure and properly insulated.
- This product is designed for indoor use only.
- Keep packaging materials away from children.
Package Contents
Verify that all components are present before beginning installation:
- 1x Ledvion 1M Single-Phase Track Light Rail (White)
- Mounting hardware (screws, anchors)
- Instruction Manual

Image: The product packaging for the Ledvion 1M Single-Phase Track Light Rail.
Setup and Installation
The Ledvion track light rail is designed for easy installation. Follow these steps carefully:
- Preparation:
- Turn off the main power supply at the circuit breaker before starting any electrical work.
- Identify the desired mounting location on the ceiling or wall. Ensure the surface is suitable to support the weight of the track and attached fixtures.
- Mounting the Track:
- Hold the track rail against the mounting surface and mark the positions for the mounting screws.
- Drill pilot holes at the marked locations. Insert wall anchors if necessary.
- Secure the track rail to the surface using the provided screws. Ensure it is firmly attached and level.
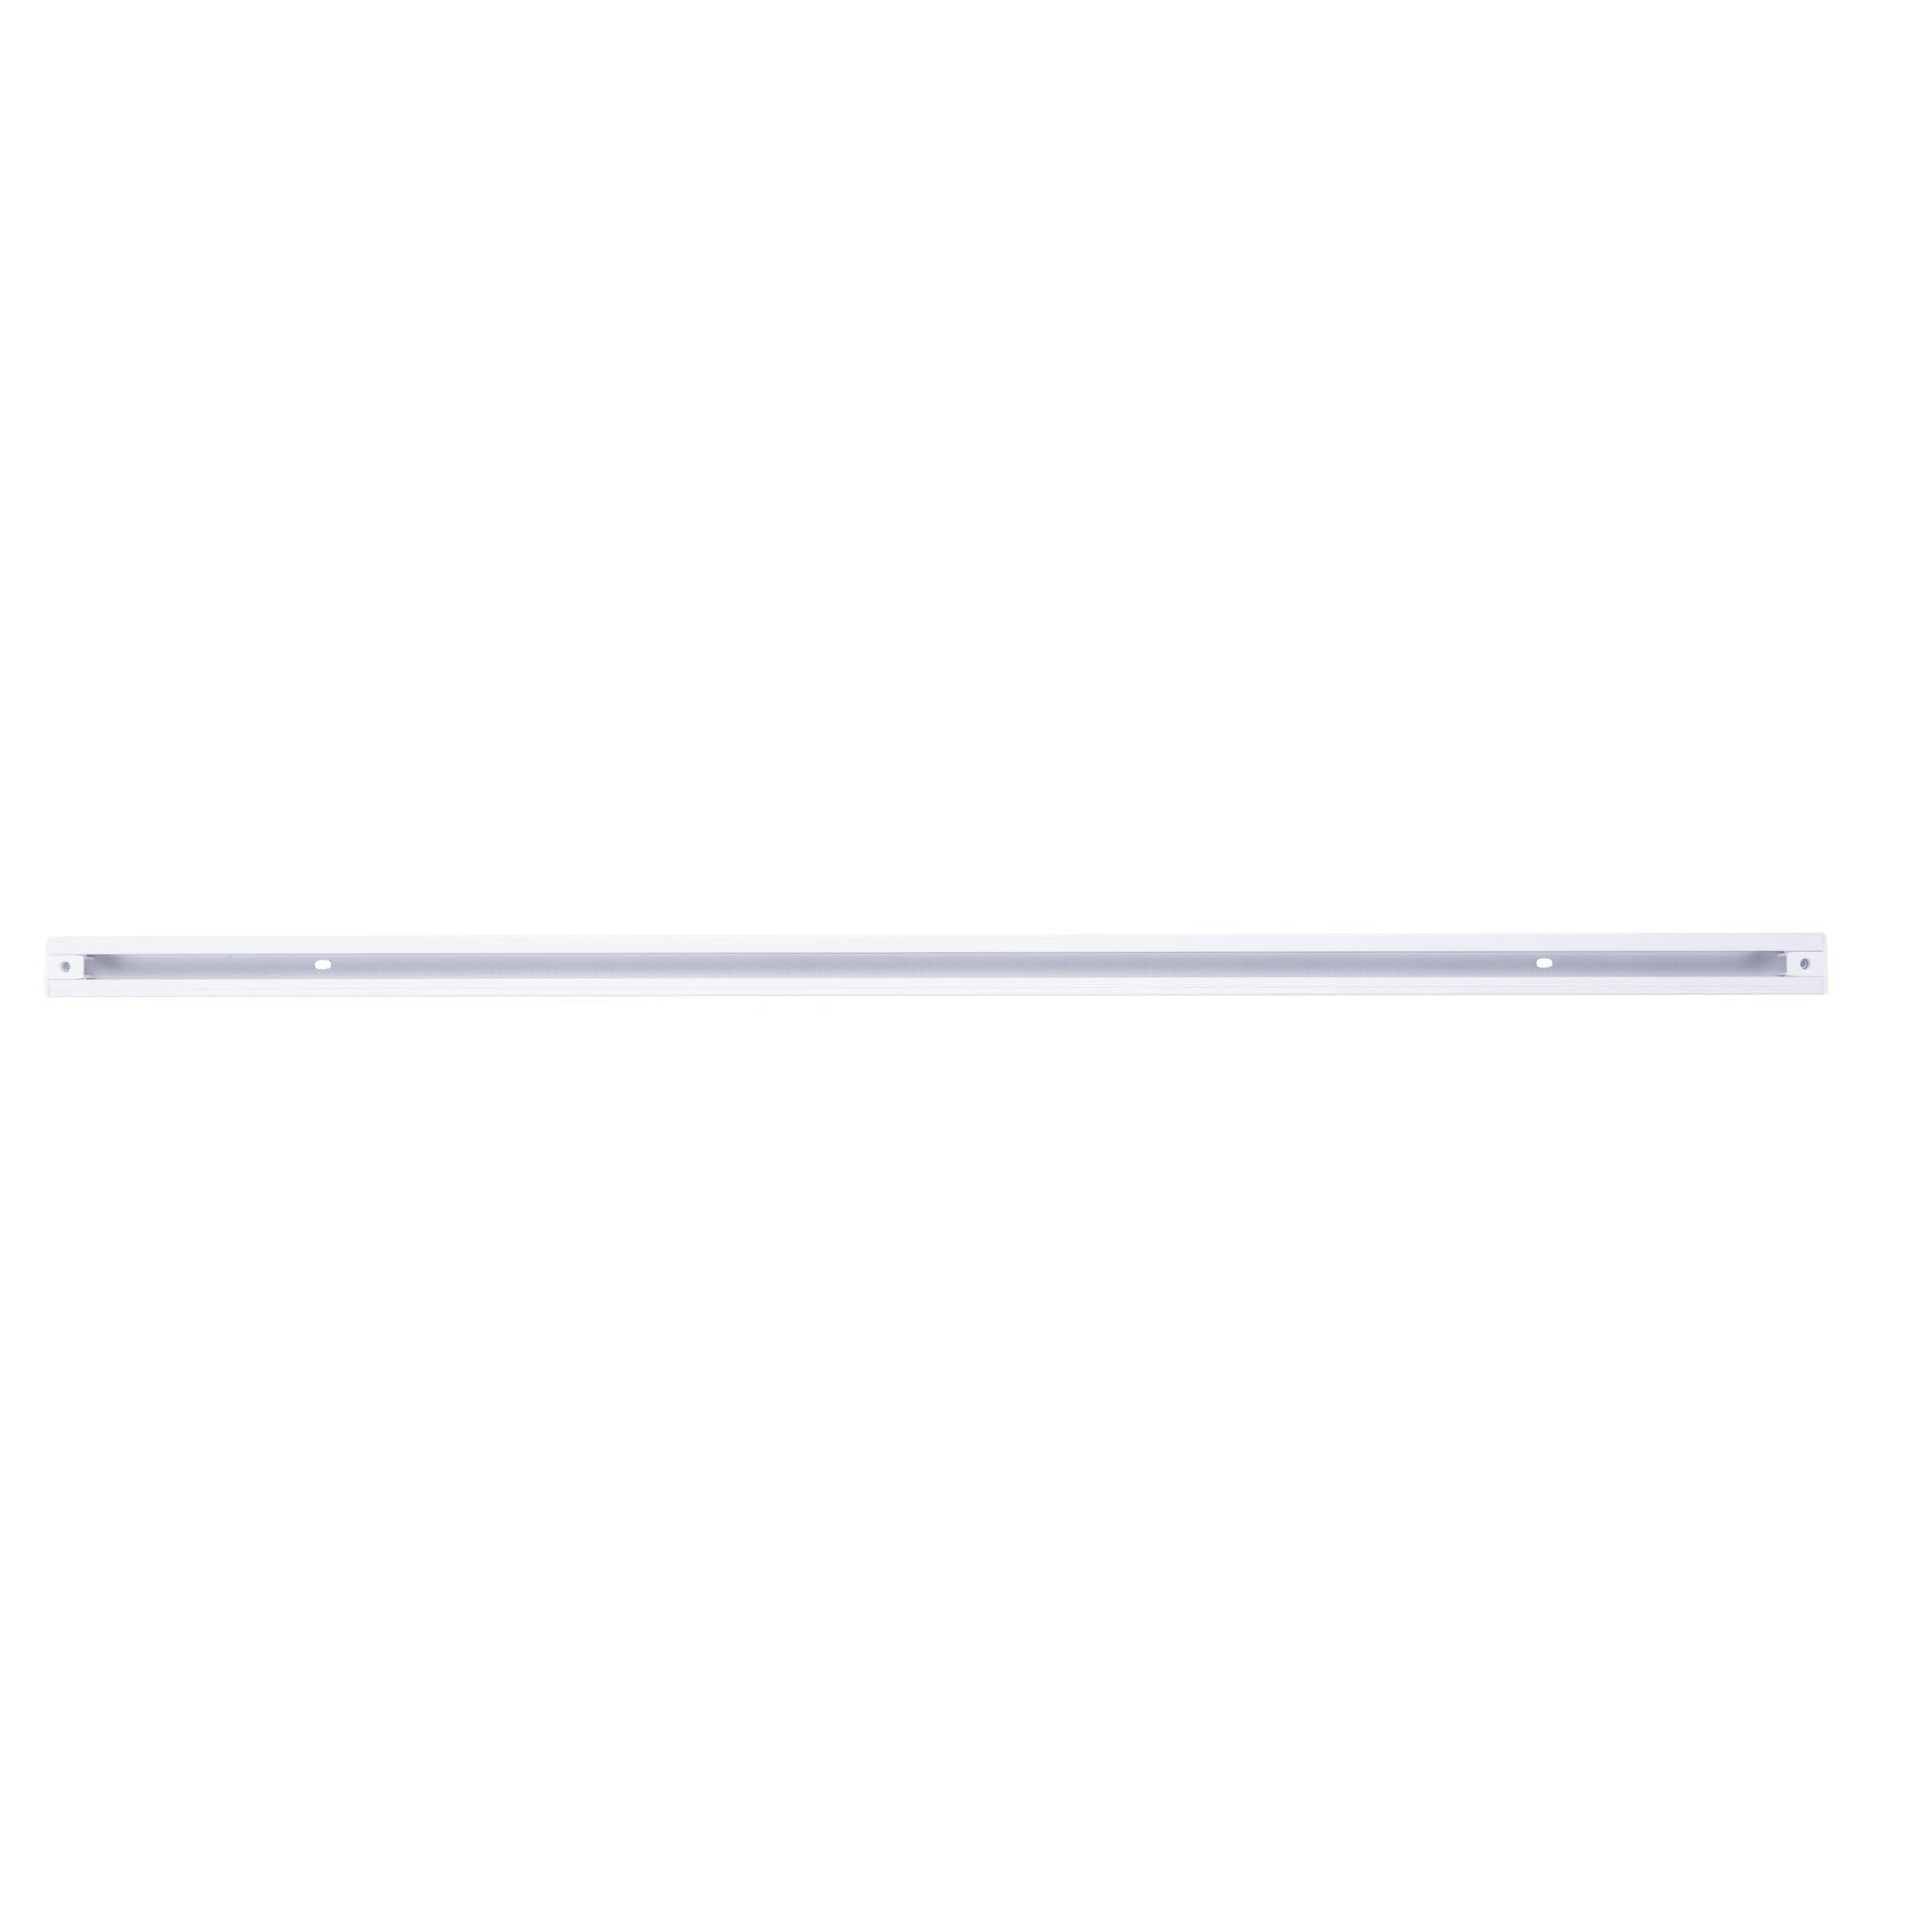
Image: Top view of the Ledvion 1M Single-Phase Track Light Rail, showing mounting points.
- Electrical Connection:
- Connect the electrical wires from your power source to the track rail's terminal block. Follow the wiring diagram provided with your specific track connector (not included with rail). Typically, this involves connecting live, neutral, and ground wires.
- Ensure all connections are tight and secure.
- Attaching Track Spots (Sold Separately):
- Insert your desired GU10 track spots into the track rail. Most track spots have a locking mechanism; ensure they are securely twisted or clicked into place.
- Position the track spots as needed along the rail to achieve your desired lighting effect.

Image: Side view of the Ledvion 1M Single-Phase Track Light Rail, illustrating the track channel for spot insertion.
- Final Check:
- Double-check all connections and mounting security.
- Restore power at the circuit breaker.
- Test the lighting system.
Operating Instructions
The Ledvion 1M Single-Phase Track Light Rail provides flexible lighting control once installed.
- Power On/Off: Control the track lighting system using the wall switch connected to the circuit.
- Adjusting Spot Position: Track spots can be easily moved along the rail to direct light where needed. Simply slide them to the desired position.
- Directional Lighting: Most GU10 track spots allow for individual adjustment of their direction, enabling precise illumination of specific areas or objects.
- Dimming Functionality: If you are using dimmable GU10 LED bulbs and an external dimmer switch compatible with LED lighting, you can adjust the light intensity to create the desired ambiance. Ensure your bulbs and dimmer are compatible.
- Bulb Replacement: This track rail is compatible with GU10 LED bulbs. To replace a bulb, ensure the power is off, then carefully twist and remove the old bulb from the track spot. Insert the new GU10 bulb by aligning the pins and twisting it into place.
Maintenance
Regular maintenance ensures the longevity and optimal performance of your Ledvion track light rail.
- Cleaning:
- Before cleaning, always turn off the power supply to the track system.
- Wipe the track rail and track spots with a soft, dry, or slightly damp cloth.
- Do not use abrasive cleaners, solvents, or polishes, as these can damage the finish.
- Inspection:
- Periodically check for any loose connections or signs of wear and tear on the wiring or track.
- Ensure track spots are securely seated in the track.
- Bulb Replacement: Replace GU10 bulbs as needed. Always ensure the power is off before replacing bulbs.
Troubleshooting
If you encounter issues with your Ledvion track light rail, refer to the following common problems and solutions:
| Problem | Possible Cause | Solution |
|---|---|---|
| Lights do not turn on. |
|
|
| Lights flicker or dim inconsistently. |
|
|
| Track spot does not move smoothly. |
|
|
If the problem persists after trying these solutions, consult a qualified electrician.
Product Specifications
| Brand | Ledvion |
| Model Number | LVT10008 |
| Product Dimensions (L x W x H) | 103 x 5 x 3 cm |
| Weight | 510 grams |
| Material | Aluminum |
| Color | White |
| Voltage | 230 Volts |
| Plug Type | Electrical (Wired) |
| Installation Type | Wall Mount (or Ceiling Mount) |
| Bulb Type Compatibility | LED (GU10 base) |
| Batteries Required | No |
| Country of Origin | China |
Warranty Information
Specific warranty details for the Ledvion 1M Single-Phase Track Light Rail are typically provided at the point of purchase or on the manufacturer's official website. Please retain your proof of purchase for any warranty claims.
Generally, Ledvion products are covered against manufacturing defects for a specified period. Damage resulting from improper installation, misuse, or unauthorized modifications is not covered under warranty.
Customer Support
For technical assistance, troubleshooting beyond this manual, or warranty inquiries, please contact Ledvion customer support through their official website or the retailer from whom you purchased the product.
When contacting support, please have your product model number (LVT10008) and proof of purchase readily available.


