
Oraimo OPB-P5201
Oraimo Traveler Link 20 Power Bank User Manual
Model: OPB-P5201 | Brand: Oraimo
Introduction
Thank you for choosing the Oraimo Traveler Link 20 Power Bank. This device is designed to provide reliable portable power for your electronic devices. With a high capacity of 20000mAh and multiple built-in charging cables, it offers convenient and efficient charging on the go. Please read this manual carefully to ensure proper use and optimal performance.
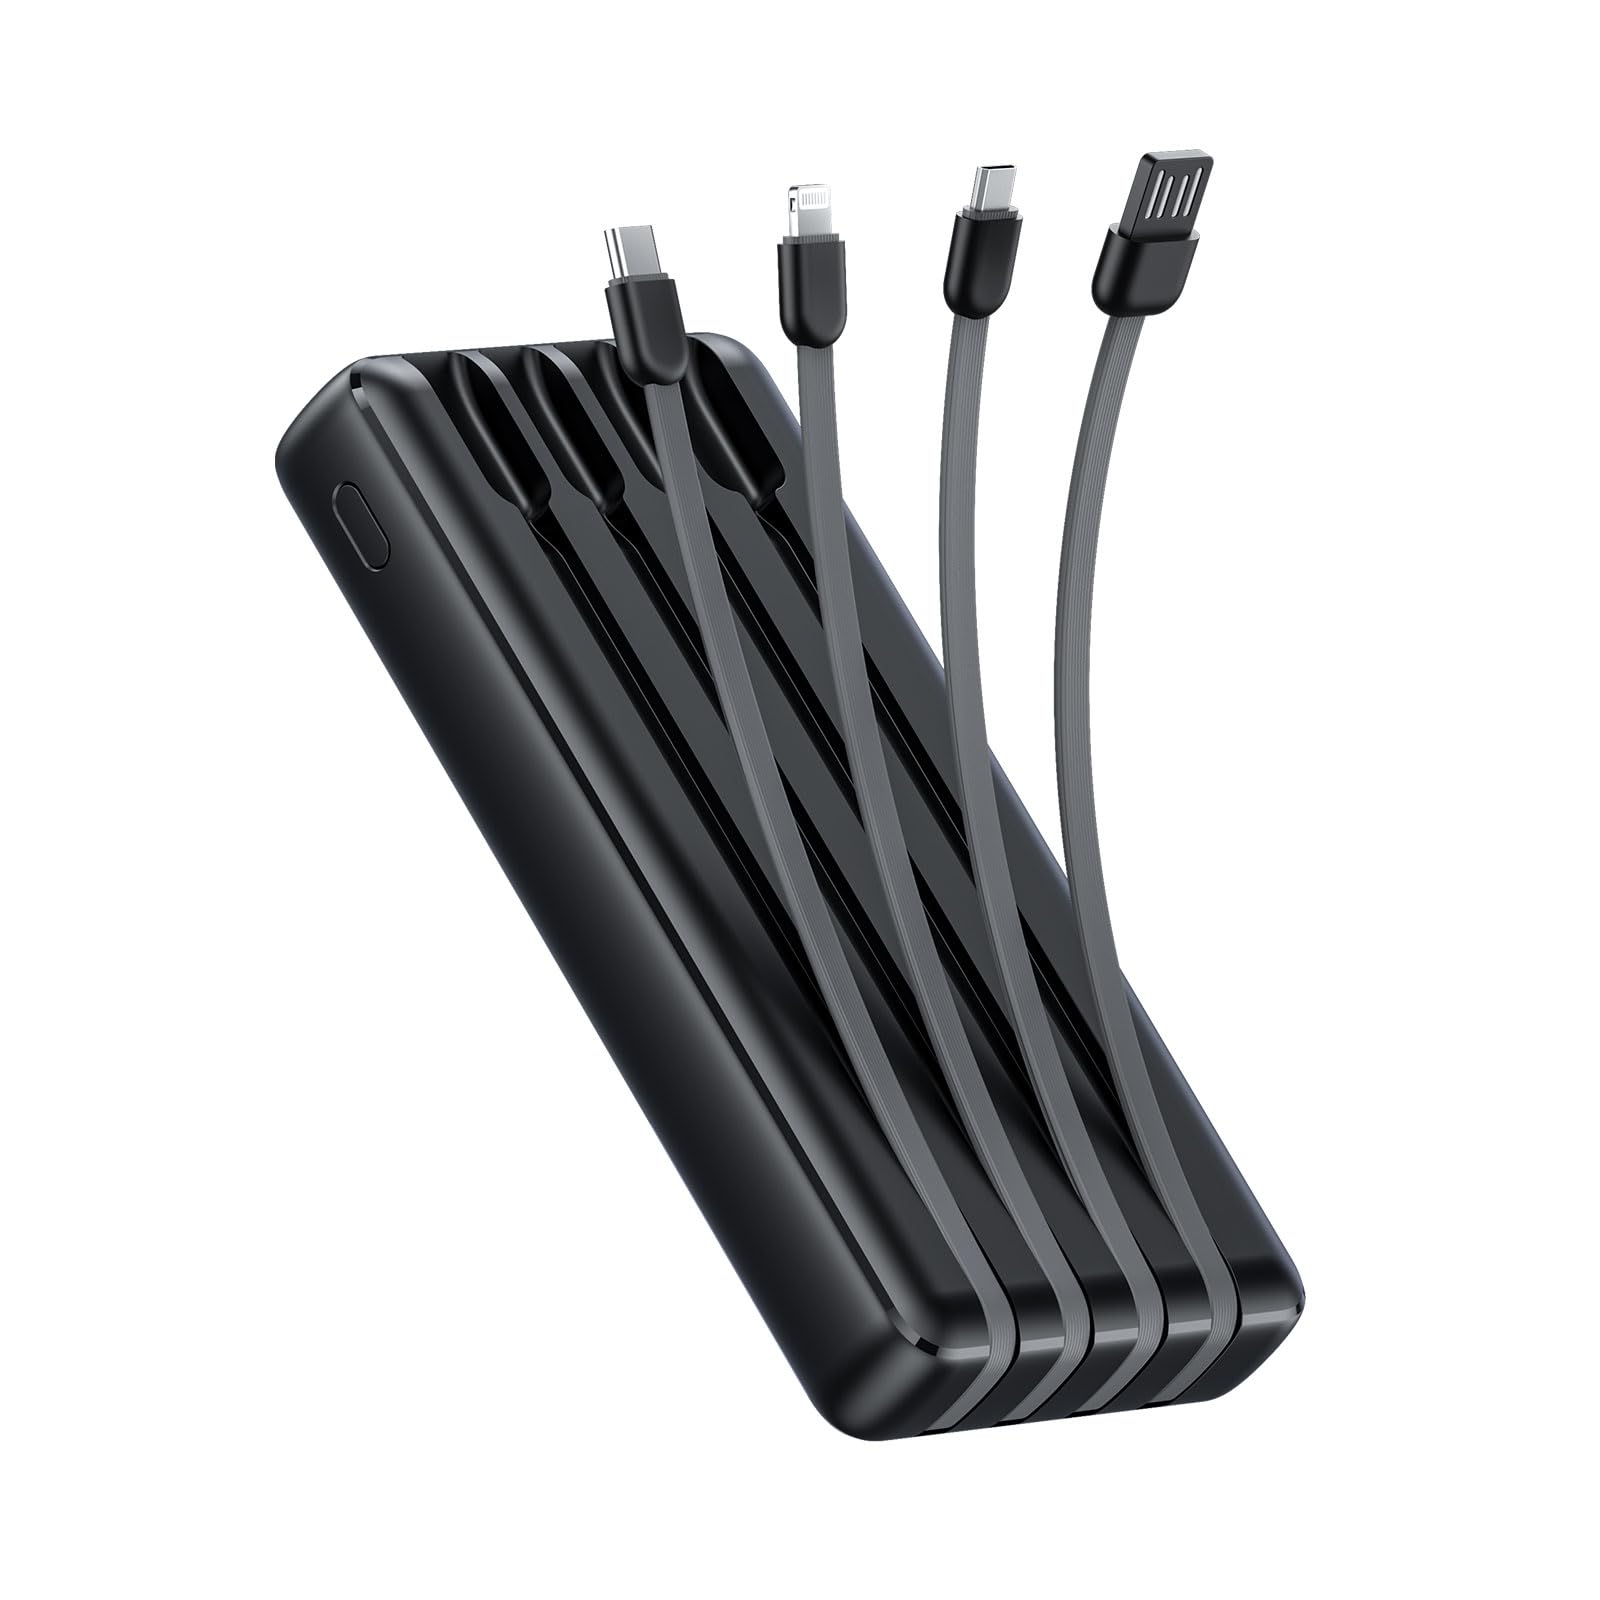
Image: The Oraimo Traveler Link 20 Power Bank, showcasing its compact design and integrated cables.
Setup
Initial Charging
Before first use, fully charge your Oraimo Traveler Link 20 Power Bank. This ensures the battery is calibrated and ready for optimal performance.
- Connect the power bank to a power source using one of the built-in recharging cables (USB-A, Type-C, or Micro-USB) or an external USB-A to Type-C/Micro-USB cable.
- The LED indicators on the power bank will illuminate to show the charging status.
- Once all LED indicators are solid, the power bank is fully charged. Disconnect it from the power source.
Identifying Components
Familiarize yourself with the power bank's features:
- Built-in Charging Cables: Includes Type-C, Micro-USB, and Lightning cables for charging various devices.
- Built-in Recharging Cable: A USB-A cable is integrated for convenient recharging of the power bank itself.
- USB-A Output Port: An additional USB-A port for charging devices using your own cable.
- LED Indicators: Display the remaining battery level and charging status.
- Power Button: Activates the power bank and controls the LED flashlight.
- LED Flashlight: Integrated light for emergency use.
Operating Instructions
Charging Your Devices
The Traveler Link 20 allows you to charge up to four devices simultaneously using its built-in cables and USB-A output port.
- Select the appropriate built-in cable (Type-C, Micro-USB, or Lightning) for your device.
- Connect the cable to your device's charging port.
- Alternatively, use your own USB charging cable with the dedicated USB-A output port.
- The power bank will automatically begin charging your device(s). The LED indicators will show the power bank's remaining charge.

Image: Close-up view of the Oraimo Traveler Link 20 showing its integrated Type-C, Micro-USB, and Lightning charging cables.

Image: The power bank simultaneously charging a smartphone, a smartwatch, and a portable toothbrush, demonstrating its multi-output capability.

Image: The Oraimo Traveler Link 20 demonstrating wide compatibility with various devices including iOS smartphones, Android smartphones, and accessories like earbuds.

Image: An illustration highlighting the 20000mAh capacity of the Oraimo Traveler Link 20, capable of fully charging a phone multiple times.
Recharging the Power Bank
The power bank can be recharged using its built-in USB-A cable or via its Type-C or Micro-USB input ports.
- Using Built-in USB-A Cable: Plug the integrated USB-A cable into a USB wall adapter, computer USB port, or other USB power source.
- Using Type-C or Micro-USB Input: Connect a compatible cable (not included for these inputs) to the respective port on the power bank and then to a power source.
- The LED indicators will flash during charging and remain solid when fully charged.

Image: The power bank being recharged via its built-in USB-A cable connected to a power strip, and also showing an alternative recharge method using a Type-C cable and wall adapter.
LED Flashlight Function
The power bank includes a built-in LED flashlight with an SOS light alarm function for emergencies.
- To turn on/off the flashlight: Long press the power button for approximately 3 seconds.
- To activate SOS mode: While the flashlight is on, short press the power button to cycle through modes (steady light, SOS flashing).

Image: The Oraimo Traveler Link 20 with its LED flashlight illuminated, demonstrating its emergency lighting capability.
Low Current Charging Mode
The power bank automatically detects and switches to low current charging mode for small devices like wireless earbuds or smartwatches, preventing damage from overcurrent.
- Simply connect your low-current device. The power bank will intelligently adjust the output.
Maintenance
To ensure the longevity and safe operation of your Oraimo Traveler Link 20 Power Bank, follow these maintenance guidelines:
- Storage: Store the power bank in a cool, dry place away from direct sunlight and extreme temperatures.
- Cleaning: Use a soft, dry cloth to clean the exterior of the power bank. Do not use liquid cleaners or abrasive materials.
- Avoid Physical Damage: Do not drop, puncture, or disassemble the power bank. Avoid exposing it to water or high humidity.
- Regular Charging: If not used for extended periods, charge the power bank at least once every three months to maintain battery health.
Troubleshooting
If you encounter issues with your power bank, refer to the following common problems and solutions:
| Problem | Possible Cause | Solution |
|---|---|---|
| Power bank not charging devices. | Low battery; incorrect cable connection; device incompatibility. | Ensure power bank is charged. Check cable connections. Verify device compatibility. |
| Power bank not recharging. | Faulty charging cable/adapter; power source issue. | Try a different charging cable and wall adapter. Ensure the power source is active. |
| Slow charging. | Using a non-fast charging adapter; multiple devices connected; cable quality. | Use a compatible fast-charging adapter. Disconnect other devices. Use high-quality cables. |
| LED flashlight not working. | Incorrect operation; low battery. | Long press the power button for 3 seconds. Recharge the power bank. |
The Oraimo Traveler Link 20 features a multi-protection system (over-current, short-circuit, over-discharge, high/low-temperature charging/discharge, overcharge, output overvoltage) to protect itself and your devices. If the power bank stops functioning, it might be due to one of these protection mechanisms activating. Disconnect all devices and cables, then try again after a few minutes.

Image: Diagram illustrating the multi-protection system of the Oraimo Traveler Link 20, highlighting various safety features.
Product Specifications
| Feature | Detail |
|---|---|
| Model Name | Traveler Link 20 |
| Model Number | OPB-P5201 |
| Brand | Oraimo |
| Battery Capacity | 20000mAh (Lithium Ion) |
| Output Power | Up to 12W (5V/2.4A Max) |
| Input Voltage | 5V |
| Connector Type | USB Type-C, USB Type-A, Micro USB (built-in cables: Type-C, Micro-USB, Lightning; built-in recharging cable: USB-A) |
| Special Features | 4 Built-in Charging & Recharging Cables, Charge up to 4 devices simultaneously, Multi-protection System, LED Flashlight with SOS, Low Current Protection |
| Dimensions | 20.5 x 3 x 11 cm |
| Weight | 200 grams |
| Color | Black |
Warranty and Support
Oraimo products are manufactured to the highest quality standards. This product is covered by a limited warranty from the date of purchase. Please refer to the warranty card included in your product packaging for specific terms and conditions.
For technical support, troubleshooting assistance, or warranty claims, please contact Oraimo customer service through their official website or the contact information provided in your product documentation. Keep your proof of purchase for warranty validation.
Related documentsOPB-P5201

Ask a question about this manual
Ask about setup, troubleshooting, compatibility, parts, safety, or missing instructions. Manuals+ will review the question and use this page’s manual context to help answer it.