1. Important Safety Information
Please read this manual thoroughly before operating your appliance and retain it for future reference. This manual contains important information regarding the safe installation, use, and maintenance of the dishwasher.
- Ensure the appliance is properly earthed before use.
- Do not operate the dishwasher if the power cord or plug is damaged.
- Keep children away from the appliance during operation and when the door is open.
- Only use detergents and rinse aids specifically designed for dishwashers.
- Do not open the door during operation, especially during the washing cycle, as hot water may spray out.
- Always disconnect the appliance from the power supply before cleaning or maintenance.
- This appliance is intended for residential use only.
2. Product Overview
The electriQ XL Mini Table Top Dishwasher is a compact yet spacious appliance designed for small kitchens, holiday homes, or small households. It offers a generous 8 place setting capacity and can be placed on a countertop or integrated.

Image: Front view of the electriQ XL Mini Table Top Dishwasher, showcasing its compact design and control panel.
Key Features:
- 8 Place Setting Capacity: Accommodates up to 88 pieces, ideal for smaller loads.
- Countertop Design: Perfect for limited spaces, can be freestanding or integrated.
- Quick Wash Cycle: Cleans lightly soiled dishes in just 30 minutes.
- Auto Open Function: Door automatically opens at the end of the cycle for enhanced drying performance and energy saving.
- Delay Timer: Allows setting a wash cycle to start up to 24 hours later.
- Versatile Water Connection: Can operate with or without a direct water line connection thanks to its built-in tank.
Included Components:
- User Manual
- Drain Hose
- Inlet Hose
- Cutlery Basket

Image: Interior view of the dishwasher, showing the upper and lower racks, and the cutlery basket area.
3. Setup and Installation
3.1 Placement:
The dishwasher is designed for countertop placement. Ensure the surface is stable, level, and capable of supporting the weight of the appliance when full. Allow adequate space around the unit for ventilation and hose connections.
3.2 Water Connections:
This dishwasher offers flexible water supply options:
- Direct Water Line Connection: Connect the inlet hose to a cold water tap with a 3/4-inch thread. Ensure the connection is secure to prevent leaks.
- Built-in Water Tank: For areas without a direct water supply, the dishwasher can be filled manually. Refer to the control panel indicators for water level.
Connect the drain hose to a suitable drain point, ensuring it is not kinked or blocked. The drain hose should be positioned to allow proper drainage.

Image: Side view illustrating the connection points for the inlet and drain hoses.
3.3 Electrical Connection:
Plug the dishwasher into a grounded mains electricity supply (220 Volts). Ensure the socket is easily accessible and not overloaded.
4. Operating Instructions
4.1 Loading the Dishwasher:
Scrape off large food particles from dishes before loading. Place larger items in the lower rack and smaller, more delicate items like glasses and cups in the upper rack. Ensure items do not block the spray arms.

Image: The dishwasher interior demonstrating proper loading of various dishware, including larger items and delicate glasses.
4.2 Adding Detergent and Rinse Aid:
Open the detergent dispenser and add the recommended amount of dishwasher detergent. Fill the rinse aid dispenser as needed; the indicator light will signal when it's low.
4.3 Program Selection:
Select the desired wash program using the control panel. Available programs include:
- Rapid Cycle: For lightly soiled loads, completes in 30 minutes.
- 90-Minute Cycle: For a full wash, rinse, and dry cycle.
- Intensive Cycle: Designed for heavily soiled dishes with tough, baked-on food.
- Glass Cycle: Gentle cleaning for delicate glassware.
- ECO Cycle: Energy-efficient and environmentally friendly option.
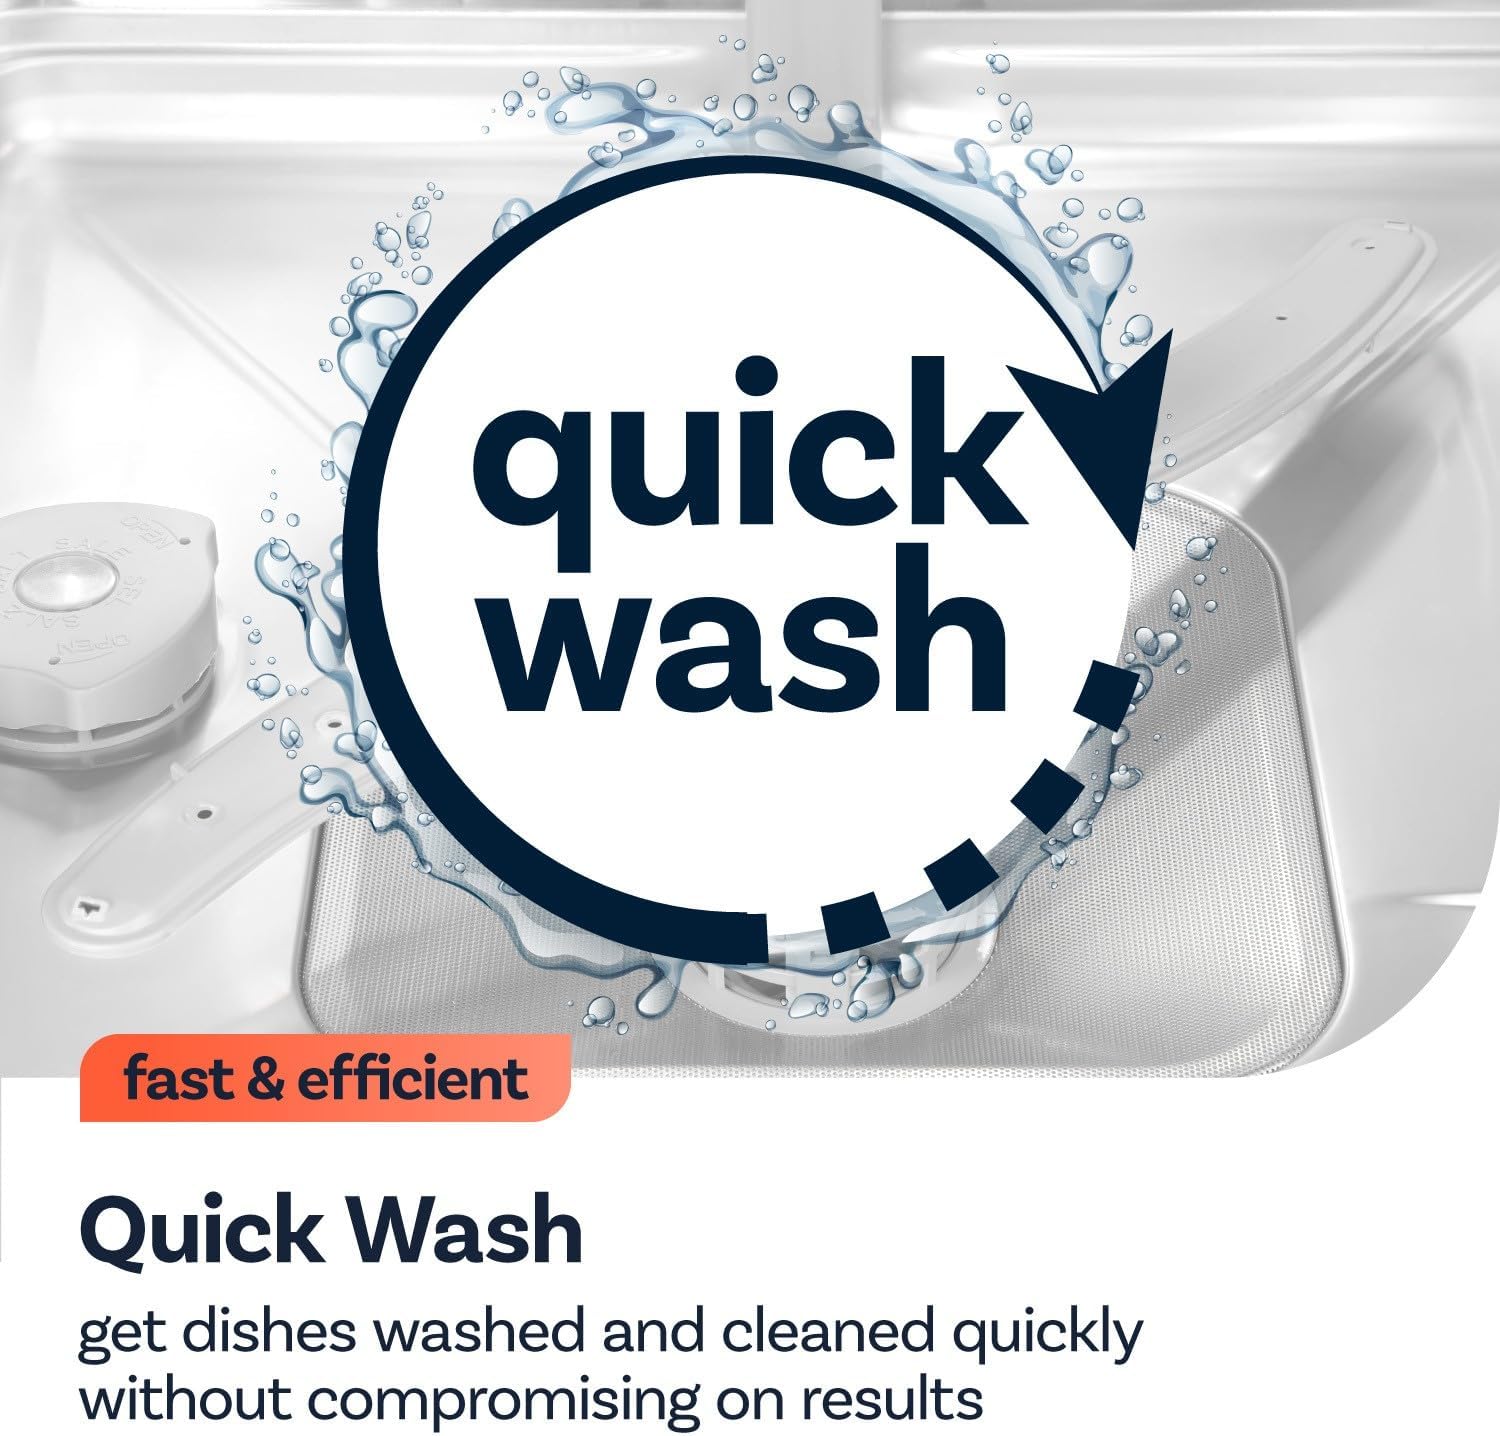
Image: Visual representation of the Quick Wash feature, highlighting its speed and efficiency.
4.4 Auto Open Function:
Activate the Auto Open function when selecting your program. The dishwasher door will automatically open at the end of the cycle to allow steam to escape, facilitating natural drying and improving drying performance.

Image: Diagram showing air circulation for improved drying with the Auto Open function.
4.5 Delay Timer:
Use the delay timer to postpone the start of a wash cycle for 1 to 24 hours. This feature is useful for running the dishwasher during off-peak energy hours.
5. Maintenance and Care
5.1 Cleaning the Filters:
Regularly clean the filter system located at the bottom of the dishwasher tub to ensure optimal cleaning performance and prevent blockages. Remove the filter assembly, rinse it under running water, and brush away any food debris. Reassemble correctly.
5.2 Self-Cleaning Feature:
The dishwasher includes a self-cleaning feature. Refer to the control panel or specific program settings for activating this cycle, which helps maintain the internal cleanliness of the appliance.
5.3 Exterior and Interior Cleaning:
Wipe the exterior of the dishwasher with a soft, damp cloth. For the interior, periodically wipe down the walls and door seal with a mild detergent solution to prevent odor buildup and maintain hygiene.
6. Troubleshooting
Before contacting customer support, please refer to the following common issues and their potential solutions:
| Problem | Possible Cause / Solution |
|---|---|
| Dishwasher does not start | Check if the power cord is securely plugged in. Ensure the door is fully closed and latched. Check the circuit breaker. |
| Dishes are not clean | Ensure dishes are loaded correctly and not blocking spray arms. Check detergent dispenser. Clean filters. Select a more intensive wash program if needed. |
| Water not draining | Check if the drain hose is kinked or blocked. Clean the filter system. |
| Excessive noise | Ensure dishes are not rattling against each other or the spray arms. Check for foreign objects in the pump area. |
| Leaks from the door | Check the door seal for damage or debris. Ensure the dishwasher is level. |
7. Specifications
| Feature | Detail |
|---|---|
| Brand | Electriq |
| Model Number | EQDWTTXL (Part Number: WQP8-3802N) |
| Installation Type | Countertop |
| Product Dimensions (H x W x D) | 59.5 x 55 x 50 cm |
| Capacity | 8 Place Settings (6.5 litres water capacity) |
| Voltage | 220 Volts |
| Energy Consumption | 0.58 Kilowatts (Annual: 1620 Watts) |
| Noise Level | 49 dB |
| Controls Type | Push Button |
| Colour | White |
| Special Features | Portable, Electric, Compact, Auto Open Door Drying, Delay Timer |

Image: UK Energy Label for the dishwasher, indicating its energy efficiency class D, water consumption, and noise level.
For detailed product information, refer to the official product information sheet: electriQ Product Information Sheet
8. Warranty and Support
For warranty information, please refer to the documentation provided at the time of purchase or contact your retailer. Electriq products typically come with a manufacturer's warranty covering defects in materials and workmanship.
For technical support, spare parts, or service inquiries, please contact Electriq customer service. Contact details can usually be found on the manufacturer's website or your purchase receipt.
It is recommended to register your product with Electriq to facilitate warranty claims and receive important product updates.


