
Introduction
Thank you for choosing the Protmex 12V Cordless Car Polisher. This manual provides essential information for the safe and efficient operation, maintenance, and troubleshooting of your new tool. Please read it thoroughly before first use and keep it for future reference.
This orbital polisher is designed for various applications including car cleaning, polishing, waxing, and scratch removal on surfaces such as automotive coatings, furniture, ceramics, wood, and metals.
Safety Instructions
Always follow basic safety precautions to reduce the risk of fire, electric shock, and personal injury.
- Read all instructions before operating the tool.
- Wear appropriate personal protective equipment, including eye protection and gloves.
- Ensure the work area is well-lit and free from obstructions.
- Keep children and bystanders away while operating the polisher.
- Do not operate power tools in explosive atmospheres, such as in the presence of flammable liquids, gases, or dust.
- Always remove the battery pack before making any adjustments, changing accessories, or storing the tool.
- Use only battery packs and chargers specified by the manufacturer.
- Do not expose the tool or battery pack to rain or wet conditions.
- The polisher is equipped with a quick-stop switch for immediate shutdown; familiarize yourself with its location and function.
Package Contents
Verify that all items are present upon unpacking:
- 1 x Protmex 12V Cordless Car Polisher
- 2 x 12V 1.5Ah Batteries
- 1 x Fast Charger
- 2 x Foam Pads
- 2 x Wavy Foam Pads
- 2 x Wool Discs
- 2 x Dust Covers
- 4 x Sandpaper Sheets
- 1 x Removable Auxiliary Handle
Product Overview
The Protmex 12V Cordless Car Polisher is designed for efficient and convenient surface treatment. Key features include:
- Pure Copper Motor: Ensures stable and durable operation with thermal protection.
- Eccentric Orbital Action: Helps distribute wax evenly and prevents over-polishing or paint damage.
- Cordless Design: Lightweight (approximately 1.5 kg) for enhanced mobility and ease of use.
- 8 Adjustable Speeds: Ranging from 2800 RPM to 5500 RPM for versatile application.
- Quick-Stop Switch: For immediate tool shutdown, improving user safety.
- Low Noise & Vibration: High-efficiency motor designed for quiet and smooth operation.
- Removable Auxiliary Handle: Enhances comfort and reduces fatigue during extended use.
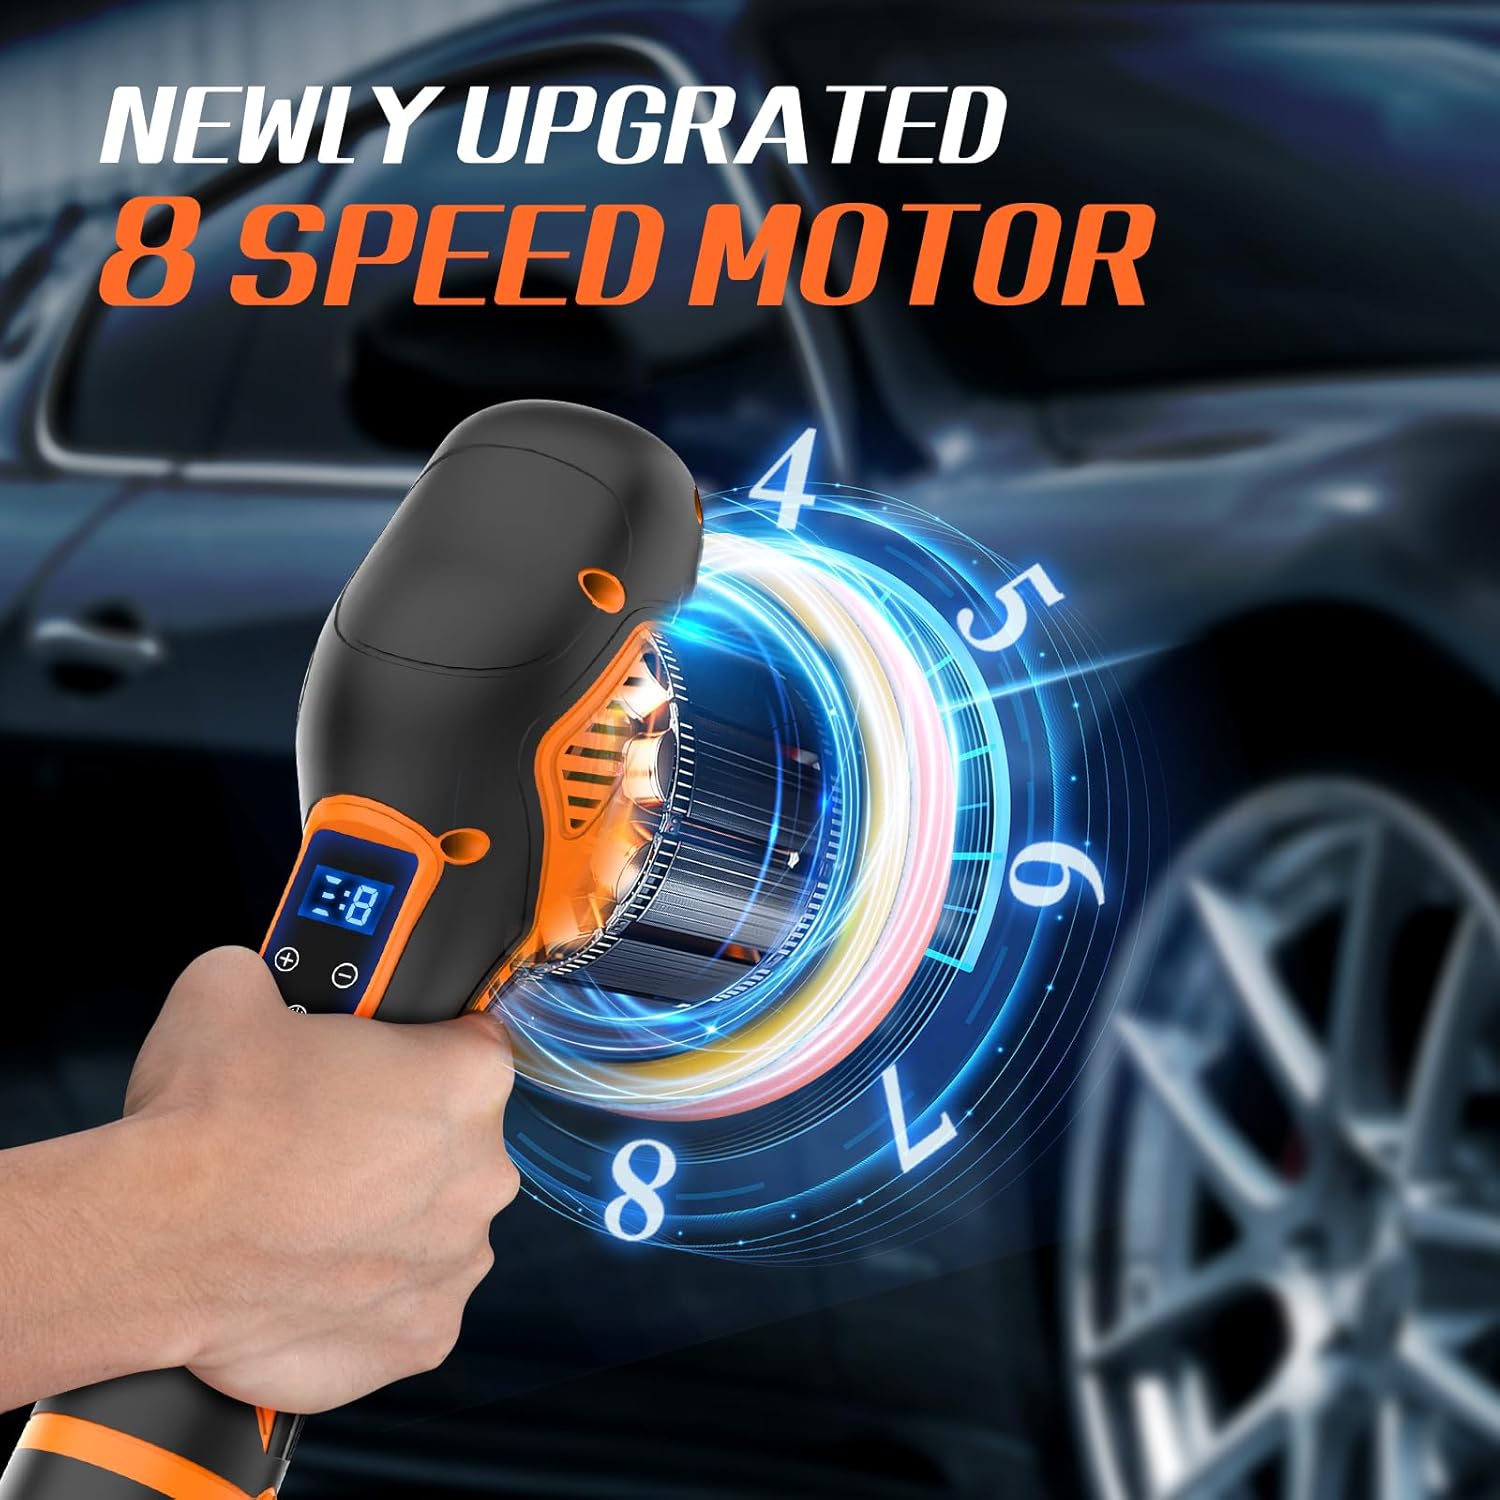
Image: The Protmex polisher highlighting its 8-speed motor and digital display.

Image: Diagram illustrating the eccentric orbital polishing action compared to a straight center polishing machine, emphasizing even wax distribution.
Setup
1. Battery Charging
- Insert the 12V 1.5Ah battery into the fast charger.
- Connect the charger to a standard power outlet.
- Allow approximately 2 hours for a full charge. The charger indicator will show when charging is complete.
- The kit includes two batteries, allowing for continuous operation by swapping a depleted battery with a fully charged one.

Image: Illustration of the 12V battery being charged with the fast charger, indicating a 2-hour charging time.
2. Attaching Pads and Accessories
- Ensure the polisher is turned off and the battery is removed before attaching or changing pads.
- Select the appropriate pad (foam, wavy foam, or wool disc) for your task.
- Align the pad with the backing plate of the polisher and press firmly to secure it via the hook-and-loop fastening system.
- For sanding, attach a sandpaper sheet to the backing plate.
- Attach the removable auxiliary handle to the designated slot on the polisher for improved grip and control.
Operating Instructions
1. Powering On/Off
- Insert a charged battery into the polisher until it clicks into place.
- To turn on, press the power button. The digital display will illuminate.
- To turn off, press the power button again. For immediate stop, use the quick-stop switch.
2. Adjusting Speed
- The polisher has 8 adjustable speed settings, from 2800 RPM to 5500 RPM.
- Use the speed adjustment buttons (+/-) on the control panel to select the desired speed.
- Lower speeds (1-3) are suitable for waxing and delicate polishing.
- Medium speeds (4-6) are ideal for general polishing and swirl removal.
- Higher speeds (7-8) are for more aggressive compounding or sanding tasks.
3. Polishing and Waxing Techniques
- Apply a small amount of polish or wax directly to the pad or the surface.
- Place the polisher flat on the surface before turning it on to prevent splatter.
- Move the polisher in a consistent, overlapping pattern (e.g., cross-hatch or circular motions) with light to moderate pressure.
- Avoid applying excessive pressure, as the eccentric orbital action is designed to work effectively with minimal force.
- Work on small sections at a time (e.g., 2x2 feet) to ensure even coverage and optimal results.
- Monitor the battery level on the digital display and swap batteries as needed.

Image: A user demonstrating the lightweight and portable nature of the polisher while working on a car's hood.
Maintenance
1. Cleaning
- Always disconnect the battery before cleaning.
- Wipe the polisher body with a soft, damp cloth. Do not use harsh chemicals or abrasive cleaners.
- Clean pads thoroughly after each use. Foam and wool pads can be washed with mild soap and water, then air-dried completely before storage.
- Ensure the ventilation openings are clear of dust and debris. The polisher features a heat dissipation design to prevent overheating.
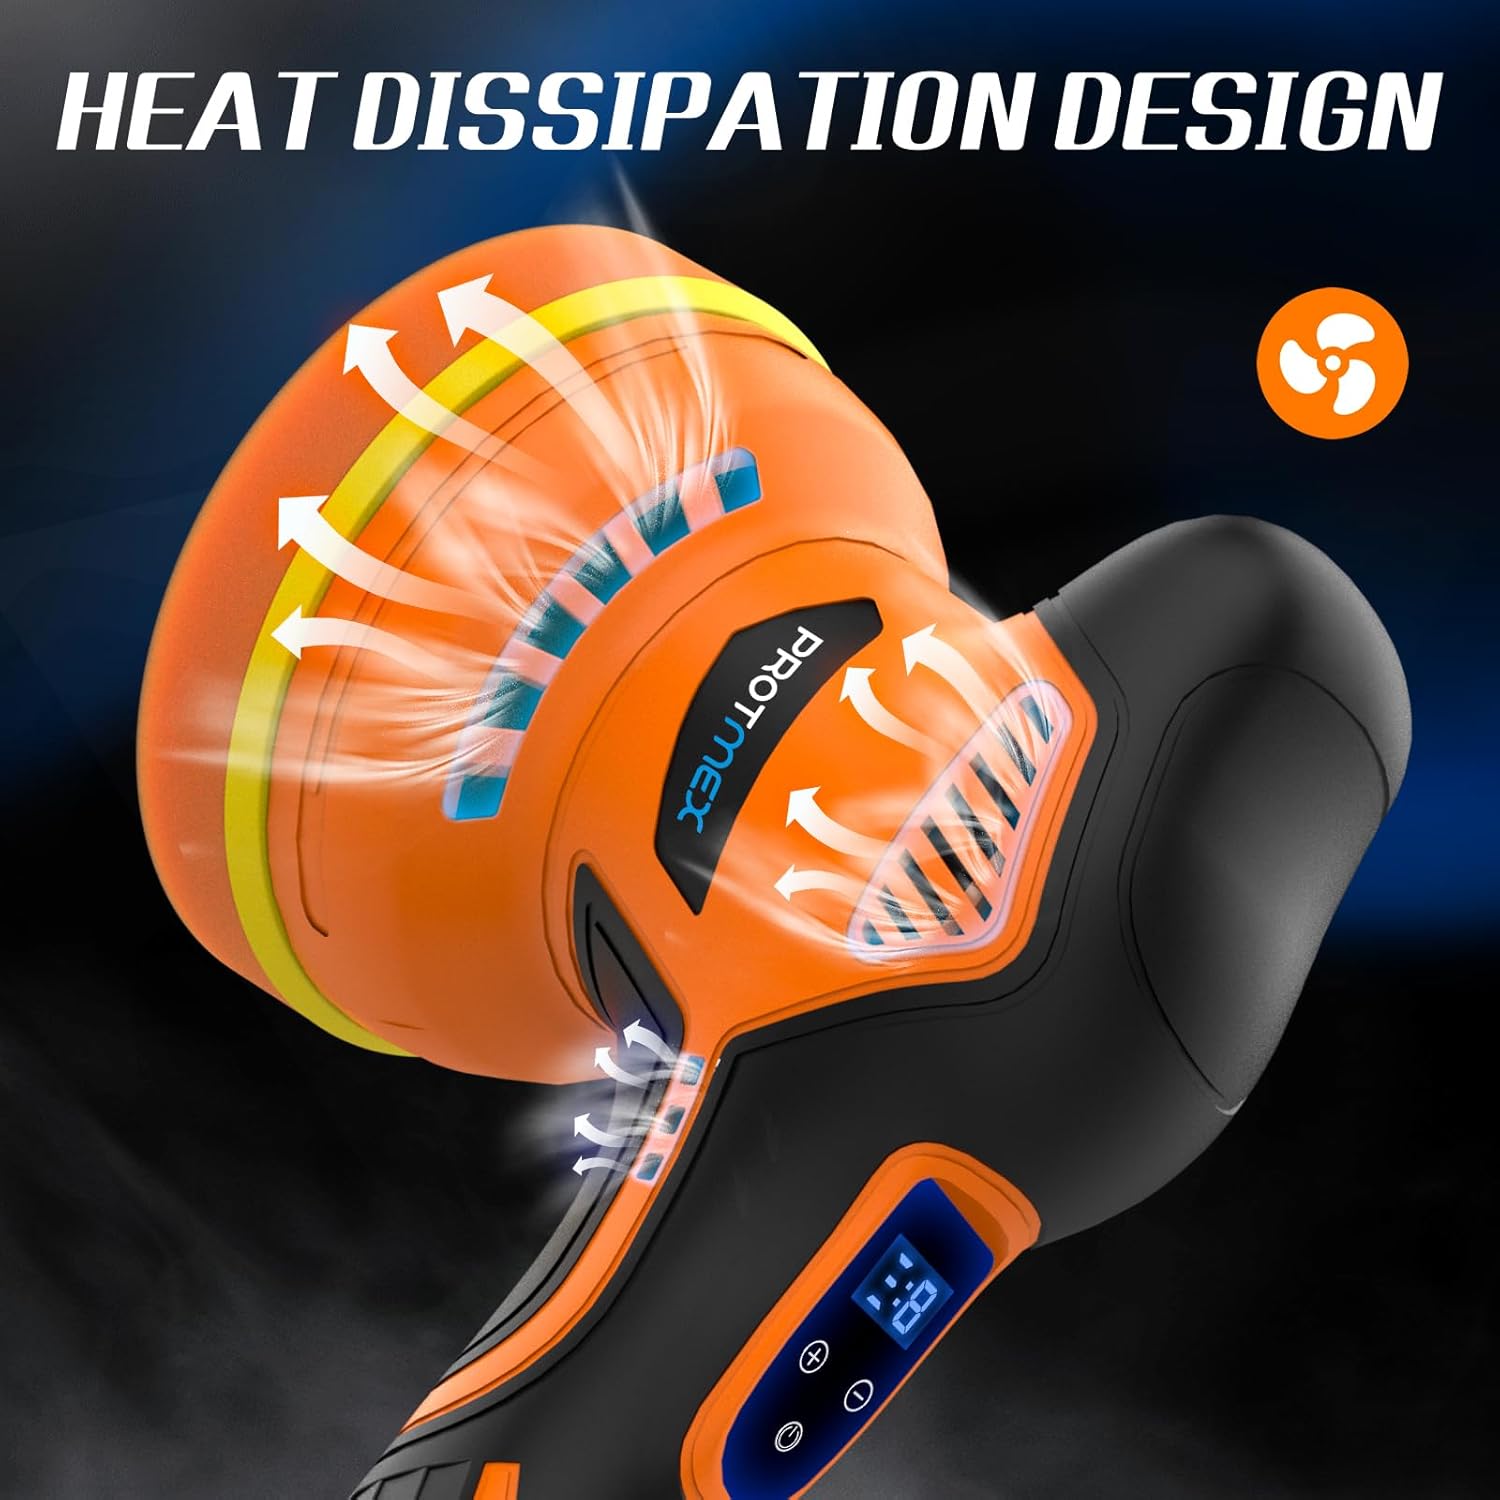
Image: Diagram showing the heat dissipation design of the polisher, with arrows indicating airflow for cooling.
2. Storage
- Store the polisher and accessories in a clean, dry place, away from direct sunlight and extreme temperatures.
- Remove the battery from the polisher before long-term storage.
- Store batteries in a cool, dry place, partially charged (around 50%) for optimal longevity.
Troubleshooting
| Problem | Possible Cause | Solution |
|---|---|---|
| Polisher does not turn on. | Battery not charged or improperly inserted. | Ensure battery is fully charged and correctly inserted. |
| Reduced power or short runtime. | Battery charge is low. | Recharge the battery. Use the second battery for continuous work. |
| Excessive vibration or noise. | Pad improperly attached or damaged; debris in mechanism. | Check pad attachment. Replace damaged pads. Clean ventilation openings. |
| Inconsistent speed. | Accidental touch of speed adjustment buttons. | Be mindful of finger placement during operation. Re-adjust speed as needed. |
| Poor polishing results. | Incorrect pad/product combination; insufficient cleaning; excessive pressure. | Ensure correct pad for task. Clean surface thoroughly. Use light, even pressure. |
Specifications
| Brand | Protmex |
| Model Number | 12V Car Polisher |
| Power Source | Battery Powered |
| Voltage | 12 Volts |
| Battery Capacity | 1.5Ah (x2 included) |
| Charging Time | Approx. 2 hours |
| No-Load Speed | 2800 - 5500 RPM (8 speeds) |
| Material | Acrylonitrile Butadiene Styrene (ABS) |
| Color | Orange |
| Item Weight | Approx. 2 lbs (0.9 kg) |
| Usage | Automotive, Furniture, Ceramics, Wood, Metal |
Warranty and Support
Protmex offers a 12-month quality warranty for this product. In case of any dissatisfaction or issues, the product will be replaced free of charge.
For technical assistance, troubleshooting, or warranty claims, please contact Protmex customer service. Our team is available for 24/7 online support to ensure your peace of mind.
Please refer to the contact information provided with your purchase or visit the official Protmex website for support details.