
1. Introduction
The Breeze Bay Universal Ceiling Fan Remote Control Kit is designed to provide convenient control over your ceiling fan's light and speed settings. This kit is compatible with a wide range of AC motor ceiling fans, including models from Hunter, Hampton Bay, and Harbor Breeze, offering 3-speed fan control and light dimming capabilities for incandescent bulbs.
2. Package Contents
Verify that all components are present before beginning installation:
- Remote Control (1)
- Receiver (1)
- Wall Mount Holder (1)
- User Guide (1)
- Wire Nuts (6)
- Screws (2)
Note: A 3V battery for the remote control is not included.
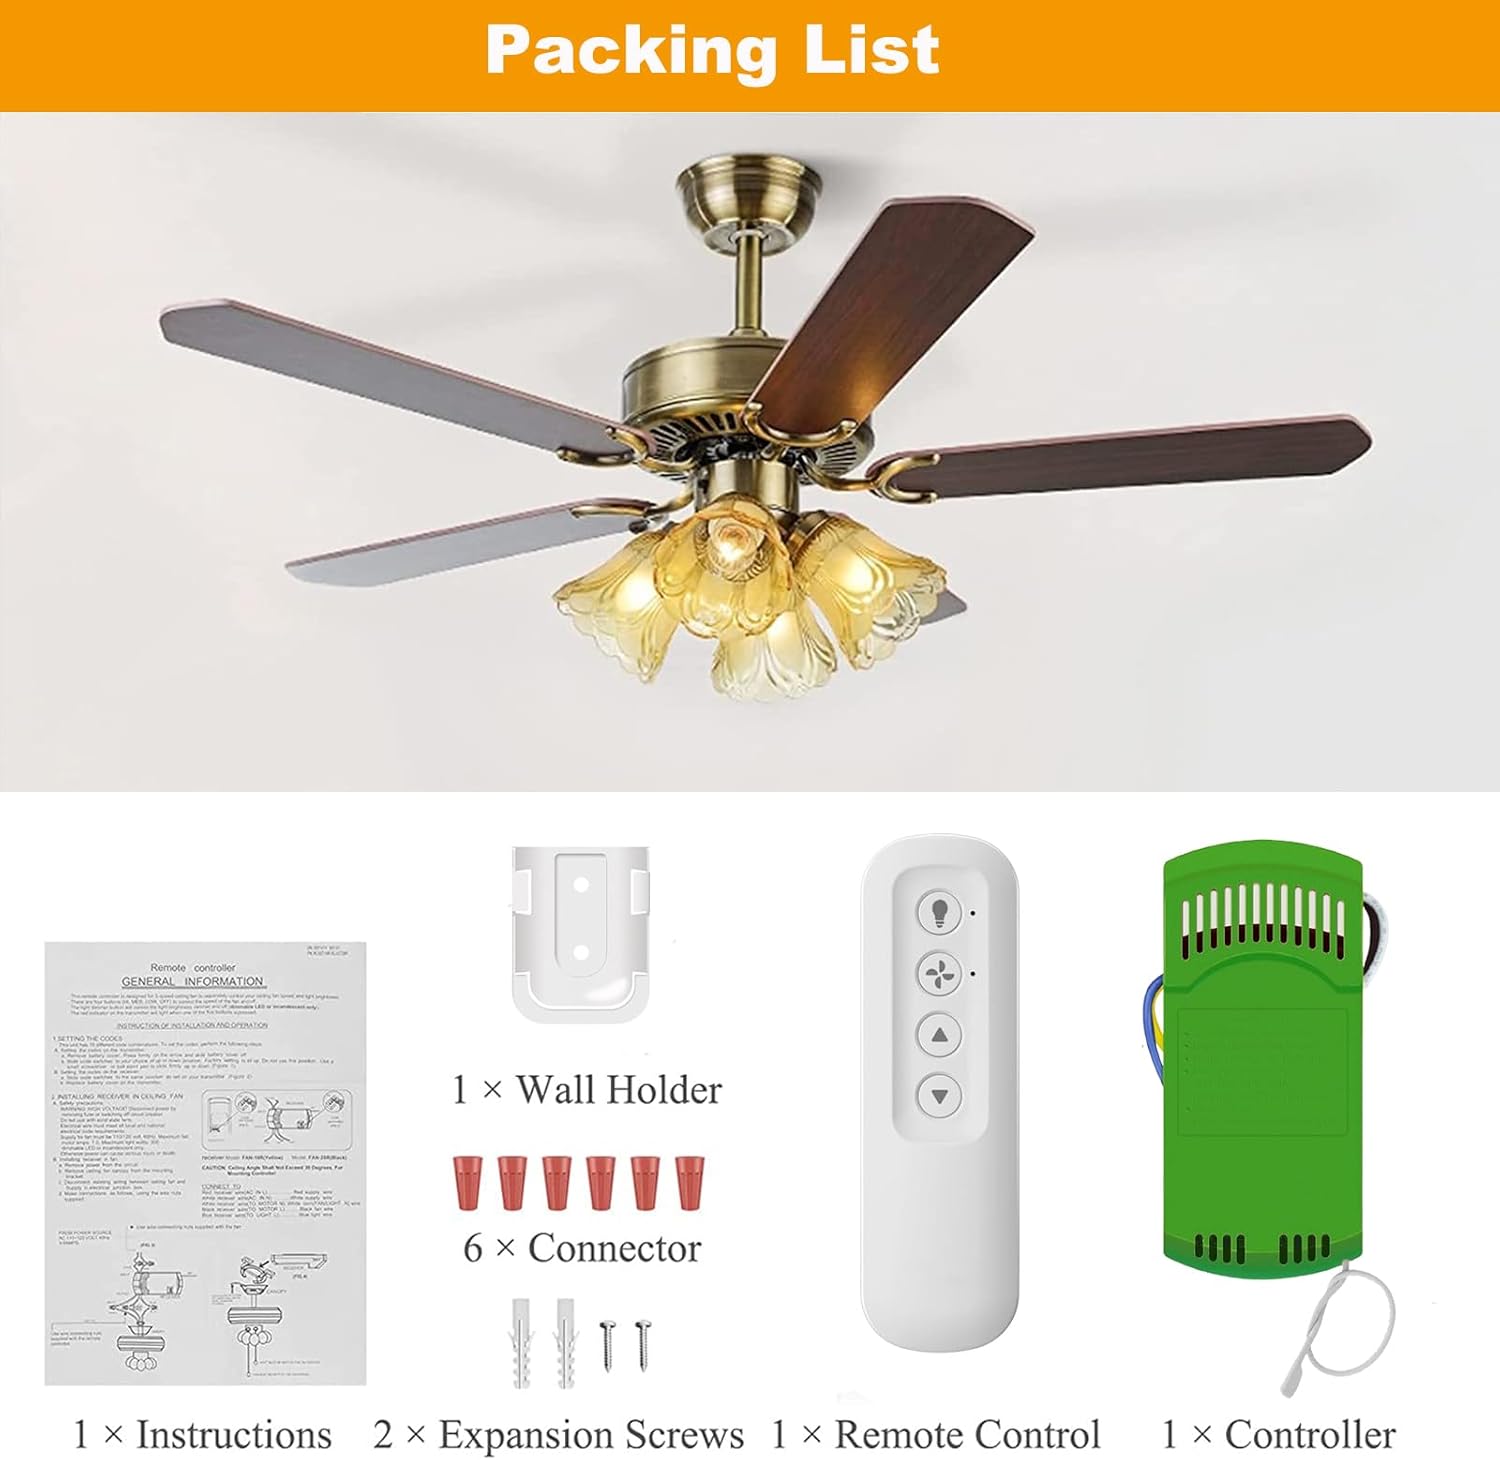
Image: Visual representation of the items included in the package: one remote control, one receiver, one wall mount holder, six wire nuts, and two screws.
3. Safety Precautions
- WARNING: HIGH VOLTAGE! Always disconnect power by removing the fuse or switching off the circuit breaker before installation or maintenance.
- Do not use this kit with solid-state fans.
- All electrical wiring must meet local and national electrical code requirements.
- The power supply for the fan must be 110/120 volts, 60Hz.
- Maximum fan motor amperage: 1.0A.
- Maximum light wattage: 300W for dimmable LED or incandescent bulbs only.
- Failure to follow these instructions may result in serious injury or death.

Image: A visual reminder of critical safety precautions and a simplified wiring diagram for the receiver installation.
4. Setup and Installation
4.1 Pre-Installation Steps
- Before using the wireless remote control, ensure your original fan's pull chains are set to turn the fan to maximum speed and the fan light is turned on.
- Turn off power to the ceiling fan at the circuit breaker before proceeding with any wiring.
4.2 Wiring the Receiver
Follow these steps to install the receiver into your ceiling fan:
- Remove the fan canopy to access the wiring.
- Disconnect and remove any existing receiver from the fan.
- Identify the three wires from the ceiling (typically black, white, and green/ground) and the three wires from the fan (typically black, white, and blue for light, plus green/ground).
- Insert the new receiver into the fan's bracket.
- Connect the receiver's wires to the corresponding ceiling and fan wires using the provided wire nuts:
- Connect the Black wire from the receiver to the Red/Black wire from the ceiling.
- Connect the White wire from the receiver (2-wire end) to the White wire from the ceiling.
- Connect the Blue wire from the receiver to the Blue wire from the fan.
- Connect the White wire from the receiver (3-wire end) to the White wire from the fan.
- Connect the Yellow wire from the receiver to the Black wire from the fan.
- Finally, connect all Green ground wires together (from ceiling, fan, and bracket).
- Carefully push all connected wires and the receiver into the ceiling bracket.
- Reattach the fan canopy.
Video: Detailed instructions on how to install the ceiling fan remote control receiver, including wire connections and placement within the fan canopy.
Video: Step-by-step guide for installing the ceiling fan remote control kit, demonstrating the wiring process and securing the receiver.
4.3 Remote Pairing
The receiver does not require code setting. Follow these steps to pair the remote control:
- Install a 3V battery (CR2032, not included) into the remote control by removing the battery door on the back.
- Turn the power to the fan OFF either by a wall switch or circuit breaker, then turn it back ON.
- Within three minutes of restoring power to the fan, press and hold the "LEARN" button on the remote for at least four seconds until the light flashes or you hear a beep, confirming successful pairing.

Image: Visual guide for installing the remote battery and the pairing process with the receiver.
5. Operating Instructions
The remote control allows for independent operation of your ceiling fan's light and speed functions.
5.1 Fan Control
- HI: Sets the fan speed to High.
- MED: Sets the fan speed to Medium.
- LO: Sets the fan speed to Low.
- FAN OFF: Turns the fan off.
Note: This remote does not have a reverse function for fan direction.
5.2 Light Control
- LIGHT Button:
- A short press will turn the light ON or OFF.
- Press and hold to dim or brighten incandescent lights.
- For LED/CFL bulbs, this button will only control ON/OFF functionality; dimming is not supported unless the bulbs themselves are dimmable and compatible with the receiver's dimming technology for the dimming feature to work. Otherwise, the light button will only function as ON/OFF.

Image: Overview of the remote control's buttons and their functions for fan speed and light operation.
6. Compatibility
This universal ceiling fan remote control kit is designed for broad compatibility:
- Fan Brands: Fits almost 95% of regular AC ceiling fan lights, including popular brands such as Hunter, Hampton Bay, Harbor Breeze, allen+roth, Litex, Kichler, Westinghouse, and Honeywell.
- Remote Models: Compatible with Hunter and Casablanca fan remote models: 99770, 99729, 99771, 99772, 99198, 99122, 99123, 99600, 85095, 27157, 27206, 27185, 99199, 99813, 99392, 99372, K6731, K6927, 99373, 99375, 99195, 99815.
- Motor Type: Compatible with all types of AC motors. Not compatible with DC motors.
- Bulb Type: Light dimmer function controls the brightness of incandescent lights. For LED/CFL bulbs, it primarily functions as an ON/OFF switch.
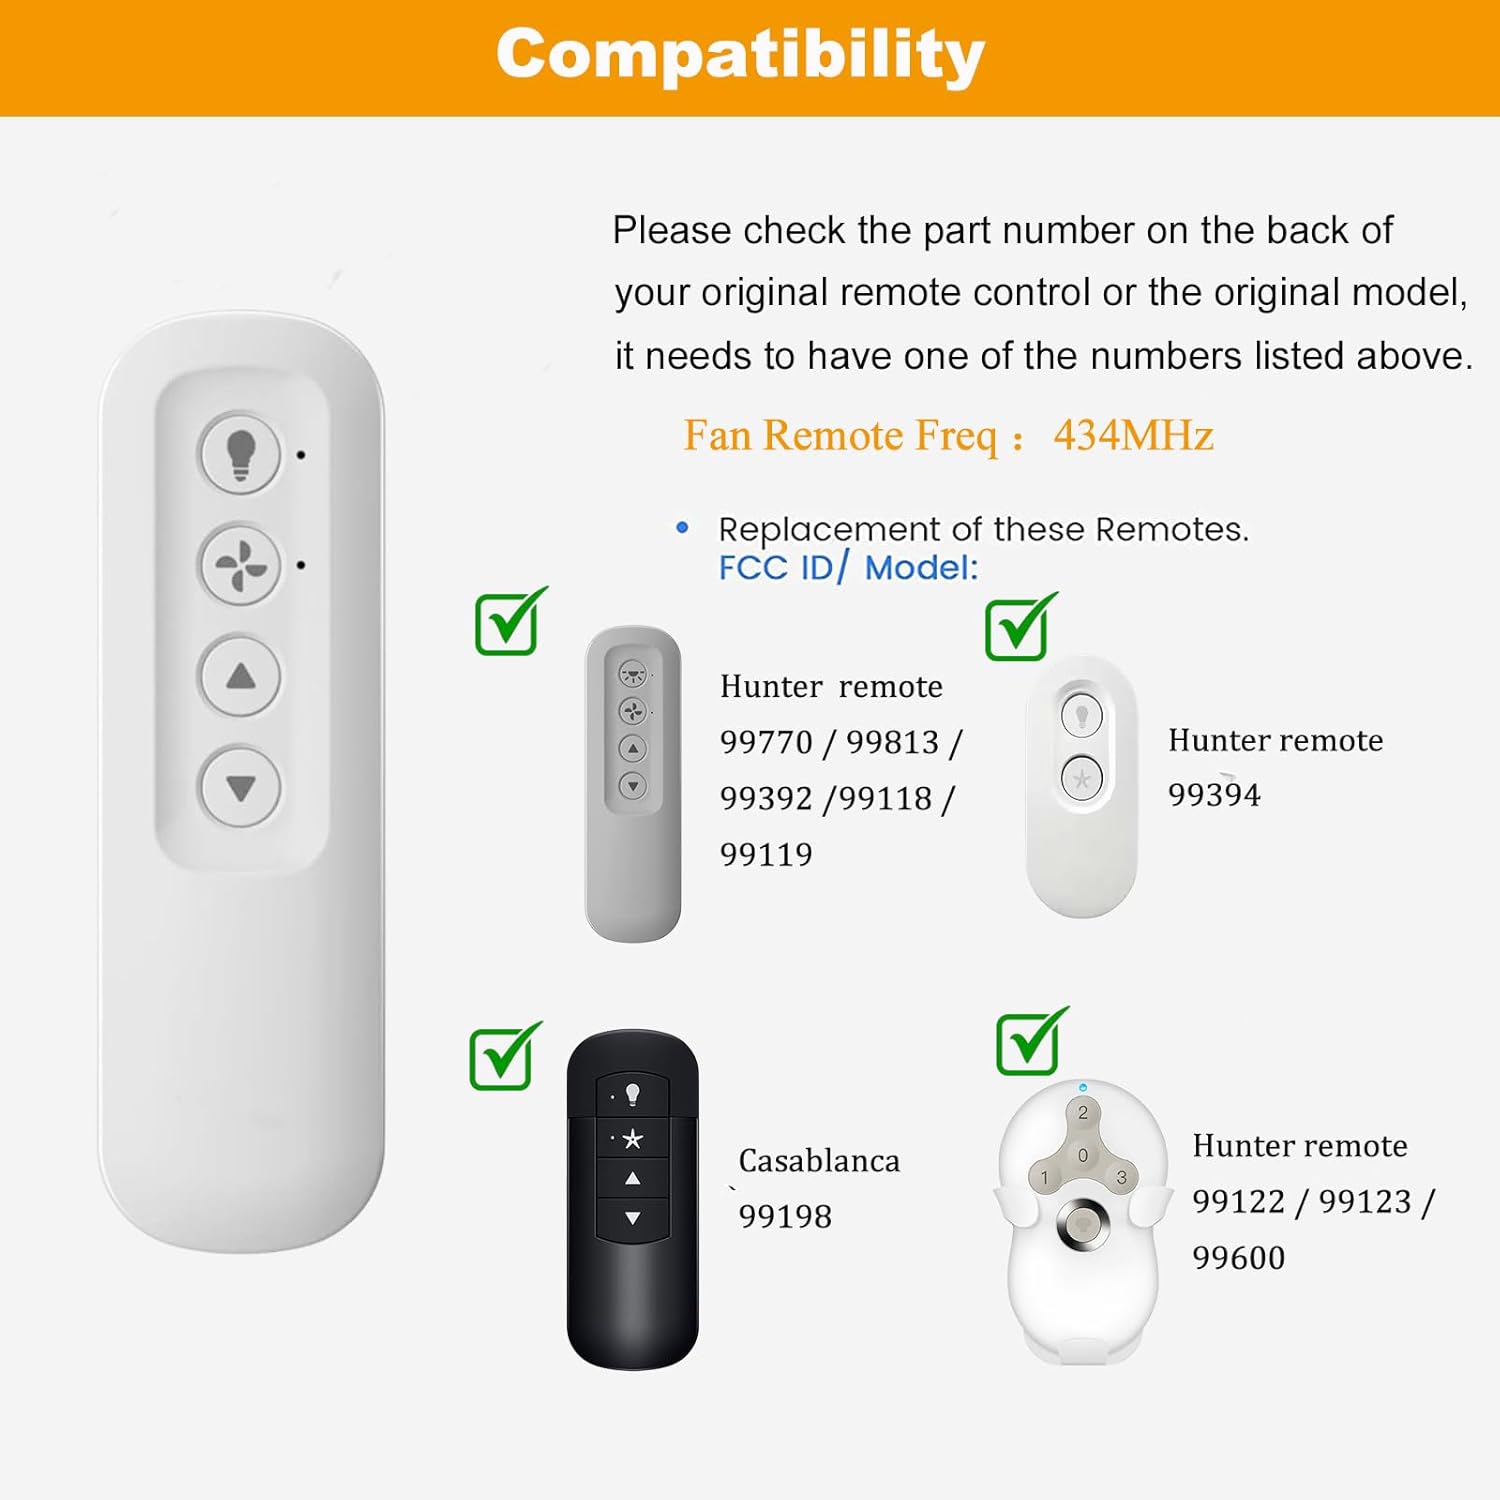
Image: Examples of compatible Hunter and Casablanca remote models.
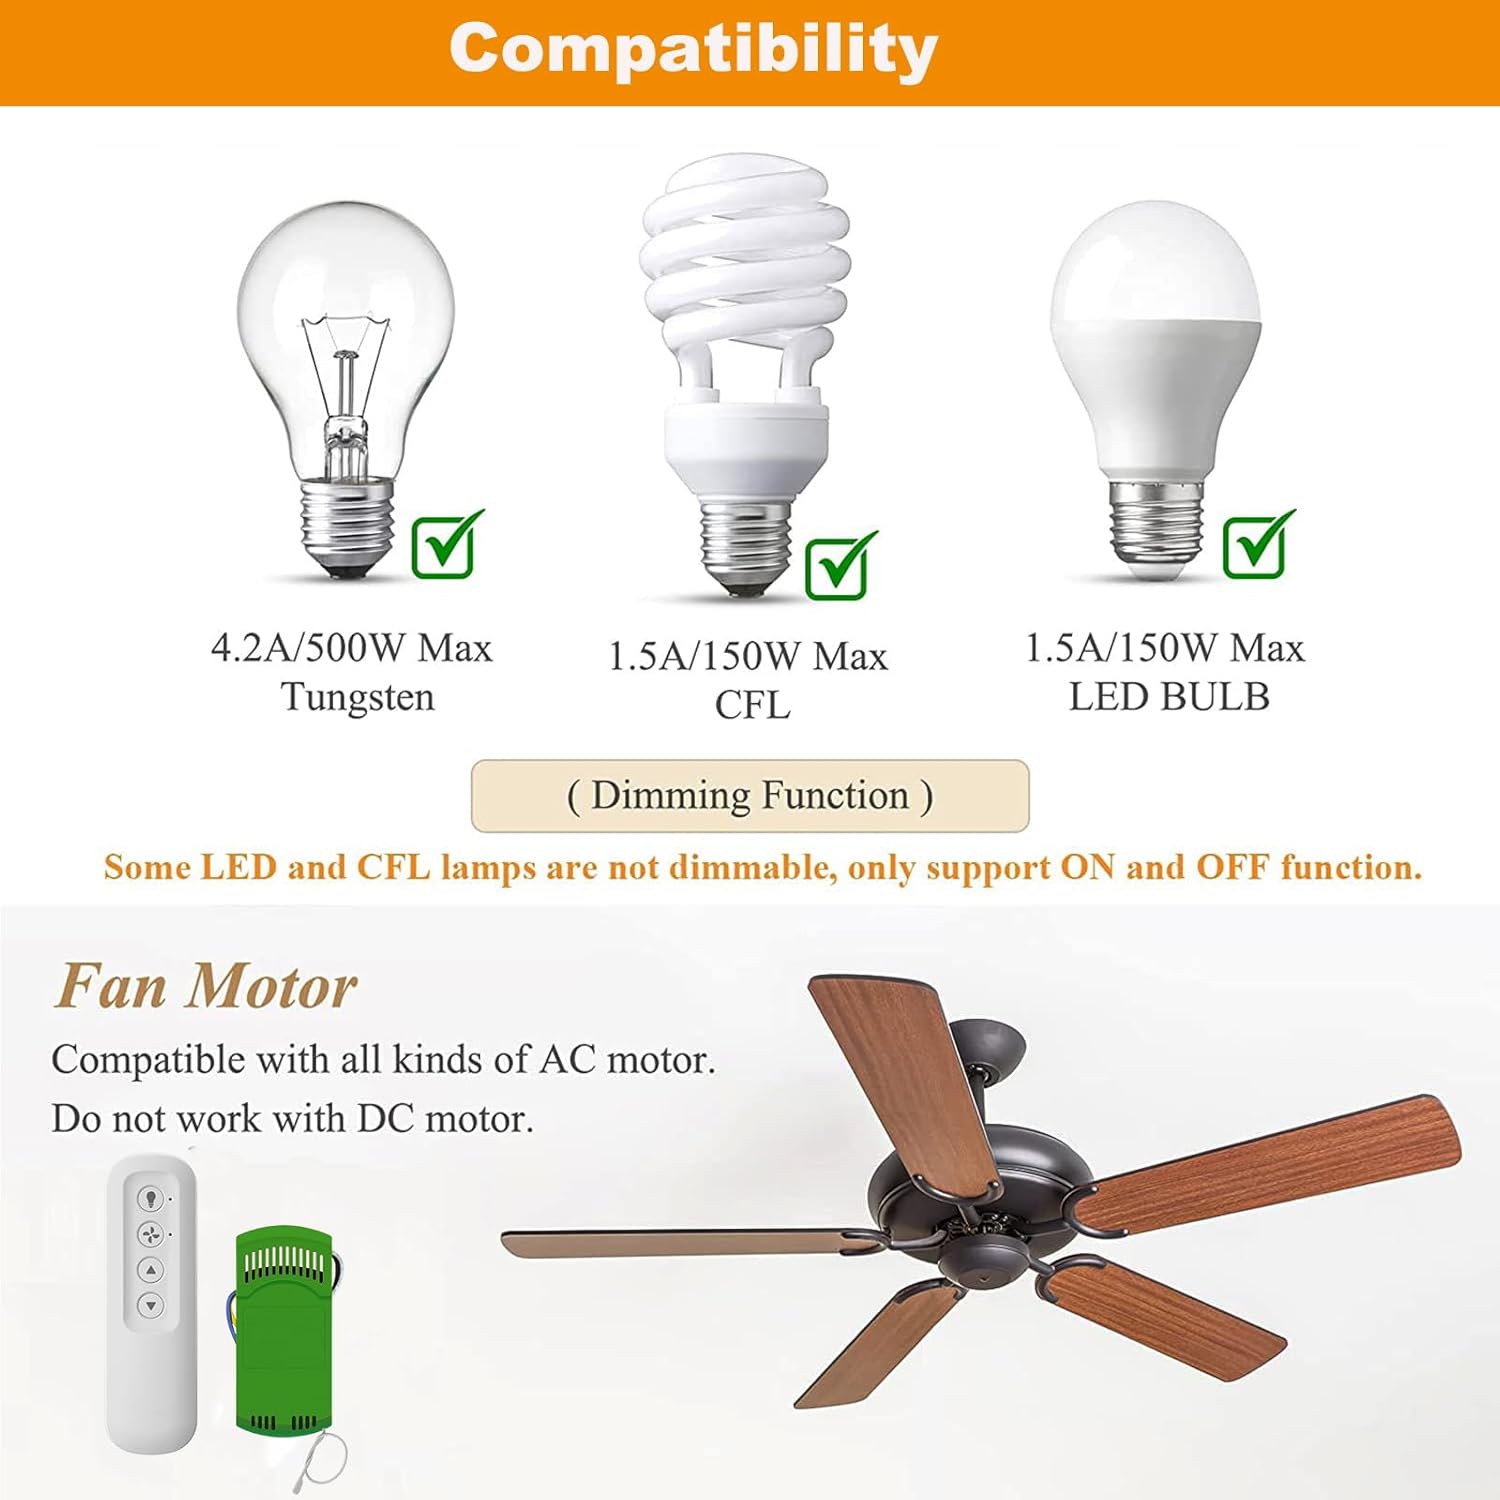
Image: Compatibility details for various bulb types and AC fan motors.
7. Specifications
| Feature | Detail |
|---|---|
| Package Dimensions | 5.83 x 4.84 x 1.73 inches |
| Item Weight | 6.4 ounces |
| Item Model Number | RC81T RC82T & RC 82R |
| Special Feature | Light Dimmer |
| Color | White+Green |
| Max Number of Supported Devices | 5 |
| Compatible Devices | 3-Speed AC Ceiling Fan |

Image: Detailed size information for the remote control and receiver unit.
8. Troubleshooting
If you encounter issues with your Breeze Bay Universal Ceiling Fan Remote Control Kit, consider the following:
- No Power to Fan/Light:
- Check the circuit breaker and wall switch to ensure power is supplied to the fan.
- Verify all wire connections are secure and correctly matched according to the wiring diagram.
- Remote Not Responding:
- Ensure the 3V battery in the remote is correctly installed and not depleted. Replace if necessary.
- Re-attempt the remote pairing process as described in Section 4.3.
- Confirm that the fan's original pull chains are set to maximum speed and the light is on before pairing.
- Light Not Dimming (LED/CFL):
- The dimmer function is primarily for incandescent bulbs. If using LED or CFL bulbs, they must be specifically labeled as dimmable and compatible with the receiver's dimming technology for the dimming feature to work. Otherwise, the light button will only function as ON/OFF.
- Intermittent Operation:
- Ensure the receiver is not obstructed within the fan canopy and has adequate ventilation.
- Check for any interference from other electronic devices operating on similar frequencies.
9. Maintenance
- Cleaning: Wipe the remote control and receiver with a soft, dry cloth. Do not use abrasive cleaners or solvents.
- Battery Replacement: Replace the 3V battery in the remote control when its performance diminishes. Dispose of old batteries responsibly.
- Regular Checks: Periodically check the fan's wiring connections for any signs of wear or loosening. Ensure the fan canopy is securely fastened.
10. Warranty and Support
For warranty information or technical support, please refer to the contact details provided with your purchase or visit the official Breeze Bay website. Keep your purchase receipt as proof of purchase for any warranty claims.


