
1. Introduction
This manual provides essential information for setting up, operating, and maintaining your HP Series 5 527sh 27-inch FHD IPS Monitor. Please read these instructions carefully before using your monitor to ensure proper function and longevity.
2. What's in the Box
Verify that all components are present in the packaging:
- Monitor
- HDMI Cable
- Power Adapter
3. Product Overview
Familiarize yourself with the monitor's components and features.
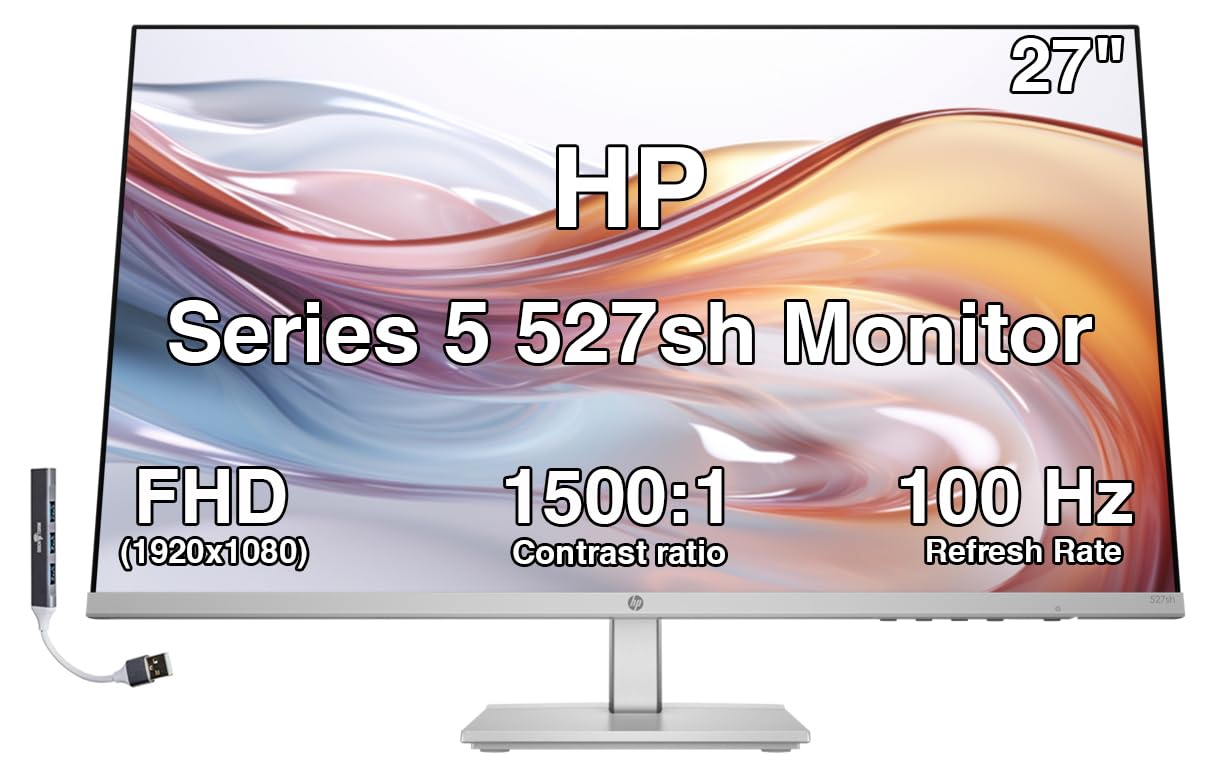
Figure 3.1: Front view of the HP Series 5 527sh 27-inch monitor, showcasing its slim bezels and stand.

Figure 3.2: Angled front view of the monitor, highlighting the display area.

Figure 3.3: Visual representation of the HP 527sh monitor's display capabilities, including 99% sRGB, 1500:1 contrast ratio, and 300 nits brightness.

Figure 3.4: Detailed dimensions of the 27-inch monitor, including width, height, and stand depth.

Figure 3.5: Side profile of the monitor, illustrating its thin panel and adjustable stand.

Figure 3.6: Rear view of the monitor, displaying the power input, two HDMI 1.4 ports, and one VGA port.
4. Setup Instructions
4.1 Assembling the Stand
- Carefully remove the monitor and stand components from the packaging.
- Attach the stand base to the stand column, ensuring it clicks securely into place or is fastened with screws if provided.
- Connect the assembled stand to the back of the monitor until it is firmly attached.
4.2 Connecting the Monitor
- Power Connection: Connect the power adapter to the monitor's power input, then plug the power cord into an electrical outlet.
- Video Connection:
- For digital video, connect one end of the provided HDMI cable to an HDMI port on your computer and the other end to an HDMI port on the monitor.
- For analog video, connect a VGA cable (not included) to the VGA port on your computer and the VGA port on the monitor.
- USB Hub (Optional): If using the Docztorm USB HUB, connect it to an available USB port on your computer.
4.3 Initial Power On
- Press the power button on the monitor.
- Turn on your computer. The monitor should automatically detect the input signal. If not, use the On-Screen Display (OSD) menu to select the correct input source.
5. Operating Instructions
5.1 On-Screen Display (OSD) Controls
The monitor features on-screen controls for adjusting various settings. These controls are typically located on the bottom right or rear of the monitor.
- Menu: Accesses the main OSD menu.
- Navigation Buttons: Used to navigate through menu options and adjust values.
- Select/OK: Confirms selections.
- Exit: Exits the OSD menu.
- Input: Manually selects the video input source (HDMI 1, HDMI 2, VGA).
- Brightness+: Quick access to brightness adjustment.
5.2 Display Features
- Anti-glare: Reduces reflections for comfortable viewing.
- Flicker-Free: Minimizes screen flickering to reduce eye strain.
- HP Eye Ease: A low-blue light filter that reduces blue light emissions without affecting color accuracy. This feature is always-on and hardware-based.
- Height Adjustable: The stand allows for 100 mm of height adjustment to optimize viewing comfort.
- Tilt Adjustment: The monitor can be tilted from -5 to +25 degrees.
6. Maintenance
To ensure the longevity and optimal performance of your monitor, follow these maintenance guidelines:
- Cleaning the Screen: Gently wipe the screen with a soft, lint-free cloth. For stubborn marks, dampen the cloth with a small amount of water or a non-abrasive screen cleaner. Do not spray liquid directly onto the screen.
- Cleaning the Casing: Use a soft, dry cloth to clean the monitor casing. Avoid using strong detergents or abrasive cleaners.
- Ventilation: Ensure the ventilation openings on the monitor are not blocked to prevent overheating.
- Power Off: Always turn off the monitor when not in use for extended periods.
7. Troubleshooting
If you encounter issues with your monitor, refer to the following common troubleshooting steps:
- No Power:
- Check if the power cord is securely connected to both the monitor and the electrical outlet.
- Verify the power outlet is functional by plugging in another device.
- No Signal/Blank Screen:
- Ensure the video cable (HDMI or VGA) is securely connected to both the monitor and the computer.
- Confirm the correct input source is selected in the monitor's OSD menu.
- Restart your computer.
- Image Issues (Blurry, Distorted, Incorrect Colors):
- Adjust the resolution and refresh rate settings on your computer to match the monitor's native resolution (1920x1080) and refresh rate (100Hz).
- Perform an auto-adjustment or reset to factory settings via the OSD menu.
- Check the video cable for damage.
8. Specifications
| Feature | Specification |
|---|---|
| Brand | HP |
| Model Number | 527sa |
| Screen Size | 27 inches |
| Resolution | FHD 1080p (1920x1080) |
| Panel Type | IPS |
| Aspect Ratio | 16:9 |
| Refresh Rate | 100 Hz |
| Response Time | 5ms GtG (with overdrive) |
| Brightness | 300 nits |
| Contrast Ratio | 1500:1 |
| Viewing Angle | 178 degrees (Horizontal/Vertical) |
| Color Support | 16.7 Million colors, 99% sRGB |
| Video Inputs | 2x HDMI 1.4, 1x VGA |
| Special Features | Anti-glare, Flicker-Free, HP Eye Ease (Low Blue Light), Height Adjustable, Tilt Adjustment, FreeSync |
| VESA Mount | No |
| Dimensions (WxDxH) | 23.93" x 8.35" x 19.7" |
| Weight | 9.15 lbs (4.15 kg) |
9. Warranty and Support
For warranty information and technical support, please refer to the documentation included with your purchase or visit the official HP support website. Keep your proof of purchase for warranty claims.
Online Support: www.hp.com/support


