
1. Introduction
This manual provides detailed instructions for the safe and effective operation of your Huepar Pro GK011SG Cross Line Laser Level. This tool is designed for various leveling and alignment tasks in construction, DIY projects, and home renovation, offering precise horizontal and vertical green laser lines.
2. Safety Information
Please read and understand all safety instructions before using this product. Failure to follow these instructions may result in laser radiation exposure, electric shock, fire, or serious injury.
- Laser Classification: This device is a Class 2 laser product according to IEC/EN60825-1/2014. The output power is less than 1mW.
- Eye Protection: Do not stare directly into the laser beam. Avoid direct eye exposure to the laser.
- Children: Keep the device out of reach of children.
- Repairs: Do not attempt to disassemble or repair the laser level yourself. Repairs should only be performed by authorized service personnel.
- Operating Environment: Use the device in a well-lit area. Avoid using it in explosive atmospheres or in the presence of flammable liquids or gases.
3. Package Contents
Verify that all items are present and in good condition upon opening the package:
- 1 x Huepar Pro GK011SG Cross Line Laser Level
- 1 x 5200mAh Rechargeable Li-ion Battery Pack
- 1 x High Quality Hard Carry Case
- 1 x 360° Strong Magnetic Bracket
- 1 x Laser Target Plate
- 1 x Type-C Power Cord
- 1 x User Manual

Image 3.1: The Huepar Pro GK011SG Laser Level shown with its complete set of accessories, including the magnetic bracket, battery, charging cable, target plate, and hard carry case.
4. Product Overview
The Huepar Pro GK011SG features a compact design with a durable TPR soft rubber housing, providing IP54 protection against dust and water splashes. It projects bright green laser lines for enhanced visibility.
5. Setup
5.1 Battery Installation and Charging
The device is powered by a removable 5200mAh Li-ion battery. Ensure the battery is fully charged before first use.
- Insert the charged Li-ion battery into the battery compartment on the side of the laser level.
- To charge, connect the provided Type-C power cord to the charging port on the battery or directly to the laser level. The battery can be charged separately.

Image 5.1: Illustration showing the 5200mAh Li-ion battery being charged via a Type-C cable, highlighting its 18-hour runtime capability.
5.2 Mounting the Laser Level
The GK011SG offers versatile mounting options:
- Tripod Mounting: The laser level has a 1/4"-20 mounting thread at the bottom, allowing it to be securely attached to a standard tripod (not included).
- Magnetic Bracket: Use the included 360° strong magnetic bracket to affix the laser tool to metallic surfaces. The bracket also features 1/4"-20 and 5/8"-11 mounting threads for compatibility with various tripods or laser pole mounts. Two nail holes on the bracket provide additional fixing methods.

Image 5.2: The laser level is shown mounted on a magnetic bracket attached to a metal surface and also on a tripod, demonstrating its flexible positioning options.
6. Operating Modes
The Huepar Pro GK011SG features three primary operating modes: Self-Leveling, Manual, and Pulse Mode.
6.1 Self-Leveling Mode
When the pendulum is unlocked, the laser level will automatically self-level within a range of ±3°. If the device is outside this range, the laser beam will flash continuously to indicate it cannot self-level. Position the device on a stable, relatively level surface for accurate operation.
6.2 Manual Mode
To use the laser level at any angle, lock the pendulum. This disables the self-leveling function, allowing you to project lines at custom inclinations. The laser lines will not flash in this mode, indicating a locked pendulum.

Image 6.1: The top image shows the laser level in manual mode, projecting angled lines. The bottom image shows it in self-leveling mode, projecting level lines on a wall.
6.3 Pulse Mode
For outdoor use or in brightly lit indoor environments, activate the pulse mode. This mode extends the working range of the laser up to 200 feet when used with a compatible Huepar laser receiver (sold separately).

Image 6.2: The laser level is shown operating in an outdoor setting with a Huepar laser receiver, demonstrating the extended working range provided by pulse mode.
6.4 Selecting Laser Line Modes
The GK011SG can project a 180° horizontal line and a 120° vertical line. Short press the power button to cycle through the following options:
- Single Horizontal Laser Line
- Single Vertical Laser Line
- Cross Laser Line (both horizontal and vertical)
Selecting a single-line mode can help conserve battery power and extend operating time.

Image 6.3: This image illustrates the three selectable laser line modes: a 180° horizontal line, a 120° vertical line, and a 90° cross line, suitable for various applications.
7. Applications
The Huepar Pro GK011SG is suitable for a wide range of tasks, including:
- Floor and wall tiling
- Cabinet installation
- Picture hanging and decor alignment
- Ceiling installation
- General construction and renovation projects
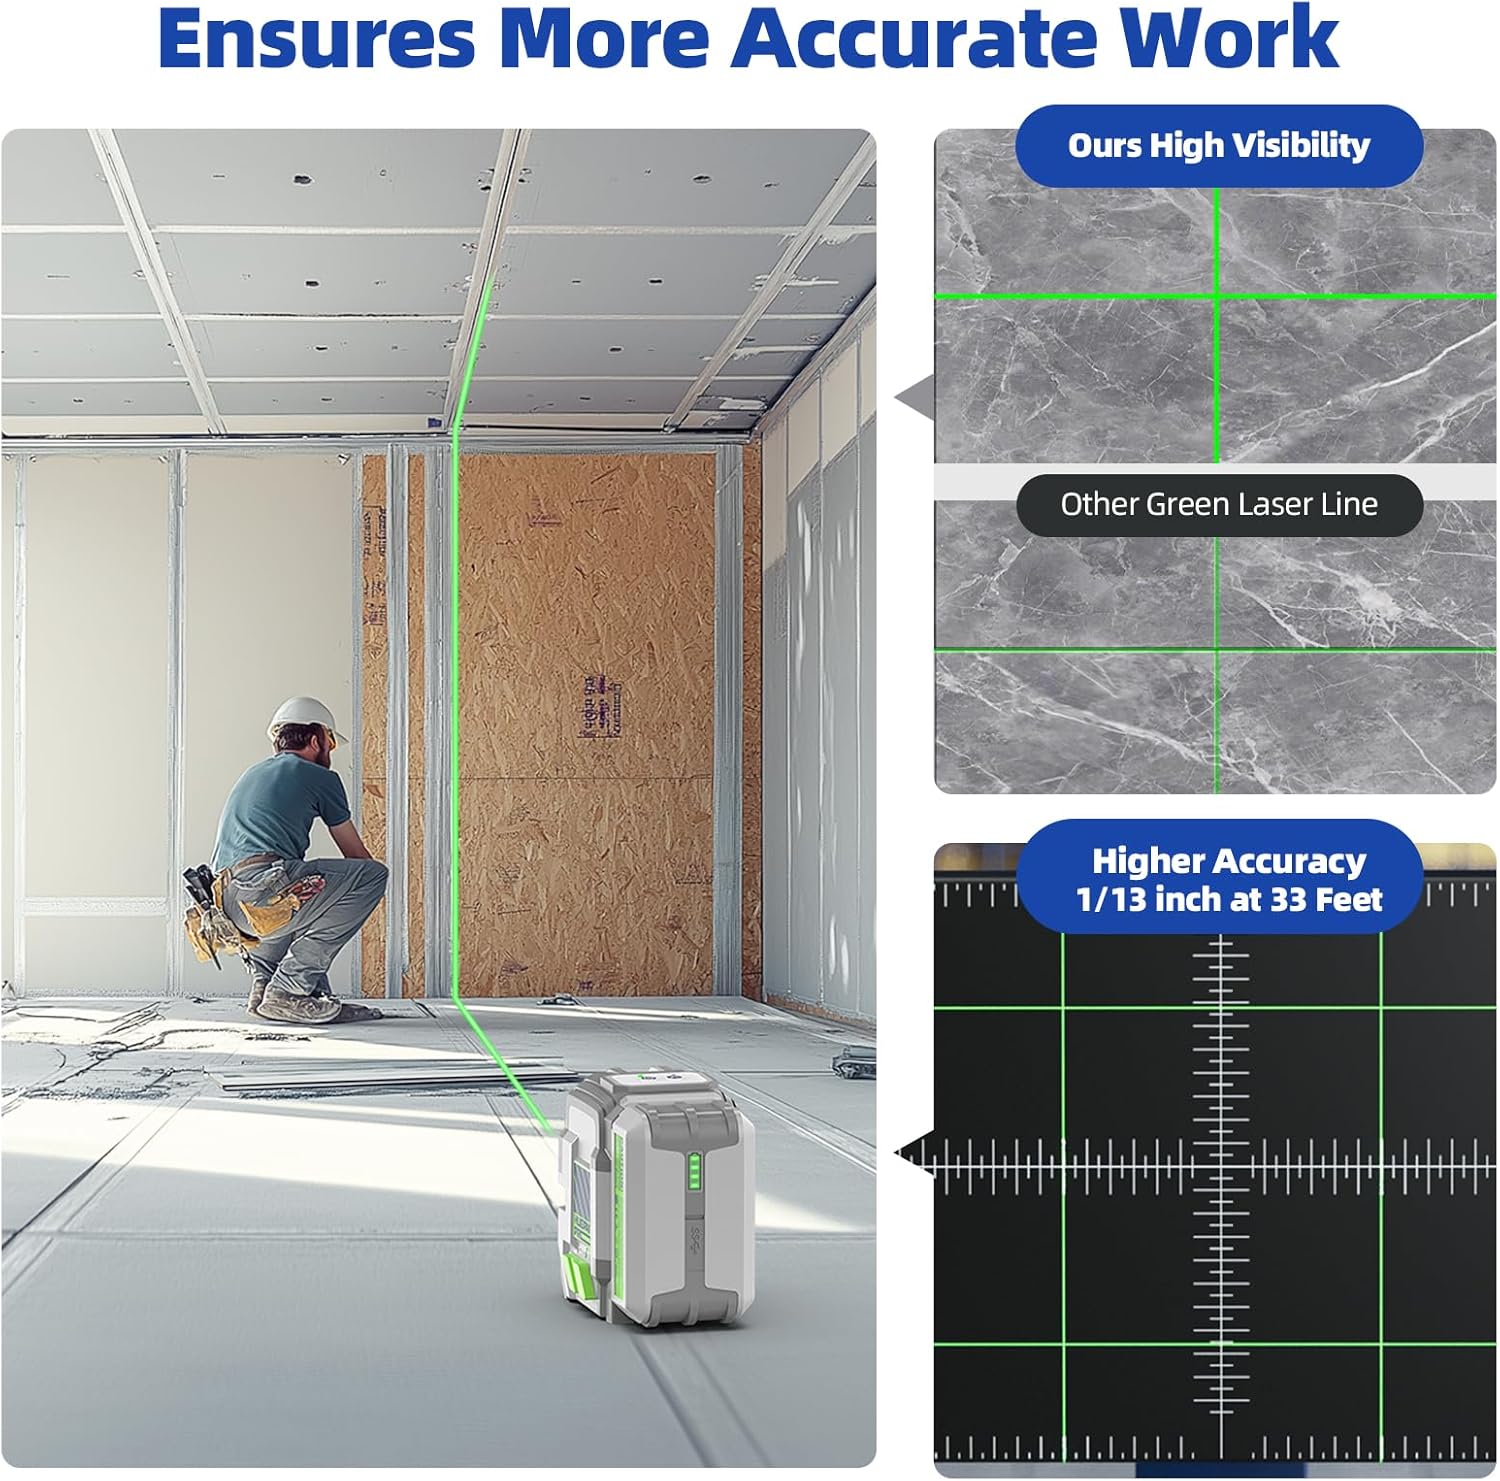
Image 7.1: A collage demonstrating the versatility of the laser level in various applications, including precise tiling, cabinet alignment, hanging pictures, and ceiling work.
8. Maintenance
Proper maintenance ensures the longevity and accuracy of your laser level.
- Cleaning: Use a soft, damp cloth to clean the device. Do not use abrasive cleaners or solvents.
- Storage: Store the laser level in its hard carry case when not in use. The case is designed to be waterproof, dust-proof, and shockproof, providing optimal protection.
- Battery Care: Store the Li-ion battery in a cool, dry place. If storing for extended periods, charge the battery to approximately 50% capacity.
- Calibration: Regular calibration checks are recommended to ensure continued accuracy, especially after drops or impacts.
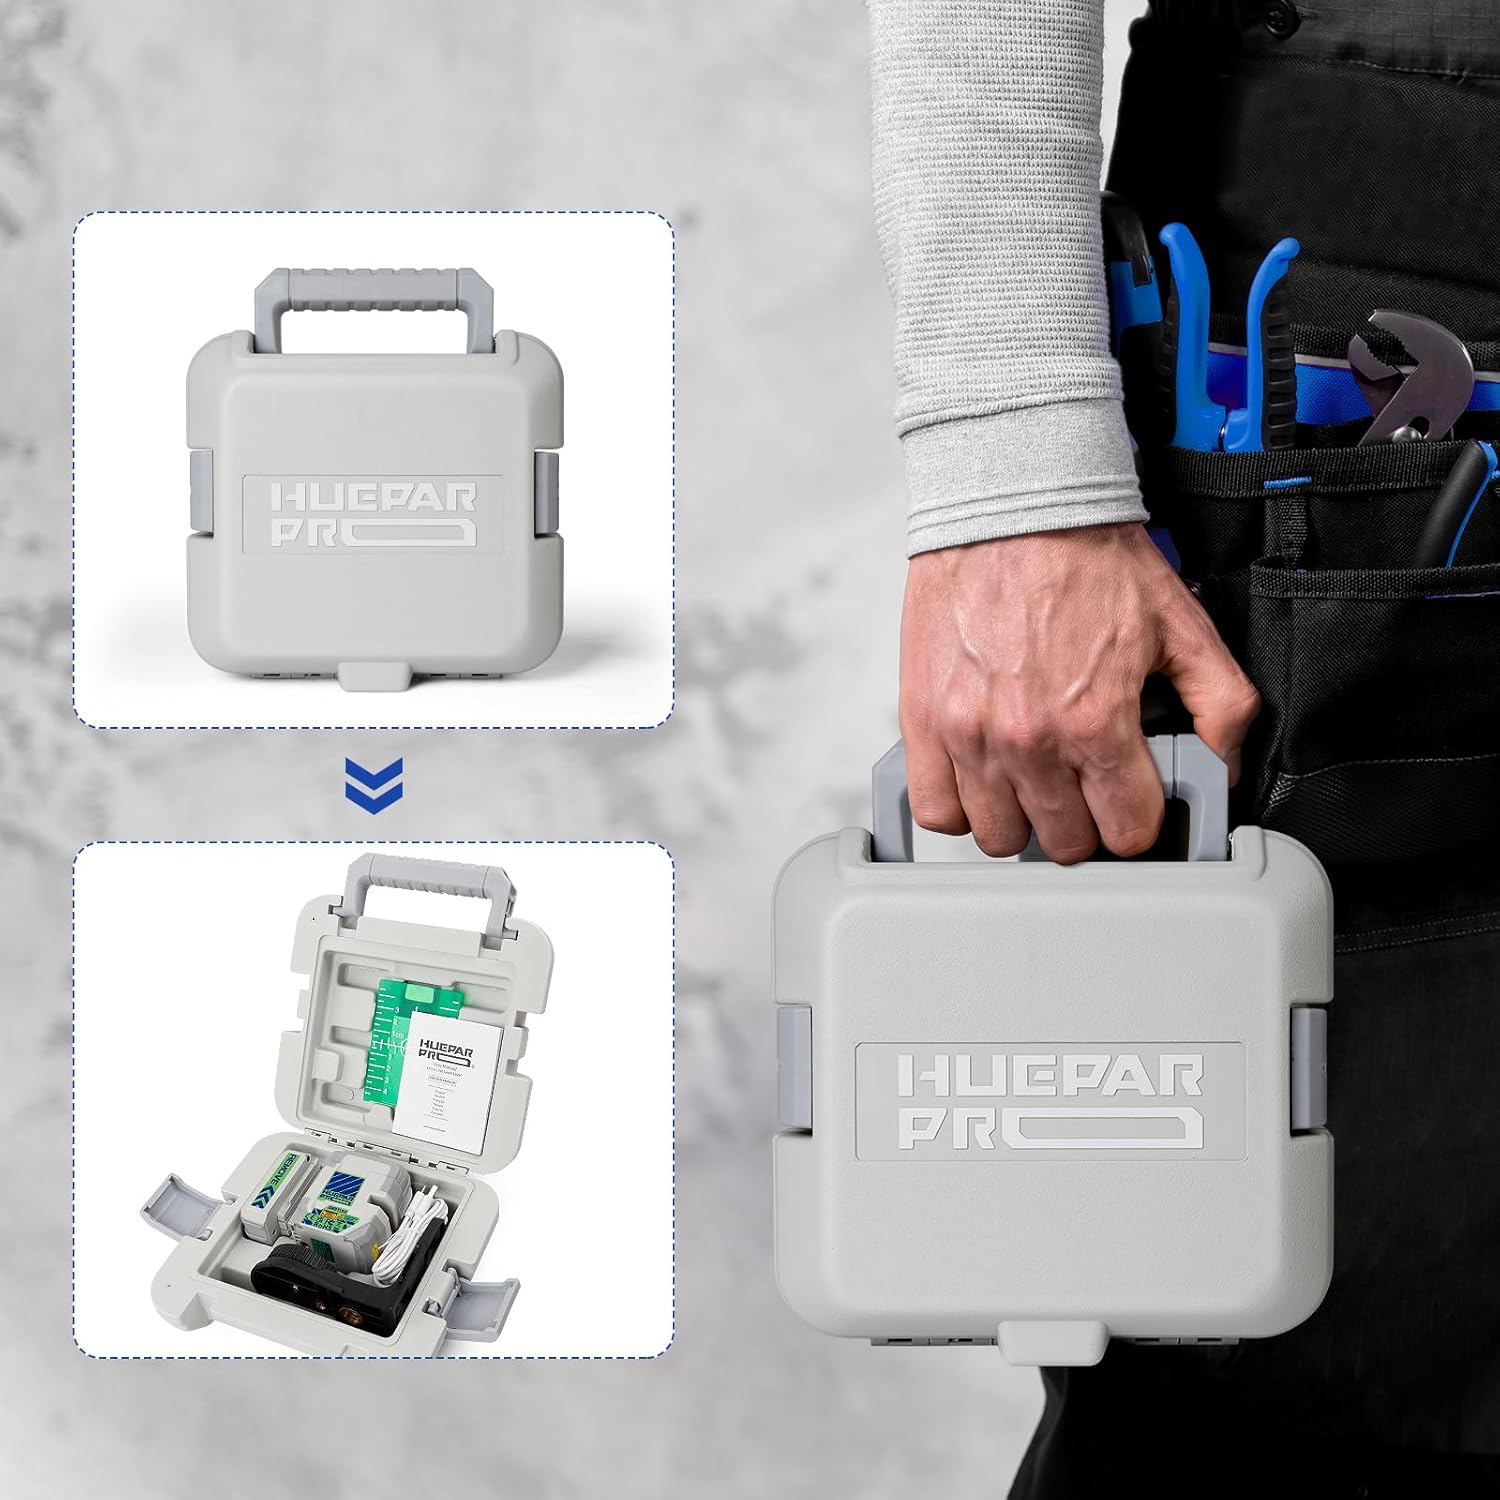
Image 8.1: The durable hard carry case for the Huepar Pro GK011SG Laser Level, designed for easy transport and protection against environmental elements.
9. Troubleshooting
If you encounter issues with your Huepar Pro GK011SG, refer to the following common solutions:
- Laser Beam Flashing: If the laser beam flashes rapidly in self-leveling mode, the device is likely outside its ±3° self-leveling range. Adjust its position until the beam becomes steady.
- No Laser Beam: Ensure the battery is charged and correctly inserted. Check that the power button has been pressed.
- Dim Laser Beam: In bright conditions, activate pulse mode and use a laser receiver for better visibility. Ensure the laser lens is clean.
- Inaccurate Lines: Verify the device is on a stable surface and within its self-leveling range. If issues persist, the device may require calibration.
For further assistance, please contact customer support.
10. Specifications
| Laser Class | Class 2 (IEC/EN60825-1/2014), <1mW |
| Accuracy | ±1/13 inch at 33 Ft. |
| Self-leveling Range | ±3° |
| Working Distance (Line) | 100 Ft. (100 LUX), 200 Ft. with Huepar Laser Receiver |
| Operating Time | 18 Hours (with all laser beams on) |
| Power Source | 5200 mAh Removable Li-ion Battery with Type-C Charging Port |
| Item Weight | 372 Grams (13.1 ounces) |
| Product Dimensions | 3.78"L x 3.46"W |
| Protection Grade | IP54 (shock resistant, waterproof, dust-proof) |
| Operation Temperature Range | -10℃ to +50℃ |
11. Warranty and Support
Huepar Pro offers a 3-year warranty for the GK011SG Cross Line Laser Level, ensuring quality and performance. For any product-related questions, technical assistance, or warranty claims, please do not hesitate to contact our customer support team. Our professional technical team is available to provide assistance.
Contact information can typically be found on the Huepar Pro official website or through your purchase platform.