
1. Introduction and Safety Information
Thank you for choosing the Aceup Energy 3400W Inverter Generator. This manual provides essential information for the safe operation, maintenance, and troubleshooting of your generator. Please read this manual thoroughly before operating the generator to ensure proper use and to prevent injury or damage.
Important Safety Precautions
- Read the Manual: Always read and understand the entire user manual before operating the generator.
- Carbon Monoxide Hazard: Generators produce carbon monoxide, a colorless, odorless, poisonous gas. Operate the generator outdoors only, far away from windows, doors, and vents. Never operate indoors or in enclosed spaces.
- Fire Hazard: Gasoline is highly flammable. Refuel in a well-ventilated area with the engine off and cool. Do not smoke or allow open flames near the generator.
- Electrical Shock Hazard: Do not operate the generator in wet conditions. Ensure all electrical connections are secure and dry. Never touch electrical components with wet hands.
- Hot Surfaces: The generator engine and muffler become very hot during operation and remain hot for some time after shutdown. Avoid touching hot surfaces to prevent burns.
- Children and Pets: Keep children and pets away from the generator at all times.
- Proper Ventilation: Ensure adequate clearance around the generator for proper cooling and exhaust dispersal.
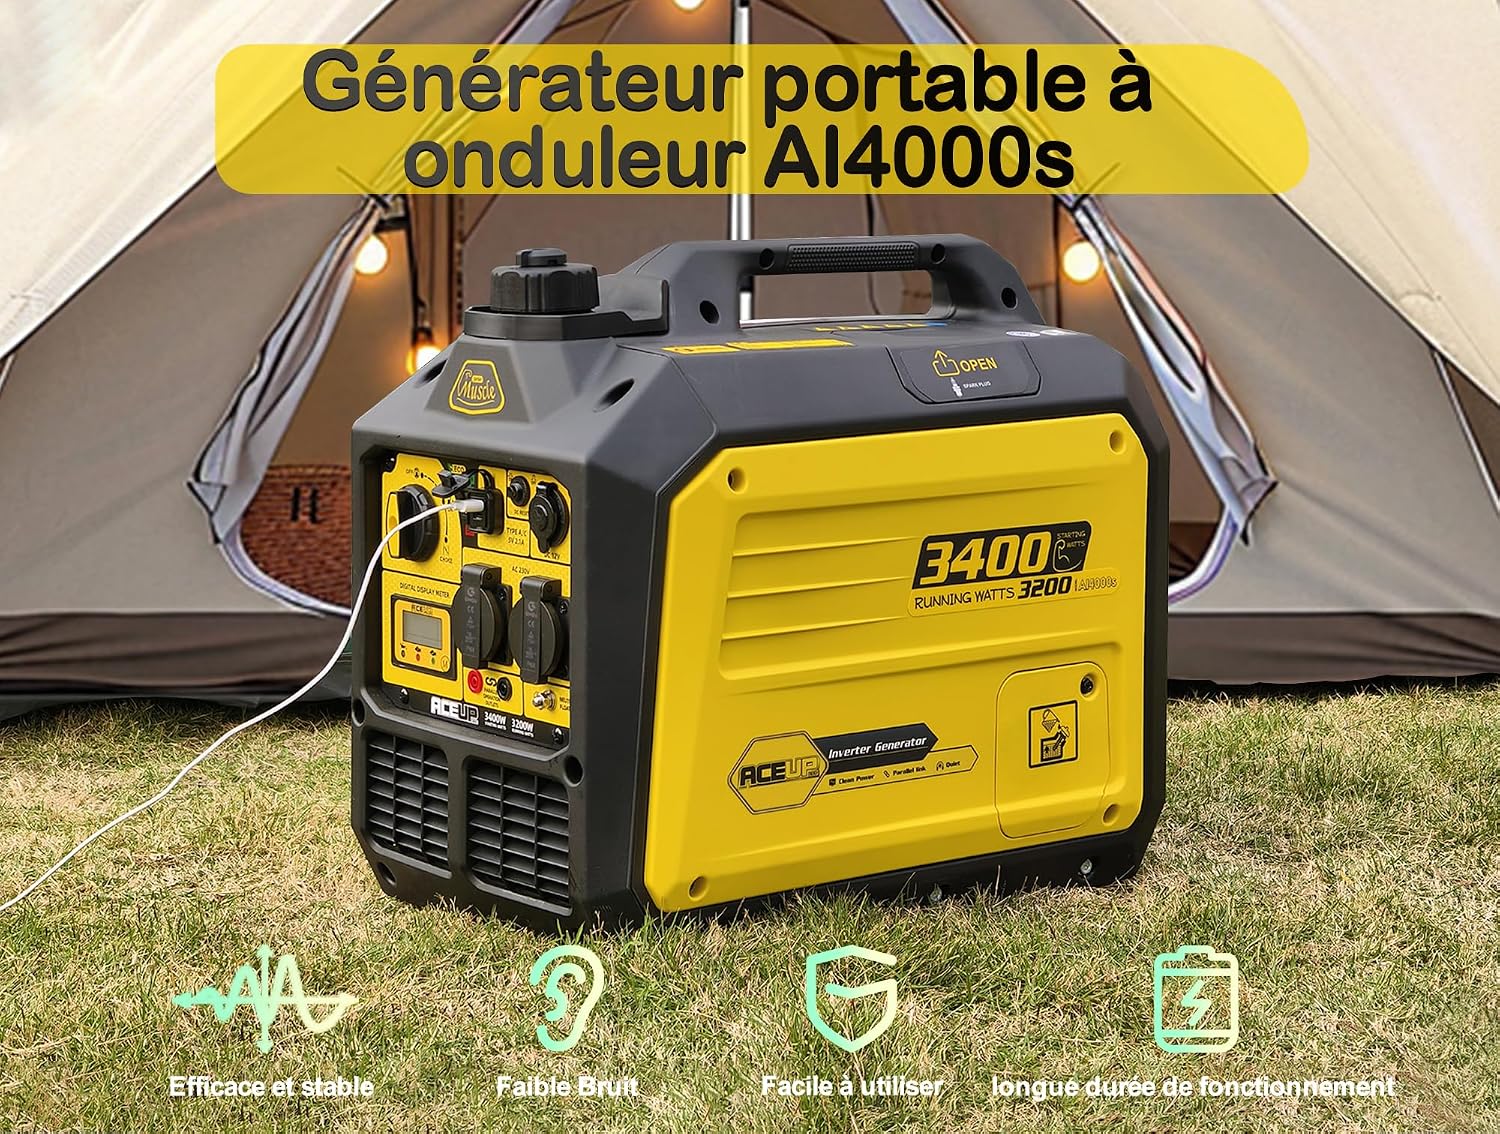
Image 1: The Aceup Energy 3400W Inverter Generator, designed for portable power needs.
2. Product Overview
The Aceup Energy 3400W Inverter Generator (Model LH4300i) is a portable, silent gasoline generator providing a maximum of 3400 starting watts and 3200 running watts. It features a 149 cm³ 4-stroke OHV air-cooled engine, designed for reliable power in various applications.
Key Features:
- High Power Output: 3400W peak, 3200W continuous.
- Quiet Operation: Reduced noise level for a better user experience.
- Portable Design: Compact and robust, weighing approximately 23 kg for easy transport.
- Long Runtime: 5L fuel tank provides up to 8 hours of continuous operation at 50% load.
- Eco Mode: Extends runtime and further reduces fuel consumption and noise.
- Versatile Outlets: Two 230V AC outlets, one 12V DC outlet, and 5V USB ports (Type A/C).
- Digital Display: Provides real-time operational information.
- Safety Features: Low oil shutdown and overload indicator.
- Parallel Ready: Can be connected in parallel with another identical generator for double power (parallel kit sold separately).
Control Panel Components

Image 2: The generator's control panel, featuring two 230V AC outlets, one 12V DC outlet, USB Type A/C ports, a digital display, and the 3-in-1 switch.
- 3-in-1 Switch: Controls engine operation (OFF, ON, CHOKE).
- ECO Switch: Activates/deactivates Eco mode for fuel efficiency.
- DC Reset Button: Resets the DC circuit breaker.
- Fuel Tank Vent Knob: Controls fuel flow from the tank.
- Digital Display Meter: Shows output voltage, frequency, runtime, and error codes.
- AC 230V Outlets (x2): Standard power outlets.
- DC 12V Outlet: For 12V DC appliances.
- USB Type A/C Ports: For charging USB devices.
- Parallel Operation Outlets: For connecting two generators in parallel (kit required).
- Ground Terminal: For grounding the generator.
3. Initial Setup
Before first use, the generator requires oil and fuel. Always perform these steps in a well-ventilated area.
3.1 Add Engine Oil
The generator is shipped without engine oil. Using the provided oil funnel, add the recommended 4-stroke engine oil (SAE 10W-30 is generally suitable) to the crankcase. Do not overfill.
- Place the generator on a level surface.
- Locate the oil fill cap/dipstick.
- Remove the oil fill cap/dipstick.
- Using the provided funnel, slowly add the recommended engine oil until it reaches the upper limit on the dipstick (do not screw in the dipstick when checking the level).
- Replace the oil fill cap/dipstick securely.

Image 3: Checking the engine oil level using the dipstick.
3.2 Add Fuel
Use fresh, unleaded gasoline with an octane rating of 87 or higher. Do not use E85 or mixed fuels.
- Ensure the generator is off and cool.
- Unscrew the fuel cap.
- Slowly pour gasoline into the fuel tank, being careful not to overfill. Leave a small air gap at the top to allow for fuel expansion. The tank capacity is 5 liters.
- Securely replace the fuel cap.

Image 4: Included accessories, including the oil funnel for easy oil addition.
4. Operating Instructions
4.1 Starting the Engine
Follow these steps to start your generator:

Image 5: Visual guide for starting the generator.
- Check Oil Level: Ensure the engine oil is at the correct level. (Refer to Image 3)
- Add Fuel: Ensure the fuel tank contains sufficient gasoline.
- Open Fuel Tank Vent: Turn the fuel tank vent knob to the "ON" position. (Refer to Image 6)
- Set 3-in-1 Switch: Move the 3-in-1 switch to the "CHOKE" position (for cold starts). If the engine is warm, set it to "ON".
- Disable ECO Switch: Ensure the ECO switch is in the "OFF" position for starting.
- Pull Recoil Starter: Firmly pull the recoil starter handle until the engine starts.
- Adjust 3-in-1 Switch: Once the engine starts, slowly move the 3-in-1 switch to the "ON" position.
- Warm-up: Allow the generator to run for 3-5 minutes to warm up before connecting any loads.

Image 6: Turning the fuel tank vent knob to the 'ON' position.
4.2 Stopping the Engine
- Disconnect all electrical loads from the generator.
- Allow the generator to run for a few minutes without load to cool down.
- Move the 3-in-1 switch to the "OFF" position.
- Turn the fuel tank vent knob to the "OFF" position to prevent fuel leakage during transport or storage.
4.3 Eco Mode Operation
The Eco mode optimizes fuel consumption and reduces noise by adjusting engine speed to match the electrical load. To activate, simply switch the ECO switch to the "ON" position. For maximum power or when starting, ensure Eco mode is off.
4.4 Connecting Electrical Devices
Once the generator is running and warmed up, you can connect your electrical devices to the appropriate outlets. Ensure the total wattage of connected devices does not exceed the generator's running wattage (3200W).
4.5 Parallel Operation
For increased power output, two Aceup Energy 3400W Inverter Generators can be connected in parallel using a compatible parallel connection kit (sold separately). Refer to the parallel kit's instructions for detailed setup.

Image 7: Two generators connected for parallel operation.
5. Maintenance
Regular maintenance ensures the longevity and reliable performance of your generator. Always turn off the engine and allow it to cool before performing any maintenance.
5.1 Engine Oil Change
Change the engine oil after the first 20 hours of operation, and then every 100 hours or every 6 months, whichever comes first.
- Place a suitable container under the oil drain plug.
- Remove the oil drain plug and the oil fill cap/dipstick to allow the oil to drain completely.
- Replace the oil drain plug and tighten it securely.
- Refill with the recommended engine oil (SAE 10W-30) to the upper limit on the dipstick.
- Replace the oil fill cap/dipstick.

Image 8: Performing an engine oil change.
5.2 Air Filter Maintenance
Inspect the air filter every 50 hours or every 3 months, and clean or replace as needed. A dirty air filter can reduce engine performance and increase fuel consumption.
- Remove the air filter cover.
- Remove the foam air filter element.
- Wash the element in warm, soapy water, rinse thoroughly, and allow it to dry completely. Alternatively, replace with a new filter.
- Apply a small amount of engine oil to the foam element and squeeze out any excess.
- Reinstall the air filter element and cover.

Image 9: Inspecting and cleaning the air filter.
5.3 Spark Plug Inspection
Inspect the spark plug every 100 hours or every 6 months. Clean or replace if necessary using the provided spark plug wrench.
- Remove the spark plug cap.
- Use the spark plug wrench to remove the spark plug.
- Inspect the electrode for wear and carbon buildup. Clean with a wire brush if needed.
- Check the spark plug gap and adjust if necessary (refer to specifications for correct gap).
- Reinstall the spark plug and tighten it to the recommended torque.
- Reattach the spark plug cap.

Image 10: Accessing the spark plug for inspection.
6. Troubleshooting
If you encounter issues with your generator, refer to the common problems and solutions below. For more detailed troubleshooting, please consult the official troubleshooting guide:
Download Troubleshooting Guide (PDF)
Common Issues:
- Engine Does Not Start:
- Check fuel level.
- Ensure engine oil is at the correct level (low oil shutdown will prevent starting).
- Verify the fuel tank vent knob is in the "ON" position.
- Check the 3-in-1 switch position (CHOKE for cold start, ON for warm start).
- Inspect the spark plug for fouling or damage.
- No Power Output:
- Check if the generator is overloaded (overload indicator may be lit). Reduce load and press the DC reset button if applicable.
- Ensure all circuit breakers on the control panel are in the "ON" position.
- Verify that connected devices are functioning correctly.
- Engine Runs Poorly or Stalls:
- Check fuel quality and ensure it is fresh.
- Inspect the air filter for clogging.
- Check the spark plug.
7. Specifications

Image 11: Generator dimensions and weight.
| Feature | Specification |
|---|---|
| Brand | Aceup Energy |
| Model Number | LH4300i |
| Starting Watts (Peak Power) | 3400 Watts |
| Running Watts (Operating Power) | 3200 Watts |
| Engine Type | 4-stroke, OHV, Air-cooled |
| Engine Displacement | 149 cm³ |
| Fuel Type | Unleaded Gasoline |
| Fuel Tank Capacity | 5 Liters |
| Runtime (at 50% load) | 8 hours |
| Voltage | 230 Volts (AC) |
| Frequency | 50 Hz |
| AC Outlets | 2 |
| DC Outlets | 1 (12V) |
| USB Ports | 5V (Type A/C) |
| Weight | 23 Kilograms (50.7 lbs) |
| Dimensions (L x W x H) | 50.2 x 30 x 45 cm |
| Special Features | Digital display, USB charger, Impact Resistance, Portable, Quiet |
| Included Components | Oil funnel, Spark plug wrench set, User manual |
8. Warranty and Support
Warranty Information
The Aceup Energy 3400W Inverter Generator is covered by a 1-year manufacturer's limited warranty. This warranty covers defects in materials and workmanship under normal use. Please retain your proof of purchase for warranty claims.
Technical Support
Aceup Energy provides free lifetime technical support for this product. If you have any questions regarding the operation, maintenance, or troubleshooting of your generator that are not covered in this manual or the troubleshooting guide, please contact Aceup Energy customer service.
For assistance, please visit the Aceup Energy Brand Store on Amazon or refer to the contact information provided with your purchase.


