
1. Introduction
The Proxel EPS-DUAL 4.0+D is an advanced electromagnetic parking sensor system designed to assist drivers with rear parking maneuvers. This system provides an invisible, drill-free solution for bumper protection, utilizing an electromagnetic field to detect obstacles. The integrated display offers visual feedback on object proximity, enhancing parking safety and convenience.
Key features include:
- Detection range from 70-80 cm down to a few centimeters.
- Comprehensive obstacle detection across the entire bumper length.
- Flexible 3.50 m aluminum antenna sensor, adjustable in length.
- Easy installation without drilling into the bumper, maintaining an invisible exterior.
- Updated software with new alert tones and four adjustable sensitivity levels.

Image: Illustration of the electromagnetic field coverage at the rear of a vehicle.
2. Package Contents
Verify that all components are present in your package:
- Control Unit (EPS-DUAL 4.0)
- Antenna Sensor Tape (3.50m)
- Display Unit with Cable
- Power Connection Cable
- Adhesive Strips for mounting
- User Manual (this document)

Image: Complete kit contents of the Proxel EPS-DUAL 4.0+D parking sensor system.
3. Setup and Installation
The Proxel EPS-DUAL 4.0+D system is designed for rear bumper installation without drilling. Follow these steps carefully:
3.1. Antenna Sensor Installation
- Prepare the Bumper: Clean the inner surface of the rear bumper thoroughly. Ensure it is dry and free of grease or dirt.
- Apply Antenna Tape: Carefully peel the backing from the antenna sensor tape. Apply the tape to the inside of the bumper, ensuring it runs horizontally along the entire length of the bumper. The tape should be positioned at a consistent height.
- Trim Excess: If the antenna tape is longer than your bumper, you may trim the excess using scissors. Ensure the cut end is properly sealed or insulated if necessary, following specific instructions in the full manual.

Image: Trimming the flexible antenna sensor tape to fit the bumper length.
3.2. Control Unit Placement
Mount the control unit (EPS-DUAL 4.0) in a secure, dry location within the vehicle's rear compartment, away from direct heat or moisture. Use the provided adhesive strips for secure attachment.
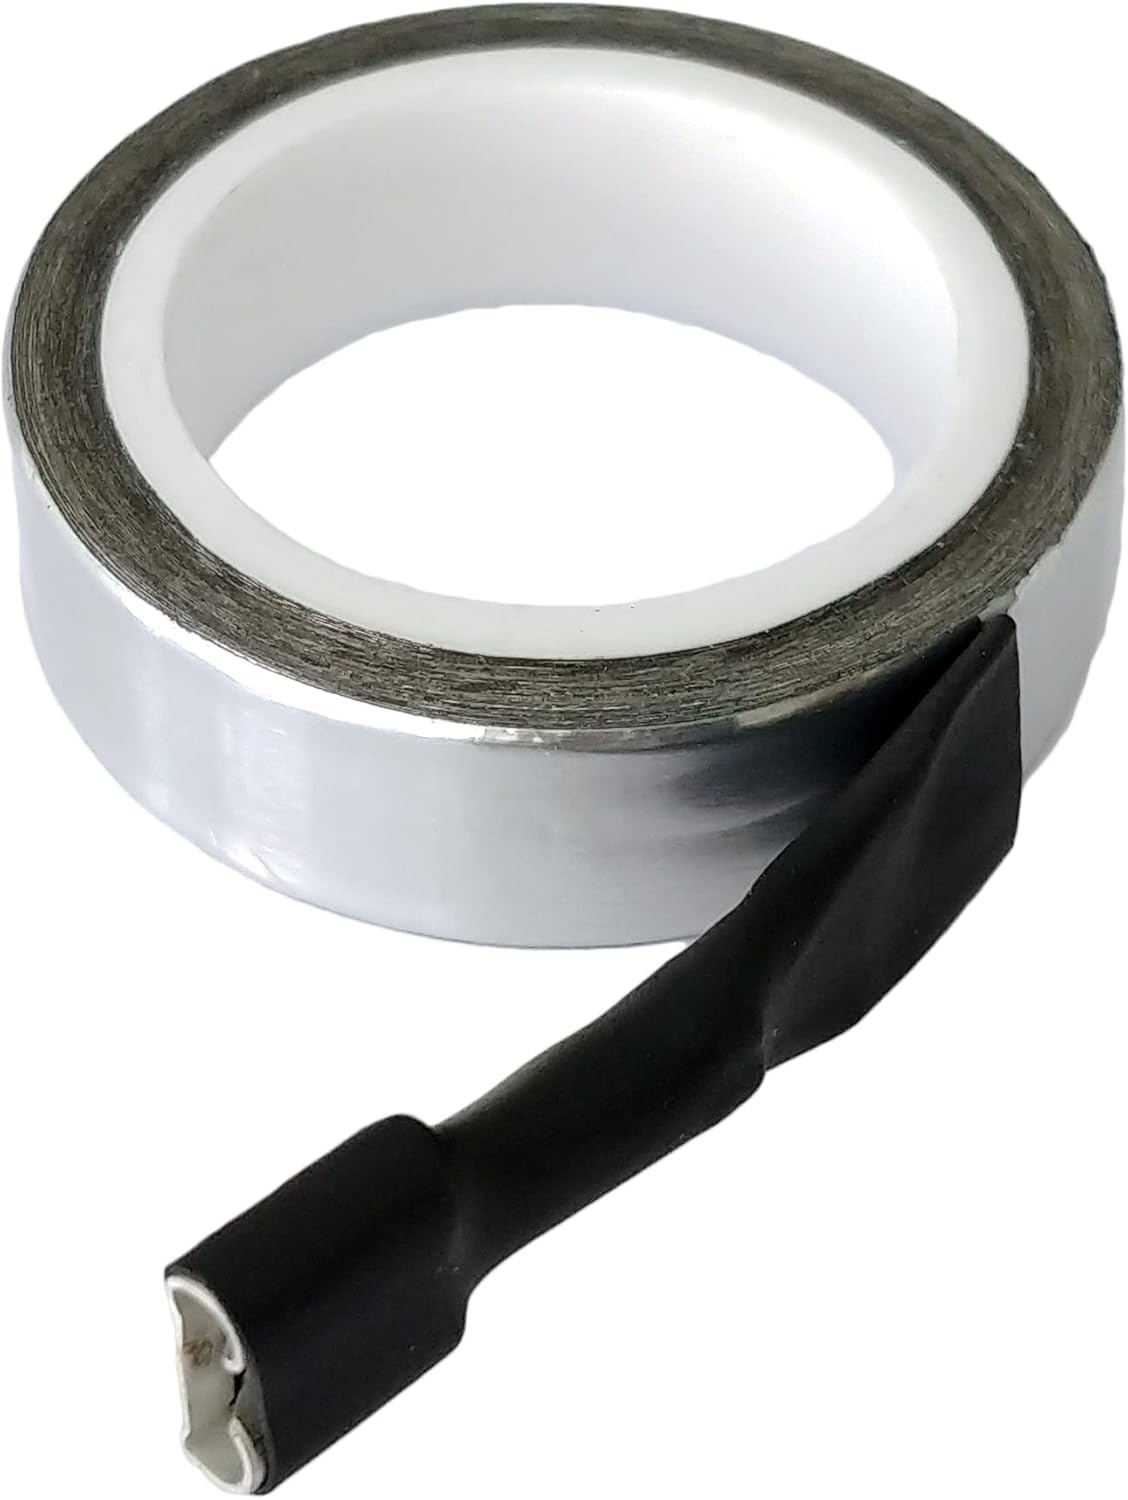
Image: The Proxel EPS-DUAL 4.0 control unit with sensitivity adjustment switches.
3.3. Wiring Connections
- Connect Antenna: Plug the antenna sensor cable into the designated port on the control unit.
- Connect Power: Connect the power cable to the control unit and then to your vehicle's reverse light circuit. This ensures the system activates automatically when reverse gear is engaged. Consult your vehicle's wiring diagram or a professional for correct power connection points.
- Connect Display: Route the display cable from the control unit to the desired location for the display unit (e.g., dashboard). Plug the display cable into the control unit and the display.

Image: Power connection cable for the Proxel parking sensor system.

Image: Display connection cable for the Proxel parking sensor system.
3.4. Display Unit Placement
Mount the display unit in a location that is easily visible from the driver's seat but does not obstruct your view of the road. Use the provided adhesive for secure placement.

Image: The Proxel parking sensor display unit installed on a car dashboard, showing distance indication.
4. Operating Instructions
4.1. System Activation
The EPS-DUAL 4.0+D system automatically activates when the vehicle's reverse gear is engaged. The display will illuminate, and the system will begin scanning for obstacles.
4.2. Interpreting the Display
The display unit provides visual and audible feedback:
- Distance Indication: The central numerical display shows the approximate distance to the nearest obstacle in centimeters.
- Proximity Bars: LED bars on either side of the numerical display light up to indicate the proximity and direction of obstacles. More bars illuminated, or bars changing color (e.g., from green to yellow to red), indicate closer proximity.
- Audible Alerts: The system emits beeping sounds. The frequency of the beeps increases as you get closer to an obstacle. A continuous tone typically indicates a very close distance (e.g., less than 30 cm).

Image: Close-up of the display unit, showing distance reading and proximity bars. Dimensions are 10 cm wide and 2 cm high.
4.3. Sensitivity Adjustment
The control unit features switches (typically DIP switches) to adjust the sensor's sensitivity. Refer to the markings on the control unit (e.g., 1, 2, 3, 4) to select one of the four available sensitivity levels. Higher sensitivity may detect objects earlier but could also lead to more false alarms in certain environments. Experiment to find the optimal setting for your vehicle and driving conditions.
5. Maintenance
The Proxel EPS-DUAL 4.0+D system requires minimal maintenance:
- Keep Bumper Clean: Ensure the exterior of your bumper, where the antenna tape is installed, is kept clean from excessive dirt, snow, or ice, as these can interfere with sensor performance.
- Check Connections: Periodically inspect all wiring connections to ensure they are secure and free from corrosion or damage.
- Display Cleaning: Clean the display unit with a soft, dry cloth. Avoid abrasive cleaners.
6. Troubleshooting
If you experience issues with your Proxel EPS-DUAL 4.0+D system, consider the following:
- System Not Activating:
- Check power connections to the reverse light circuit. Ensure the reverse light is functioning.
- Verify all cables are securely plugged into the control unit and display.
- Inaccurate or Delayed Detection:
- Adjust the sensitivity settings on the control unit. Try a higher sensitivity level.
- Ensure the bumper surface is clean and free from obstructions (e.g., mud, snow, large stickers).
- Confirm the antenna tape is properly installed along the entire bumper length and is not damaged.
- Avoid installing the antenna tape too close to large metal objects or other electronic devices that might cause interference.
- Constant Beeping/False Alarms:
- Reduce the sensitivity setting on the control unit.
- Check for any objects permanently close to the bumper (e.g., tow hitch, spare tire mounted on the rear).
- Ensure the antenna tape is not creased or damaged, which could create localized interference.
- Display Not Working:
- Check the display cable connection to both the display unit and the control unit.
- Ensure the main system is receiving power and the control unit is active.

Image: If issues persist, consult the full manual or contact support.
7. Specifications
| Brand | Proxel |
| Model Number | EPS-DUAL 4.0+D |
| Detection Range | 70 - 80 cm (up to a few centimeters) |
| Measurement Accuracy | ±3% |
| Antenna Sensor Length | 3.50 m (flexible, trimmable) |
| Installation Type | Surface Mount (invisible, no drilling) |
| Output Type | Digital (with display and audio) |
| Operating Temperature (Upper) | 85 Degrees Celsius |
| Item Weight | 200 grams |
| Country of Origin | Italy |
8. Warranty Information
Proxel products are manufactured to high-quality standards. For specific warranty terms and conditions, please refer to the documentation included with your purchase or visit the official Proxel website. Keep your proof of purchase for warranty claims.
9. Support
For further assistance, technical support, or inquiries regarding your Proxel EPS-DUAL 4.0+D parking sensor system, please contact Proxel customer service. You can often find contact details on the official Proxel website or through the retailer where you purchased the product.
Visit the Proxel Brand Store for more information on Proxel products and accessories.

Image: Contact customer support for assistance.
