
1. Product Overview
The SmallRig Overhead 3-Section Desktop Camera Bracket (Model 4324) is a versatile mounting solution designed for photography, videography, and live streaming. It features a robust aluminum alloy construction, hydraulic damping joints for precise positioning, and a tabletop C-clamp for secure attachment to various surfaces.

Figure 1: SmallRig Overhead 3-Section Desktop Camera Bracket (Model 4324).
2. What's Included
Verify that all components are present in the package:
- Boom Arm Desk Mount x 1
- Cable Tie x 10
- Phone Clamp x 1
- Ball Head x 1

Figure 2: Package contents including the boom arm, phone clamp, ball head, and cable ties.
3. Setup Instructions
3.1 Attaching the C-Clamp to a Desk
- Identify a suitable tabletop surface for mounting. The C-clamp can securely grip tabletops up to 7cm / 2.8in thick.
- Place the C-clamp onto the edge of your desk. Ensure the top rubber pad is positioned on the desk surface to prevent scratches.
- Tighten the screw knob on the C-clamp until it is firmly secured to the desk. Do not overtighten.
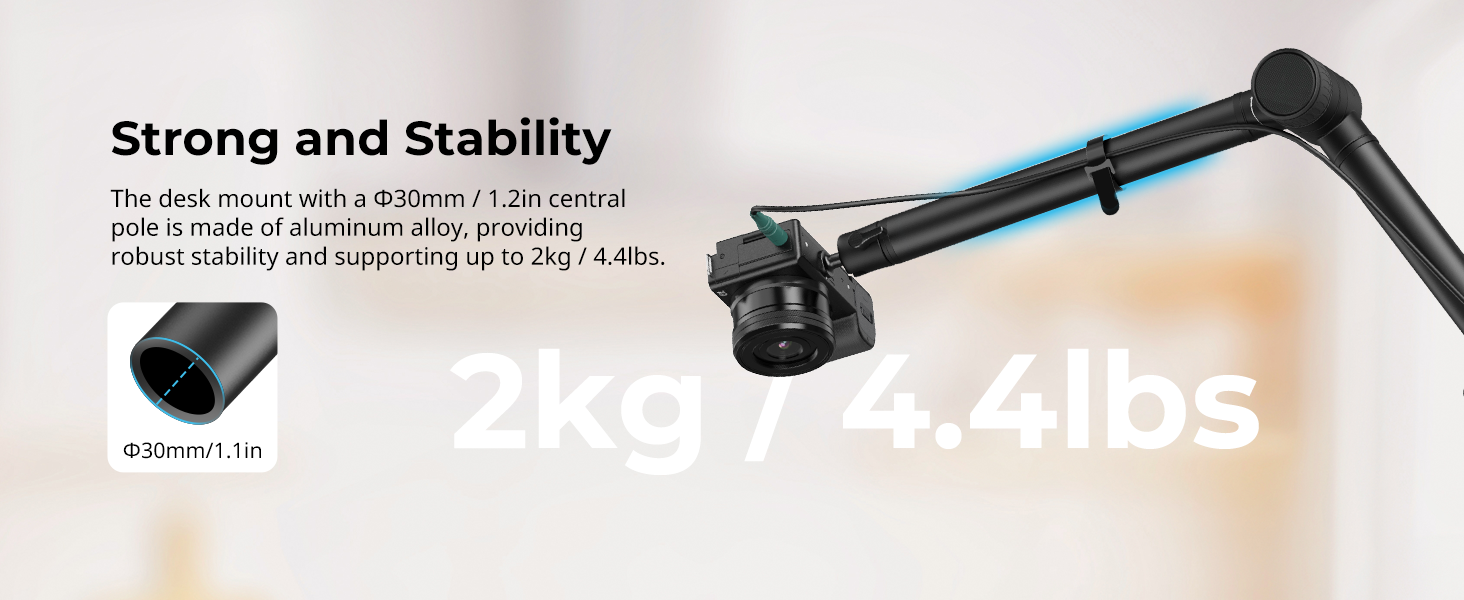
Figure 3: Illustration of the C-clamp's gripping distance on a tabletop.
3.2 Assembling the Boom Arm
- Insert the main pole of the boom arm into the vertical slot of the C-clamp.
- Tighten the side knob on the C-clamp to secure the boom arm's main pole.
- The boom arm features a 3-section folding design. Unfold the sections to your desired position.
3.3 Attaching Accessories
- Attach the provided ball head to the 1/4"-20 screw at the end of the boom arm. Tighten it securely.
- If using a smartphone, attach the phone clamp to the ball head.
- Mount your camera, smartphone, or webcam onto the ball head or phone clamp.
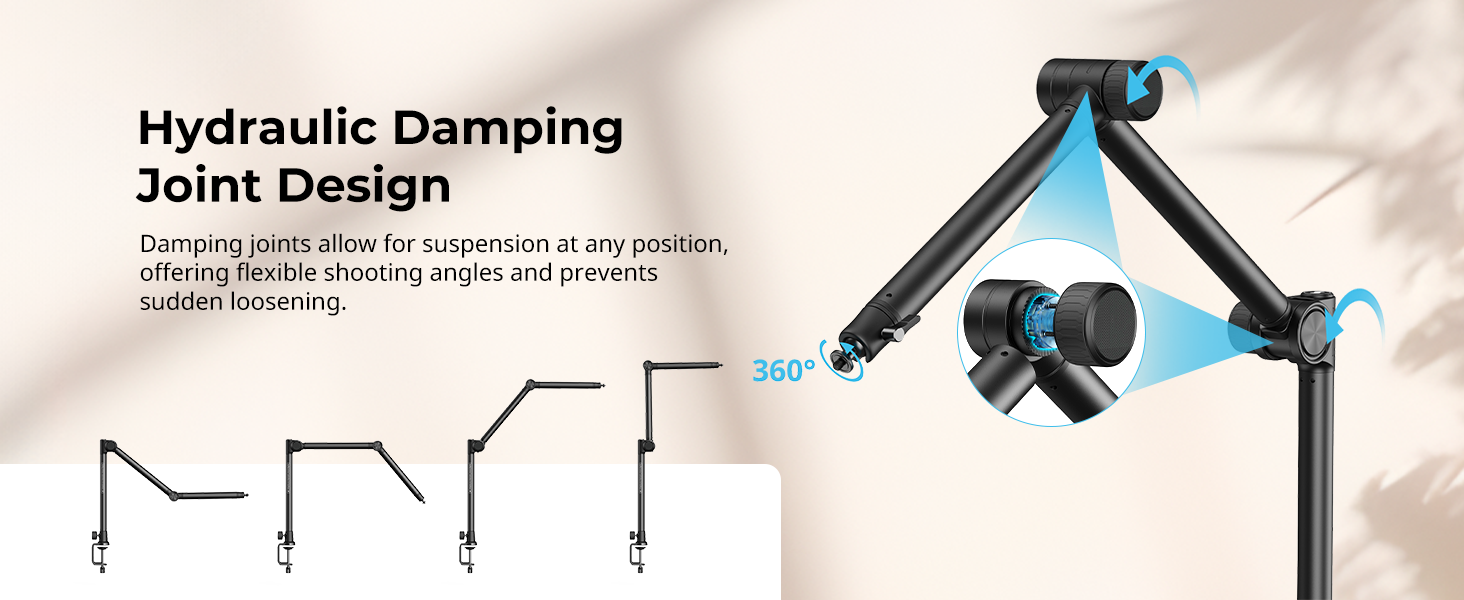
Figure 4: The bracket is compatible with various devices such as cameras, action cameras, phones, and webcams.
4. Operating Instructions
4.1 Adjusting the Boom Arm
The 3-section boom arm features hydraulic damping joints. These joints allow for suspended positioning at any point, preventing sudden loosening and ensuring equipment safety. To adjust the angle:
- Loosen the adjustment dials on the hydraulic damping joints.
- Position the arm to your desired shooting angle.
- Tighten the adjustment dials to lock the arm securely in place.
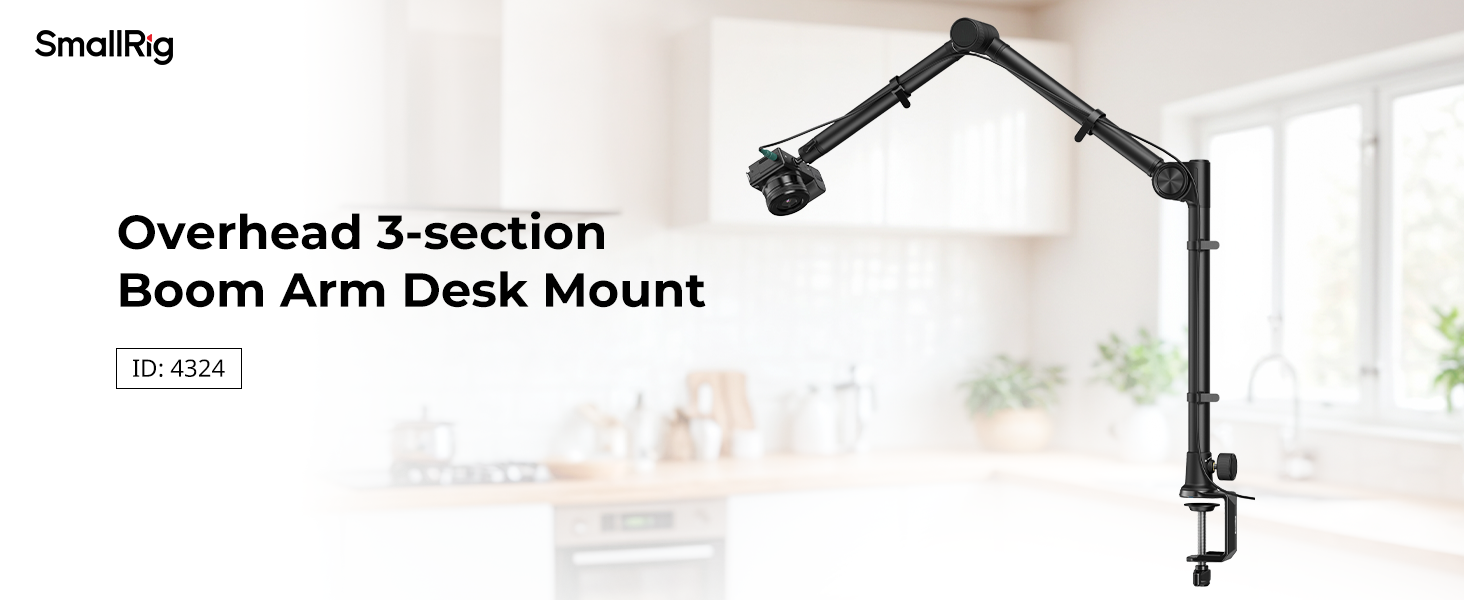
Figure 5: Hydraulic damping joints allow for flexible and secure positioning of the boom arm.
4.2 Adjusting the Ball Head
The integrated anti-deflection ball head with a 1/4"-20 screw allows for flexible adjustments of your mounted device.
- Loosen the locking knob on the ball head.
- Adjust the angle and orientation of your camera or device. The ball head offers 360-degree rotation.
- Tighten the locking knob to secure the device in the desired position.
4.3 Cable Management
Use the included 10 cable ties to organize any cables running along the boom arm, ensuring a clean and tidy desktop setup.
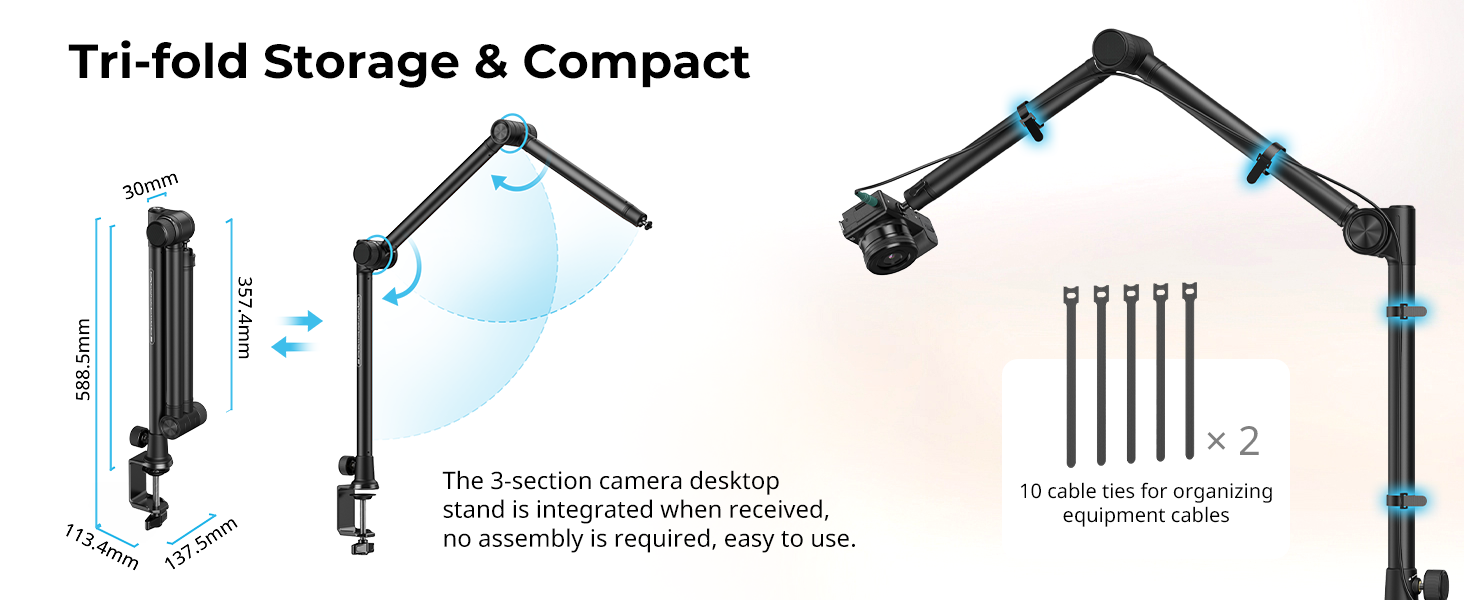
Figure 6: Cable ties help maintain an organized workspace by securing cables to the boom arm.
5. Maintenance
To ensure the longevity and optimal performance of your SmallRig Desktop Camera Bracket:
- Regularly inspect all joints and screws for tightness. Tighten as necessary.
- Clean the aluminum alloy surfaces with a soft, dry cloth. Avoid abrasive cleaners or solvents.
- Store the bracket in a clean, dry environment when not in use. The tri-fold design allows for compact storage.
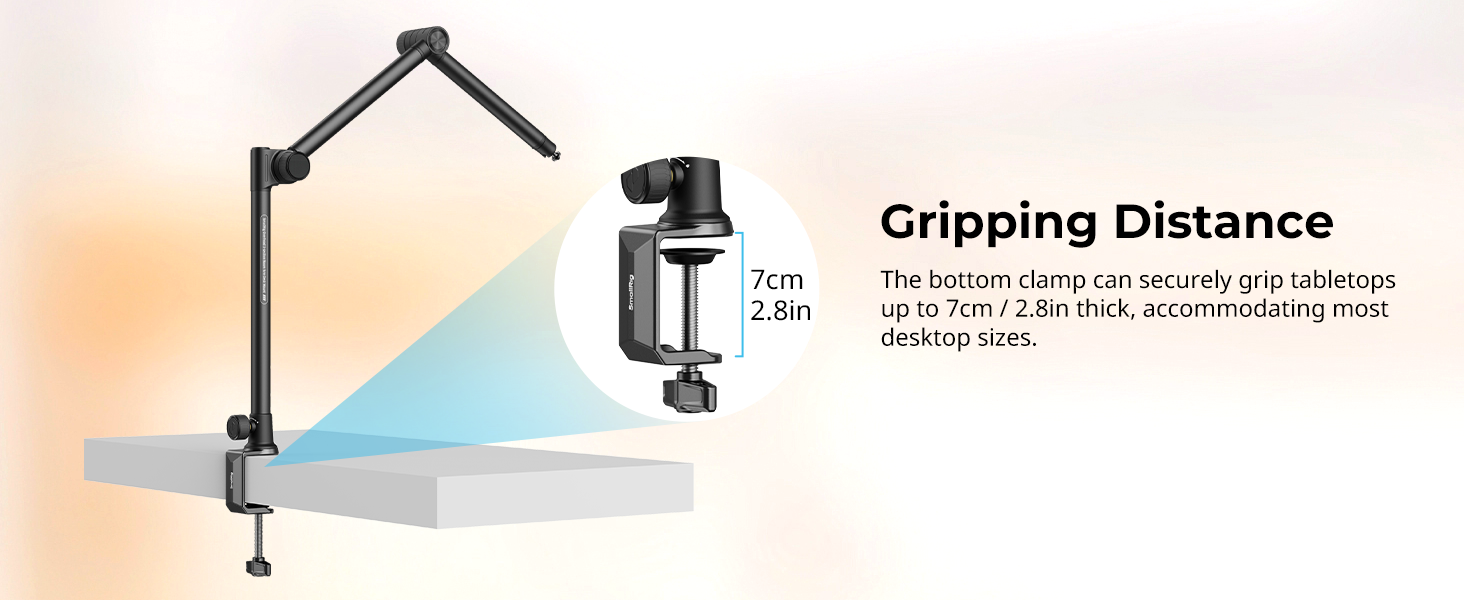
Figure 7: The boom arm can be quickly folded for compact storage.
6. Troubleshooting
- Arm Sagging: Ensure all hydraulic damping joint dials are fully tightened after positioning.
- Unstable Mount: Verify the C-clamp is securely fastened to the desk and the main pole is tightened within the clamp. Ensure the desk thickness is within the 7cm / 2.8in limit.
- Device Slipping: Confirm the ball head's locking knob is tight. For phone clamps, ensure the phone is properly seated and gripped.
7. Specifications
| Model Name | 4324 |
| Brand | SMALLRIG |
| Compatible Devices | Cameras, Webcams, Phones |
| Maximum Weight Recommendation | 4.4 Pounds / 2 kg |
| Item Weight | 1319 Grams |
| Product Dimensions | 587.9 x 123.8 x 109.0 mm / 23 x 4.8 x 4.3 in |
| Material(s) | Aluminum Alloy, Stainless Steel |
| Tabletop Clamp Distance | Up to 7cm / 2.8in |
| Built-In Media | Boom Arm Desk Mount x 1, Cable Tie x 10, Phone Clamp x 1, Ball Head x 1 |
Figure 8: Detailed product dimensions and included accessories.
8. Warranty & Support
8.1 Warranty Information
This SmallRig product comes with a 2-year warranty from the date of purchase. Please retain your proof of purchase for warranty claims.
8.2 Customer Support
For technical assistance, troubleshooting, or warranty inquiries, please visit the official SmallRig website or scan the QR code provided in your product packaging for direct support access.

