
ARTPOWER YJJ-24-HollowCabinet-P-1
ARTPOWER YJJ-24-HollowCabinet-P-1 47.8" Accent Cabinet User Manual
Model: YJJ-24-HollowCabinet-P-1
1. Introduction
Thank you for choosing the ARTPOWER 47.8" Accent Cabinet. This manual provides essential information for the safe assembly, operation, and maintenance of your new furniture. Please read these instructions carefully before beginning assembly and retain them for future reference.

Image 1.1: The ARTPOWER Accent Cabinet, showcasing its vintage hollow carving design and four doors, positioned in a modern living space.
2. Important Safety Information
Always follow the assembly instructions provided. Be cautious when handling heavy parts to avoid injury. Keep the area around the cabinet clear during and after assembly to prevent accidents. Ensure all fasteners are securely tightened before use. Do not allow children to climb on or play with the cabinet.
3. Package Contents
Before assembly, verify that all components are present and undamaged. Refer to the detailed parts list included in your assembly guide. Each part is typically numbered for easy identification.
- Cabinet Panels (Top, Bottom, Sides, Back)
- Door Panels with Hollow Carving
- Adjustable Shelves
- Metal Handles
- Premium Hinges
- Protective Pads for Legs
- Door Stops
- Assembly Hardware (screws, dowels, cam locks, etc.)
- Assembly Tools (e.g., Allen wrench, screwdriver)

Image 3.1: Detailed view of key components: golden metal handles, premium hinges for smooth operation, protective pads for floor stability, and door stops for secure closure.
4. Assembly Instructions
Assembly of the ARTPOWER Accent Cabinet is designed to be straightforward. Follow the step-by-step instructions provided in the separate assembly manual. Each part is numbered to facilitate quick and accurate construction.
- Prepare the Area: Clear a spacious, clean, and flat surface for assembly.
- Identify Parts: Lay out all components and hardware. Match them with the parts list and diagrams in the assembly guide.
- Assemble the Frame: Connect the base, side panels, and top panel according to the numbered steps.
- Install Shelves: Insert the adjustable shelves into the desired positions.
- Attach Doors: Secure the hinges to the doors and then attach the doors to the cabinet frame. Adjust as necessary for even alignment.
- Install Handles and Legs: Attach the metal handles to the doors and screw the legs onto the cabinet base, ensuring they are stable.
- Final Check: Verify all connections are tight and the cabinet is stable before placing items inside.
If you encounter any difficulties during assembly, refer to the troubleshooting section or contact customer support.
5. Operation and Usage
This accent cabinet is designed for versatile storage and display in various rooms. Its four doors and two-tier shelving provide ample space for organizing household items.
- Living Room: Use as a credenza for decorative items, media accessories, or general storage.
- Dining Room: Ideal as a buffet cabinet for dinnerware, serving dishes, or linens.
- Kitchen: Provides additional storage for kitchen essentials, small appliances, or pantry items.
- Entryway/Hallway: Functions as an entryway console for keys, mail, and other items, or for shoe storage.
- Home Bar: Can serve as a stylish home bar cabinet for beverages and glassware.

Image 5.1: The cabinet with its doors open, demonstrating the two-tier shelving system and its capacity for organized storage of various items.
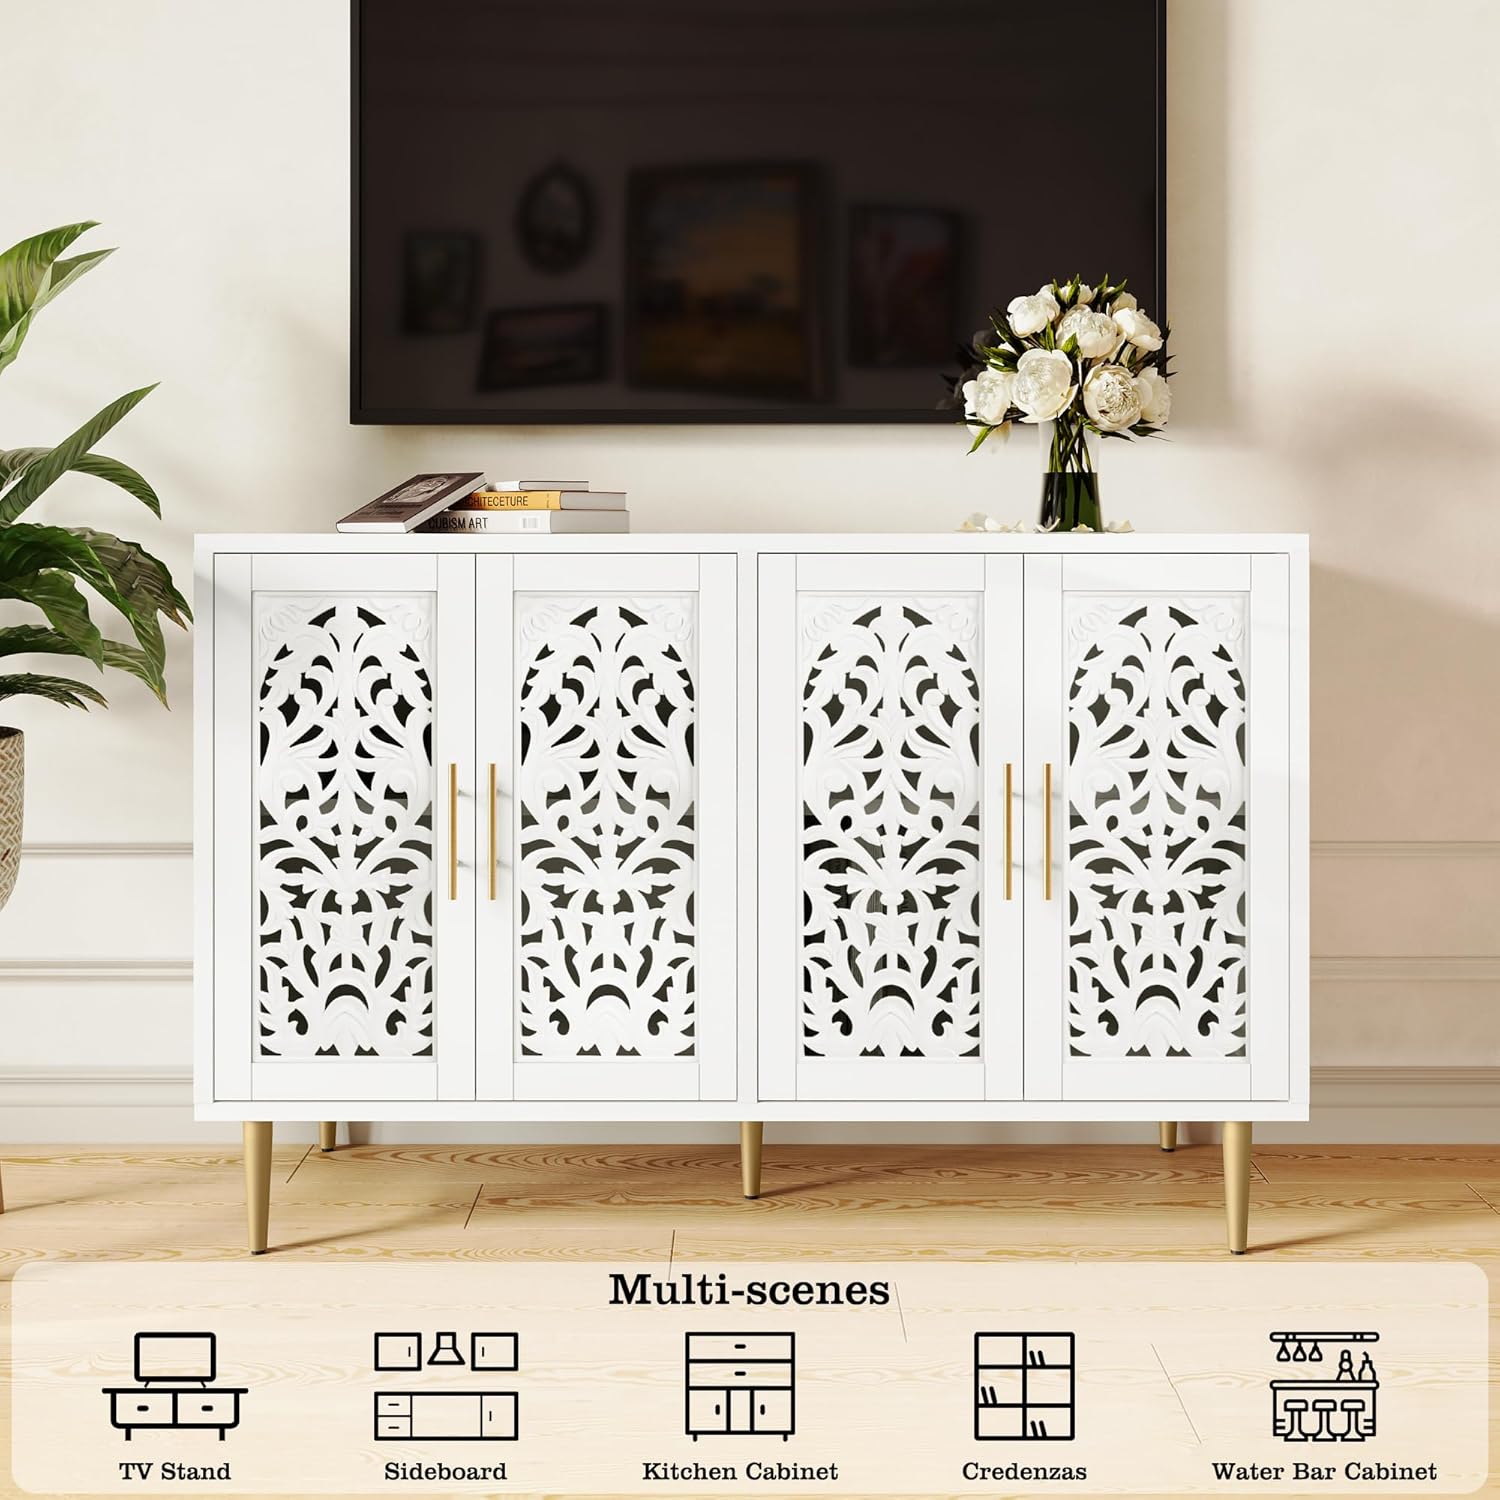
Image 5.2: Illustration of the cabinet's multi-functional use across different rooms and purposes, highlighting its adaptability.
6. Care and Maintenance
Proper care will ensure the longevity and appearance of your ARTPOWER Accent Cabinet.
- Cleaning: Wipe surfaces with a soft, damp cloth. Avoid harsh chemicals or abrasive cleaners, which can damage the painted finish.
- Dusting: Regularly dust the cabinet, including the hollow-carved door panels, to prevent dust buildup. A soft brush or compressed air can help clean intricate carved areas.
- Spills: Immediately wipe up any spills to prevent staining or damage to the wood.
- Protection: Use coasters or placemats under hot or wet items to protect the top surface from marks and moisture.
- Sunlight: Avoid prolonged exposure to direct sunlight, which can cause fading or discoloration.
- Hardware: Periodically check and tighten all screws and fasteners to maintain structural integrity.
7. Troubleshooting
If you encounter issues with your cabinet, refer to the following common solutions:
- Uneven Doors: If doors appear misaligned after installation, gently push or pull the door up or down at the hinge point. Many hinges allow for minor adjustments. Ensure all hinge screws are tightened evenly.
- Shelf Does Not Fit: Double-check that the shelf is oriented correctly and that all shelf pins are fully inserted into the designated holes. Ensure no obstructions are present.
- Cabinet Wobbles/Unstable: Verify that the cabinet is placed on a flat, level surface. Check that all legs are securely attached and tightened. The protective pads on the legs can help with minor leveling on uneven floors.
- Surface Scuffs Easily: The painted finish, while durable, can be susceptible to scuffs from abrasive contact. Use protective mats or avoid dragging objects across the surface.
- Difficulty Assembling: Re-read the assembly instructions carefully. Ensure you are using the correct hardware for each step, as parts are often numbered. If a part is damaged or missing, contact customer support for replacement.
8. Product Specifications
Detailed specifications for the ARTPOWER 47.8" Accent Cabinet:
| Feature | Detail |
|---|---|
| Brand | ARTPOWER |
| Model Name | Accent Cabinet |
| Item Model Number | YJJ-24-HollowCabinet-P-1 |
| Product Dimensions | 15.5"D x 47.8"W x 31.4"H |
| Color | White |
| Material | Wood (Frame, Top, Back) |
| Finish Type | Painted |
| Number of Doors | 4 |
| Number of Shelves | 2 |
| Number of Compartments | 6 |
| Item Weight | 58.6 pounds |
| Mounting Type | Floor Mount |
| Assembly Required | Yes |
| Special Feature | Heavy Duty |

Image 8.1: Product dimensions diagram, showing overall measurements and internal shelf spacing.
9. Warranty and Customer Support
ARTPOWER is committed to providing quality products and customer satisfaction. If you encounter any problems with your cabinet, including damaged or missing parts, please contact our customer support team. We will do our best to help you solve the problem and ensure your satisfaction.
For assistance, please refer to the contact information provided with your purchase or visit the ARTPOWER store online.
- Customer Support: For inquiries or assistance, please reach out to ARTPOWER customer service.
- Returns: This product is eligible for 30-day easy returns.
Ask a question about this manual
Ask about setup, troubleshooting, compatibility, parts, safety, or missing instructions. Manuals+ will review the question and use this page’s manual context to help answer it.