1. Introduction
This manual provides detailed instructions for the safe and effective operation of your Flashpoint Flashback Lux Master Retro R2 TTL Camera Flash. Designed for photographers seeking precision and versatility, this advanced flash unit integrates a touch screen interface and supports the R2 2.4G wireless system. Please read this manual thoroughly before use to ensure optimal performance and to prevent damage to the unit or injury.
2. Safety Information
Always observe the following safety precautions to prevent electric shock, fire, or damage to the product:
- Do not disassemble or modify the flash unit. High voltage components are present.
- Keep the flash unit dry. Do not expose it to rain or moisture.
- Avoid direct eye exposure to the flash light, especially at close range, as it can cause temporary vision impairment.
- Do not operate the flash in the presence of flammable gases or liquids.
- Ensure proper ventilation during use to prevent overheating. The flash tube can become very hot after continuous firing.
- Use only specified batteries and charging accessories.
3. Product Features
The Flashpoint Flashback Lux Master offers a range of advanced features:
- Superior Power Output: Delivers a guide number of 82, providing ample illumination for various shooting scenarios.
- Lightning-Fast Recycle Time: Achieves a rapid 1.8-second recycle time for continuous shooting.
- TTL Functionality: Offers seamless integration with multi-brand cameras for accurate automatic flash exposure.
- HSS Support: High-Speed Sync enables shooting at faster shutter speeds, freezing motion and allowing creative depth of field control.
- R2 2.4G Wireless System: Supports TTL, Multi, Manual, and Auto modes for versatile wireless control.
- Innovative Touch Screen Interface: Provides intuitive control and access to various settings.
- Wireless Sync Function: Simplifies channel and ID settings when using multiple flash triggers.
- Exceptional Build Quality: Robust construction ensures reliable performance and durability.
4. Component Identification
Familiarize yourself with the various parts of your Flashpoint Lux Master flash unit:
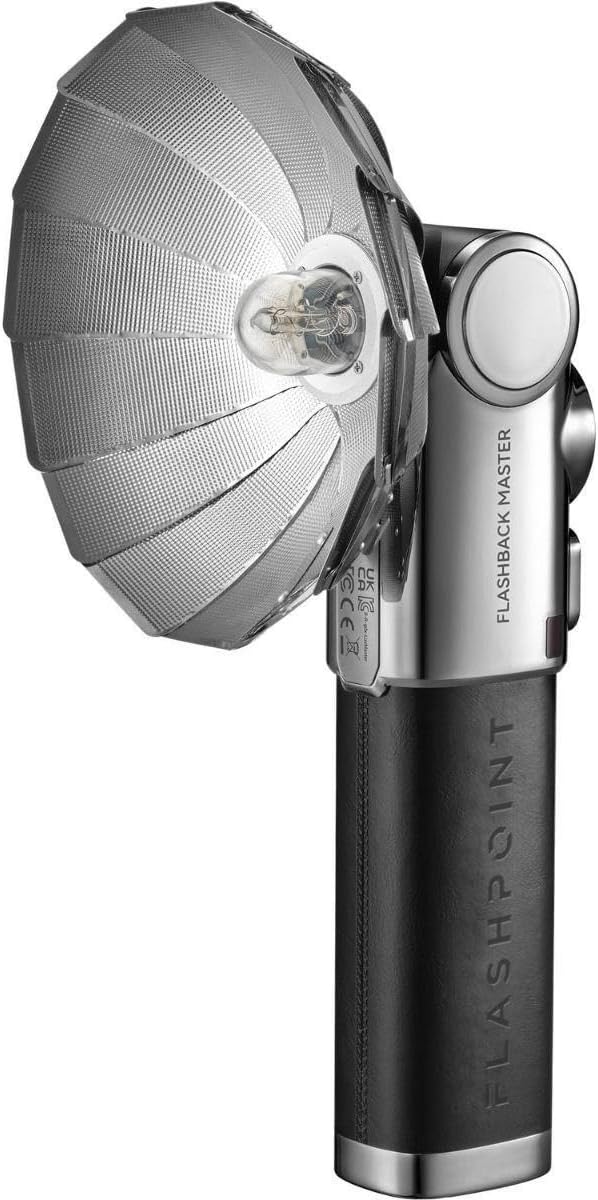
Figure 4.1: Flashpoint Flashback Lux Master Retro R2 TTL Camera Flash with its retro-styled parabolic reflector attached.

Figure 4.2: Rear view of the Flashpoint Lux Master, showing the circular touchscreen interface and control buttons.
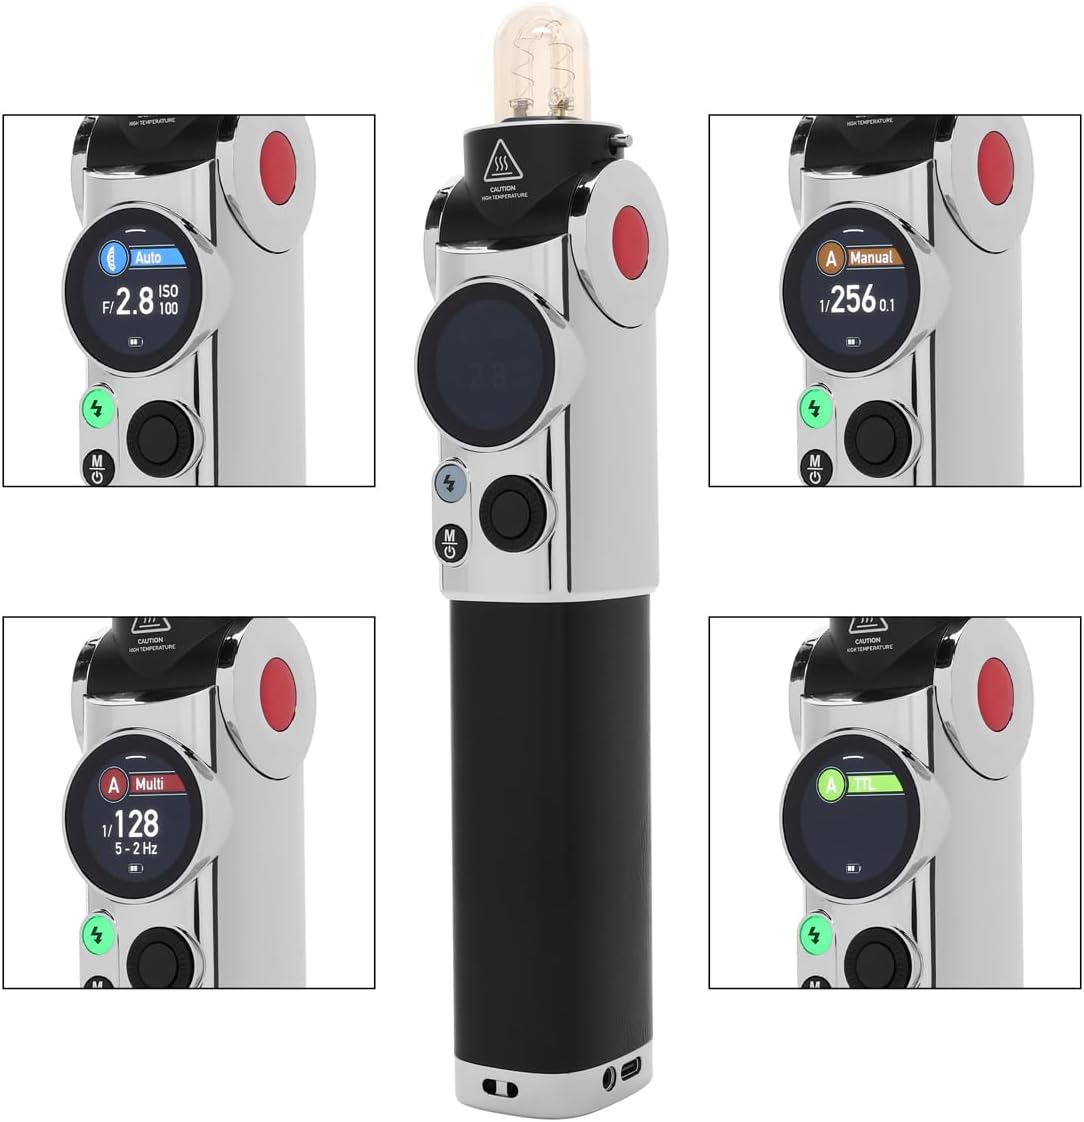
Figure 4.3: Detailed view of the Flashpoint Lux Master's touchscreen, displaying various operating modes including Auto, Manual, Multi, and TTL.
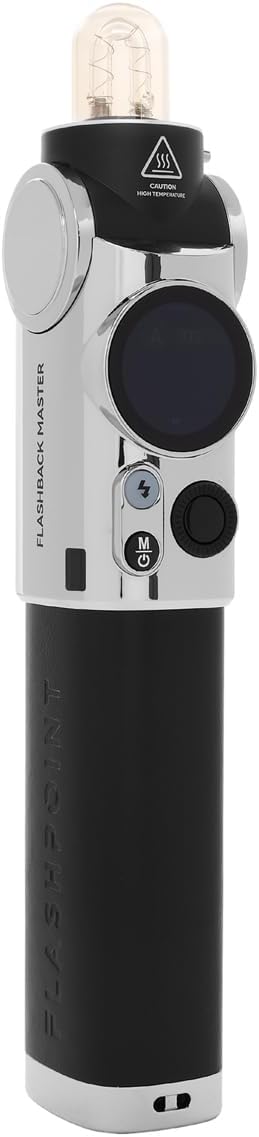
Figure 4.4: Side profile of the Flashpoint Lux Master without the reflector, highlighting its sleek design and control layout.

Figure 4.5: Front view of the Flashpoint Lux Master, showing the flash tube and the 'CAUTION HIGH TEMPERATURE' warning.

Figure 4.6: Top-down view of the Flashpoint Lux Master, focusing on the flash tube and the power/mode buttons.
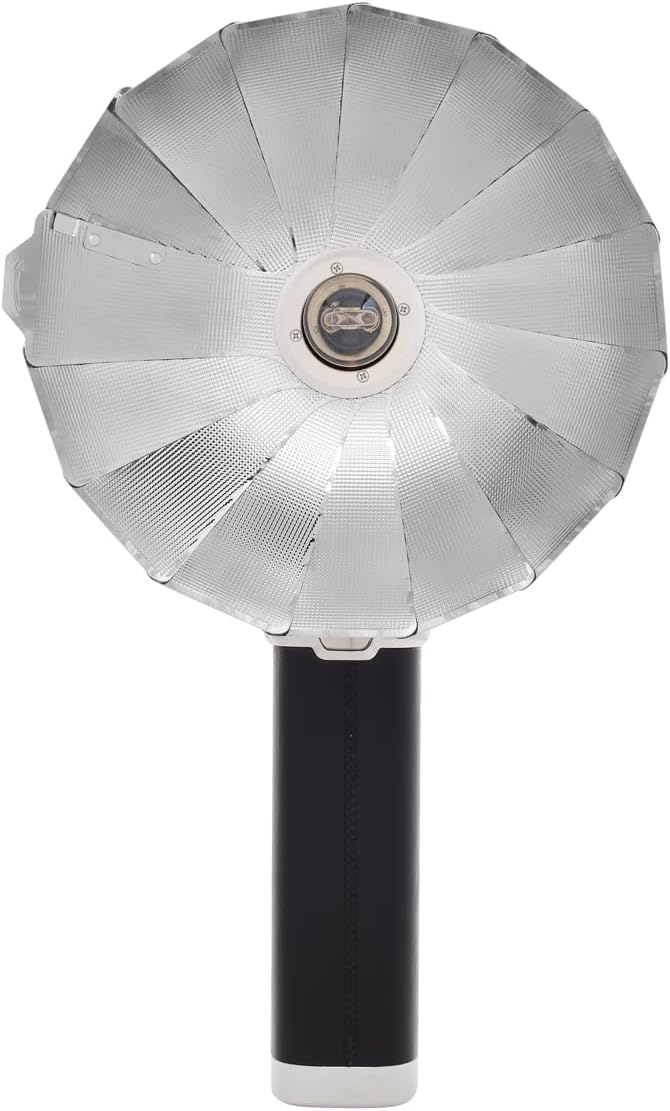
Figure 4.7: Rear view of the Flashpoint Lux Master, showing regulatory markings and the Flashpoint branding.

Figure 4.8: Front view of the Flashpoint Lux Master with the parabolic reflector, showcasing the light-shaping accessory.
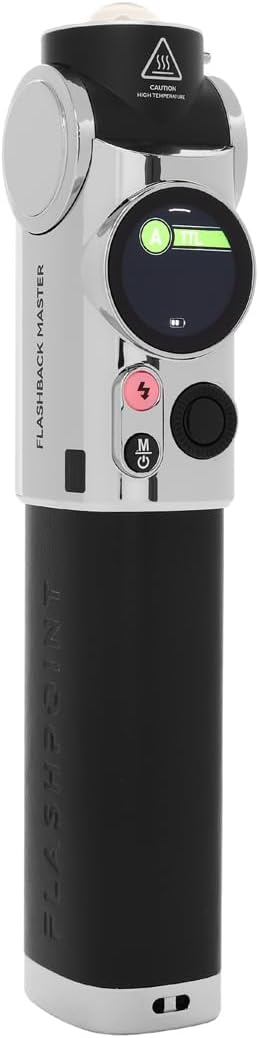
Figure 4.9: Another side view of the Flashpoint Lux Master, emphasizing its compact form factor.
5. Setup
Follow these steps to set up your Flashpoint Lux Master for first use:
- Charging the Battery: Connect the flash unit to a power source using the provided USB-C cable. The battery indicator on the touchscreen will show charging status. Ensure the unit is fully charged before first use.
- Attaching to Camera: Slide the flash unit's hot shoe mount securely onto your camera's hot shoe. Tighten the locking mechanism if available on your camera or the flash.
- Power On/Off: Press and hold the power button (usually marked with a circle and a vertical line) for a few seconds to turn the unit on or off. The touchscreen will illuminate upon power-on.
- Initial Settings: Use the touchscreen to navigate through initial setup options such as language, time, and basic flash parameters.
6. Operating Modes
The Flashpoint Lux Master offers several operating modes to suit various photographic needs:
- TTL (Through-The-Lens) Mode: This mode automatically adjusts flash output based on the camera's metering system, providing accurate exposure without manual adjustments. Select TTL on the touchscreen for automatic flash control.
- Manual Mode: Allows you to manually set the flash power output from full power down to the lowest setting. This mode offers precise control over lighting for consistent results. Adjust power levels using the touchscreen interface.
- Multi (Stroboscopic) Mode: Fires a series of rapid flashes during a single exposure, ideal for capturing multiple movements of a subject in one frame. Configure flash frequency and number of flashes via the touchscreen.
- Auto Mode: The flash uses its own light sensor to determine the correct exposure, independent of the camera's metering. This is useful for older cameras or specific creative effects.
- R2 2.4G Wireless System: The Lux Master can function as a master or slave unit within the Flashpoint R2 2.4G wireless system. This enables remote control and multi-flash setups. Use the wireless sync function on the touchscreen to set channels and IDs for seamless communication with other R2 devices.
- High-Speed Sync (HSS): When enabled, HSS allows the flash to synchronize with shutter speeds faster than the camera's native flash sync speed (e.g., 1/250s). This is crucial for shooting with wide apertures in bright conditions or freezing fast motion.
7. Maintenance
Proper maintenance ensures the longevity and optimal performance of your flash unit:
- Cleaning: Use a soft, dry cloth to clean the flash body and touchscreen. For stubborn dirt, a slightly damp cloth can be used, followed by immediate drying. Do not use solvents or abrasive cleaners.
- Flash Tube: Avoid touching the flash tube directly with bare hands, as oils can reduce its lifespan. If touched, clean gently with an alcohol wipe.
- Storage: Store the flash unit in a cool, dry place away from direct sunlight and extreme temperatures. If storing for an extended period, remove the battery to prevent leakage.
- Battery Care: Recharge the battery regularly, even if not in use, to maintain its health. Avoid fully discharging the battery frequently.
8. Troubleshooting
If you encounter issues with your Flashpoint Lux Master, refer to the following common problems and solutions:
| Problem | Possible Cause | Solution |
|---|---|---|
| Flash does not fire | Low battery; Incorrect camera/flash settings; Flash not securely mounted. | Charge battery; Check flash mode (TTL/Manual) and camera flash settings; Re-mount flash securely. |
| Incorrect exposure (too dark/bright) | Incorrect flash power; TTL compensation needed; ISO/aperture mismatch. | Adjust manual power; Apply flash exposure compensation in TTL mode; Verify camera ISO/aperture settings. |
| Wireless connection issues | Mismatched channel/ID; Out of range; Interference. | Ensure master and slave units have matching channels and IDs; Reduce distance between units; Change channel to avoid interference. |
| Flash overheats | Excessive rapid firing. | Allow the flash to cool down. Reduce firing frequency. |
If the problem persists after attempting these solutions, please contact Flashpoint customer support.
9. Specifications
Key technical specifications for the Flashpoint Flashback Lux Master:
- Model: Lux Master
- Guide Number: 82 (approximate)
- Recycle Time: 1.8 seconds (approximate)
- Flash Sync Speed: Up to 1/250s (standard), HSS supported
- Connectivity Technology: Wireless (R2 2.4G System)
- Compatible Mountings: ISO Hot Shoe
- Item Weight: 2.45 pounds
- Package Dimensions: 12.5 x 9 x 7.5 inches
- Manufacturer: Flashpoint
10. Warranty and Support
For warranty information, please refer to the documentation provided at the time of purchase or visit the official Flashpoint website. For technical assistance, troubleshooting beyond this manual, or service inquiries, please contact Flashpoint customer support directly.


