
1. Introduction
This manual provides essential information for the proper installation, operation, and maintenance of your SITERWELL GS562A Hardwired Interconnected Photoelectric Smoke Alarm. Please read this manual thoroughly before installation and retain it for future reference. This device is designed to detect smoke and provide an audible alarm, enhancing fire safety in your home or property.

Figure 1: SITERWELL GS562A Hardwired Interconnected Photoelectric Smoke Alarms with 9V Battery.
2. Safety Information
- Important: This smoke alarm is designed for residential use. It is not intended for industrial or commercial applications.
- Electrical Safety: Installation must be performed by a qualified electrician or in accordance with local electrical codes. Always turn off power at the circuit breaker before installation or maintenance.
- Battery Backup: The 9V backup battery provides power during outages. Ensure it is installed correctly and replaced when indicated by a low battery signal.
- Testing: Test the smoke alarm weekly to ensure proper function.
- Placement: Refer to local codes and NFPA 72 for proper placement guidelines. Avoid placing near cooking appliances, bathrooms, or in dusty/humid environments.
- Interconnection: Up to 12 SITERWELL GS562A units can be interconnected. Ensure all interconnected units are compatible.
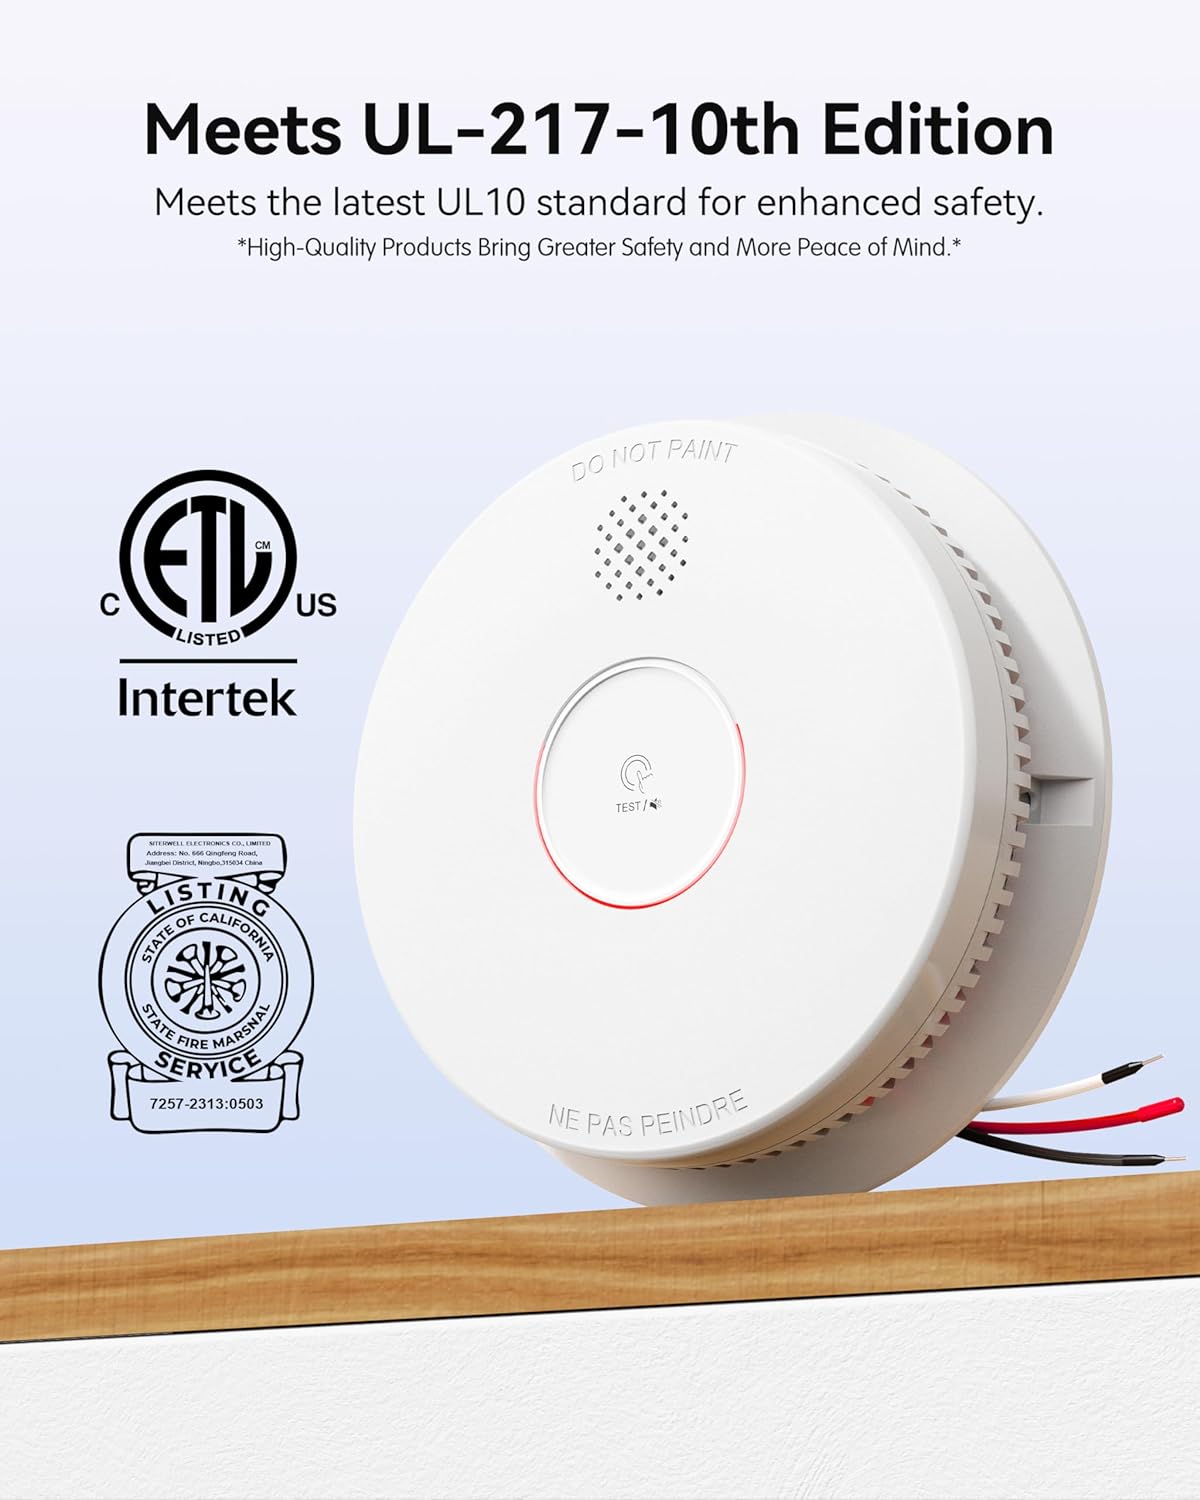
Figure 2: The SITERWELL GS562A meets UL-217-10th Edition standards, certified by ETL and Intertek.
3. Package Contents
Verify that all items are present in your package:
- Hardwired Interconnected Smoke Alarm (quantity as purchased)
- 9V Battery Backup (one per alarm)
- User Manual (this document)
- Mounting Hardware (2 plastic plugs, 2 screws per alarm)
- Hardwired Harness (one per alarm)

Figure 3: Included components for the SITERWELL GS562A smoke alarm.
4. Product Features
- Hardwired Interconnection: Connects up to 12 alarms for comprehensive coverage. When one alarm detects smoke, all interconnected alarms will sound.
- 10-Year Product Life: Designed for a decade of reliable operation.
- 9V Battery Backup: Provides continuous protection during power outages.
- Photoelectric Sensor: Advanced sensing technology for quick and accurate detection of smoke, particularly from smoldering fires, while reducing false alarms from cooking.
- Test/Silence Button: Allows for easy weekly testing and temporary silencing of nuisance alarms.
- Do Not Disturb Mode: Activates for approximately ten hours to prevent frequent alarms or flashing lights at night during low voltage or fault conditions.
- LED Notifications: Green LED indicates normal operation (always on), Red LED flashes every 40 seconds during normal operation.

Figure 4: Internal components highlighting the advanced photoelectric sensor and 9V battery backup.
5. Setup and Installation
5.1 Choosing a Location
Install smoke alarms in every sleeping room and outside each separate sleeping area. Install alarms on every level of the home, including the basement. For interconnected systems, ensure alarms are within the maximum allowable distance for reliable communication.
5.2 Hardwired Installation
- Turn off Power: Before beginning, ensure the power to the circuit where the alarm will be installed is turned off at the main circuit breaker.
- Mounting Plate: Secure the mounting plate to the ceiling or wall using the provided screws and plastic plugs. Ensure the mounting plate is firmly attached.
- Wiring: Connect the hardwired harness wires to your household wiring. Typically, black to black (hot), white to white (neutral), and red to red (interconnect). Refer to local electrical codes for specific wiring requirements.
- Connect Alarm: Plug the hardwired harness into the back of the smoke alarm unit.
- Install Battery: Open the battery compartment and insert the 9V backup battery, observing polarity. The unit features a foolproof design where the mounting plate cannot be attached if the battery is not installed.
- Attach Alarm: Align the alarm unit with the mounting plate and twist clockwise until it locks securely into place.
- Restore Power: Turn the power back on at the circuit breaker.
- Test: Press the Test/Silence button to confirm the alarm is functioning.
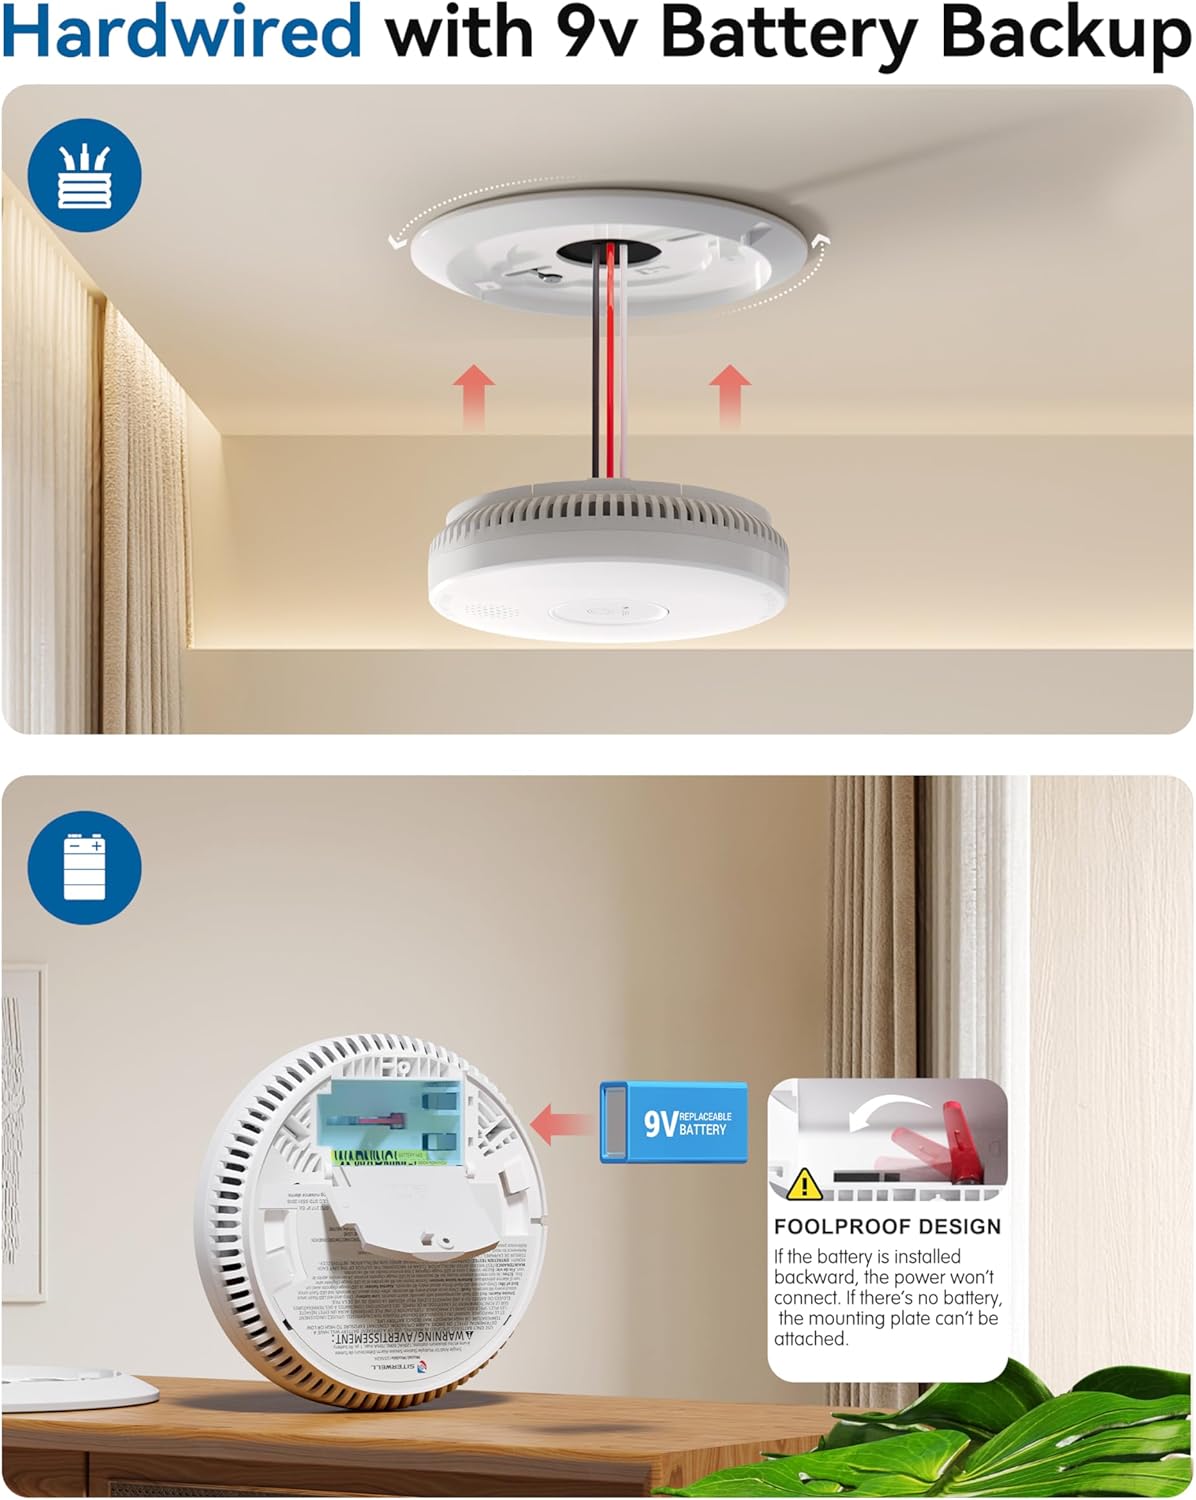
Figure 5: Hardwired installation and 9V battery backup setup.

Figure 6: Visual guide for hardwired installation.

Figure 7: Visual guide for 9V battery installation.
5.3 Interconnection
The SITERWELL GS562A smoke alarms can be interconnected. When one alarm detects smoke, all connected alarms will sound, providing early warning throughout your property. Up to 12 units can be interconnected. Ensure all units are from the same model series for compatibility.

Figure 8: Interconnection of up to 12 devices for comprehensive protection.
6. Operating Instructions
6.1 Normal Operation
Once installed and powered, the green LED light will be continuously on, and the red LED light will flash approximately every 40 seconds, indicating normal operation.
6.2 Testing the Alarm
Test the smoke alarm weekly. Press and hold the Test/Silence button for a few seconds. The alarm should sound a loud, pulsating horn. If interconnected, all connected alarms should also sound. Release the button to stop the alarm.
6.3 Silencing Nuisance Alarms
In case of a nuisance alarm (e.g., from cooking smoke), press the Test/Silence button. This will temporarily silence the alarm for approximately 10 minutes. The alarm will automatically reset after this period if the smoke has cleared.
6.4 Do Not Disturb Mode
If the detector senses a low voltage or a fault, pressing the test button can activate a Do Not Disturb mode for approximately ten hours. This prevents frequent alarms and flashing at night, ensuring sleep is not disturbed. This mode is typically used when a low battery signal occurs at an inconvenient time.

Figure 9: Interconnected alarms provide comprehensive warning throughout the home.
7. Maintenance
7.1 Weekly Testing
Test your smoke alarm weekly by pressing the Test/Silence button. This confirms the alarm's electronic circuitry, horn, and battery are working.
7.2 Cleaning
Clean your smoke alarm at least once a month. Use a soft brush or vacuum cleaner with a soft brush attachment to remove dust and debris from the alarm's cover and vents. Do not paint the alarm.
7.3 Battery Replacement
The 9V backup battery should be replaced immediately when the alarm emits a regular chirp (approximately every 40 seconds) and the red LED flashes, indicating a low battery. To replace the battery:
- Turn off power to the alarm at the circuit breaker.
- Twist the alarm counter-clockwise to remove it from the mounting plate.
- Open the battery compartment and remove the old 9V battery.
- Insert a new 9V battery, ensuring correct polarity.
- Close the battery compartment.
- Reattach the alarm to the mounting plate by twisting clockwise.
- Restore power at the circuit breaker.
- Test the alarm.
8. Troubleshooting
| Problem | Possible Cause | Solution |
|---|---|---|
| Alarm chirps every 40 seconds | Low 9V backup battery. | Replace the 9V battery immediately. |
| Alarm sounds without smoke | Nuisance alarm (cooking, steam, dust). Dust/debris in sensor chamber. Faulty unit. | Press Test/Silence button. Ventilate area. Clean the alarm. If problem persists, replace the unit. |
| Alarm does not sound during test | No power (AC or battery). Faulty unit. | Check circuit breaker. Ensure 9V battery is installed and fresh. Ensure wiring is correct. Replace unit if necessary. |
| Interconnected alarms not sounding | Interconnect wire issue. Incompatible units. | Check red interconnect wire connections. Ensure all interconnected units are SITERWELL GS562A. |
9. Specifications
- Model: GS562A
- Sensor Type: Photoelectric
- Power Source: Hardwired (AC) with 9V Battery Backup
- Alarm Loudness: >85 dB at 10 feet
- Operating Temperature: 40°F (4.4°C) to 100°F (37.8°C)
- Operating Humidity: 10-95% RH non-condensing
- Product Dimensions: 5.67"D x 5.67"W x 1.5"H (144mm x 144mm x 38mm)
- Item Weight: 0.53 Pounds (approx. 8.5 ounces)
- Material: Polycarbonate
- Certifications: UL217-10th Listed

Figure 10: Compact design and dimensions of the SITERWELL GS562A.
10. Warranty and Support
SITERWELL products are designed for reliability and performance. For specific warranty details, please refer to the warranty card included with your product or contact SITERWELL customer support.
Customer Support: For technical assistance, troubleshooting, or warranty claims, please contact SITERWELL directly through their official website or the contact information provided in your product packaging.
Manufacturer: SITERWELL ELECTRONICS CO.,LIMITED


