
1. Product Overview
The SITERWELL GS562A is a hardwired interconnected photoelectric smoke detector designed for residential use. It features a 9V battery backup for continuous protection during power outages and can interconnect with up to 12 compatible alarms for comprehensive coverage. This device is UL217-10th Listed, ensuring compliance with safety standards.
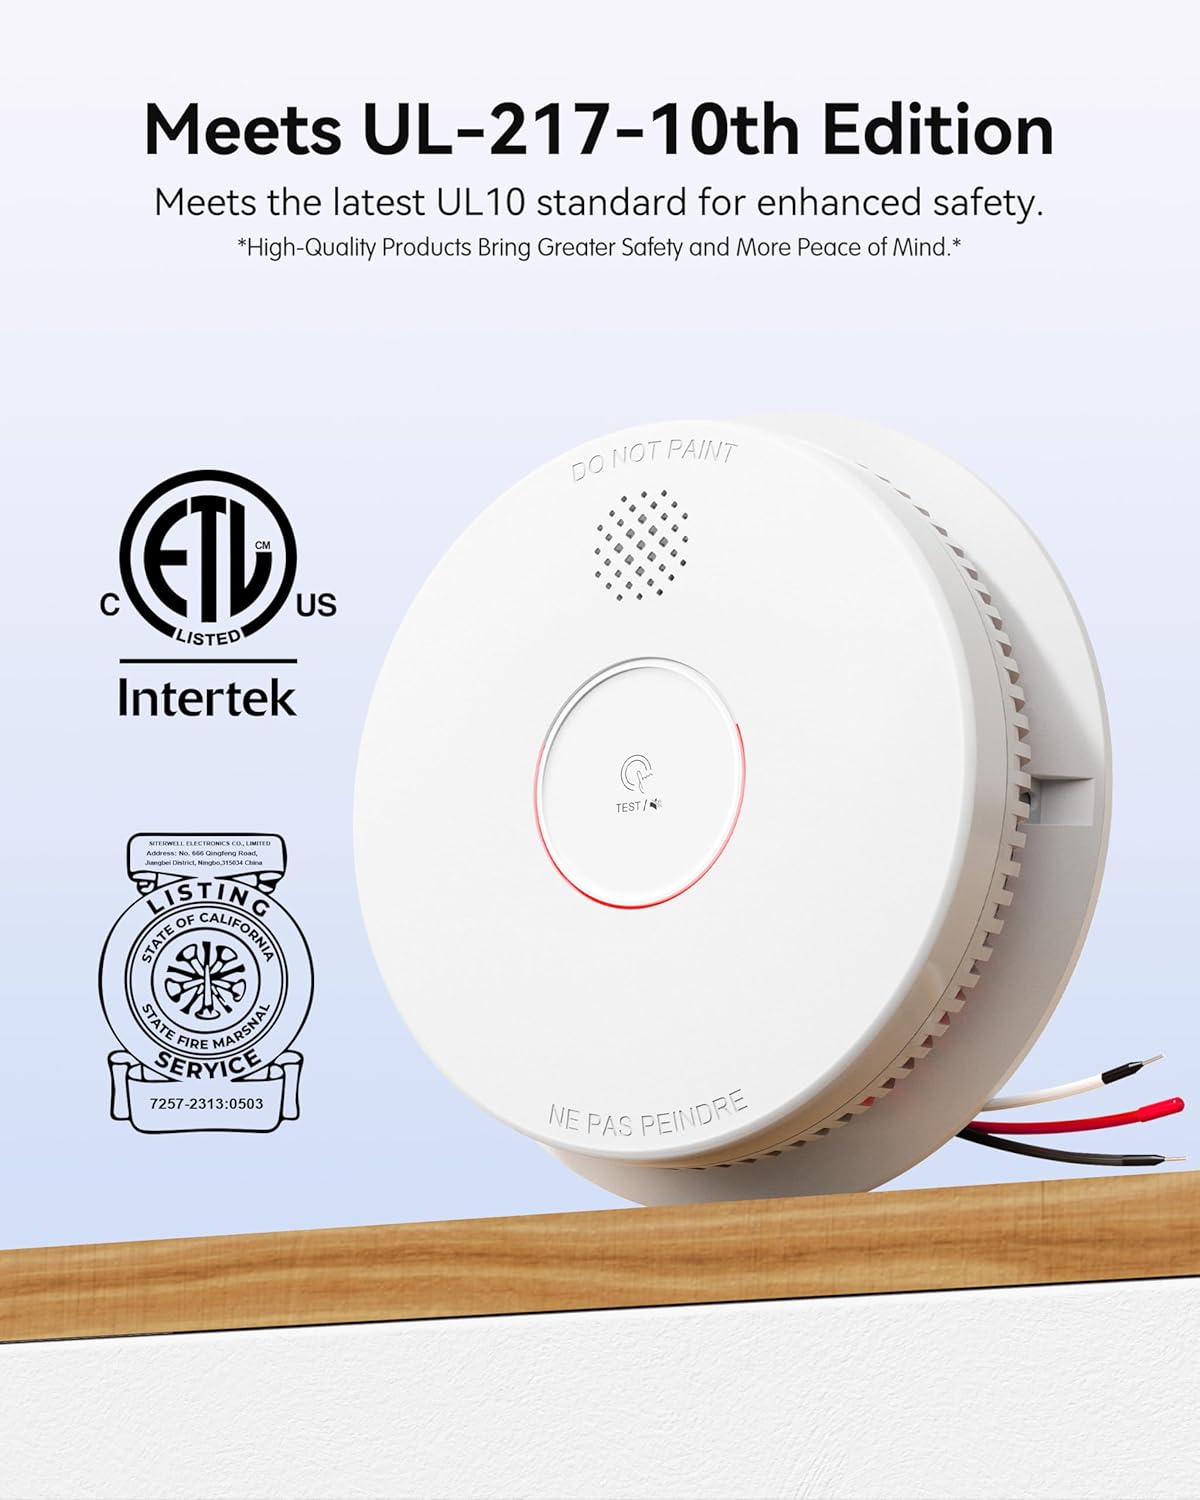
Figure 1: SITERWELL GS562A Smoke Detector, showing compliance with UL-217-10th Edition, ETL, and California State Fire Marshal standards.
Key Features:
- Hardwired Interconnection: Connects up to 12 alarms.
- 9V Battery Backup: Provides power during electrical outages.
- Photoelectric Sensor: Detects smoke from smoldering fires and reduces false alarms.
- Test/Silence Button: For weekly testing and silencing nuisance alarms.
- Do Not Disturb Mode: Temporarily silences low voltage or fault alarms for approximately ten hours.
- UL217-10th Listed: Meets current safety standards.
2. Installation
Proper installation is crucial for the effective operation of your smoke detector. Ensure power is off before beginning installation.
2.1 Package Contents
Verify that all components are present in the package:
- SITERWELL Hardwired Interconnected Smoke Alarm
- 9V Battery
- Mounting Plate
- Mounting Screws and Plastic Plugs
- Hardwired Harness
- User Manual (this document)

Figure 2: Product contents, including the smoke detector, 9V battery, mounting hardware, and manual.
2.2 Choosing a Location
Install smoke detectors on every level of your home, inside each sleeping area, and in the hallway outside each sleeping area. Avoid installing near windows, doors, or areas with high airflow, as this can affect sensor performance. Keep detectors away from cooking appliances to minimize false alarms.
2.3 Wiring Instructions
WARNING: Turn off power at the circuit breaker before installation.
- Connect the hardwired harness wires to your household wiring. Typically, black is live, white is neutral, and red is for interconnection. Match these colors to your existing wiring.
- Secure the mounting plate to the ceiling or wall junction box using the provided screws and plastic plugs.
- Ensure all connections are secure.

Figure 3: Example of hardwired interconnected smoke detector placement in a multi-level home.

Figure 4: Hardwired installation process.
2.4 Battery Installation
The 9V battery provides backup power. Ensure it is installed correctly.
- Open the battery compartment on the back of the smoke detector.
- Connect the 9V battery to the battery clip, ensuring correct polarity.
- Insert the battery into the compartment and close the cover. The detector will not attach to the mounting plate if the battery is installed incorrectly or missing.
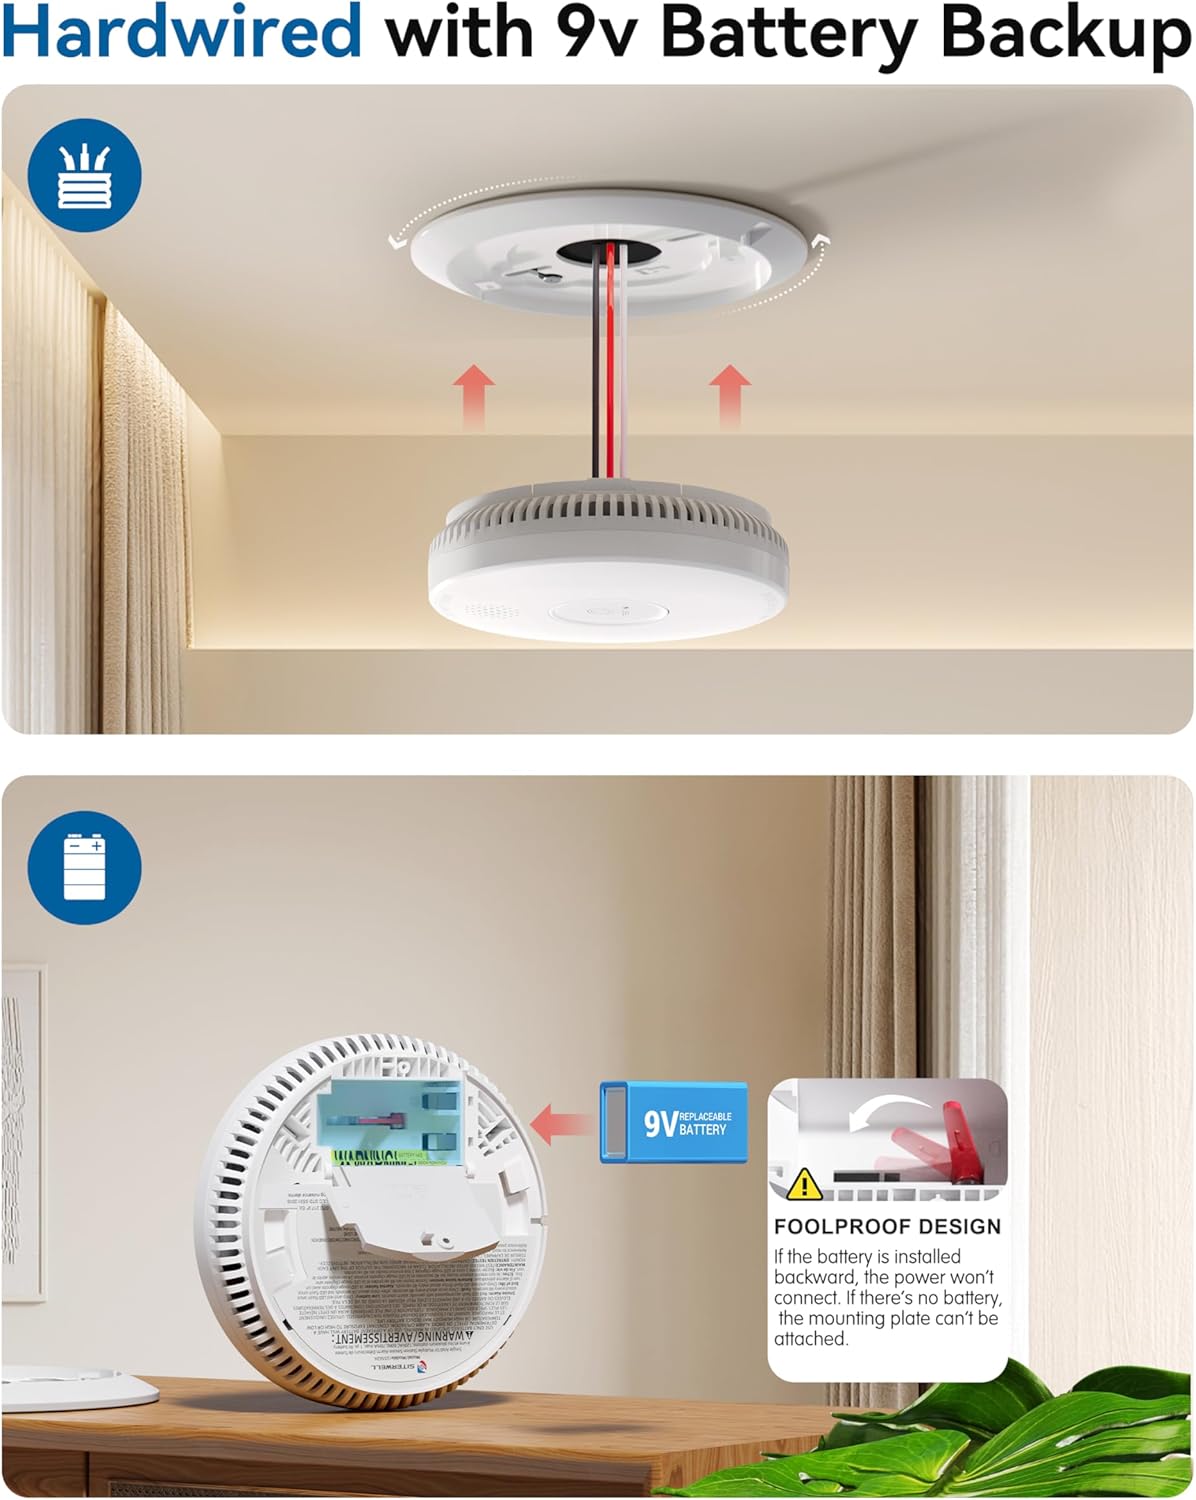
Figure 5: 9V Battery installation process.
Video 1: Official SITERWELL video demonstrating the hardwired interconnected smoke detector features and installation.
2.5 Mounting the Detector
After wiring and battery installation:
- Align the smoke detector with the mounting plate.
- Twist the detector clockwise until it locks securely into place.
- Restore power at the circuit breaker.
3. Operating Instructions
3.1 Initial Power-Up
Once power is restored, the green LED light should be continuously on, and the red LED light will flash approximately every 40 seconds, indicating normal operation (standby mode).
3.2 Testing the Alarm
Test your smoke detector weekly to ensure proper function.
- Press and hold the Test/Silence button on the detector.
- The alarm will sound, and if interconnected, all connected alarms will also sound.
- Release the button. The alarm should stop.
If the alarm does not sound during testing, refer to the Troubleshooting section.
3.3 Interconnected Alarms
When one interconnected alarm detects smoke, all connected alarms will sound an alarm of more than 85 decibels, providing early warning throughout your home.
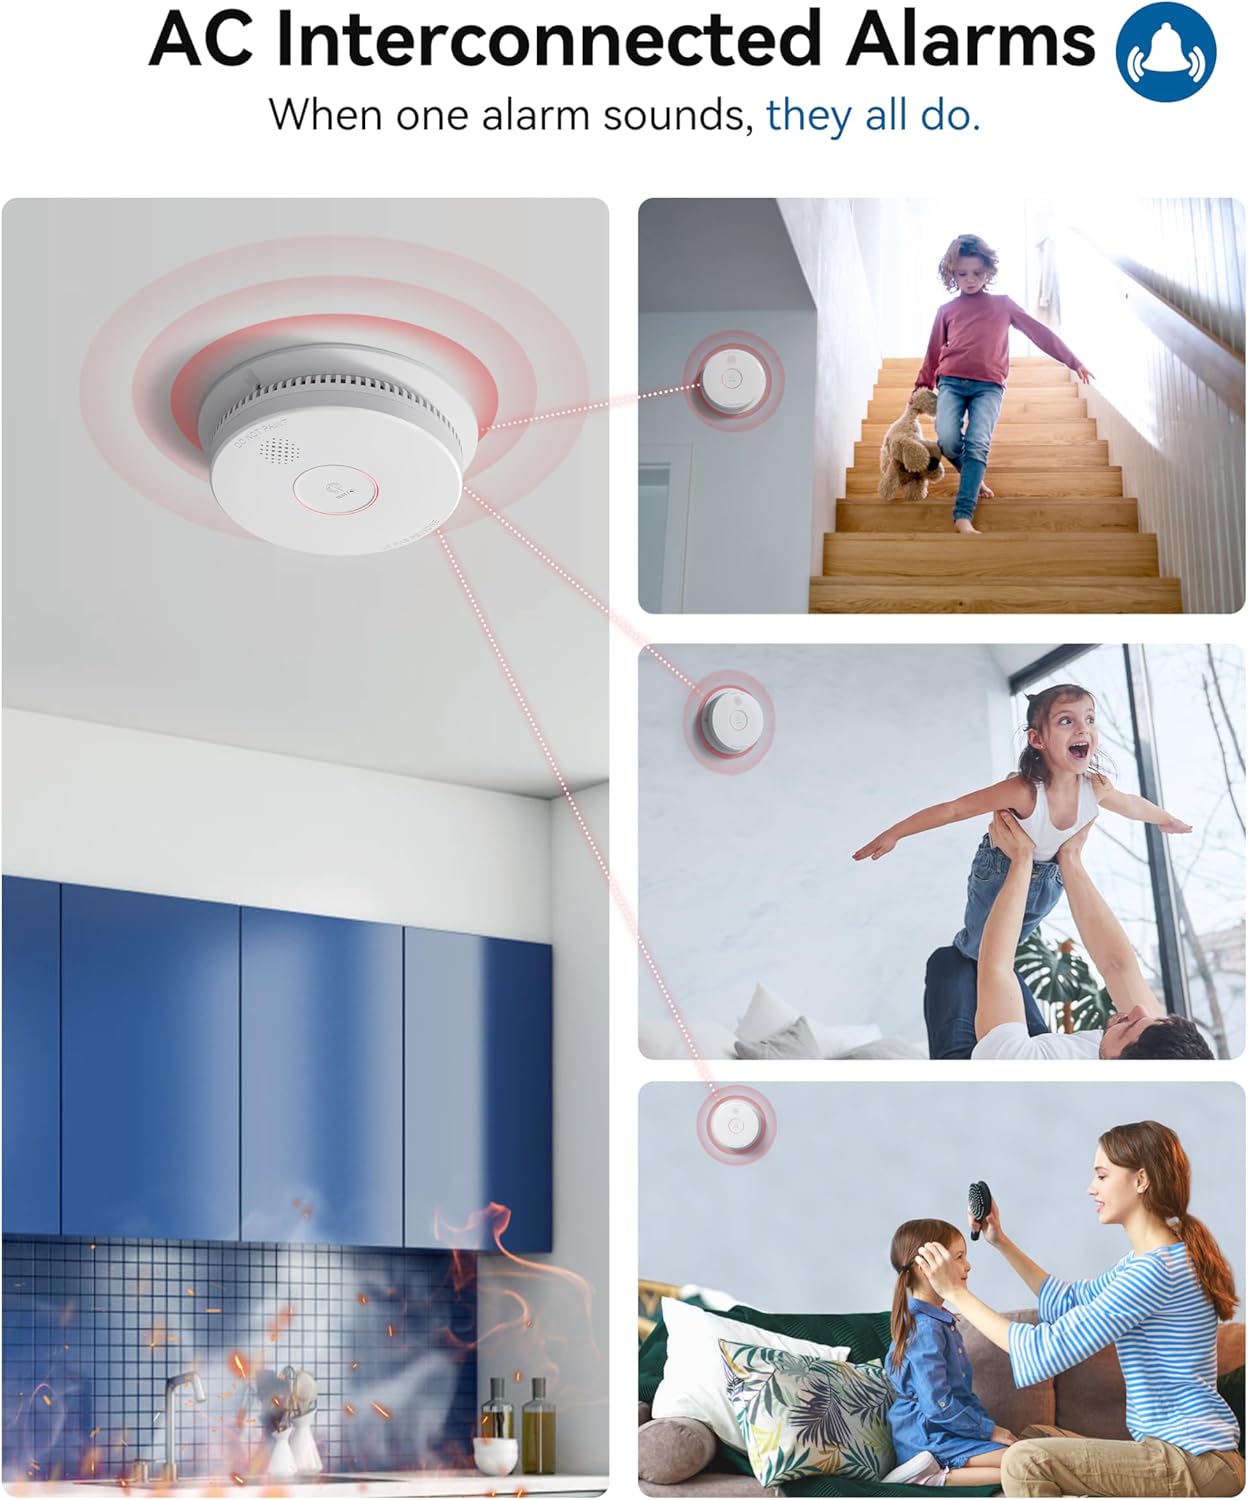
Figure 6: Interconnected alarms activate simultaneously for enhanced safety.
3.4 Silence Feature (Do Not Disturb Mode)
If the detector issues a low voltage or fault signal (e.g., chirping due to low battery), pressing the Test/Silence button will activate a "Do Not Disturb" mode for approximately ten hours. This prevents frequent alarms and flashing lights during the night, ensuring uninterrupted sleep. After this period, the alarm will resume its normal signaling if the condition persists.
4. Maintenance
Regular maintenance ensures your smoke detector remains functional.
4.1 Battery Replacement
The 9V backup battery should be replaced when the detector emits a regular chirp, indicating a low battery. This typically occurs about once a year. To replace the battery:
- Twist the detector counter-clockwise to remove it from the mounting plate.
- Disconnect the hardwired harness from the detector.
- Open the battery compartment and replace the old 9V battery with a new one, ensuring correct polarity.
- Reconnect the hardwired harness and re-mount the detector.
- Test the alarm after battery replacement.
4.2 Cleaning Your Smoke Detector
Dust and debris can interfere with the detector's performance. Clean your smoke detector at least once a month:
- Gently vacuum the cover of the detector using a soft brush attachment.
- Do not paint the smoke detector, as this can block the sensor openings and prevent proper operation.
5. Troubleshooting
If your smoke detector is not functioning as expected, refer to the following common issues and solutions:
| Problem | Possible Cause | Solution |
|---|---|---|
| Alarm chirps periodically (e.g., every 40 seconds). | Low 9V backup battery. | Replace the 9V battery. Ensure it is a fresh battery. |
| Alarm sounds frequently without smoke. | Nuisance alarm (e.g., cooking smoke, steam), dust accumulation. | Press the Test/Silence button to temporarily silence. Clean the detector as per Maintenance section. Relocate if consistently triggered by normal activities. |
| Alarm does not sound during test. | No power (hardwired or battery), faulty unit. | Check circuit breaker. Ensure 9V battery is correctly installed and charged. If issues persist, the unit may be faulty and require replacement. |
| Green LED is off. | No AC power. | Check circuit breaker and wiring connections. |
6. Specifications
| Feature | Detail |
|---|---|
| Model Number | GS562A |
| Sensor Type | Photoelectric |
| Power Source | Hardwired (AC) with 9V Battery Backup |
| Interconnection | Up to 12 compatible units |
| Alarm Loudness | > 85 dB at 3 meters |
| Product Dimensions | 5.67"D x 5.67"W x 1.5"H (144mm x 144mm x 38mm) |
| Operating Humidity | 10-95% RH non-condensing |
| Upper Temperature Rating | 100 °F |
| Material | Polycarbonate |
| Certifications | UL217-10th Listed |

Figure 7: Compact design and dimensions of the smoke detector.
7. Warranty and Support
For warranty information or technical support, please refer to the documentation included with your purchase or contact SITERWELL customer service directly. Keep your purchase receipt for warranty claims.
Contact Information: Please visit the official SITERWELL website or refer to your product packaging for the most up-to-date contact details.


