
1. Introduction
This manual provides detailed instructions for the safe installation, operation, and maintenance of the Canarm Bellamy 3-Light Flush Mount Ceiling Light, Model IFM1149A19NBK. It covers product specifications, setup procedures, and troubleshooting tips to ensure proper functionality and longevity of your lighting fixture. Please read these instructions thoroughly before beginning installation and retain them for future reference.

Figure 1.1: Canarm Bellamy 3-Light Flush Mount Ceiling Light.
2. Safety Information
WARNING: RISK OF ELECTRIC SHOCK. Disconnect power at the circuit breaker or fuse box before installation or servicing.
- Ensure the electrical supply to the fixture is disconnected before installation, maintenance, or bulb replacement.
- All electrical connections must be in accordance with local codes, ordinances, or the National Electric Code (NEC). Contact a qualified electrician if you are unfamiliar with proper electrical wiring connections.
- Use only the specified bulb type and wattage. Refer to the "Specifications" section for details.
- Do not install this fixture in areas where it may be exposed to direct water spray or submersion. This fixture is damp-rated, suitable for covered outdoor porches or bathrooms, but not direct water exposure.
- Handle the fixture with care. Avoid dropping or striking the rattan shade or metal components.
- Keep flammable materials away from the light fixture when in operation.
3. Package Contents
Verify that all components are present before discarding packaging materials.
- Canarm Bellamy 3-Light Flush Mount Ceiling Light Fixture (1)
- Mounting Hardware Kit (1)
- Instruction Manual (1)
Note: Three 60W Type A bulbs are required but not included.

Figure 3.1: Internal view of the fixture with mounting plate and wiring connections.
4. Specifications
| Model Name | BELLAMY 19 in. 3-Light 60-Watt Boho Black Flush Mount with Natural Rattan Shade |
| Model Number | IFM1149A19NBK |
| Brand | Canarm |
| Dimensions (L x W x H) | 19"L x 19"W x 8"H |
| Material | Metal, Rattan |
| Shade Material | Rattan |
| Color | Black (fixture base), Beige (rattan shade) |
| Number of Light Sources | 3 |
| Bulb Base | E26 |
| Max Wattage per Bulb | 60 Watts (Type A) |
| Voltage | 120 Volts (AC) |
| Installation Type | Flush Mount |
| Indoor/Outdoor Usage | Indoor (Damp Rated) |
| Special Features | Dimmable (with compatible dimmer switch and bulbs) |
| Item Weight | 7.48 Pounds |

Figure 4.1: Product dimensions (19" W x 8" H).
5. Setup and Installation
The Canarm Bellamy fixture features an Easy Connect system for straightforward installation. Professional installation is recommended if you are not comfortable with electrical wiring.
5.1 Tools Required (Not Included)
- Phillips Head Screwdriver
- Wire Strippers
- Electrical Tape
- Safety Glasses
- Ladder
5.2 Installation Steps
- Turn Off Power: Locate the circuit breaker or fuse box and turn off the power to the junction box where the fixture will be installed. Verify power is off using a voltage tester.
- Prepare Mounting Plate: Attach the mounting plate (included in hardware kit) to the junction box using the provided screws. Ensure it is securely fastened.
- Make Electrical Connections:
- Connect the black wire from the fixture to the black (hot) wire from the junction box.
- Connect the white wire from the fixture to the white (neutral) wire from the junction box.
- Connect the green or bare copper ground wire from the fixture to the green or bare copper ground wire from the junction box.
- Secure all connections with wire nuts and electrical tape.
- Mount the Fixture: Carefully align the fixture with the mounting plate and secure it using the provided screws. Ensure no wires are pinched.
- Install Bulbs: Screw three E26 base, 60W max Type A bulbs (not included) into the sockets.
- Restore Power: Turn the power back on at the circuit breaker or fuse box. Test the light fixture.
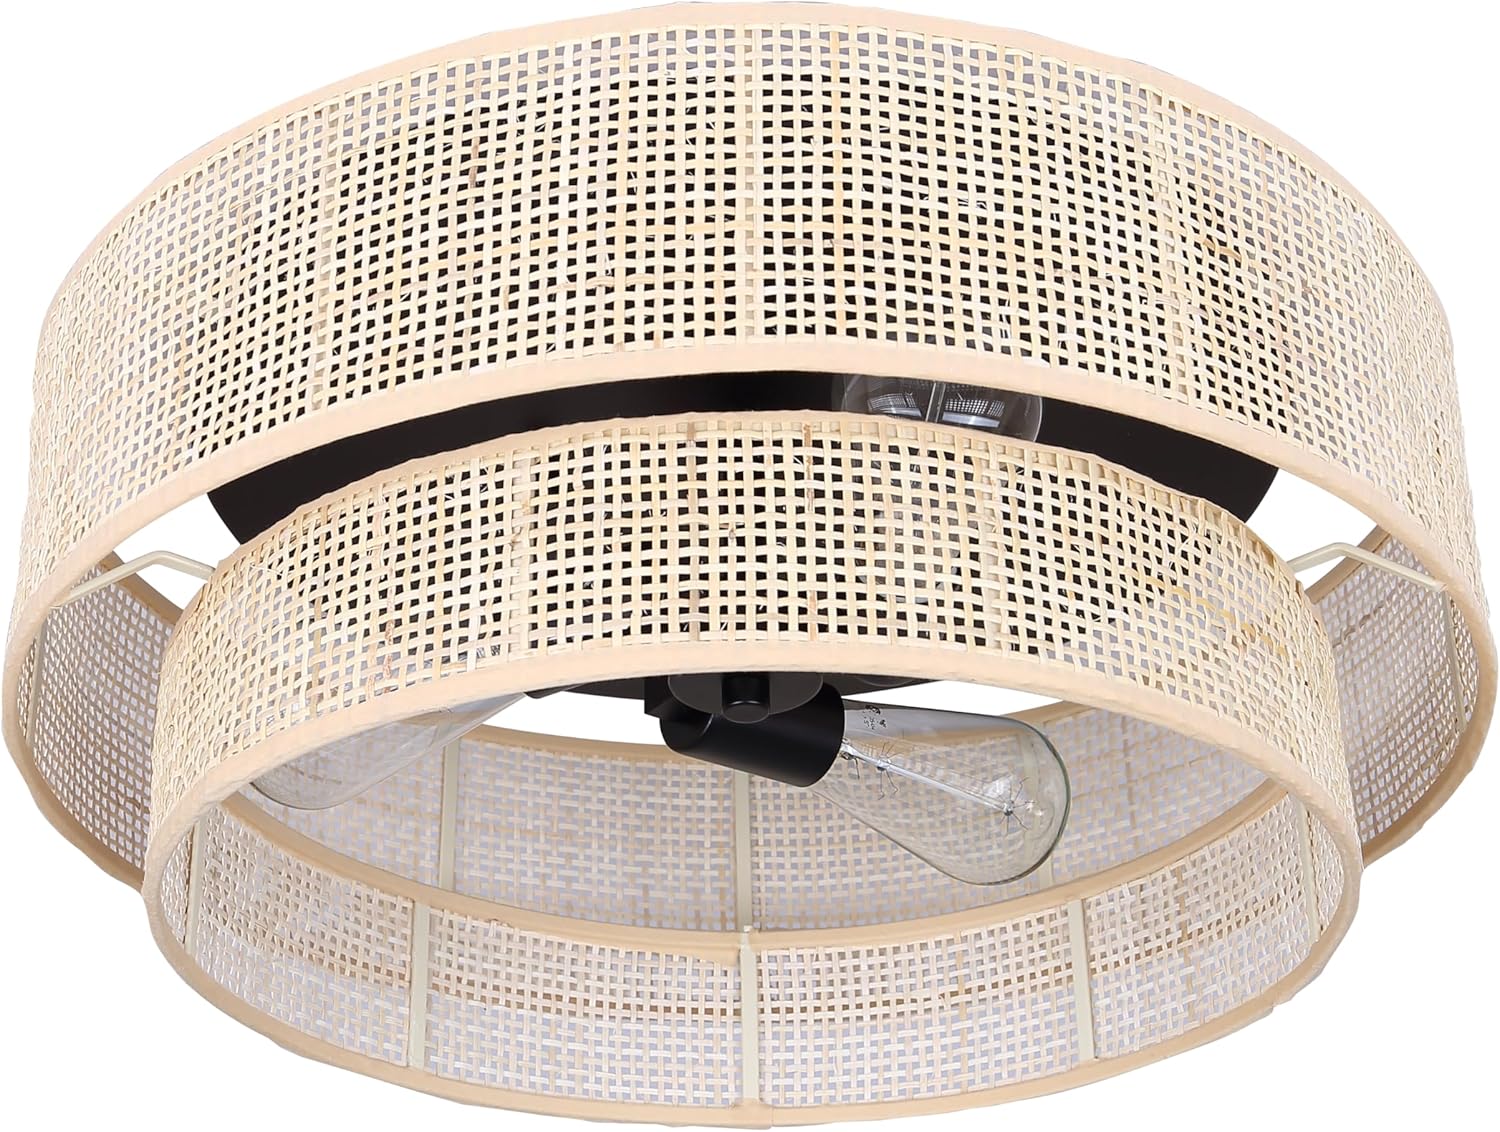
Figure 5.1: Bulb sockets for E26 base bulbs.

Figure 5.2: Internal view of the fixture showing bulb placement.
6. Operating Instructions
Once installed and powered, the Canarm Bellamy 3-Light Flush Mount Ceiling Light operates via a standard wall switch connected to the circuit. If a dimmer switch is installed, ensure it is compatible with the bulbs used for dimming functionality.
- Turning On/Off: Use the wall switch to turn the light fixture on or off.
- Dimming (Optional): If a compatible dimmer switch and dimmable bulbs are installed, adjust the dimmer switch to control the light intensity.
7. Maintenance
Regular maintenance ensures the longevity and optimal performance of your light fixture.
7.1 Cleaning
- Always disconnect power before cleaning the fixture.
- Wipe the metal parts with a soft, dry cloth.
- For the rattan shade, gently dust with a soft brush or a dry cloth. Do not use abrasive cleaners or solvents, as they may damage the finish or rattan material.
- Avoid spraying cleaners directly onto the fixture.
7.2 Bulb Replacement
- Turn off power to the fixture at the circuit breaker before replacing bulbs.
- Allow bulbs to cool completely before touching them.
- Unscrew the old bulb counter-clockwise.
- Screw in a new E26 base, 60W max Type A bulb clockwise until snug. Do not overtighten.
- Restore power and test the new bulb.
8. Troubleshooting
If you experience issues with your fixture, refer to the following common problems and solutions:
| Problem | Possible Cause | Solution |
|---|---|---|
| Light does not turn on. |
|
|
| Light flickers. |
|
|
| Rattan shade appears damaged. |
|
|
9. Warranty
This product is covered by a 1-year manufacturer's warranty. This warranty covers defects in materials and workmanship under normal use. It does not cover damage resulting from misuse, accident, modification, or improper installation. Please retain your proof of purchase for warranty claims.
10. Customer Support
For further assistance, technical support, or warranty inquiries, please contact Canarm customer service or visit their official website.
You can also visit the Canarm Store on Amazon for more product information.


