
Introduction
Thank you for choosing the XTU Trail Camera. This manual provides detailed instructions for setting up, operating, and maintaining your camera to ensure optimal performance. This camera is designed for wildlife monitoring, outdoor surveillance, and property security, featuring a solar panel for continuous power, high-resolution imaging, and WiFi connectivity.
Product Overview
Key Features
- Dual Power Supply: Integrated 2600mAh lithium battery with a top-mounted solar panel for continuous charging. Supports additional AA backup batteries (not included).
- WiFi Connectivity: Connects to the "TrailCam Go" mobile app for viewing, downloading, and managing photos and videos within a 10-15 meter range.
- High-Resolution Imaging: Captures 32MP photos and smooth 2.7K videos.
- Enhanced Night Vision: Equipped with 22 low-glow 850nm infrared LEDs for detailed night images and videos, minimizing disturbance to wildlife.
- Fast Trigger Speed: Ultra-fast 0.2-second trigger speed with a 100° PIR detection angle and a 21-meter (70-foot) detection range.
- Continuous Shooting: Captures up to 5 consecutive frames per trigger.
- Versatile Functions: Includes Time-lapse, Loop Recording, and programmable working hours.
- Durable Design: IP66 waterproof rating with a rubber coating, resistant to temperatures from -15°C to 60°C.
- Storage: Supports microSD cards up to 256GB; includes a 32GB microSD card.
Camera Components
Familiarize yourself with the camera's main parts:
- Solar Panel (top)
- Camera Lens
- PIR Motion Sensor
- Infrared LEDs
- Display Screen (inside)
- Control Buttons (inside)
- Battery Compartment (inside)
- SD Card Slot (inside)
- USB Port (bottom)
- DC Power Input (bottom)
Setup
1. Power Supply
The camera features an integrated 2600mAh lithium battery and a solar panel for primary power. For extended operation or in low-light conditions, you can install backup AA batteries.
- Open the camera housing.
- Locate the AA battery compartment.
- Insert the required number of 1.5V AA batteries (not included), ensuring correct polarity.
Note: Ensure the solar panel is exposed to direct sunlight for optimal charging of the internal lithium battery.
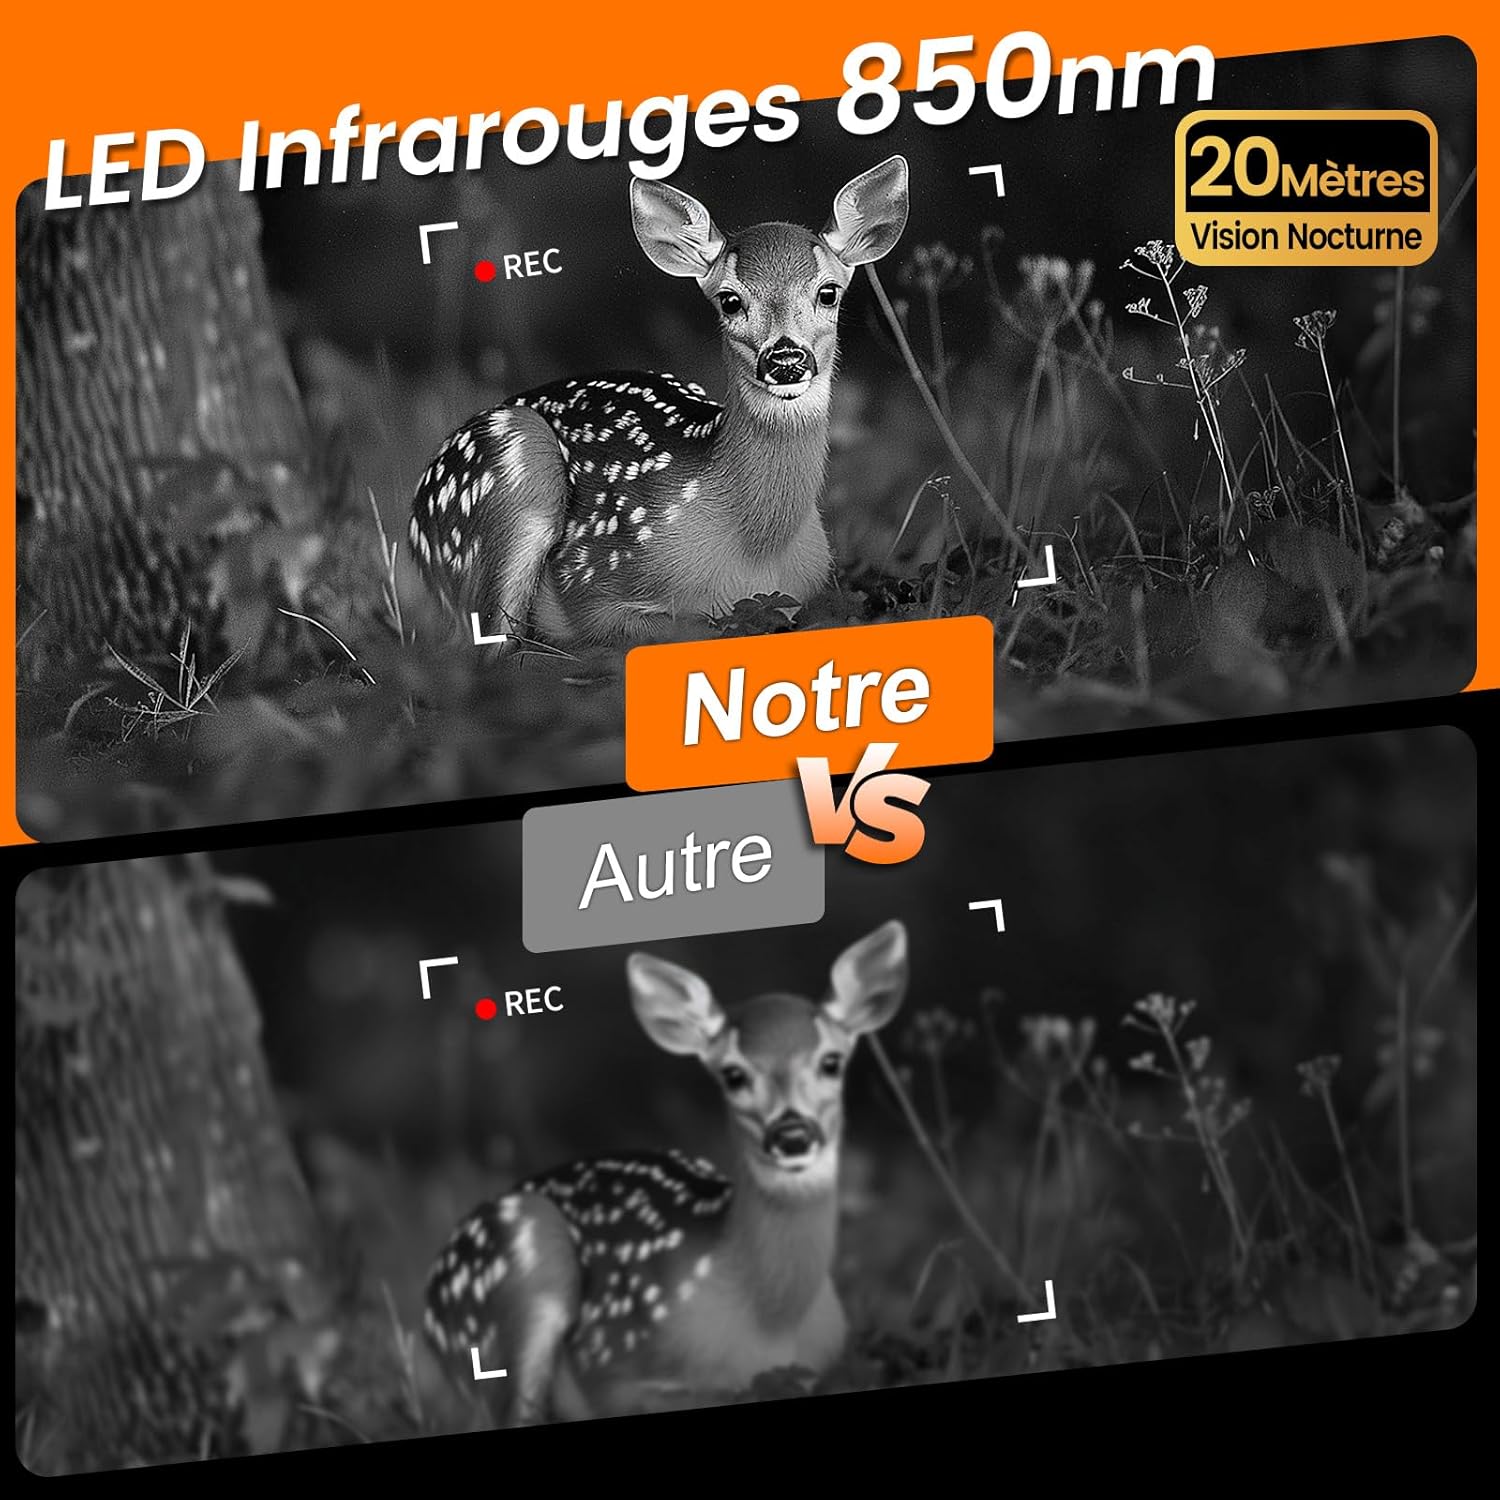
Image: The XTU Trail Camera showing its integrated solar panel and various power input options, including a battery compartment for AA batteries, a USB port, and a DC power input.
2. SD Card Installation
A 32GB microSD card is included. The camera supports cards up to 256GB.
- With the camera powered off, open the housing.
- Locate the microSD card slot.
- Insert the microSD card with the gold contacts facing the back of the camera until it clicks into place.
- To remove, press the card gently until it springs out.
3. Mounting the Camera
The camera comes with a strap and mounting plates for flexible installation.
- Choose a suitable location, such as a tree or post, ensuring a clear view of the desired monitoring area.
- Use the provided strap to secure the camera firmly. Thread the strap through the camera's mounting slots and around the object.
- Alternatively, use the mounting plates and screws (not included) to fix the camera to a flat surface.
- Adjust the camera angle to cover the target area effectively.
4. App Connection (WiFi & Bluetooth)
The camera connects to your smartphone via WiFi and Bluetooth for easy management.
- Download the "TrailCam Go" app from your smartphone's app store (available for Android and iOS).
- Ensure Bluetooth and WiFi are enabled on your smartphone.
- Open the "TrailCam Go" app and follow the on-screen instructions to connect to your camera.
- The app allows you to preview the camera's view, adjust settings, and download captured media.
Note: The WiFi connection range is approximately 10-15 meters.

Image: The XTU Trail Camera demonstrating its Wi-Fi and Bluetooth connectivity, allowing users to connect to the "TrailCam Go" app on their smartphone for live viewing, downloading, and settings adjustment.
Operating Instructions
1. Powering On/Off and Mode Selection
- To power on, slide the power switch to the ON position.
- Use the internal buttons to navigate the menu and select desired operating modes (Photo, Video, Photo+Video, Time-lapse).
- To power off, slide the power switch to the OFF position.
2. Adjusting Settings
Access the camera's menu via the internal display or the "TrailCam Go" app to configure settings:
- Photo Resolution: Select from available options, up to 32MP.
- Video Resolution: Choose up to 2.7K for video capture.
- PIR Sensitivity: Adjust the motion sensor sensitivity (Low, Medium, High) based on the environment to prevent false triggers.
- Trigger Interval: Set the delay between consecutive triggers.
- Number of Photos: Define how many photos are taken per trigger (e.g., 1-5 shots).
- Video Length: Specify the duration of video recordings.
- Time-lapse: Set intervals for time-lapse photography (disables motion detection).
- Loop Recording: Enable this feature to automatically overwrite the oldest files when the SD card is full, ensuring continuous recording.
- Working Hours: Program specific time intervals for the camera to be active, conserving battery life.

Image: The XTU Trail Camera highlighting its rapid 0.2-second trigger speed and the ability to capture 5 continuous shots, illustrated by an eagle in flight.
3. Night Vision
The camera automatically switches to night vision mode in low light conditions, utilizing its 850nm infrared LEDs to capture clear black and white images and videos.

Image: A comparison demonstrating the superior clarity of 850nm infrared night vision from the XTU Trail Camera compared to other cameras, showing a fawn in a forest at night.
4. Viewing and Managing Files
You can view and manage captured photos and videos directly on the camera's internal screen or more conveniently via the "TrailCam Go" app.
- On Camera: Use the playback mode and navigation buttons to browse files.
- Via App: Connect your smartphone to the camera via WiFi. The app allows you to browse, download, delete, and share files. You can also save the camera's location within the app for easy navigation back to its position.

Image: A visual comparison highlighting the superior 32MP image and 2.7K video quality of the XTU Trail Camera against other cameras typically offering 20MP and 1080P resolution, featuring bears in a forest.
Maintenance
1. Cleaning
- Gently wipe the camera lens and solar panel with a soft, dry cloth to remove dust and dirt.
- Do not use abrasive cleaners or solvents, as they may damage the camera's surface or lens.
- Ensure the rubber seals around the housing are free of debris to maintain the IP66 waterproof rating.
2. Battery Care
- Regularly check the battery level, especially if not using the solar panel.
- If using AA batteries, replace them when depleted.
- For long-term storage, remove all batteries to prevent leakage.
3. Storage
- Store the camera in a cool, dry place when not in use.
- Avoid extreme temperatures and high humidity.
Troubleshooting
Camera Not Turning On
- Check if the internal lithium battery is charged.
- Ensure AA backup batteries (if used) are correctly installed and not depleted.
- Verify the power switch is in the ON position.
Poor Image/Video Quality
- Clean the camera lens.
- Ensure the camera is stable and not vibrating during capture.
- Check resolution settings in the menu or app.
WiFi Connection Issues
- Ensure your smartphone's WiFi and Bluetooth are enabled.
- Make sure you are within the 10-15 meter range of the camera.
- Restart both the camera and your smartphone.
- Update the "TrailCam Go" app to the latest version.
Motion Sensor Not Triggering
- Adjust PIR sensitivity to a higher setting.
- Ensure there are no obstructions blocking the PIR sensor.
- Check the trigger interval setting; a longer interval may miss events.
Specifications
| Model Name | Trail Camera (QSW) |
| Photo Resolution | Up to 32MP |
| Video Resolution | Up to 2.7K |
| Power Source | Solar-powered, Integrated 2600mAh Lithium Battery, Optional AA Batteries |
| Connectivity | Wi-Fi, Wireless |
| Night Vision Range | 15 meters (850nm IR LEDs) |
| Trigger Speed | 0.2 seconds |
| PIR Detection Angle | 100° |
| PIR Detection Range | 21 meters (70 feet) |
| Continuous Shots | Up to 5 frames |
| Storage | Micro SD card up to 256GB (32GB included) |
| Water Resistance | IP66 |
| Operating Temperature | -15°C to 60°C |
| Dimensions (LxWxH) | 9.04 x 7.34 x 12.57 cm |
| Weight | 550 grams |
Warranty and Support
For warranty information or technical support, please refer to the product packaging or contact XTU customer service through the retailer where the product was purchased. Keep your purchase receipt as proof of purchase.


