1. Introduction
This manual provides comprehensive instructions for the safe and efficient operation of your TEYUN HY300 Pro Mini Projector. Please read this manual thoroughly before using the device and retain it for future reference.
The HY300 Pro is a portable mini projector designed for versatile entertainment and presentation needs. It features 4K and 1080p resolution support, dual-band WiFi 6 and Bluetooth 5.0 connectivity, and an Android 11 operating system for integrated smart functionality.
2. Important Safety Information
- Do not expose the projector to rain or moisture to prevent fire or electric shock.
- Do not open the casing. Refer all servicing to qualified personnel.
- Ensure proper ventilation. Do not block ventilation openings.
- Use only the power adapter supplied with the projector.
- Avoid direct eye exposure to the projector lens when the lamp is on.
- Keep the projector away from heat sources and direct sunlight.
- Clean the projector with a soft, dry cloth. Do not use liquid or aerosol cleaners.
3. What's in the Box
Verify that all items are present upon unpacking:
- TEYUN HY300 Pro Mini Projector
- User Manual
- Remote Control
- Power Cord
4. Product Overview

Figure 4.1: Front view of the HY300 Pro Mini Projector, showcasing the lens and ventilation grilles.

Figure 4.2: The compact size of the HY300 Pro, easily held with one hand, highlighting its portability.
4.1. Projector Components
- Projection Lens: Emits the image onto the screen or surface.
- Focus Wheel: Adjusts the clarity of the projected image.
- Power Button: Turns the projector on or off.
- HDMI Port: Connects to external devices such as laptops, gaming consoles, or streaming sticks.
- USB Port: Connects to USB storage devices for media playback.
- Audio Out (3.5mm) Port: Connects to external speakers or headphones.
- DC Power Input: Connects the power adapter.
- Ventilation Grilles: Ensures proper airflow to prevent overheating.
5. Setup
5.1. Power Connection
- Connect the power cord to the DC Power Input port on the projector.
- Plug the other end of the power cord into a wall outlet.
- The power indicator light will illuminate.
5.2. Placement and Positioning
Place the projector on a stable, flat surface. The HY300 Pro features a 180-degree rotation capability, allowing for flexible projection angles, including ceiling projection.

Figure 5.1: The HY300 Pro projector positioned to project an image onto a wall in a home environment.
5.3. Focus Adjustment
After powering on the projector, rotate the focus wheel located near the lens until the projected image appears sharp and clear.
5.4. Keystone Correction
The HY300 Pro supports automatic keystone correction to adjust for distorted images when the projector is not perfectly perpendicular to the screen. Manual adjustments may also be available through the projector's settings menu.
5.5. Network Connection (Wi-Fi)
- Navigate to the 'Settings' menu on the projector's home screen.
- Select 'Network & Internet'.
- Turn on Wi-Fi and select your desired network from the list.
- Enter the Wi-Fi password if prompted and connect. The projector supports dual-band Wi-Fi 6 and 5G for stable connections.

Figure 5.2: The projector highlighting its dual-band Wi-Fi 6 and Bluetooth 5.0 capabilities, shown with wirelessly connected devices.
5.6. Bluetooth Pairing
- Go to 'Settings' and select 'Connected Devices' or 'Bluetooth'.
- Turn on Bluetooth.
- Select 'Pair new device' and choose your Bluetooth audio device (e.g., headphones, speaker) from the list.
- Confirm pairing on both devices if necessary.
6. Operating Instructions
6.1. Power On/Off
- Power On: Press the Power button on the projector or the remote control.
- Power Off: Press the Power button again. A confirmation prompt may appear on screen.
6.2. Remote Control Navigation
Use the provided remote control to navigate the projector's interface. The remote typically includes directional buttons, an 'OK' button for selection, a 'Back' button, and volume controls.
6.3. Input Sources
The HY300 Pro supports various input methods:
- HDMI: Connect a device (e.g., laptop, game console, streaming stick) to the HDMI port. Select the HDMI input from the projector's source menu.
- USB: Insert a USB flash drive into the USB port. The projector's media player will typically detect the drive, allowing you to browse and play media files.
- Screen Mirroring: Connect your smartphone or tablet wirelessly via Wi-Fi. Access the screen mirroring function from the projector's home screen or app menu.

Figure 6.1: The projector's screen mirroring feature, allowing wireless display from smartphones, tablets, and laptops.

Figure 6.2: Illustration of the HY300 Pro's compatibility with multiple devices, including gaming consoles, streaming devices, and mobile phones.
6.4. Android 11 Operating System
The integrated Android 11 OS provides access to a variety of applications. Connect to Wi-Fi to download and stream content from services like Netflix, YouTube, and Amazon Prime Video.
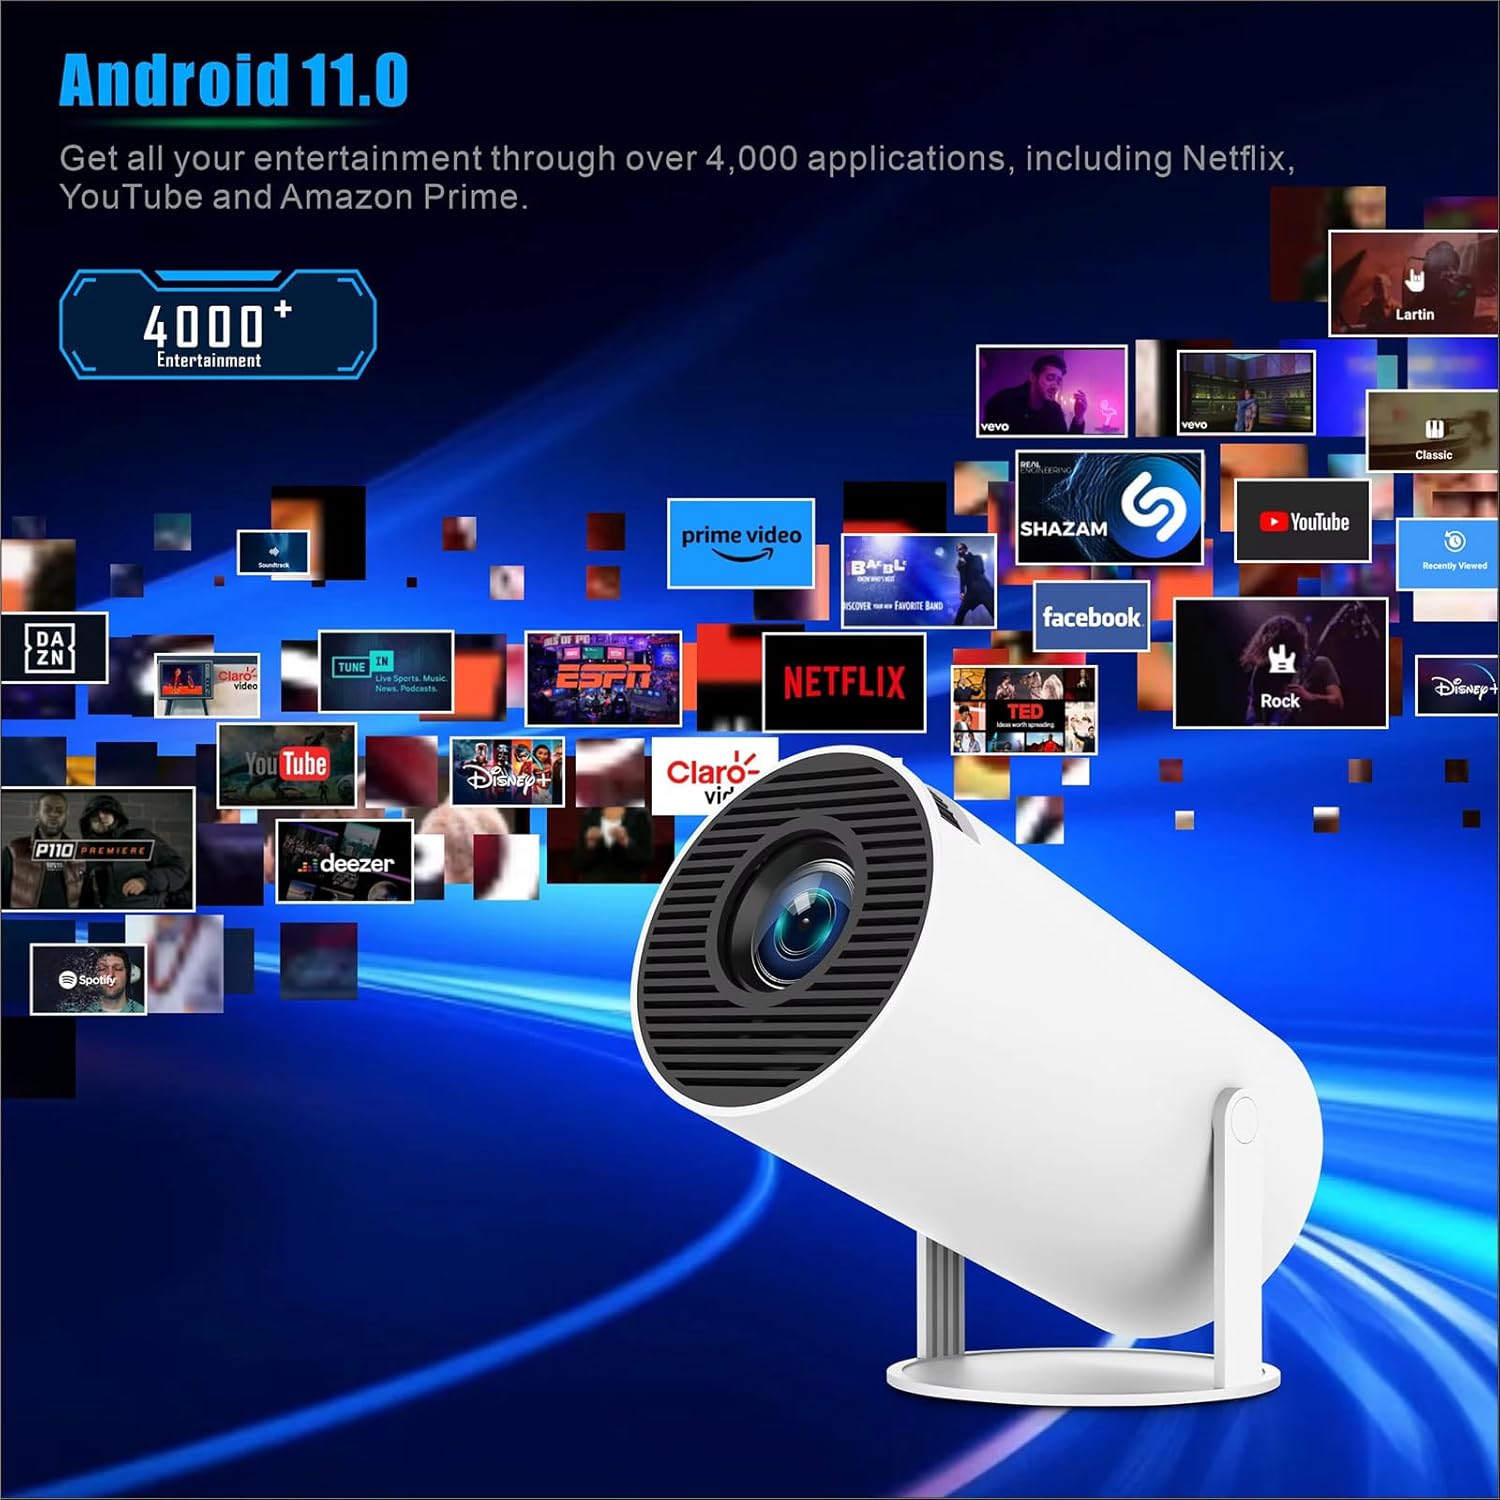
Figure 6.3: The Android 11 interface on the projector, showing a selection of available applications for entertainment.
6.5. Projection Display
The projector can create a display up to 130 inches. Optimal projection distance for a 130-inch screen is approximately 1.68 meters.
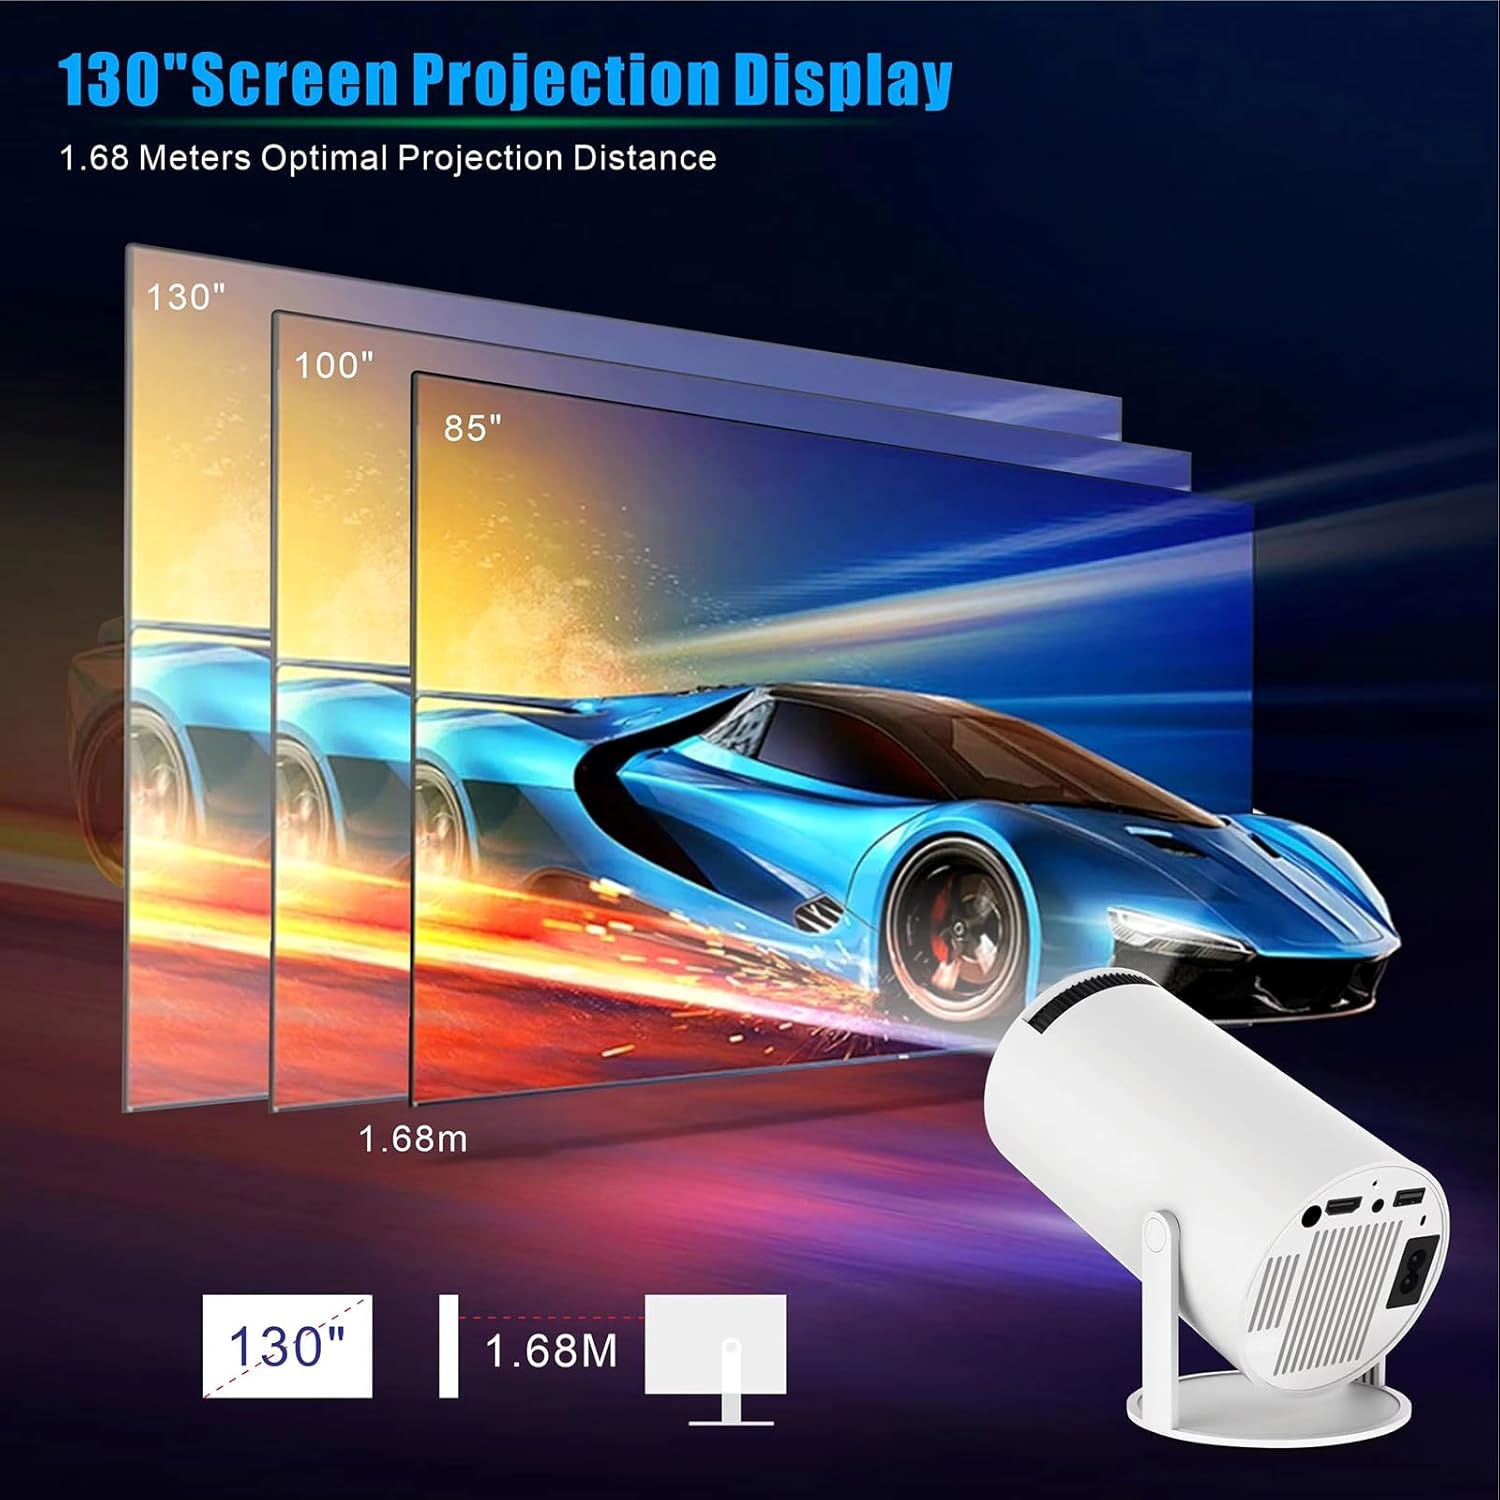
Figure 6.4: Visual representation of the projector's ability to create large screen displays, up to 130 inches, with an optimal projection distance of 1.68 meters.
7. Maintenance
7.1. Cleaning the Lens
Use a soft, lint-free cloth specifically designed for optical lenses to gently wipe the projector lens. Do not use abrasive cleaners or excessive force, as this can scratch the lens.
7.2. Cleaning the Projector Body
Wipe the exterior of the projector with a soft, dry cloth. For stubborn marks, a slightly damp cloth can be used, followed by a dry cloth. Ensure no liquid enters the ventilation openings or ports.
7.3. Storage
When not in use for extended periods, store the projector in a cool, dry place, away from dust and direct sunlight. It is recommended to use the original packaging or a protective case.
8. Troubleshooting
| Problem | Possible Cause | Solution |
|---|---|---|
| No power | Power cord not connected; Power outlet faulty | Ensure power cord is securely connected. Test the outlet with another device. |
| No image | Incorrect input source; Device not connected; Lens cap on | Select the correct input source (HDMI, USB). Ensure external device is connected and powered on. Remove lens cap. |
| Blurry image | Focus not adjusted; Keystone not corrected | Adjust the focus wheel. Check keystone correction settings. |
| No sound | Volume too low; External audio device not connected/paired; Muted | Increase volume. Connect or pair external audio device. Check if muted. |
| Wi-Fi/Bluetooth connection issues | Incorrect password; Device out of range; Interference | Verify password. Move closer to router/device. Reduce interference. Restart projector and router/device. |
9. Specifications
| Feature | Detail |
|---|---|
| Brand Name | TEYUN |
| Model Number | HY300 PRO |
| Item Weight | 1.62 pounds |
| Package Dimensions | 7 x 4 x 4 inches |
| Color | White |
| Display Resolution | 1280 x 720 (Native) |
| Resolution Support | Up to 4K, 1080p |
| Connectivity Technology | Bluetooth 5.0, HDMI, Wi-Fi 6 (Dual-Band) |
| Operating System | Android 11 |
| Special Features | Built-In Wi-Fi, 180 Degree Rotation, Auto Keystone Correction |
| Recommended Uses | Business, Education, Gaming, Home Cinema |
| Visible Screen Diagonal | 130" / 331 cm |
10. Warranty and Support
The TEYUN HY300 Pro Mini Projector comes with a standard manufacturer's warranty. Please refer to the warranty card included in your product packaging for specific terms and conditions, including warranty duration and coverage details.
For technical support, troubleshooting assistance, or warranty claims, please contact TEYUN customer service through the contact information provided on the official TEYUN website or your purchase documentation.


