
ToughTested TT-PBW-LED10
ToughTested Dual 10,000 mAh Solar Power Bank User Manual
Model: TT-PBW-LED10
Introduction
Thank you for choosing the ToughTested Dual 10,000 mAh Solar Power Portable Charger. This device is designed to provide reliable power on the go, featuring a high-capacity power bank, an integrated LED flashlight, and solar recharging capabilities. Its rugged, waterproof design makes it ideal for outdoor activities and emergency situations.
This manual provides essential information on setting up, operating, maintaining, and troubleshooting your power bank. Please read it thoroughly before use to ensure optimal performance and longevity of your device.
What's in the Box
- ToughTested Dual 10,000 mAh Solar Power Bank (Model: TT-PBW-LED10)
- Heavy Duty USB-A to USB-C Fast Charge Cable
- User Guide (This document)

The ToughTested power bank and its included heavy-duty USB-A to USB-C fast charge cable.
Product Overview

Front and back view of the ToughTested Dual 10,000 mAh Solar Power Bank, highlighting the solar panel on one side and the 18-LED flashlight panel on the other.
- 1. Power Button: Activates the power bank and controls the flashlight modes.
- 2. LED Indicators: Displays battery charge level.
- 3. Solar Panel: For emergency solar recharging.
- 4. USB-C Port (PD 18W): For fast charging the power bank and compatible devices.
- 5. USB-A Port (Quick Charge 3.0): For charging other devices.
- 6. 18-LED Flashlight Panel: Provides bright illumination with multiple modes.
- 7. Integrated Carabiner Loop: For easy attachment and portability.
Setup and Initial Use
Charging the Power Bank
Before first use, fully charge your ToughTested power bank using the included USB-C cable and a wall adapter (not included). A full charge ensures optimal performance and battery longevity.
- Connect the USB-C end of the included cable to the USB-C port on the power bank.
- Connect the USB-A end of the cable to a compatible USB wall adapter or computer USB port.
- The LED indicators will illuminate to show charging progress. All four LEDs will be solid when fully charged.
Note: While the solar panel provides emergency charging, it is significantly slower than wall charging and is intended for maintaining charge or emergency power in direct sunlight, not as a primary charging method.

The solar panel on the ToughTested power bank, designed for emergency recharging when conventional power sources are unavailable.
Operating Instructions
Charging Your Devices
The power bank features both USB-C (Power Delivery) and USB-A (Quick Charge 3.0) ports for versatile device charging.
- Connect your device's charging cable to the appropriate port (USB-C or USB-A) on the power bank.
- Connect the other end of the cable to your device.
- Press the power button once to begin charging. The LED indicators will show the remaining battery level.
- Disconnect your device once charging is complete. The power bank will automatically turn off after a period of inactivity.

The two charging ports on the ToughTested power bank: a USB-C 18W Power Delivery port and a USB Quick Charge 3.0 port, offering versatile charging options.
Using the LED Flashlight
The integrated 18-LED flashlight offers multiple lighting modes for various situations.
- To turn on the flashlight: Double-press the power button.
- To cycle through modes: Once the flashlight is on, single-press the power button to switch between:
- Steady (Full Brightness)
- SOS (Morse Code for distress)
- Strobe (Flashing light)
- To turn off the flashlight: Double-press the power button again.

The 18-LED light panel of the ToughTested power bank, providing 550 lumens of high-output illumination.
Maintenance
- Cleaning: Wipe the power bank with a soft, dry cloth. Do not use harsh chemicals or abrasive materials.
- Storage: Store the power bank in a cool, dry place away from direct sunlight and extreme temperatures. For long-term storage, ensure the battery is charged to at least 50% to preserve battery health.
- Water Resistance: The device has an IP44 waterproof rating, meaning it is protected against solid objects larger than 1mm and splashing water from any direction. Do not submerge the device in water. Ensure all ports are dry before charging.
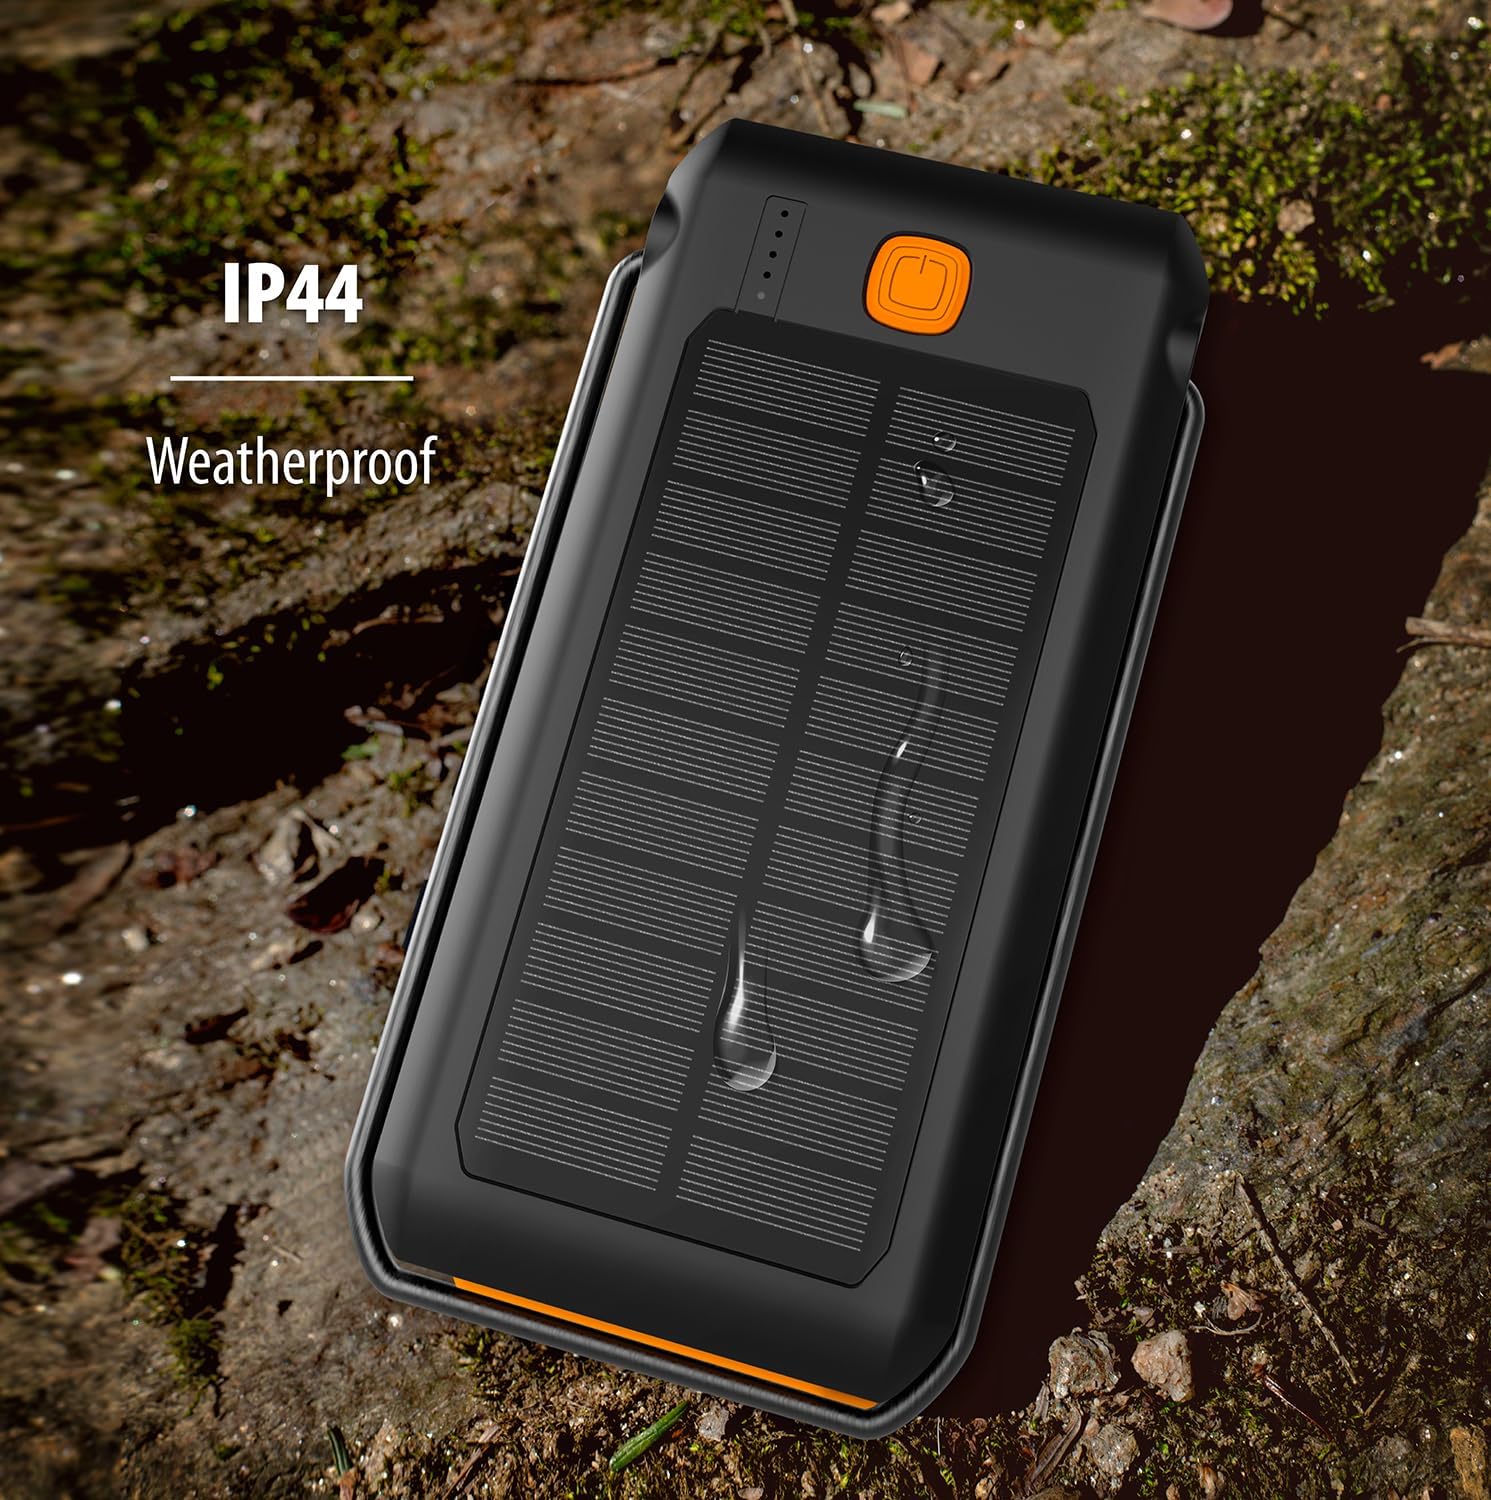
The ToughTested power bank demonstrating its IP44 weatherproof rating, indicating protection against splashing water.
Troubleshooting
| Problem | Possible Cause | Solution |
|---|---|---|
| Power bank not charging | Cable not connected properly; faulty cable/adapter; power bank fully discharged. | Ensure cable is securely connected. Try a different cable or wall adapter. Allow a few minutes for the power bank to respond if fully discharged. |
| Device not charging from power bank | Power bank low on charge; cable not connected properly; device not compatible; power bank in standby. | Recharge the power bank. Ensure cables are securely connected. Press the power button once to activate charging. Verify device compatibility. |
| Flashlight not working | Power bank low on charge; incorrect button press. | Recharge the power bank. Double-press the power button to turn on/off the flashlight. |
| Solar charging is slow | Solar charging is supplementary; insufficient direct sunlight. | Solar charging is designed for emergency use and is slower than wall charging. Ensure the solar panel is exposed to direct, strong sunlight. |
Specifications
| Feature | Detail |
|---|---|
| Model Number | TT-PBW-LED10 |
| Battery Capacity | 10,000 mAh (Lithium Polymer) |
| Input Ports | USB-C (for charging the power bank) |
| Output Ports | USB-C (18W Power Delivery), USB-A (Quick Charge 3.0) |
| Solar Panel Output | 275mA (for emergency/supplementary charging) |
| Flashlight | 18 LED, 550 Lumen, 3 Modes (Steady, SOS, Strobe) |
| Waterproof Rating | IP44 (Protected against splashing water) |
| Dimensions | 6.5 x 3.5 x 1 inches |
| Weight | 10.4 ounces |
| Color | Black / Orange |
Warranty and Support
The ToughTested Dual 10,000 mAh Solar Power Bank is backed by ToughTested's exclusive 5-year warranty. This warranty covers defects in materials and workmanship under normal use.
For warranty claims, technical support, or any inquiries regarding your product, please refer to the official ToughTested website or product packaging for the most current contact information.
Related documentsTT-PBW-LED10


Ask a question about this manual
Ask about setup, troubleshooting, compatibility, parts, safety, or missing instructions. Manuals+ will review the question and use this page’s manual context to help answer it.