
1. Introduction
This manual provides detailed instructions for the installation, operation, and maintenance of your Yoidesu 4K and 1080P Front Rear Dash Cam. Please read this manual thoroughly before using the device to ensure proper functionality and safety. Keep this manual for future reference.
2. Product Overview
The Yoidesu Dash Cam is designed to provide comprehensive surveillance for your vehicle, featuring both front 4K and rear 1080P cameras. It includes advanced functions such as G-Sensor for accident detection, 24-hour parking monitoring, and loop recording.
Package Contents
- Yoidesu Front Dash Cam
- Rear Camera with connection cable
- Car Charger
- Mounting Bracket
- User Manual
- USB Cable
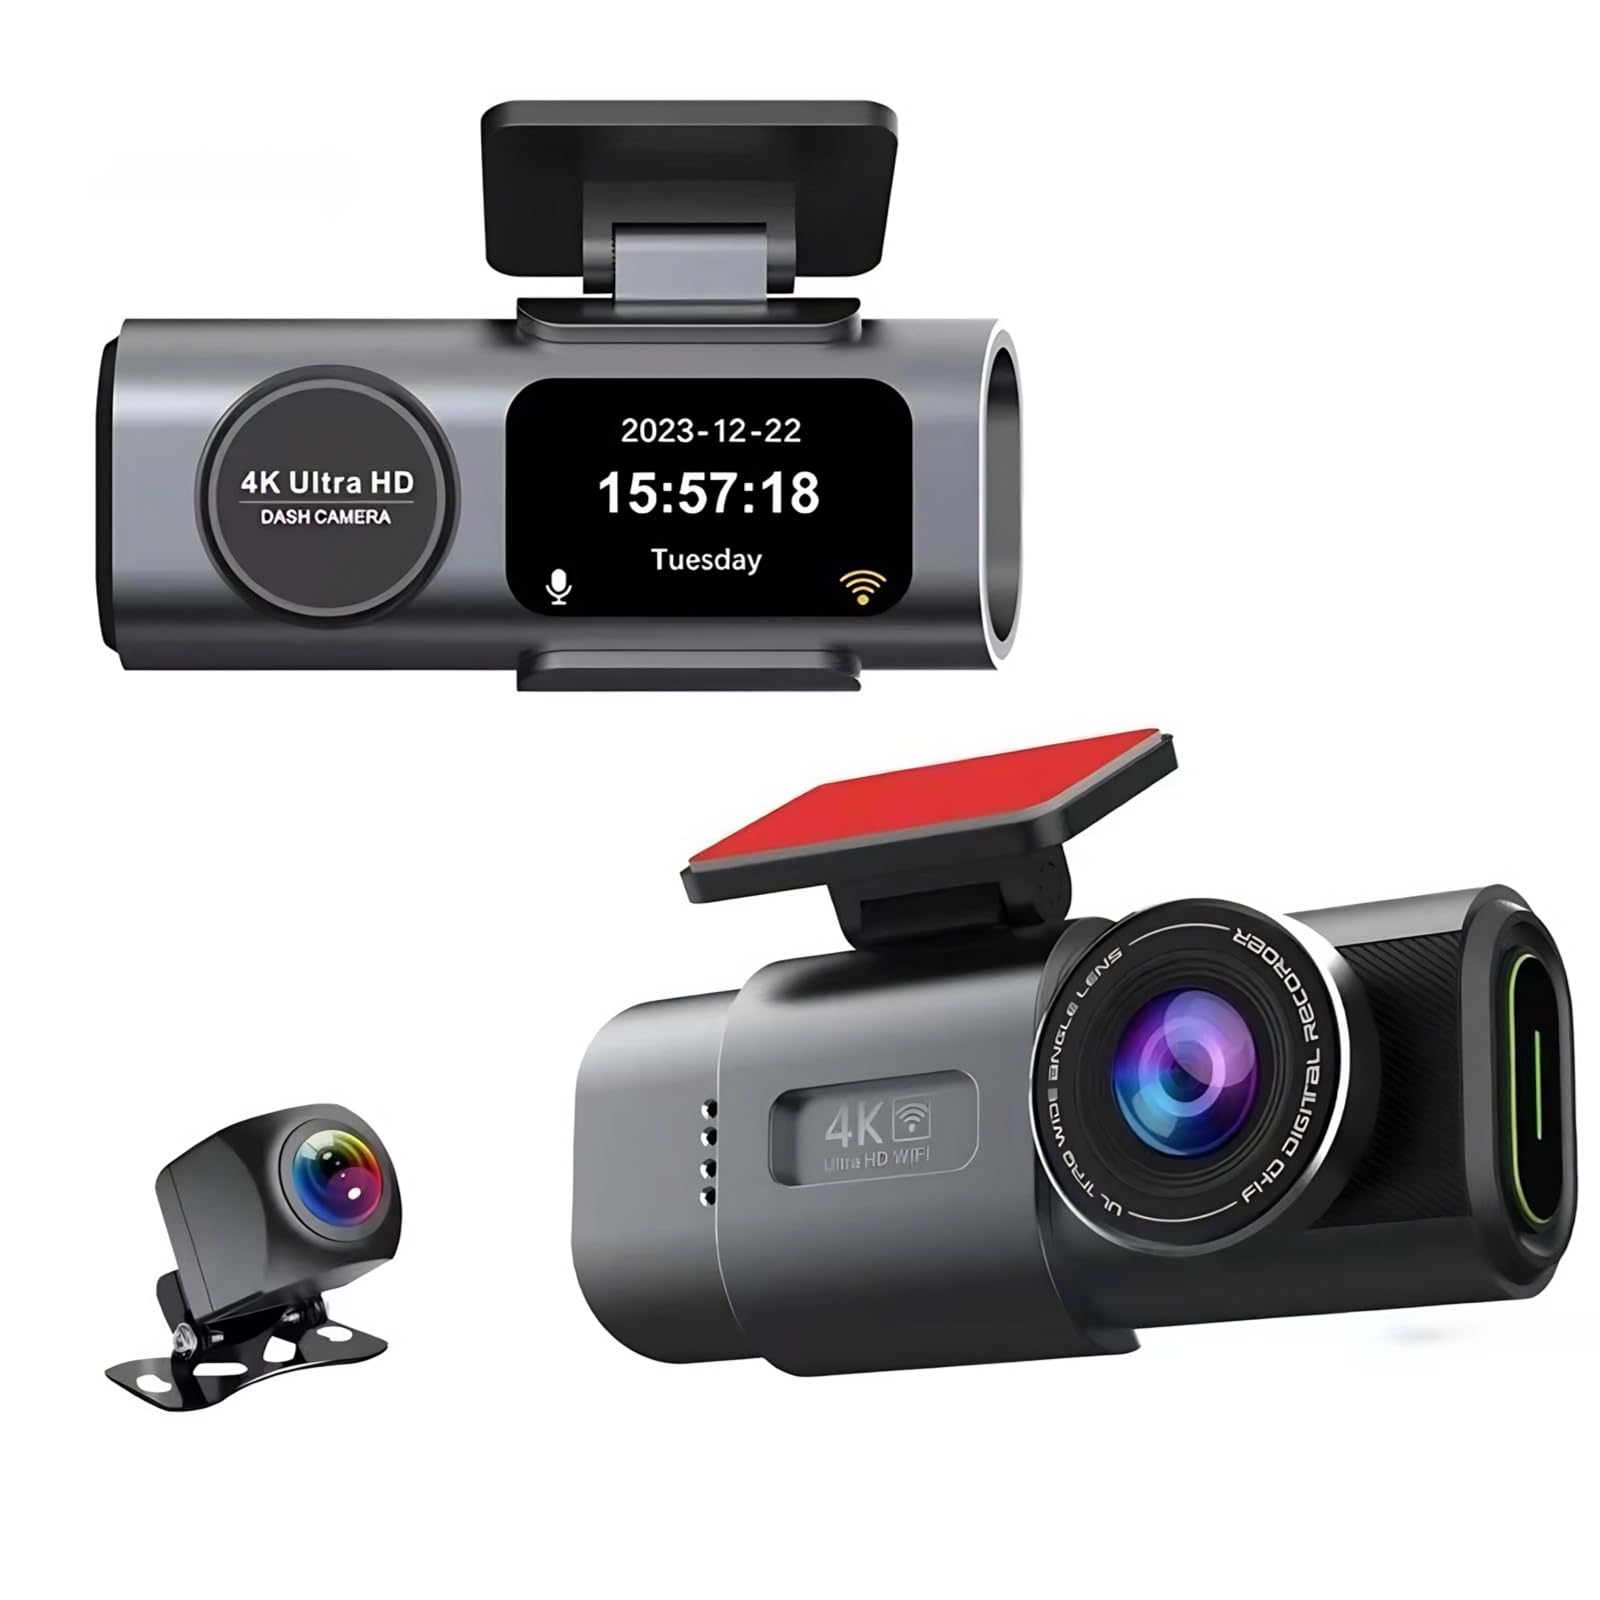
Image: The Yoidesu 4K and 1080P Front Rear Dash Cam, showing the main unit, rear camera, and various feature icons.
3. Setup and Installation
3.1 Inserting the Micro SD Card
Before first use, insert a high-speed Micro SD card (Class 10 or higher, up to 128GB) into the designated slot on the dash cam. Ensure the card is inserted correctly until it clicks into place. Format the card within the dash cam settings for optimal performance.
3.2 Mounting the Front Dash Cam
- Clean the windshield area where the dash cam will be mounted.
- Attach the mounting bracket to the front dash cam.
- Peel off the protective film from the adhesive pad on the bracket and firmly press it onto the windshield, ensuring a clear view of the road.
- Adjust the camera lens angle to capture the desired view.
3.3 Installing the Rear Camera
- Mount the rear camera on the rear windshield or license plate area using the provided adhesive or screws.
- Route the rear camera cable to the front dash cam, ensuring it does not interfere with driving or vehicle components.
- Connect the rear camera cable to the designated port on the front dash cam.
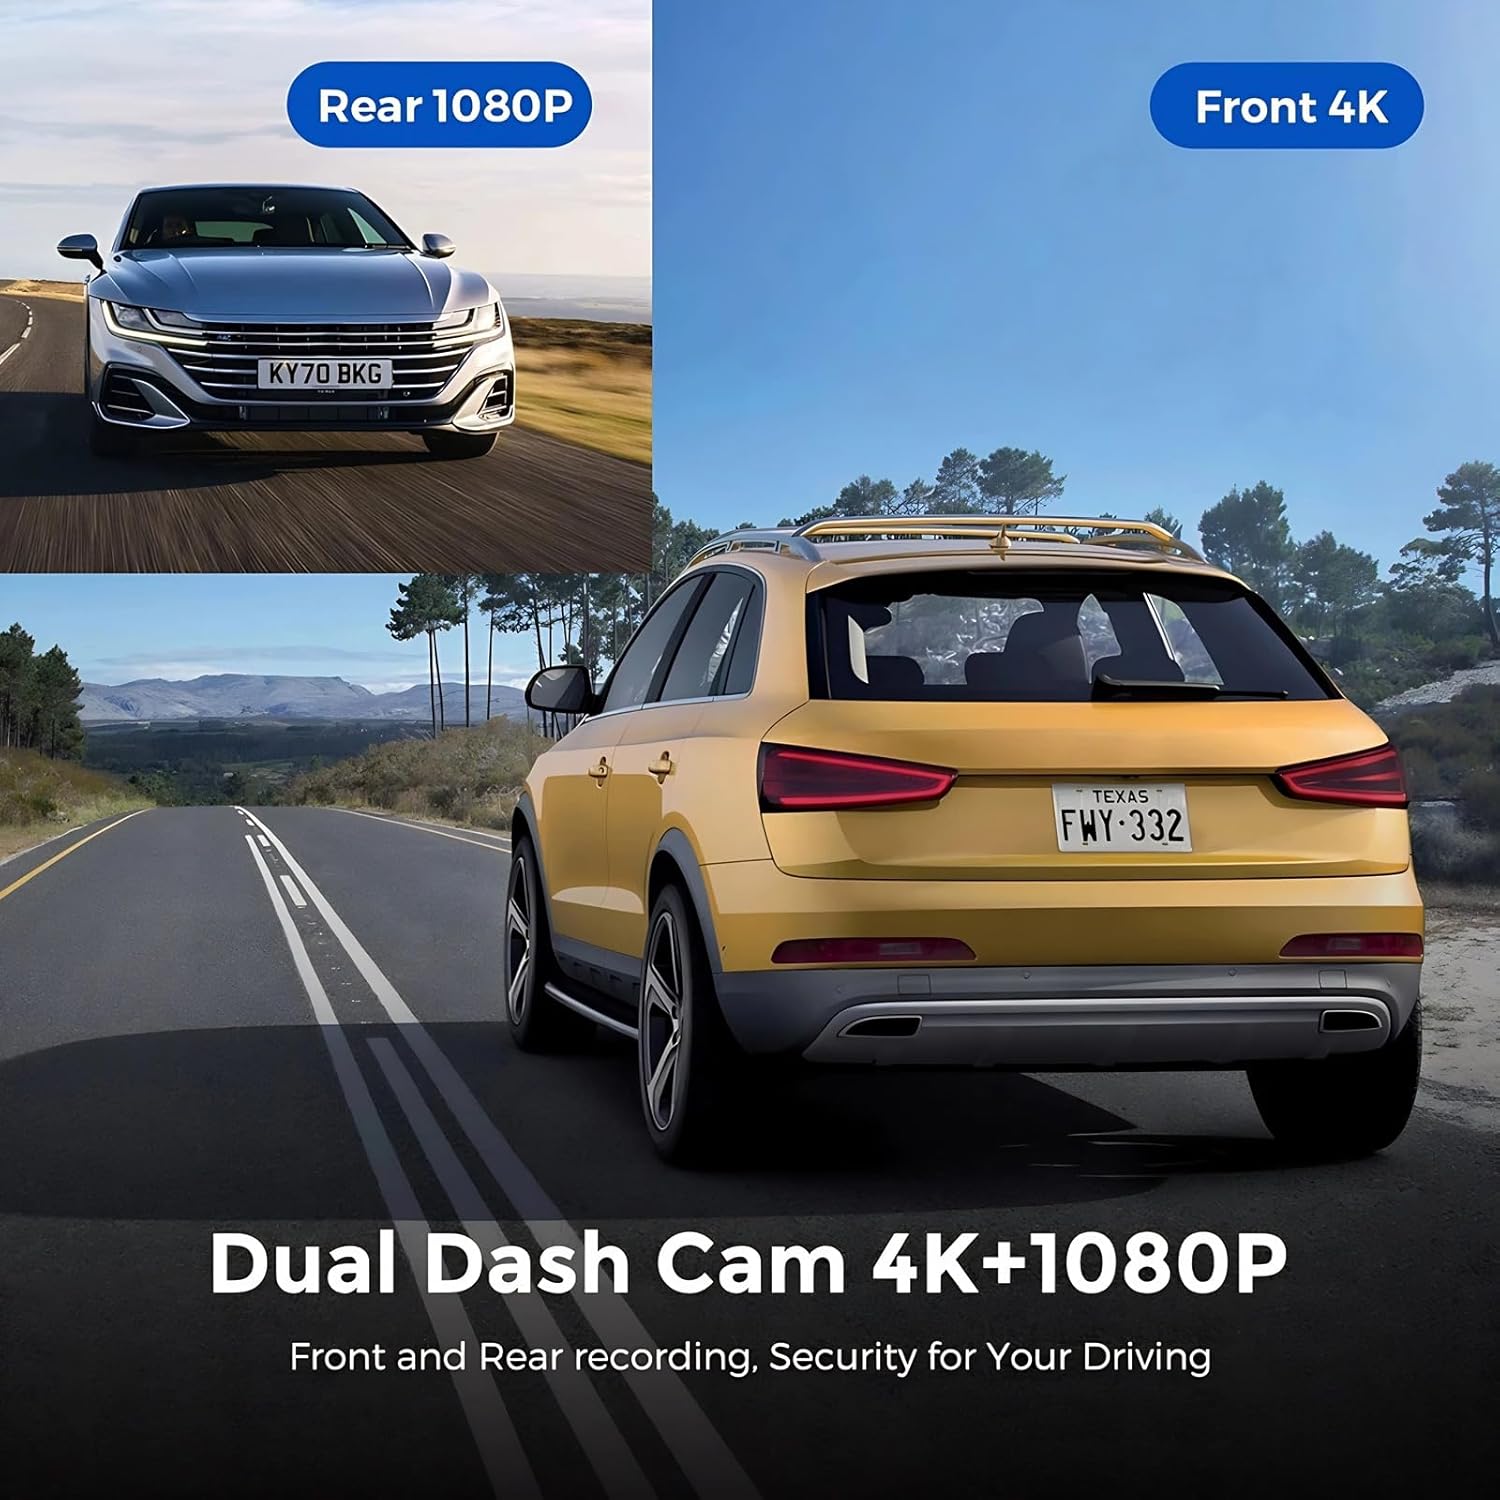
Image: Visual representation of the dual dash cam setup, showing the front 4K camera and rear 1080P camera positions for comprehensive recording.
3.4 Power Connection
Connect the car charger to the dash cam's power input port and plug the other end into your vehicle's 12V power outlet (cigarette lighter socket). The dash cam will typically power on automatically when the vehicle starts and power off when the engine is turned off.
4. Operating Instructions
4.1 Basic Recording
Once powered on, the dash cam will automatically begin recording. A red indicator light or on-screen icon will confirm recording is active. To manually stop/start recording, press the designated record button (refer to the device's physical buttons).
4.2 Menu Navigation
Use the physical buttons or touch screen (if applicable) to navigate through the menu options. Common settings include video resolution, loop recording duration, G-Sensor sensitivity, and parking monitoring mode.
4.3 Wi-Fi Connection and App Usage
The dash cam features built-in Wi-Fi for connecting to a smartphone application. Download the recommended app (e.g., 'VIIDURE' as indicated in product images) from your device's app store. Follow these steps:
- Enable Wi-Fi on the dash cam via its settings menu.
- On your smartphone, connect to the dash cam's Wi-Fi network (SSID and password usually displayed on the dash cam screen).
- Open the app to view live footage, access recorded videos, and adjust settings remotely.
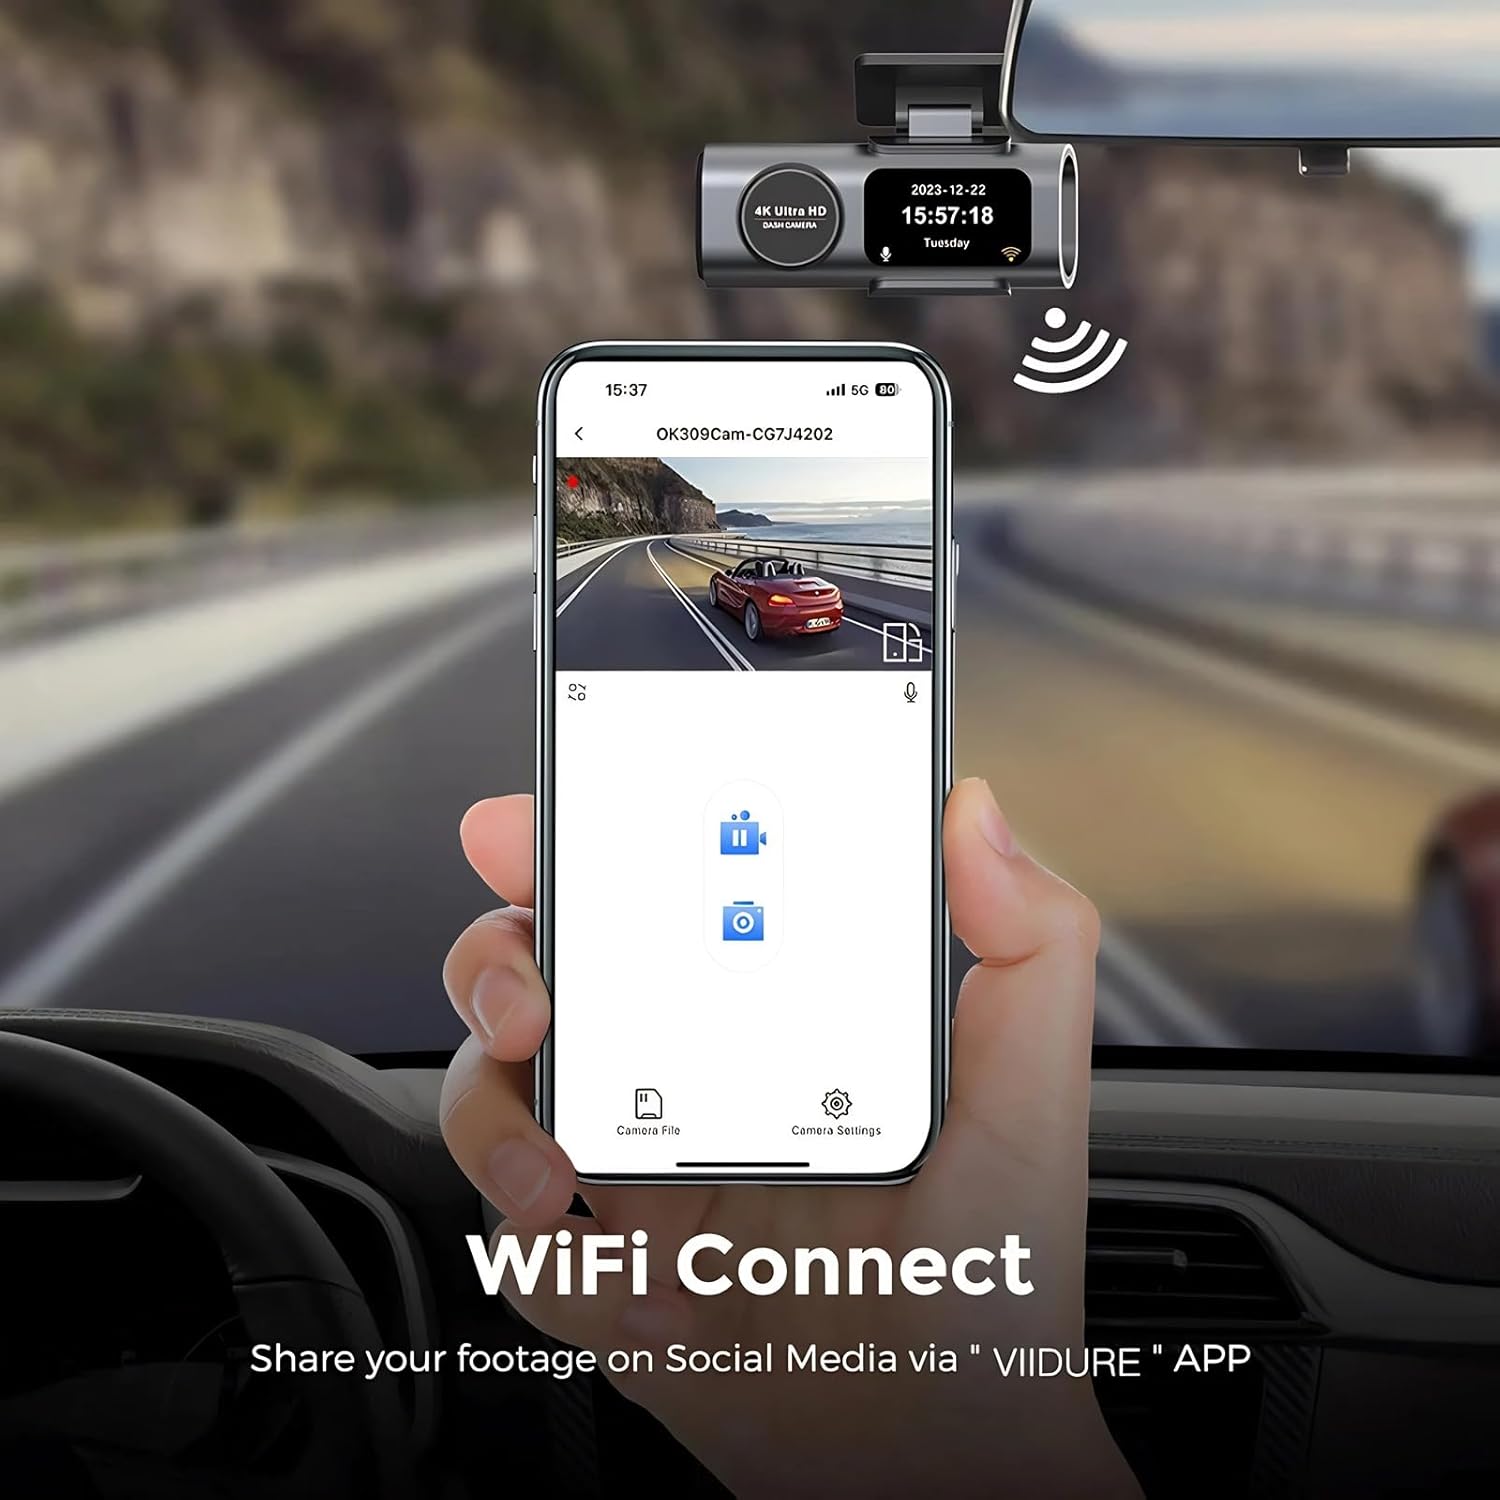
Image: A hand holding a smartphone displaying the dash cam's Wi-Fi connection interface, allowing users to manage footage and settings via an app.
5. Key Features
5.1 G-Sensor (Emergency Locking)
The integrated G-Sensor detects sudden impacts or collisions. When an abnormal vibration is detected, the dash cam automatically locks the current video segment, preventing it from being overwritten by loop recording. This ensures critical accident footage is preserved.

Image: Depiction of the Emergency Locking feature, where the G-sensor detects a collision and automatically saves the video footage.
5.2 24-Hour Parking Monitoring
With 24-hour parking monitoring, the dash cam continues to record even when your vehicle is parked. If the camera detects collisions or shakes, it will automatically activate and record a short video segment, providing surveillance against vandalism or hit-and-runs.

Image: A car under 24-hour parking monitoring, illustrating the dash cam's ability to record collisions and shakes while the vehicle is stationary.
5.3 Loop Recording
Loop recording ensures continuous recording by overwriting the oldest unlocked video files when the Micro SD card is full. This eliminates the need to manually clear storage space, ensuring that the dash cam is always recording.

Image: A visual representation of Loop Recording, showing a continuous cycle of video capture around a camera lens.
5.4 Superior Night Vision
The dash cam is equipped with advanced night vision technology, including a wide-angle lens and F2.0 aperture, to capture clear and detailed video footage in low-light conditions. This enhances visibility and safety during nighttime driving or in poorly lit areas.

Image: The Super Night Vision feature, illustrating clear image capture from both front and rear cameras in low-light environments.
5.5 Efficient Wi-Fi Connectivity
The dash cam utilizes 2.4GHz Wi-Fi for a stable and fast connection to your smartphone. This allows for quick video playback, download, and sharing of footage, improving the overall user experience and data transfer speed.
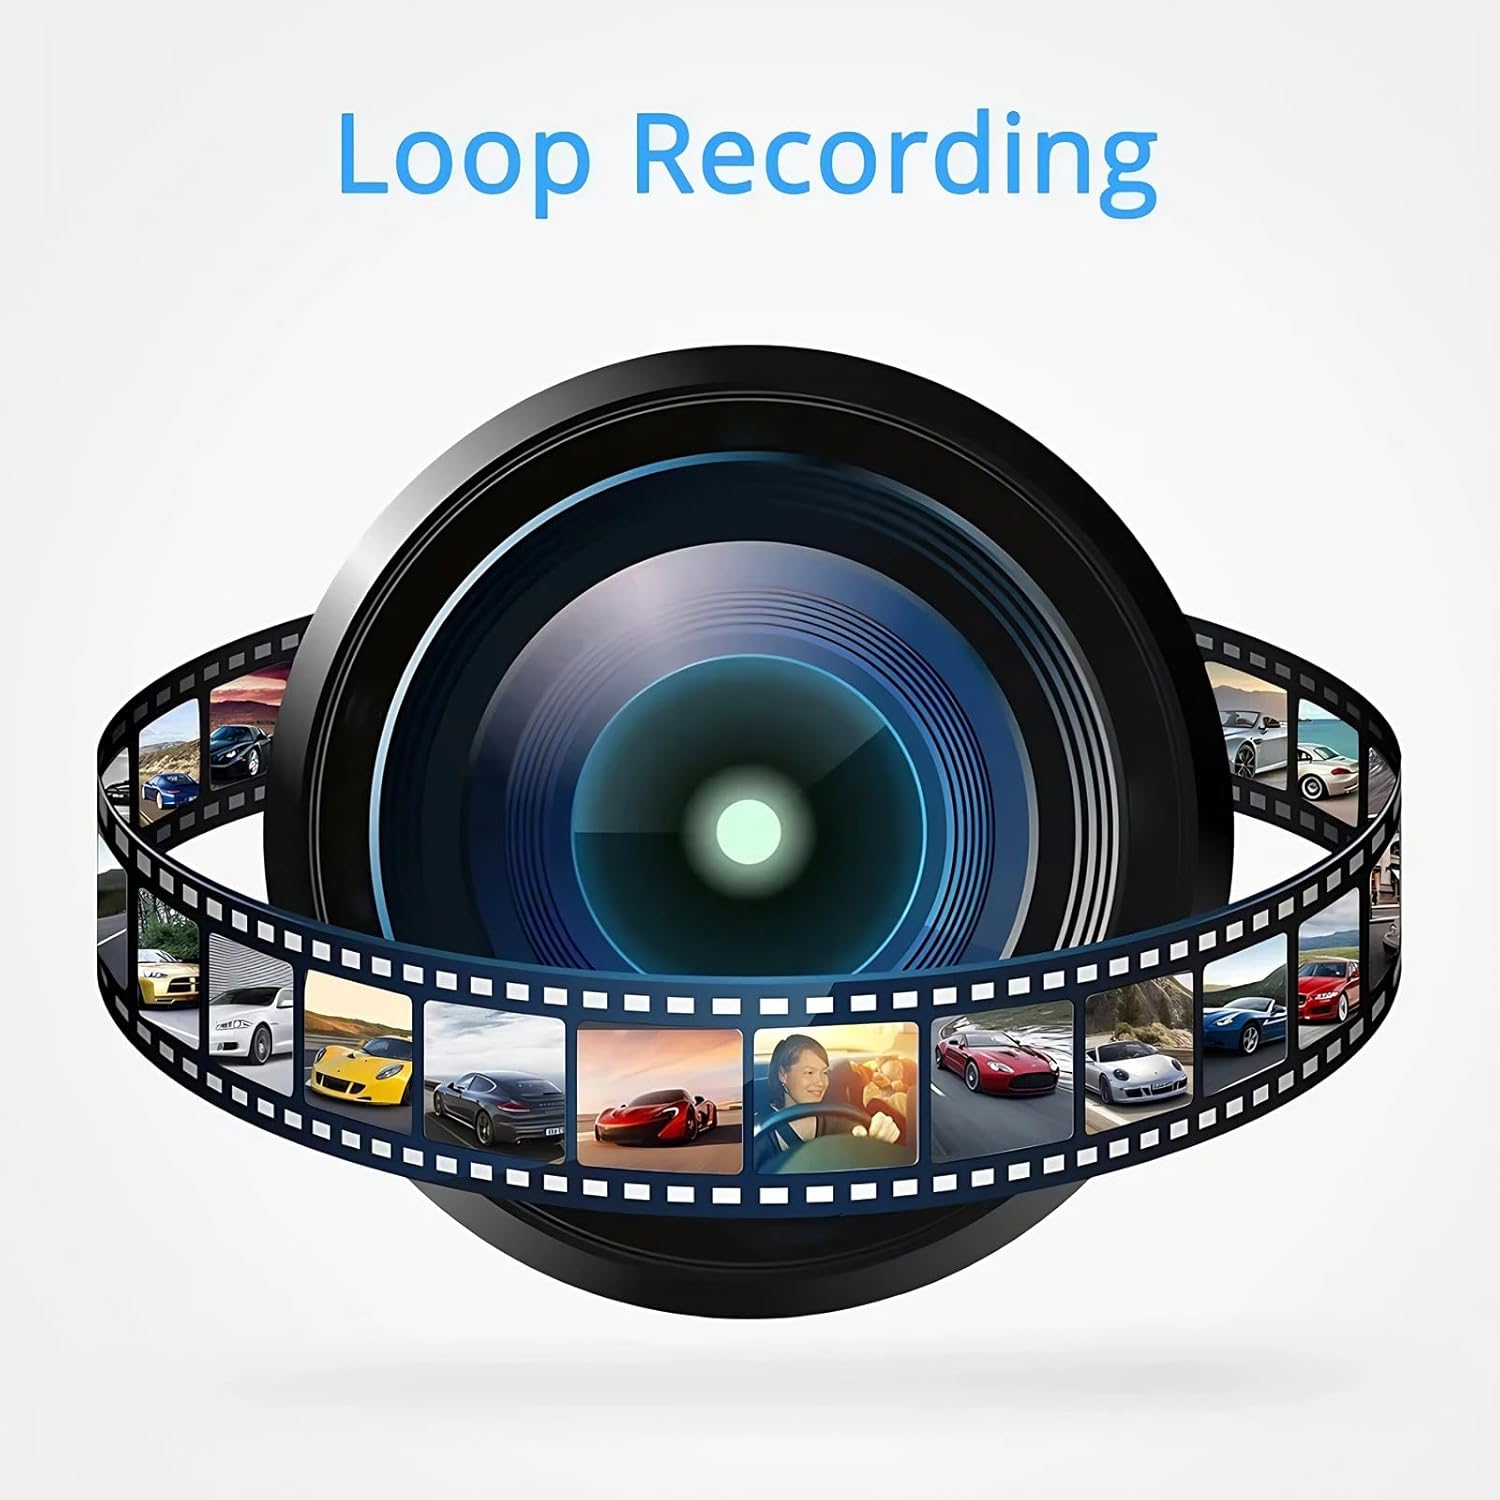
Image: A user interacting with the dash cam via a smartphone app, highlighting the improved speed and efficiency of the 2.4GHz Wi-Fi connection for data transfer and streaming.
6. Maintenance
6.1 Cleaning the Lenses
Regularly clean the front and rear camera lenses with a soft, lint-free cloth to ensure clear video quality. Avoid using abrasive cleaners that could scratch the lens surface.
6.2 Formatting the Micro SD Card
It is recommended to format the Micro SD card every 2-4 weeks to maintain optimal performance and prevent data corruption. This can typically be done through the dash cam's settings menu.
6.3 Firmware Updates
Check the manufacturer's website periodically for any available firmware updates. Updating the firmware can improve performance, add new features, or fix bugs. Follow the instructions provided with the firmware update carefully.
7. Troubleshooting
| Problem | Possible Solution |
|---|---|
| Dash cam does not power on. | Check the power connection to the car charger and the vehicle's 12V outlet. Ensure the vehicle's ignition is on. |
| Recording stops unexpectedly. | Ensure the Micro SD card is Class 10 or higher. Format the SD card. Check if the card is full (if loop recording is off). |
| Video footage is blurry or unclear. | Clean the camera lenses. Ensure the protective film has been removed from the lenses. Check video resolution settings. |
| Wi-Fi connection issues. | Ensure Wi-Fi is enabled on the dash cam. Restart both the dash cam and your smartphone. Verify the correct Wi-Fi password. |
| G-Sensor is too sensitive/not sensitive enough. | Adjust the G-Sensor sensitivity setting in the dash cam menu. |
8. Specifications
| Feature | Detail |
|---|---|
| Brand | Yoidesu |
| Model Number | Yoidesup7q0bdcof8 |
| Front Camera Resolution | 4K |
| Rear Camera Resolution | 1080P |
| Field of View | 170 degrees |
| Screen Size | 1.47 inches |
| Control Method | Touch |
| Frame Rate | 30 FPS |
| Memory Storage Capacity | Up to 128 GB (Micro SD) |
| Special Features | G-Sensor, 24H Parking Monitoring, Loop Recording, Night Vision, Wi-Fi |
9. Warranty and Support
9.1 Warranty Information
Your Yoidesu Dash Cam is covered by a limited warranty from the date of purchase. Please refer to the warranty card included in your package or visit the official Yoidesu website for detailed warranty terms and conditions.
9.2 Customer Support
For technical assistance, troubleshooting, or any product-related inquiries, please contact Yoidesu customer support. Contact details can typically be found on the official Yoidesu website or on the product packaging.
Website: Yoidesu Official Store