
1. Product Overview
This manual provides instructions for the installation and care of the ARSSLY LCD screen replacement for the Tecno Spark 10 Pro smartphone.
1.1 Compatibility
This replacement screen is specifically designed for the Tecno Spark 10 Pro model (also known as KI7). Please verify your phone's model number before proceeding with installation to ensure compatibility.
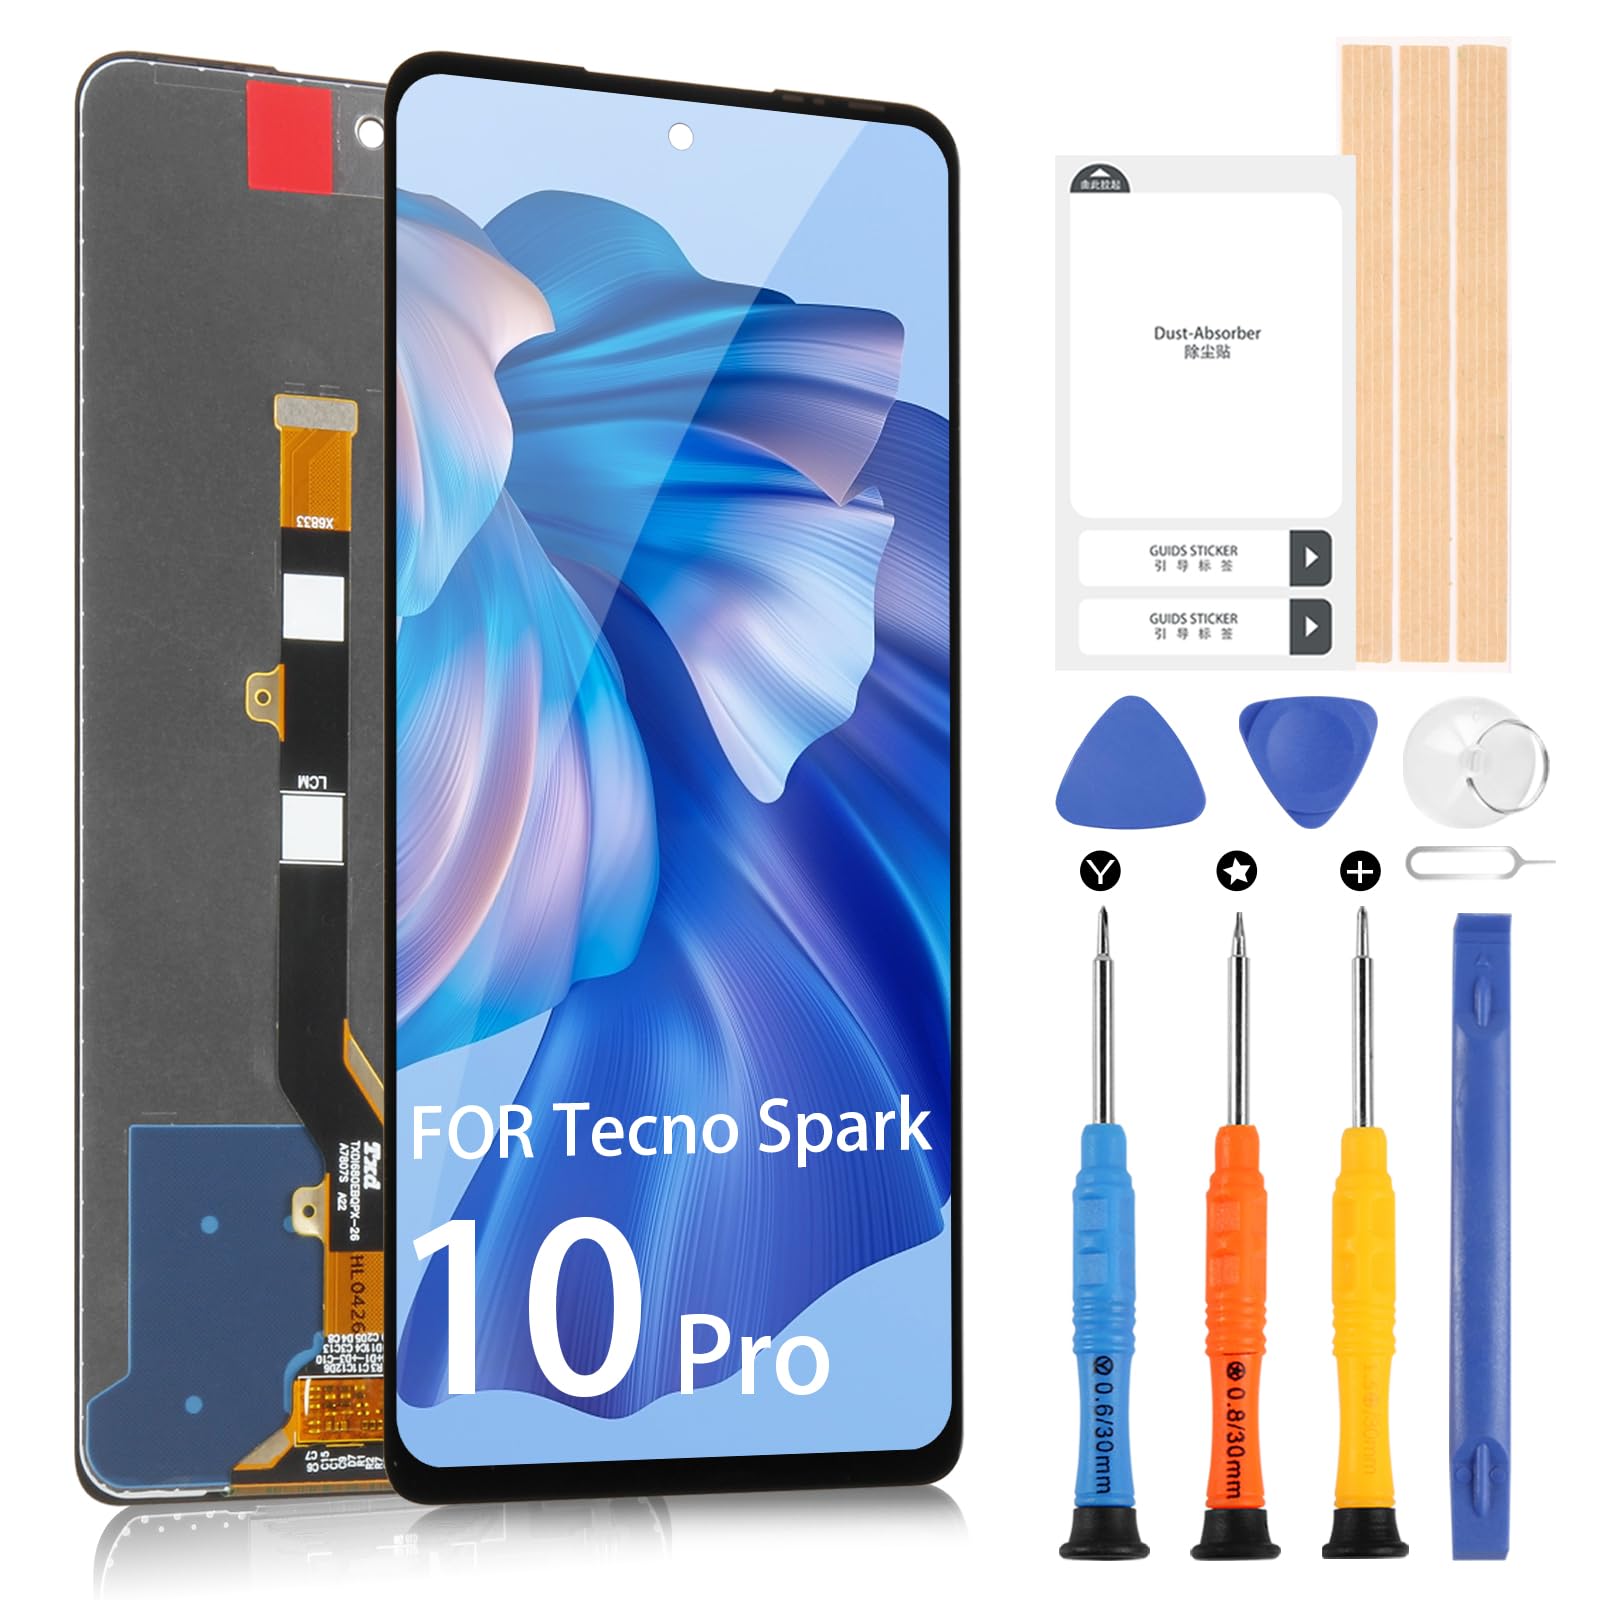
Image 1.1: Tecno Spark 10 Pro LCD screen specifications.
- Size: 6.8 inches
- Resolution: 1080 * 2460 pixels
- Pixel Density: 396 ppi
- Type: IPS LCD
1.2 Package Contents
The package typically includes the following items:
- 1 x ARSSLY LCD Screen Replacement for Tecno Spark 10 Pro
- 1 x Screen Protector
- 1 x Repair Tool Kit (may include screwdrivers, prying tools, suction cup, etc.)
- 1 x Double-sided Adhesive Tape
- 1 x Disassembly Tool Card
- 1 x Dust Removal Sticker

Image 1.2: Typical package contents.
2. Setup and Installation
Screen replacement is a delicate procedure. Careful handling and attention to detail are crucial for successful installation. It is recommended to watch video tutorials before beginning.
2.1 Important Precautions
- Power Off Device: Ensure your phone is completely powered off before starting the replacement process.
- Static Discharge: Take precautions against static electricity, which can damage electronic components.
- Handle with Care: The replacement screen and its flex cables are fragile. Avoid excessive force, bending, or pressing on the screen, especially near the edges and connectors.
- Organize Screws: Keep track of all screws and components, as they may vary in size and location.
- Professional Assistance: If you are unsure about any step, consider seeking professional repair services.

Image 2.1: Flex cables and delicate areas of the screen. Do not press on corners or flex cables.
2.2 Installation Steps (General Guide)
While specific steps may vary, a general installation process involves:
- Disassembly: Carefully open the phone and disconnect the old screen.
- Preparation: Clean any old adhesive residue from the phone frame.
- Test Fit: Before fully adhering the new screen, connect its flex cables to the motherboard and power on the phone to test display and touch functionality.
- Adhesion: Apply new adhesive tape and carefully seat the new screen into the phone frame.
- Reassembly: Reconnect all components and secure the phone casing.
For detailed visual instructions, it is highly recommended to search for "Tecno Spark 10 Pro screen replacement" video tutorials on platforms like YouTube.
3. Post-Installation Check
After installing the new screen, perform the following checks to ensure proper functionality:
- Display Test: Check for any dead pixels, discoloration, or uneven backlighting.
- Touch Functionality: Test the touch response across the entire screen. Drag an icon around the screen to ensure there are no dead spots.
- Brightness Adjustment: Verify that the screen brightness can be adjusted correctly.
- Proximity Sensor: Test the proximity sensor (usually by making a call and putting the phone to your ear) to ensure the screen turns off.
- Front Camera: Ensure the front camera is clear and functional.
4. Maintenance
To prolong the life and maintain the clarity of your new screen, follow these maintenance guidelines:
- Cleaning: Use a soft, lint-free cloth (microfiber is ideal) to gently wipe the screen. For stubborn smudges, slightly dampen the cloth with water or a screen-specific cleaner. Avoid harsh chemicals.
- Screen Protector: Utilize the included screen protector to guard against scratches and minor impacts.
- Avoid Pressure: Do not place heavy objects on the phone or apply excessive pressure to the screen.
- Temperature Extremes: Avoid exposing the phone to extreme temperatures, which can affect screen performance and longevity.
- Drop Protection: Consider using a protective case for your phone to minimize damage from accidental drops.
5. Troubleshooting
If you encounter issues after installation, consider the following troubleshooting steps:
- Screen Not Turning On:
- Ensure all flex cables are securely connected. Disconnect and reconnect them carefully.
- Check the phone's battery level.
- Perform a hard reset of the phone (refer to your phone's original manual for instructions).
- Touch Not Responding / Partial Touch:
- Verify that the digitizer flex cable is properly seated.
- Ensure there is no debris or liquid under the screen.
- Restart the phone.
- Display Issues (Lines, Discoloration, Flickering):
- Check the display flex cable for any damage or improper connection.
- Ensure no pressure is being applied to the screen from inside the phone casing.
- Screen Detaching:
- Ensure sufficient adhesive was used and properly cured during installation.
- Reapply adhesive if necessary.
If problems persist after attempting these steps, please contact customer support.
6. Specifications
| Model Compatibility | Tecno Spark 10 Pro (KI7) |
| Screen Size | 6.8 inches |
| Resolution | 1080 x 2460 pixels |
| Pixel Density | 396 ppi |
| Display Type | IPS LCD |
| Package Dimensions | 7.52 x 4.02 x 1.06 inches |
| Item Weight | 4.8 ounces |
| Manufacturer | ARSSLY |
7. Warranty and Support
7.1 Warranty Information
A free replacement is provided within three months of purchase in cases of non-human damage. This warranty covers manufacturing defects and functional failures not caused by user error, improper installation, or accidental damage.
7.2 Customer Support
If you encounter any issues with the product or have questions regarding installation or functionality, please contact our customer service team immediately. We aim to respond to all inquiries within 24 hours to assist in resolving your concerns.
Please note that the included repair tools may not be suitable for all products, and some screen models may require professional tools for device maintenance.