
1. Introduction
This manual provides essential information for the installation, operation, and maintenance of your SPEDWHEL Accelerator, designed for Kukirin G2 Pro and G2 MAX electric scooters. Please read this manual thoroughly before installation and use to ensure proper function and safety.
2. Product Overview
The SPEDWHEL Accelerator is a replacement thumb finger speed control unit for compatible electric scooters. It allows for precise speed regulation during operation.

Figure 2.1: Front view of the SPEDWHEL Accelerator, showing the thumb lever and mounting clamp. This image displays the main component with its attached cable and connector.

Figure 2.2: Top-down view of the accelerator, highlighting the circular clamp mechanism and the textured thumb lever. The cable extends from the unit with a blue-tipped connector.

Figure 2.3: Side view of the accelerator, showing the curvature of the cable and the connector. The main body is black plastic with a visible mounting screw.
3. Safety Information
- Always disconnect the scooter's power before attempting any installation or maintenance.
- Ensure all connections are secure after installation to prevent accidental disconnections during operation.
- If you are unsure about any installation steps, consult a qualified technician.
- Do not operate the scooter if the accelerator feels loose, damaged, or is not functioning correctly.
- Keep hands and fingers clear of moving parts during installation and operation.
4. Setup and Installation
This accelerator is designed for easy installation. Follow these general steps:
- Power Off: Ensure the electric scooter is completely powered off and the battery is disconnected if accessible.
- Remove Old Accelerator: Carefully loosen the screws holding the existing accelerator in place on the handlebar. Disconnect its electrical connector.
- Position New Accelerator: Slide the new SPEDWHEL Accelerator onto the handlebar in the desired position.
- Secure Mounting: Tighten the mounting screws to secure the accelerator firmly to the handlebar. Do not overtighten.
- Connect Electrically: Connect the accelerator's cable to the corresponding port on your scooter's wiring harness. Ensure the connection is snug and fully seated.
- Test Functionality: Reconnect the scooter's battery and power it on. Test the accelerator's response at a low speed in a safe, open area before full use.
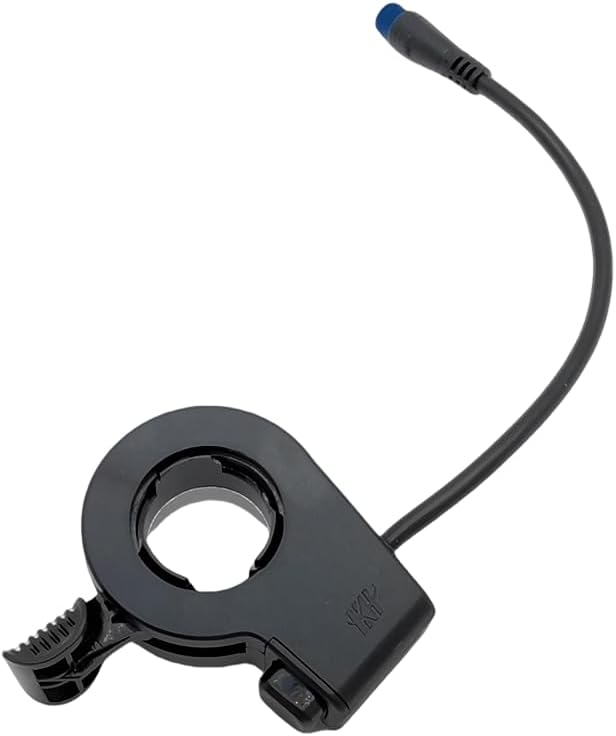
Figure 4.1: View of the accelerator from below, showing the mounting bracket and the cable entry point. This perspective helps in understanding how the unit attaches to the handlebar.
5. Operating Instructions
The SPEDWHEL Accelerator functions as a thumb-operated speed control for your electric scooter.
- Activation: Once the scooter is powered on, gently press the thumb lever forward to engage the motor.
- Speed Control: The further you press the lever, the more power is delivered to the motor, increasing the scooter's speed.
- Deceleration: Release the thumb lever to reduce power and allow the scooter to slow down. Apply brakes as needed for complete stopping.
- Smooth Operation: Apply pressure to the lever smoothly and gradually for consistent acceleration and control.
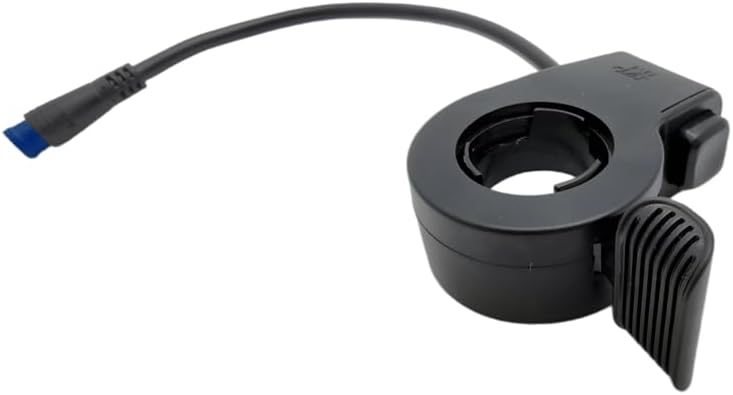
Figure 5.1: Angled view of the accelerator, showing the ergonomic design of the thumb lever for comfortable operation. This image provides a good perspective of the user interface.
6. Maintenance
Regular maintenance ensures the longevity and reliable performance of your accelerator.
- Cleaning: Wipe the accelerator with a soft, damp cloth to remove dust and dirt. Avoid using harsh chemicals or abrasive cleaners.
- Connection Check: Periodically inspect the electrical connection for any signs of wear, corrosion, or looseness.
- Mounting Security: Ensure the accelerator remains securely mounted to the handlebar. Tighten screws if necessary, but do not overtighten.
- Cable Inspection: Check the cable for any cuts, kinks, or damage. Replace the unit if the cable is compromised.
7. Troubleshooting
| Problem | Possible Cause | Solution |
|---|---|---|
| Accelerator not responding | Loose electrical connection, damaged cable, scooter not powered on. | Check all electrical connections. Ensure scooter is powered on. Inspect cable for damage. |
| Inconsistent speed control | Internal component issue, debris in mechanism. | Ensure the thumb lever moves freely. If issues persist, contact support. |
| Accelerator feels loose on handlebar | Mounting screws are loose. | Carefully tighten the mounting screws. |
If troubleshooting steps do not resolve the issue, please contact customer support.
8. Specifications
- Brand: SPEDWHEL
- Model Compatibility: Kukirin G2 Pro, Kukirin G2 MAX Electric Scooters
- Material: Plastic
- Color: Black
- Product Dimensions: 2"L x 2"W (approximate)
- Item Weight: 3.52 ounces
- Item Model Number: G2 pro/G2 MAX
- UPC: 744612902825
- Special Feature: Easy to Install
9. Warranty and Support
For warranty information or technical support, please refer to the documentation provided with your original purchase or contact the seller directly. Keep your purchase receipt as proof of purchase.
Manufacturer: SPEDWHEL
