1. Safety Instructions
Always read and understand all safety warnings and instructions before operating the pump. Failure to follow these instructions may result in electric shock, fire, serious injury, or death.
- Electrical Safety: Ensure the power source matches the pump's requirements. Do not operate the pump with a damaged cord or plug. Always use a ground fault circuit interrupter (GFCI) when operating the pump. Never immerse the plug or power cord in water.
- Water Type: This pump is designed for transferring clear water, rainwater, spring water, river water, and lake water. It can handle solids up to 1/4 inch in diameter. Do not use for flammable liquids, corrosive chemicals, or highly viscous fluids.
- Placement: Ensure the pump is placed on a stable, level surface. Do not operate the pump in areas where it may be easily knocked over, although the Auto-Flo system provides some protection in such events.
- Children and Pets: Keep children and pets away from the pump during operation.
2. Product Overview
2.1. Key Features
- Powerful and Quick: Pumps water up to 3000 GPH with a max lift capacity of 25 feet.
- Knock Over Operation & Dry Run Protection: Automatically monitors water level and stops operation to prevent dry running and machine failure, even if accidentally knocked over.
- Versatile Adaptors: Includes 6 adaptors (2x2", 1-1/2", 1-1/4", 1", 3/4") for various hose sizes and drainage needs.
- Smart and Portable: Compact design (8"x7"x10") for easy transport and use in various locations.
- Durable Construction: Made from robust thermoplastic material.
2.2. Technical Specifications
| Specification | Value |
|---|---|
| Brand | Smartbot |
| Model Number | Smartbot (ROBUST2800 & Flowforce 3000) |
| Power Source | Corded Electric |
| Maximum Flow Rate | 3000 Gallons Per Hour (50 GPM) |
| Maximum Lifting Height | 25 Feet |
| Product Dimensions | 7"W (approx. 8"x7"x10") |
| Item Weight | 11.73 pounds |
| Material | Thermoplastic |
| Included Components | 6 adaptors |
2.3. Product Diagram

Figure 2.1: Front view of the Smartbot Submersible Water Pump, showcasing its compact design and integrated handle.
3. Setup
3.1. Unpacking and Initial Assembly
Carefully remove all components from the packaging. The Smartbot pump is designed for quick and simple setup.

Figure 3.1: Diagram illustrating the easy assembly process of the pump base to the main unit.
3.2. Connecting Hoses
The pump comes with 6 adaptors to accommodate various hose sizes (2x2", 1-1/2", 1-1/4", 1", 3/4"). Select the appropriate adaptor for your hose and application.
- Choose the desired adaptor based on your hose diameter.
- Attach the chosen adaptor to the pump's outlet. Ensure a secure, leak-free connection.
- Connect your drainage hose to the adaptor. For optimal performance, especially for high flow rates, use a 2-inch hose.
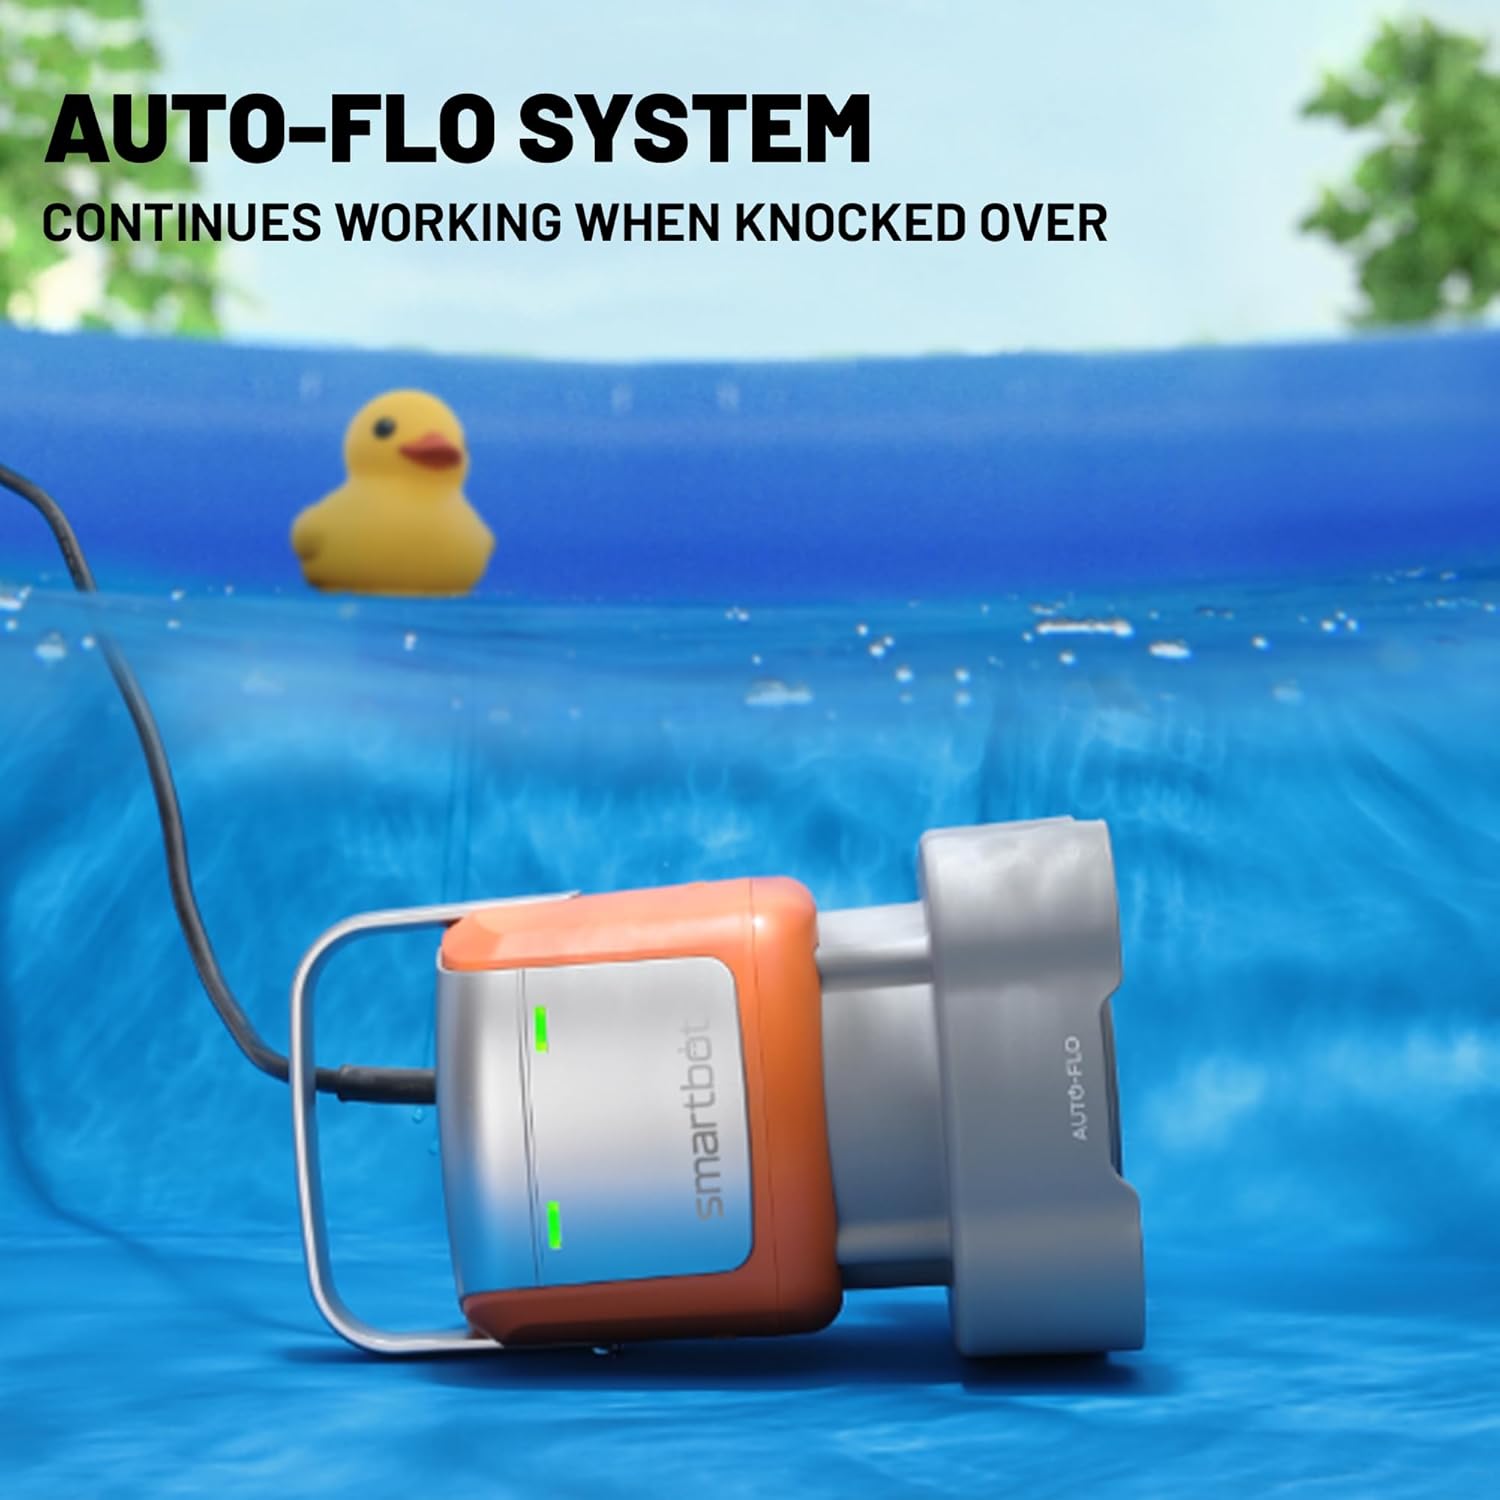
Figure 3.2: Image showing the various hose adaptors included with the Smartbot pump for flexible connectivity.
4. Operating Instructions
4.1. Initial Operation
- Ensure the pump is placed in the water to be drained, with the base fully submerged.
- Verify that the hose is securely connected and directed to a suitable drainage area.
- Plug the pump into a properly grounded electrical outlet with GFCI protection. The pump will automatically begin operation once submerged and powered.
4.2. Automatic Operation (Auto-Flo System)
The Smartbot pump features an intelligent Auto-Flo system that allows for automatic operation and dry run protection.
- The pump will activate automatically when the water level reaches approximately 2 inches above the impeller.
- It will continue to pump until the water level drops below the impeller, at which point it will automatically shut off to prevent dry running and potential damage.
- The pump is designed to continue working even if accidentally knocked over, maintaining continuous drainage.

Figure 4.1: The Smartbot pump demonstrating its ability to continue operation even when knocked over, thanks to its Auto-Flo system.
4.3. Draining Applications
The Smartbot pump is suitable for a variety of water transfer and draining tasks:
- Flooded Basements: Efficiently removes standing water from basements.
- Pools and Hot Tubs: Ideal for draining or adjusting water levels in swimming pools and hot tubs.
- Garden Ponds: Can be used to drain garden ponds for cleaning or maintenance.
- Outdoor Water Accumulation: Effectively drains accumulated water from yards, construction sites, or other outdoor areas.

Figure 4.2: Visual representation of the Smartbot pump's efficiency in draining different water sources, including basements, hot tubs, outdoor areas, and swimming pools.

Figure 4.3: Illustration of how different hose diameters affect the draining time for 500 gallons of water, highlighting the efficiency of larger hoses.
5. Maintenance
5.1. Cleaning the Pump
Regular cleaning ensures optimal performance and longevity of your Smartbot pump. If the impeller becomes clogged or the sensor is obstructed, cleaning is necessary.
- Unplug the pump from the power source.
- Unscrew the six bolts from the pump's bottom cover.
- Remove the bottom cover and clean any debris or blockages from the impeller area.
- Rinse the sensor pin area under tap water and wipe it dry with a soft cloth.
- Close the bottom cover and screw the six bolts back in place.
5.2. Storage
After use, especially before long periods of inactivity, clean the pump thoroughly. Store the pump in a dry, cool place, protected from freezing temperatures.
6. Troubleshooting
Refer to the following guide for common issues and their solutions:

Figure 6.1: Detailed troubleshooting steps for common pump issues.
| Problem | Possible Cause | Solution |
|---|---|---|
| Not turned on or not delivering flow | Plug not properly inserted | Check if the plug is properly plugged into the needed power source. |
| Water level below 2 inches | Check if the water level is below 2". | |
| Clog in suction bottom | Check for any clog around the suction bottom. Unplug to clear it if any. | |
| LED lights: Turn Green = Normal, Turn Red = Not Working | Impeller might be clogged | Unplug. Unscrew the 6 bolts from the pump's bottom. Remove the clog around the impellers. Close the bottom cover and screw the six bolts back in place. Put it back in the water and plug. |
| Hose is twisted/straightened | Unplug. Check if the hose is twisted. Straighten it out if that's the case. | |
| Head lift required is higher than 25ft | Check if the head lift required for pumping is higher than 25ft. | |
| Auto-on/off not working | Auto-on not working when water level is higher than 2" | Unplug and wait for 30 seconds. Then plug. |
| Water accumulated in pump implies sensor pin issue | Unplug. Unscrew the 6 bolts from the pump's bottom. Rinse the sensor pin area under the tap and wipe it dry with a wiping rag. Close the bottom cover and screw the six bolts back in place. Put it back in the water and plug. | |
| Connectors and adaptors not completely sealed | Improper sealing | Apply lubricant to the threads of the connections and adaptors with a swiper. |
7. Warranty and Support
7.1. Warranty Information
Smartbot products are manufactured with high-quality materials and craftsmanship. For specific warranty details, please refer to the warranty card included with your product or contact Smartbot customer service.
7.2. Customer Support
Smartbot customer service provides professional technical support to ensure your water system is stable and worry-free. For assistance, questions, or to report issues, please contact us through the official Smartbot channels provided on our website or product packaging.