
1. Introduction
Thank you for choosing the Huhomco 6005 Cordless Pressure Washer. This manual provides essential information for the safe and efficient operation, maintenance, and troubleshooting of your new pressure washer. Designed for light outdoor cleaning tasks, this cordless unit offers portability and convenience without the need for a power outlet. Please read this manual thoroughly before first use and keep it for future reference.
2. Safety Information
Always follow basic safety precautions when using this product to reduce the risk of injury or damage.
- Eye Protection: Always wear appropriate eye protection (safety glasses or goggles) to shield against spray and debris.
- Keep Clear: Never point the spray nozzle at people, pets, or electrical devices. The high-pressure spray can cause serious injury.
- Stable Footing: Ensure you have stable footing and a firm grip on the pressure washer during operation.
- Children and Pets: Keep children and pets away from the operating area.
- Water Source: Ensure the water source is clean and free of debris to prevent damage to the pump.
- Battery Safety: Use only the specified battery and charger. Do not expose the battery to extreme temperatures or moisture.
- Chemicals: When using cleaning solutions, follow the manufacturer's instructions and wear appropriate protective gear.
- Storage: Store the pressure washer and accessories in a dry, secure location, out of reach of children.
3. Package Contents
Carefully unpack all items and ensure you have received the following components:
- Huhomco 6005 Cordless Pressure Washer Unit
- 2 x 21V 4.0AH Enhanced Smart Performance Battery
- Battery Charger
- 16.4 ft Water Inlet Hose
- 6-in-1 Multifunctional Nozzle
- Foam Cannon Attachment
- Carrying Case
- User Manual
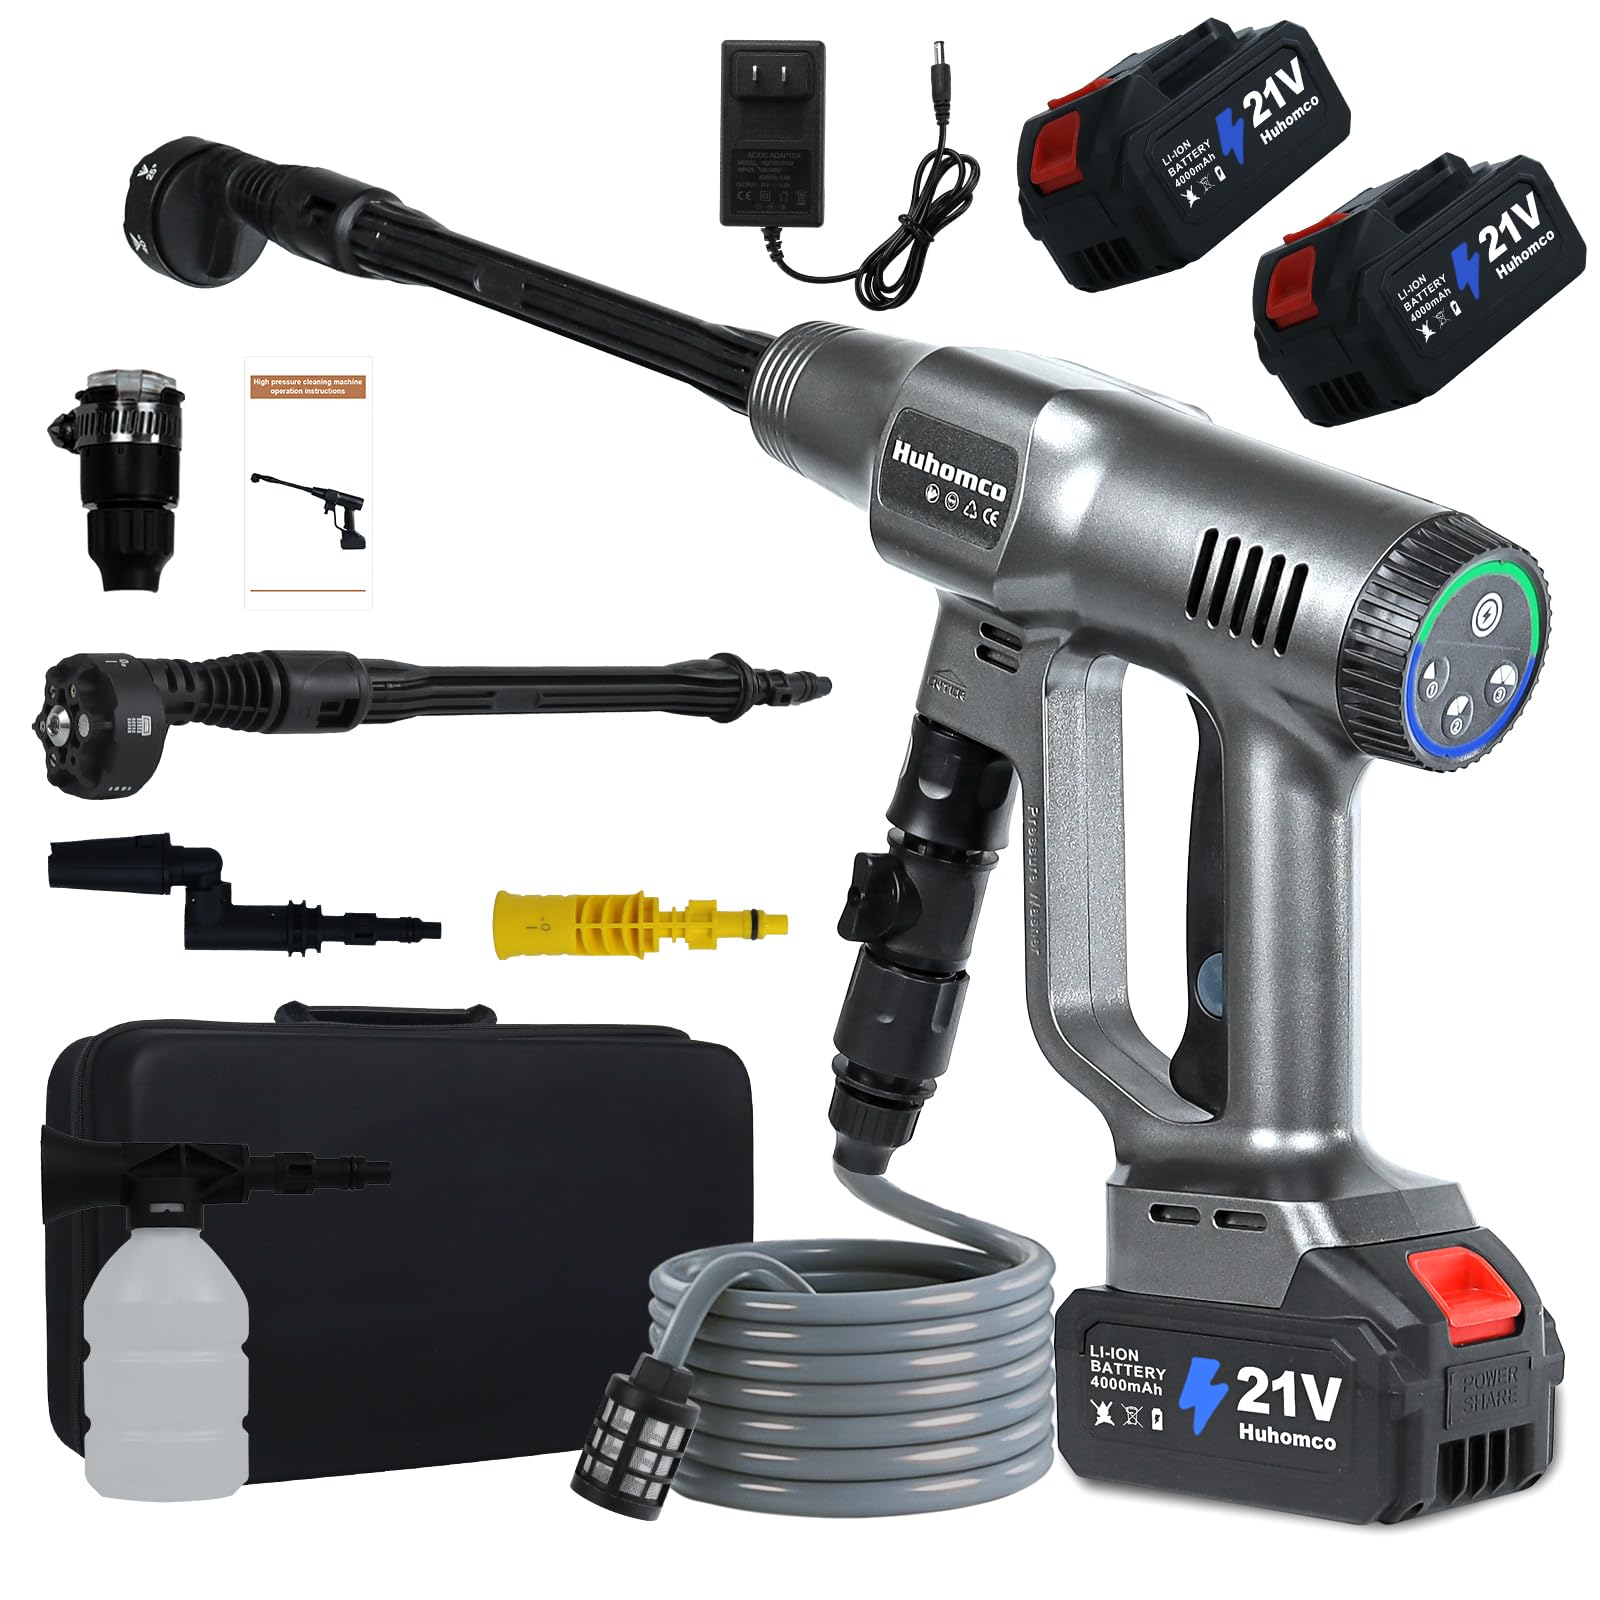
Image: The Huhomco 6005 Cordless Pressure Washer, batteries, charger, hose, and various attachments neatly organized within its portable carrying case.
4. Product Features
- Cordless & Portable Design: Freedom to clean anywhere without power outlets. Comes with a convenient carrying case for easy transport and storage.
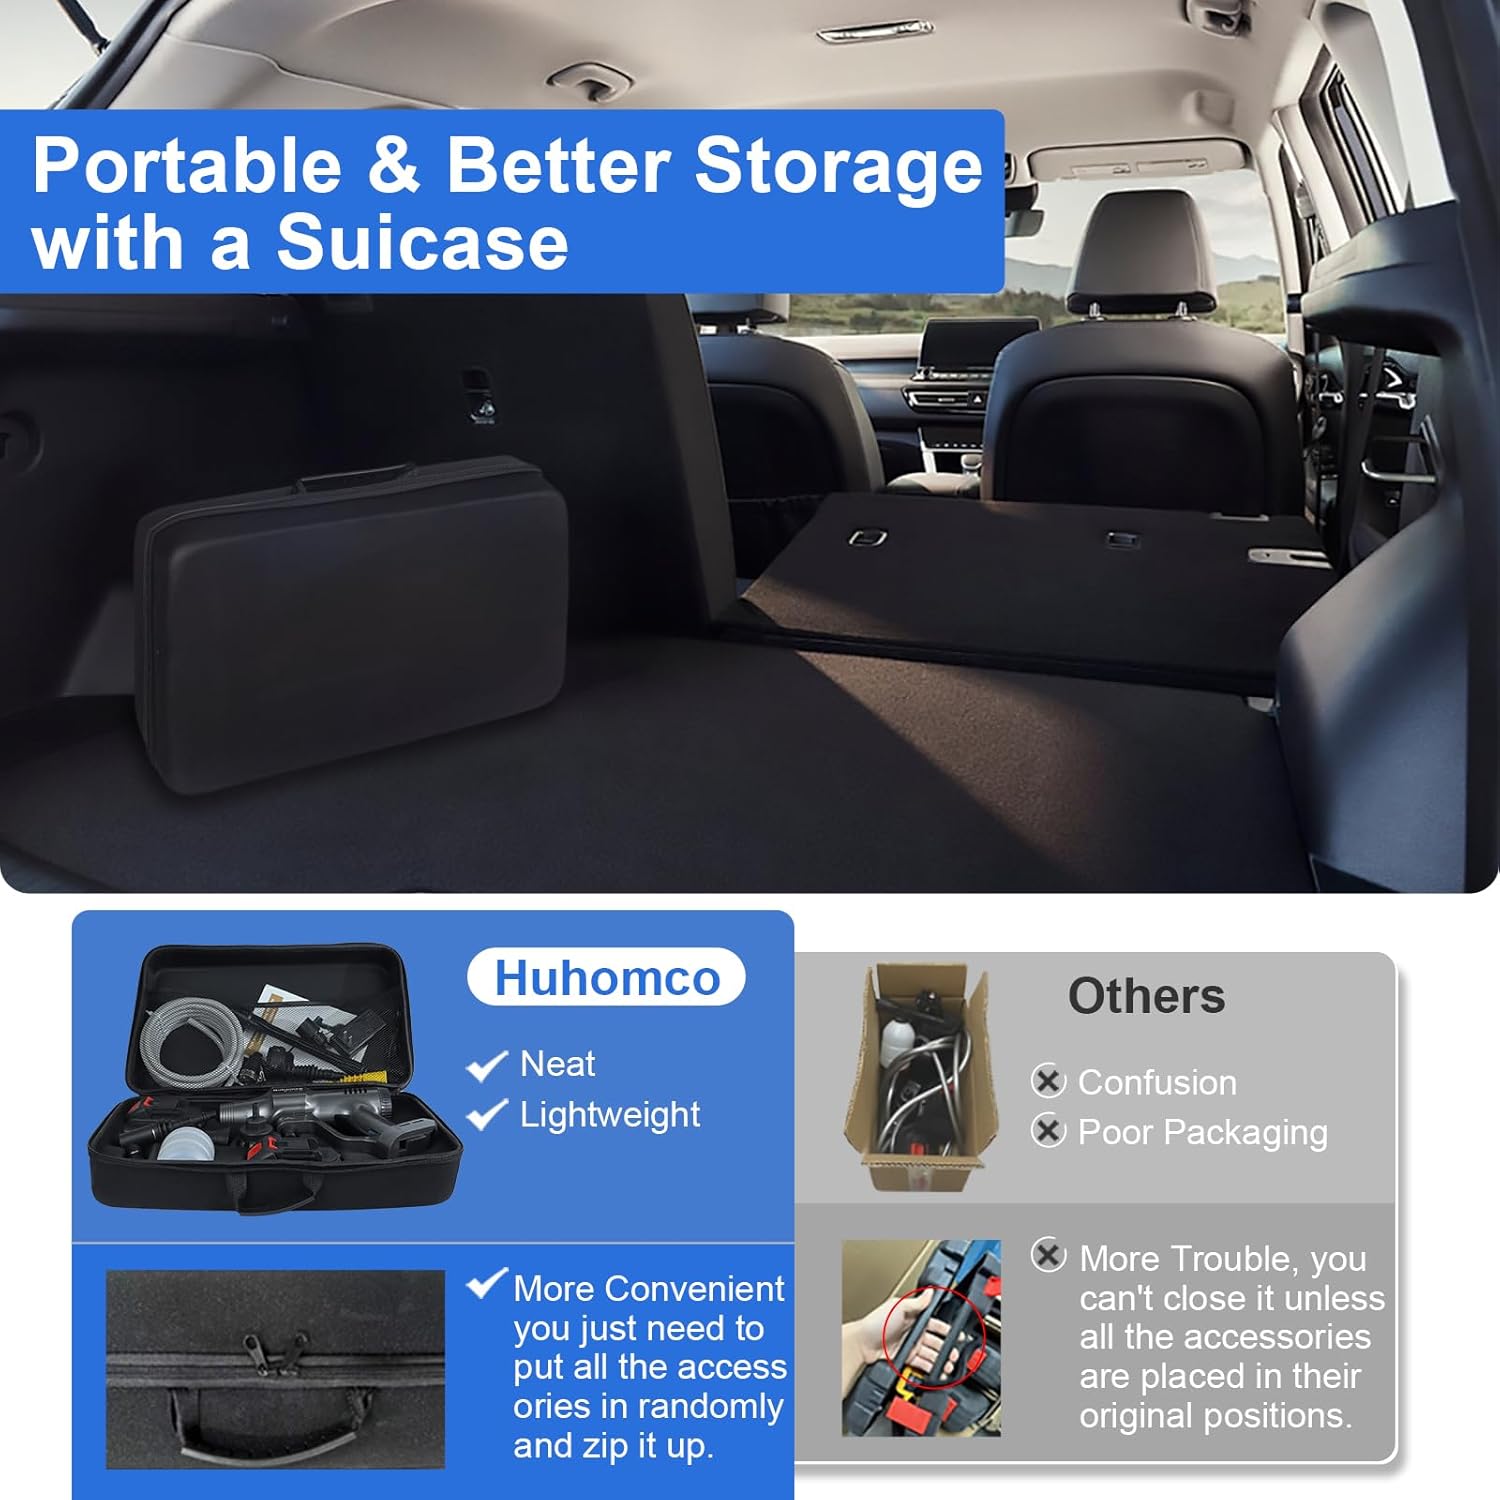
Image: The pressure washer and its components are shown packed in a compact suitcase, demonstrating its portability and ease of storage in a car trunk.
- Powerful Performance: Delivers up to 1450 PSI maximum pressure and 2 Gallons Per Minute (GPM) maximum flow rate for effective cleaning.
- Brushless Motor: Equipped with a 400W brushless motor operating at 20000 RPM, featuring a turbocharged pump for 30% more power.

Image: An internal view highlighting the brushless motor and the smart touch panel with three power level indicators (Low, Mid, High).
- Enhanced Battery System: Includes two 21V 4.0AH batteries. Each battery provides 30-45 minutes of working time and requires 3-4 hours for a full charge. Features a Triple Protection System against overload, overheat, and low voltage.

Image: A visual representation of the 21V 4.0AH battery, showing its charging status indicator and icons for overload, overheat, and low voltage protection.
- 6-in-1 Multifunctional Nozzle: Easily switch between 0°, 15°, 25°, 40°, Foam, and Shower spray patterns to suit various cleaning needs.
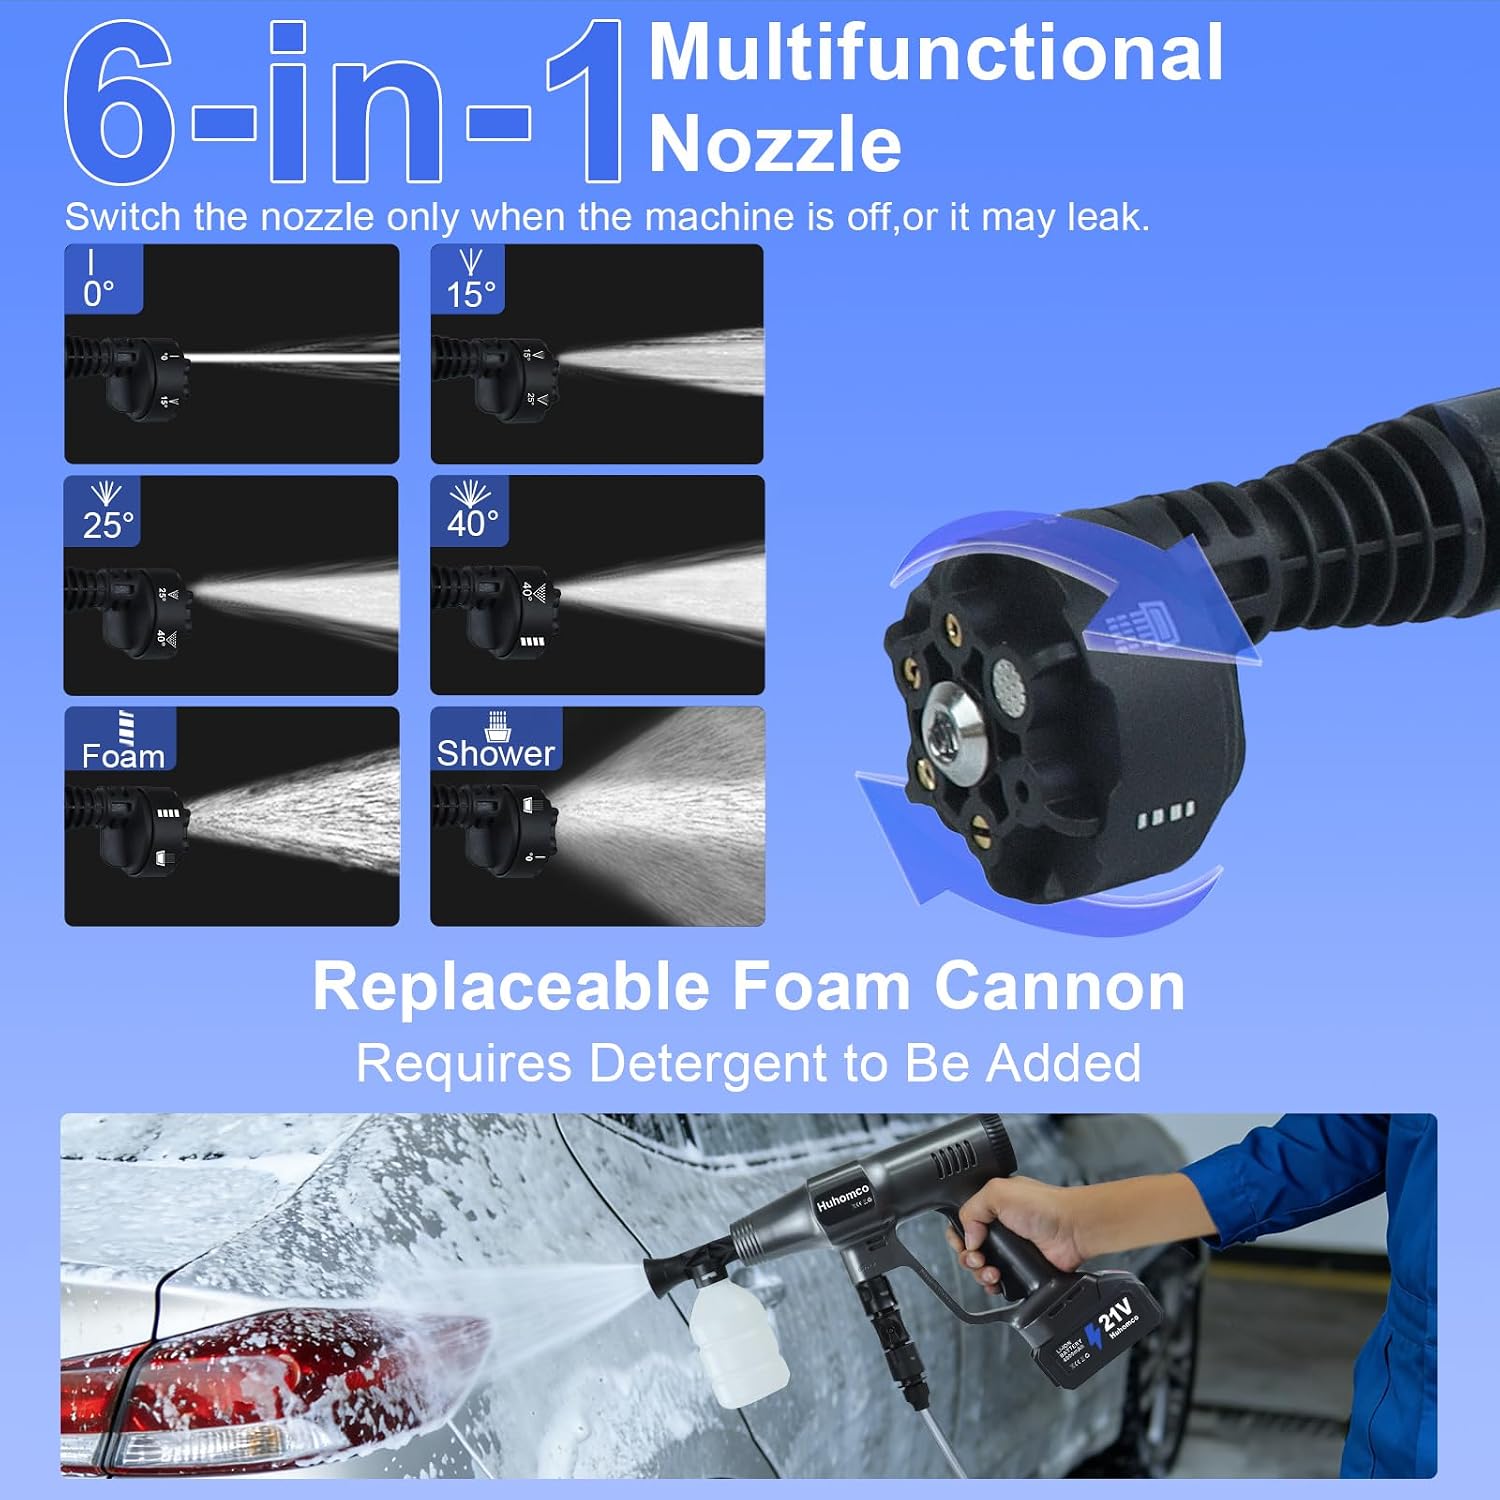
Image: A detailed view of the 6-in-1 nozzle showing its various spray settings and the replaceable foam cannon attachment.
- Foam Cannon Attachment: For applying soap or detergent, ideal for vehicle washing and other surfaces requiring foam application.
- Durable Hose: Includes a 16.4 ft hose designed to be kink-free and crack-resistant, offering elastic rebound for longevity.

Image: The 16.4ft hose is displayed, emphasizing its durable, kink-free, and elastic properties.
5. Setup
- Charge the Battery: Before first use, fully charge both 21V 4.0AH batteries using the provided charger. The charger indicator light will change when charging is complete.
- Attach the Water Inlet Hose: Connect one end of the 16.4 ft water inlet hose to the pressure washer's inlet port and the other end to your water source (e.g., a bucket or garden hose connection). Ensure a secure connection to prevent leaks.
- Install Nozzle/Foam Cannon:
- For general cleaning, attach the 6-in-1 multifunctional nozzle to the spray wand. Rotate the nozzle head to select the desired spray pattern (0°, 15°, 25°, 40°, Foam, Shower). Note: Switch the nozzle only when the machine is off to prevent leaks.
- For applying soap, attach the foam cannon to the spray wand. Fill the foam cannon reservoir with appropriate detergent.
- Insert Battery: Slide a fully charged battery into the battery slot on the pressure washer until it clicks into place.
6. Operation
- Prime the Pump: Before starting, squeeze the trigger to allow water to flow through the system and expel any air. This helps protect the pump.
- Power On: Press the power button on the smart touch panel to turn on the pressure washer.
- Adjust Pressure Level: Use the power level buttons on the smart touch panel to select between Low, Mid, or High pressure settings, depending on your cleaning task.
- Begin Cleaning: Aim the nozzle at the surface to be cleaned and squeeze the trigger. Maintain a safe distance from the surface to avoid damage.

Image: The pressure washer is shown in use for various applications such as washing a car, motorcycle, glass windows, garden plants, and a wooden floor, demonstrating its versatility.
- Using the Foam Cannon: If using the foam cannon, ensure it is filled with detergent. The foam setting on the 6-in-1 nozzle can also be used for foam application. Apply foam evenly to the surface, allow it to dwell, then rinse with a high-pressure spray.
- Power Off: Release the trigger and press the power button to turn off the unit. Disconnect the battery when not in use.
Demonstration Videos:
Video: An official product video from Huhomco demonstrating the general use and features of the cordless pressure washer, including nozzle adjustments and foam application.
Video: An official product video from Huhomco showcasing the cordless pressure washer being used for car washing, highlighting its effectiveness in cleaning vehicle surfaces.
7. Maintenance
- Cleaning the Unit: After each use, disconnect the water supply and battery. Squeeze the trigger to release any remaining pressure. Wipe down the exterior of the pressure washer with a damp cloth.
- Nozzle Care: Clean the nozzles regularly to prevent blockages. Use a small pin or needle to clear any debris from the nozzle openings.
- Hose Storage: Drain all water from the hose before storing. Coil the hose neatly to prevent kinks.
- Battery Storage: Store batteries in a cool, dry place. For long-term storage, charge batteries to about 50% capacity. Do not store fully discharged or fully charged for extended periods.
- Winter Storage: If storing in freezing temperatures, ensure all water is drained from the pump and hose to prevent damage.
8. Troubleshooting
| Problem | Possible Cause | Solution |
|---|---|---|
| Unit does not start | Battery not charged or improperly inserted. | Ensure battery is fully charged and correctly inserted. |
| Low pressure | Insufficient water supply; clogged nozzle; air in the system. | Check water source; clean nozzle; prime the pump by squeezing the trigger without power until water flows steadily. |
| Water leaks | Loose connections; damaged O-rings. | Tighten all connections; inspect and replace O-rings if damaged. |
| Motor stops during use | Overload or overheat protection activated; low battery. | Allow unit to cool down; check battery charge. |
9. Specifications
| Feature | Specification |
|---|---|
| Brand | Huhomco |
| Model Number | 6005 |
| Maximum Pressure | 1450 PSI |
| Maximum Flow Rate | 2 Gallons Per Minute (GPM) |
| Motor Type | Brushless, 400W, 20000 RPM |
| Battery Type | 2 x 21V 4.0AH Lithium-ion |
| Battery Working Time | 30-45 minutes (per battery) |
| Battery Charging Time | 3-4 hours |
| Hose Length | 16.4 ft |
| Nozzle Types | 6-in-1 (0°, 15°, 25°, 40°, Foam, Shower) |
10. Warranty and Support
For warranty information, technical support, or service inquiries, please refer to the contact information provided with your purchase or visit the official Huhomco website. Keep your purchase receipt as proof of purchase for any warranty claims.