Introduction
The Makeid P1 Thermal Label Printer is a high-speed desktop label maker designed for efficient and precise labeling. It features automatic label recognition and supports various label types for mailing addresses, file folders, name badges, and more. This manual provides comprehensive instructions for setting up, operating, and maintaining your P1 printer to ensure optimal performance.

Image: The Makeid P1 printer, a compact white device, shown with rolls of thermal labels, demonstrating its primary function.
Setup
Setting up your Makeid P1 printer is a straightforward process designed for ease of use.
1. Connecting to Your Computer
- Ensure your computer is powered on.
- Connect the Makeid P1 printer to your PC using the provided USB cable. The printer supports Windows 7/8/9/10/11 and Mac OS v10.12 and above.
2. Software Installation
- Once connected, launch the Makeid P1 software. If the software does not auto-launch, please download it from the official Makeid website.
- Follow the on-screen instructions to complete the software installation.
- The software provides an intuitive interface for designing and printing labels.

Image: A user interacting with the Makeid P1 software on a laptop, demonstrating the ease of label creation and editing.
3. Loading Labels
- Open the printer's top cover.
- Insert a whole roll of thermal labels into the designated compartment. The printer supports various label sizes up to 2 inches in width.
- Ensure the labels are fed smoothly through the printer's mechanism.
- The printer features automatic label size detection, which helps prevent waste by ensuring precise prints.
- Close the top cover securely.

Image: A hand demonstrating the "Drop-in Paper Change Process," showing how easily a roll of labels is inserted into the Makeid P1 printer.
Operating Instructions
The Makeid P1 printer is designed for efficient and high-quality label printing.
1. Creating and Printing Labels
- Open the Makeid P1 software on your computer.
- Use the software's interface to design your desired label. You can add text, images, barcodes, and other elements.
- Select the appropriate label size and orientation within the software. The printer supports various label sizes, but note that it is not designed for 4"x6" shipping labels.
- Once your design is complete, click the "Print" button.
- The printer will automatically detect the label size and print at a high speed of 100mm/s, capable of printing 100 sheets in approximately one minute.

Image: Various applications of the Makeid P1 printer, showcasing mailing labels, address labels, folder labels, and name badges.
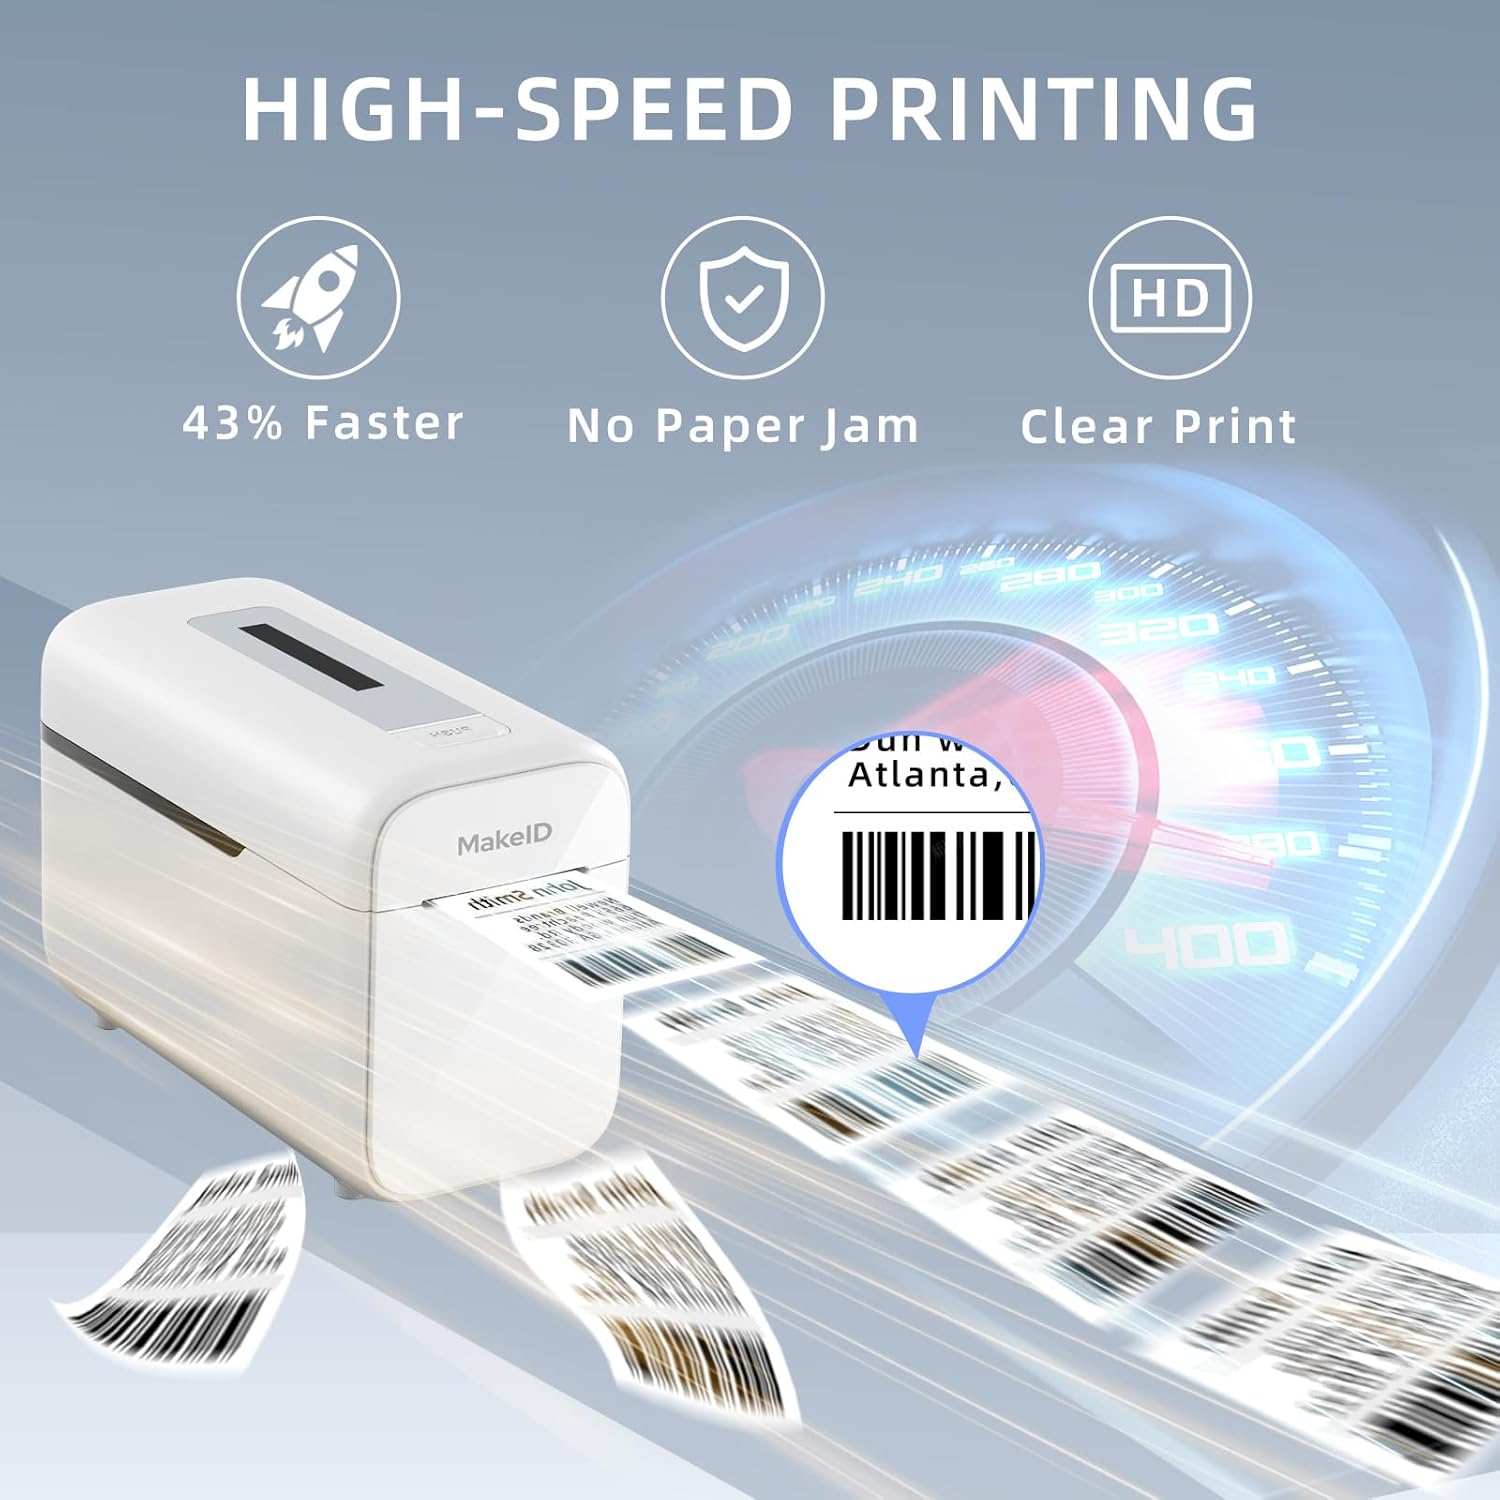
Image: The Makeid P1 printer in action, illustrating its high-speed printing capability with labels rapidly exiting the device.
2. Supported Label Types and Sizes
The Makeid P1 is versatile and can print various label types for different applications. It features a 2-inch print head.
- Mailing and Shipping Labels: Ideal for packages and envelopes.
- Address Labels: For personal or business correspondence.
- Prescription Labels: Suitable for medical or pharmaceutical use.
- Office File Management Tags: For organizing documents and folders.
- Visitor Name Badges: For events or office visitors.
- Product Price Tags: For retail or inventory management.
Common label sizes supported include 2" x 4" (54x101mm), 1" x 3.5" (29x89mm), 2" x 2.7" (54x70mm), and 0.98" x 2.1" (25x54mm). Please refer to the software for a complete list of supported label dimensions.

Image: A visual guide illustrating the different label sizes compatible with the 2-inch print head of the Makeid P1, along with examples of their uses like clothing price tags and contract labels.

Image: A close-up view highlighting the "Crystal Clear Print Quality" of labels produced by the Makeid P1 printer, showing sharp text and details.
Maintenance
Proper maintenance ensures the longevity and optimal performance of your Makeid P1 printer.
1. Cleaning the Print Head
- Regularly clean the print head to maintain print quality.
- Turn off the printer and disconnect it from the power source.
- Gently wipe the print head with a lint-free cloth dampened with isopropyl alcohol.
- Allow the print head to dry completely before reconnecting the power.
2. Using Quality Labels
- Always use high-quality thermal labels compatible with the Makeid P1 printer.
- Using substandard labels can lead to poor print quality, paper jams, and potential damage to the print head.
- Makeid labels are designed to be tear-proof, waterproof, oil-proof, and scratch-resistant, ensuring durability.

Image: An exploded view illustrating the "7-Layer Laminated Tape" construction, highlighting the durable and protective layers of Makeid labels, which are waterproof, scratch-resistant, oil-proof, and sticky.

Image: Makeid labels displayed alongside symbols for REACH and RoHS certifications, emphasizing their eco-friendly material composition.
Troubleshooting
If you encounter issues with your Makeid P1 printer, refer to the following common troubleshooting steps.
Common Issues and Solutions:
- Printer Not Responding:
- Ensure the USB cable is securely connected to both the printer and the computer.
- Verify the printer is powered on.
- Restart the printer and your computer.
- Check if the printer driver is correctly installed and updated.
- Poor Print Quality:
- Clean the print head as described in the Maintenance section.
- Ensure you are using high-quality thermal labels.
- Check the label roll for any damage or improper loading.
- Adjust print density settings in the Makeid P1 software.
- Labels Not Feeding Correctly / Paper Jams:
- Ensure the label roll is loaded correctly and not skewed.
- Remove any jammed labels carefully.
- Check for any obstructions in the label path.
- Ensure the labels are compatible with the printer and not too thick or thin.
- Automatic Label Recognition Failure:
- Ensure the labels are properly aligned and the leading edge is clean.
- Try reloading the label roll.
- Ensure the labels are standard thermal labels with a clear gap between them for detection.
If these steps do not resolve your issue, please contact Makeid customer support for further assistance.
Specifications
Key technical specifications for the Makeid P1 Thermal Label Printer.
| Brand | Makeid |
| Model | P1 |
| Printing Technology | Thermal |
| Connectivity Technology | USB |
| Compatible Devices | PC (Windows 7/8/9/10/11, Mac OS v10.12 and above) |
| Print Media | Labels |
| Printer Output | Monochrome |
| Print Head Size | 2 inches |
| Print Speed | 100mm/s |
| Certifications | RoHS, REACH (for labels) |
Warranty and Support
Makeid is committed to providing excellent customer service and product support.
Warranty Information:
The Makeid P1 Thermal Label Printer comes with a robust 3-year warranty. This warranty covers replacements rather than repairs, ensuring minimal downtime should an issue arise.
Technical Assistance:
Makeid offers 24/7 lifetime technical assistance to help you with any questions or issues you may encounter with your P1 printer. Please refer to the contact information provided with your product packaging or visit the official Makeid website for support details.


