1. Introduction
Welcome to the user manual for your KTC 24 Inch 1500R Curved Gaming Monitor. This document provides essential information for setting up, operating, maintaining, and troubleshooting your new monitor. Please read through these instructions carefully to ensure optimal performance and longevity of your device.

Figure 1: KTC 24 Inch 1500R Curved Gaming Monitor
2. Package Contents
Please verify that all items listed below are included in your package:
- 24 inch Curved Gaming Monitor (x1)
- HDMI 2.0 Signal Cable (x1)
- Power Adapter (x1)
- Power Cord (x1)
- Screwdriver (x1)
- Warranty Card (x1)
- Base (x1)
3. Product Overview
3.1 Key Features
- Immersive 1500R Curvature & High Refresh Rate: Experience an enveloping visual field with the 1500R curved screen, paired with a 165Hz refresh rate for exceptionally smooth motion.
- Vibrant Color Display: Enjoy rich and accurate colors with 250cd/m2 brightness, 8-bit color depth, 16.7 million colors, a 3000:1 dynamic contrast ratio, and 90% DCI-P3 color gamut coverage.
- Adaptive Sync Technology: Eliminates screen tearing and stuttering, providing fluid and artifact-free gameplay.
- Ultra-Fast 1ms Response Time: Minimizes motion blur and ghosting, ensuring clear and responsive visuals in fast-paced scenes.
- Versatile Connectivity & Ergonomics: Equipped with 2x HDMI 2.0 ports, 1x DisplayPort 1.4, and an audio out jack. The monitor supports VESA 100x100mm mounting and offers tilt adjustment from -5 degrees to -20 degrees for comfortable viewing.
- Eye Comfort Features: Integrated Flicker-Free technology and a Blue Light Filter help reduce eye strain during extended use.
3.2 Ports and Controls
Familiarize yourself with the monitor's connection ports and control interface.

Figure 2: Monitor Dimensions and Port Layout
- DC Power Input: Connect the power adapter here.
- HDMI 2.0 Ports (x2): Connect to devices such as PCs, gaming consoles (e.g., PS5), or other HDMI-compatible media players.
- DisplayPort 1.4 (x1): Connect to devices with DisplayPort output for high-resolution and high-refresh-rate signals.
- Audio Out: Connect external headphones or speakers.
- OSD Rocker Switch: Located on the rear, this joystick-like control is used to navigate the On-Screen Display (OSD) menu and adjust monitor settings.
4. Setup Instructions
4.1 Assembling the Stand
- Carefully remove the monitor and its base components from the packaging.
- Attach the monitor stand base to the stand neck using the provided screws and screwdriver.
- Align the assembled stand with the mounting points on the back of the monitor. Securely fasten the stand to the monitor.
4.2 Connecting to Power
- Connect the power cord to the power adapter.
- Plug the power adapter into the DC power input port on the monitor.
- Plug the other end of the power cord into a wall outlet.
4.3 Connecting to a Source Device
Use the appropriate cable (HDMI or DisplayPort) to connect your computer, gaming console, or other video source to the monitor.
- Connect one end of the HDMI or DisplayPort cable to the corresponding port on your source device.
- Connect the other end of the cable to an available HDMI or DisplayPort input on the monitor.
- If using external audio, connect your headphones or speakers to the Audio Out port.
4.4 Initial Power On
Press the power button (often integrated into the OSD rocker switch) to turn on the monitor. The monitor should automatically detect the active input source. If not, you may need to manually select the input source via the OSD menu.
5. Operating Instructions
5.1 OSD Menu Navigation
The On-Screen Display (OSD) menu allows you to adjust various monitor settings. Use the OSD rocker switch on the back of the monitor to navigate:
- Press the switch inward to enter the OSD menu or confirm a selection.
- Move the switch up/down/left/right to navigate through menu options.
- Move the switch left to exit a submenu or the OSD menu.
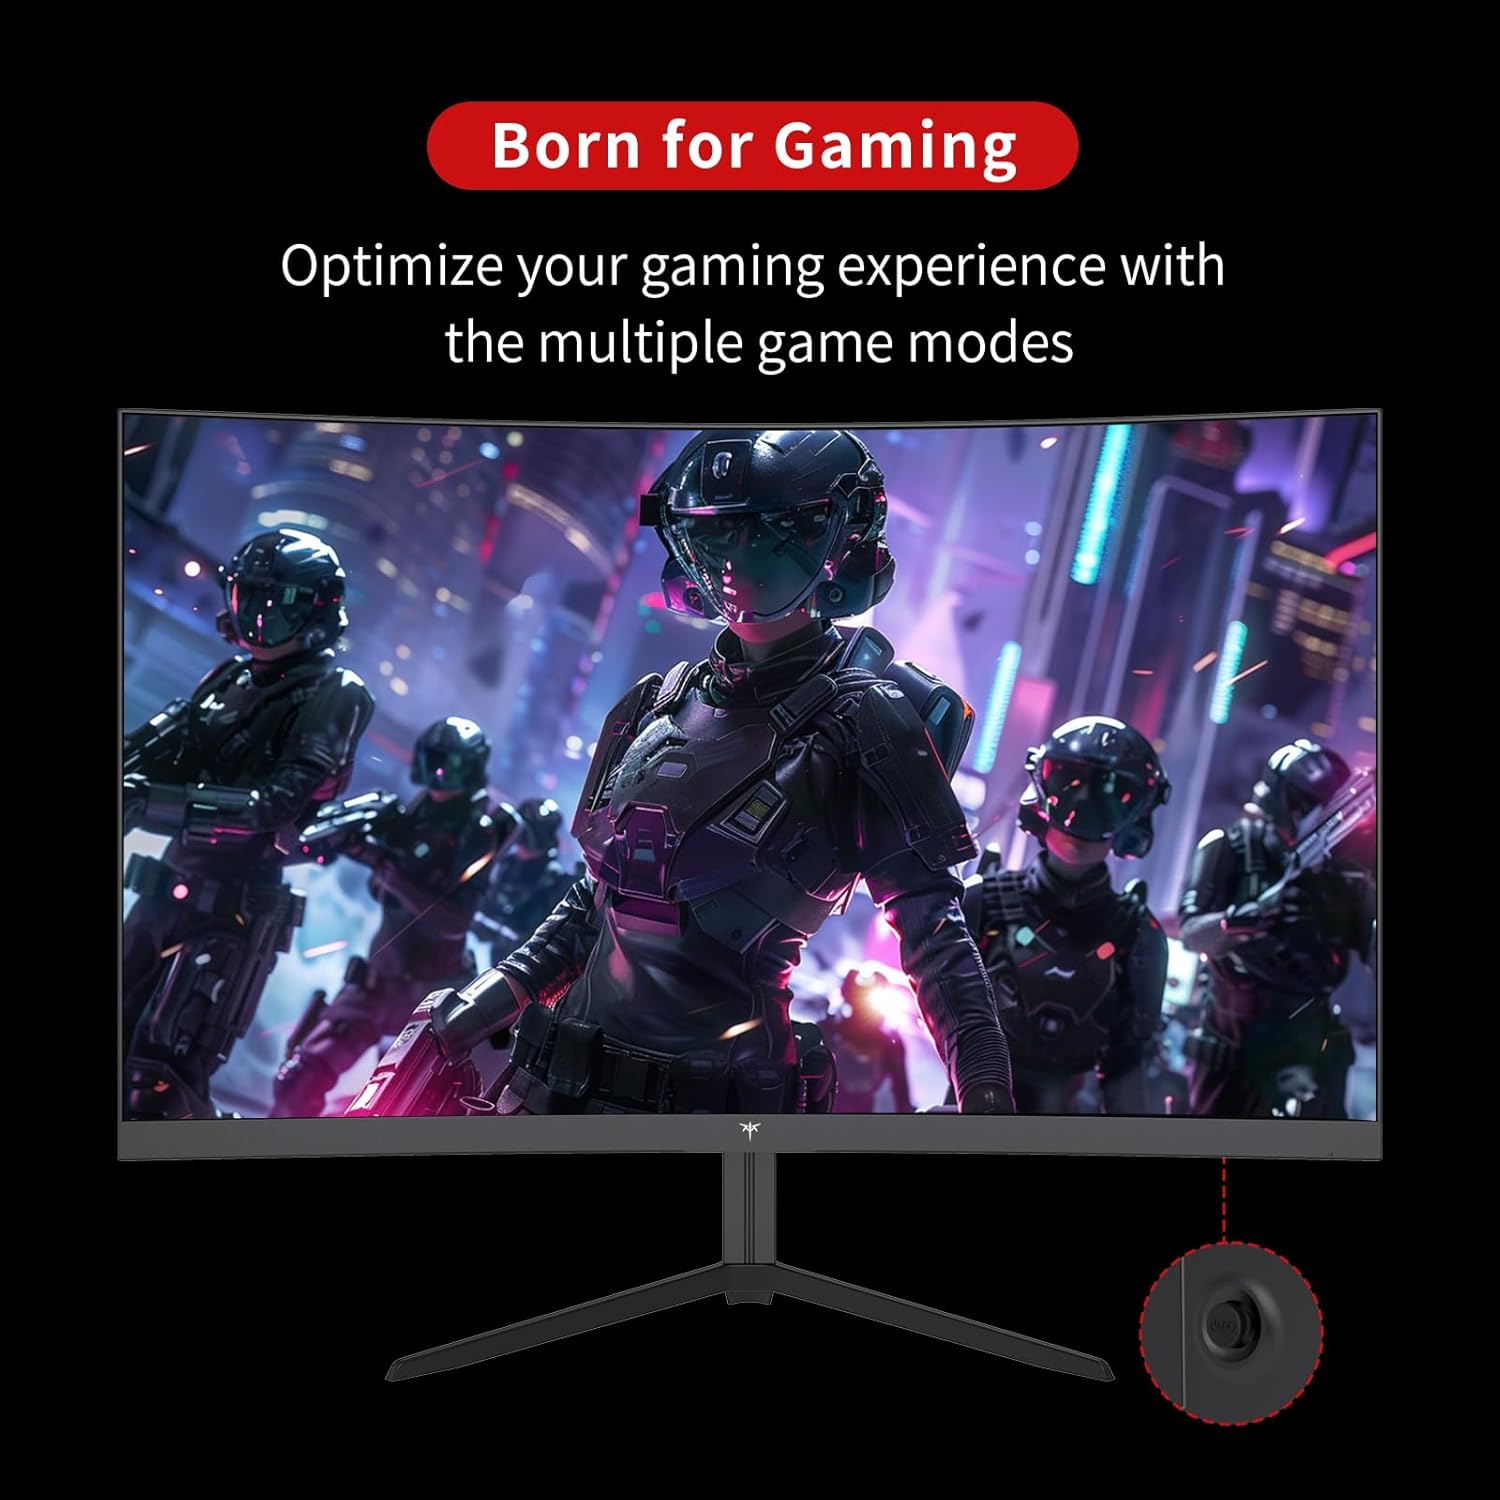
Figure 3: OSD Rocker Switch for Menu Navigation
5.2 Display Settings
Within the OSD menu, you can adjust:
- Brightness/Contrast: Adjust the overall luminance and contrast levels.
- Color Settings: Fine-tune color temperature, hue, and saturation.
- Aspect Ratio: Select between various aspect ratio modes (e.g., Full, 1:1).
5.3 Gaming Features
Enhance your gaming experience with these dedicated features:
- Adaptive Sync (FreeSync): Enable this feature in the OSD menu and on your graphics card settings to synchronize the monitor's refresh rate with your GPU's frame rate, eliminating screen tearing.

Figure 4: FreeSync ON vs. FreeSync OFF Visual Comparison
- Game Assists: Access features like customizable crosshairs, a black stabilizer to enhance visibility in dark game areas, and an on-screen game timer.

Figure 5: In-Game Assist Features
5.4 Eye Care Features
To reduce eye strain during prolonged use:
- Flicker-Free Technology: This monitor is designed to eliminate screen flickering, which can cause eye fatigue.
- Blue Light Filter: Activate the low blue light mode in the OSD menu to reduce harmful blue light emissions.

Figure 6: Eye Comfort Features in Action
5.5 Official Product Video
Watch this official product video for a visual guide to the monitor's features and capabilities:
Video 1: Official KTC product video showcasing the 24-inch curved gaming monitor's features, including its 165Hz refresh rate, 1ms response time, and 1500R curvature, with dynamic visuals.
6. Maintenance
Proper maintenance ensures the longevity and optimal performance of your monitor:
- Cleaning the Screen: Use a soft, lint-free cloth lightly dampened with water or a specialized screen cleaner. Avoid using alcohol-based cleaners or abrasive materials.
- General Care: Keep the monitor in a clean, dry environment. Avoid exposing it to direct sunlight, extreme temperatures, or high humidity. Do not block ventilation openings.
- Power Off When Not in Use: Turn off the monitor when not in use for extended periods to conserve energy and prolong its lifespan.
7. Troubleshooting
If you encounter issues with your monitor, refer to the following common troubleshooting steps:
| Problem | Possible Cause | Solution |
|---|---|---|
| No image on screen | Power cable disconnected; Video cable disconnected; Incorrect input source selected. | Ensure power and video cables are securely connected. Select the correct input source via the OSD menu. |
| Image flickering | Video cable issue; Graphics card driver outdated; Refresh rate mismatch. | Check video cable connection. Update graphics card drivers. Ensure refresh rate is set correctly in your system settings. |
| Colors appear incorrect | Color settings misconfigured; Faulty video cable. | Adjust color settings in the OSD menu. Try a different video cable. |
| Monitor does not turn on | Power cable disconnected; Power outlet not working. | Verify power cable connection to both monitor and outlet. Test the outlet with another device. |
8. Specifications
Detailed technical specifications for the KTC 24 Inch 1500R Curved Gaming Monitor:
| Specification | Value |
|---|---|
| Model Number | 99 Null 5 |
| Screen Size | 24 Inches |
| Curvature | 1500R |
| Resolution | FHD 1080p (1920 x 1080 Pixels) |
| Refresh Rate | 165Hz (up to 180Hz as per product title) |
| Response Time | 1ms |
| Panel Type | VA |
| Aspect Ratio | 16:9 |
| Image Brightness | 250 Candela (cd/m2) |
| Color Gamut | 90% DCI-P3, 110% sRGB |
| Dynamic Contrast Ratio | 3000:1 |
| HDR Support | Yes |
| Connectivity | 2x HDMI 2.0, 1x DisplayPort 1.4, Audio Out |
| VESA Compatibility | 100x100mm |
| Tilt Adjustment | -5 degrees to -20 degrees |
| Product Dimensions | 24 x 18 x 5 inches |
| Item Weight | 6.17 pounds |
| Voltage | 12 Volts (DC) |
| Screen Surface Description | Matte |
9. Warranty and Support
Your KTC 24 Inch 1500R Curved Gaming Monitor comes with a warranty. Please refer to the included Warranty Card in your package for detailed information regarding warranty terms, conditions, and duration.
For technical support, service inquiries, or any questions not covered in this manual, please contact KTC customer support through the official channels provided on your warranty card or the KTC website.


