
Gerni GPW
Gerni 5000 1885PSI 1800W High Pressure Washer User Manual
Brand: Gerni | Model: GPW
1. Introduction
Thank you for choosing the Gerni 5000 High Pressure Washer. This manual provides essential information for the safe and efficient operation, maintenance, and troubleshooting of your new pressure washer. Please read this manual thoroughly before first use and keep it for future reference.
The Gerni 5000 is designed for various outdoor cleaning tasks, offering powerful performance with its 1800W motor and 1885 PSI output. It is suitable for cleaning patios, vehicles, outdoor furniture, and other surfaces.
2. Safety Information
Always observe basic safety precautions when using electrical appliances to reduce the risk of fire, electric shock, and personal injury.
- Read all instructions: Familiarize yourself with the controls and proper use of the pressure washer.
- Wear appropriate safety gear: Always wear eye protection, hearing protection, and protective clothing.
- Electrical Safety: Ensure the power outlet is grounded and suitable for outdoor use. Do not operate the pressure washer with damaged cords or plugs.
- Water Connection: Connect the pressure washer to a cold water supply only. Do not use hot water.
- High Pressure Hazard: The high-pressure stream can cause serious injury. Never direct the spray at people, pets, or electrical devices.
- Chemicals: Use only detergents recommended for pressure washers. Follow detergent manufacturer's instructions for use and disposal.
- Stability: Operate the pressure washer on a stable, level surface to prevent tipping.
- Children and Bystanders: Keep children and bystanders away from the operating area.
- Unplug when not in use: Always disconnect the power supply before cleaning, servicing, or storing the unit.
3. Product Overview and Components
The Gerni 5000 High Pressure Washer comes with several components designed for versatile cleaning. Below is an overview of the main unit and included accessories.

Figure 3.1: Front view of the Gerni 5000 High Pressure Washer, showcasing its compact design and integrated hose reel.

Figure 3.2: The Gerni 5000 High Pressure Washer displayed with its full set of accessories, including various nozzles, brushes, and the patio cleaner.
Key Components:
- Main Unit: Contains the motor, pump, and hose reel.
- High-Pressure Hose: Connects the unit to the spray gun.
- Spray Gun: Handheld device for directing the water stream.
- Lance: Extension for the spray gun.
- Variable Spray Nozzle: Offers a 15° fan-shaped spray, suitable for general cleaning.
- Mid Patio Cleaner: Attachment for cleaning large flat surfaces like patios and decks. Features variable spray adjustment.
- Wash Brush: Soft-bristled brush for gentle cleaning of surfaces.
- Detergent Bottle: For applying cleaning solutions.
- G-Connect System: Features 360° handle rotation for easy hose handling.
4. Setup
Follow these steps for initial setup before operating your pressure washer.
- Unpack: Carefully remove all components from the packaging.
- Assemble Handle: Attach the handle to the main unit if it's not pre-assembled. Ensure it clicks securely into place.
- Connect Water Supply:
- Connect a garden hose (not supplied) to the water inlet on the pressure washer. Ensure the connection is tight to prevent leaks.
- Connect the other end of the garden hose to a cold water tap.
- Turn on the water tap fully to ensure a steady water flow to the unit.
- Connect High-Pressure Hose:
- Attach one end of the high-pressure hose to the high-pressure outlet on the unit.
- Attach the other end of the high-pressure hose to the spray gun.
- Ensure all connections are secure.
- Attach Lance and Nozzle:
- Connect the desired lance to the spray gun.
- Attach the appropriate nozzle (e.g., Variable Spray Nozzle) to the lance.
- Connect Power: Plug the power cord into a grounded electrical outlet.
5. Operating Instructions
Once set up, you can begin using your Gerni 5000 High Pressure Washer for various cleaning tasks.
5.1 Priming the Pump
- Ensure the water supply is fully open.
- Squeeze the trigger on the spray gun to release any air from the system. Hold the trigger until a steady stream of water emerges from the nozzle.
- Release the trigger.
5.2 Starting the Pressure Washer
- With the pump primed, turn the ON/OFF switch to the "ON" position. The motor will start.
- Squeeze the trigger on the spray gun to begin spraying. The motor will run continuously while the trigger is depressed.
- When the trigger is released, the motor will stop or go into standby mode, depending on the model.
5.3 Using Accessories
- Variable Spray Nozzle: Adjust the nozzle to achieve a narrow or wide fan spray. Ideal for general cleaning of various surfaces.
- Mid Patio Cleaner: Attach this accessory for efficient cleaning of large flat areas. Move it slowly and evenly over the surface.
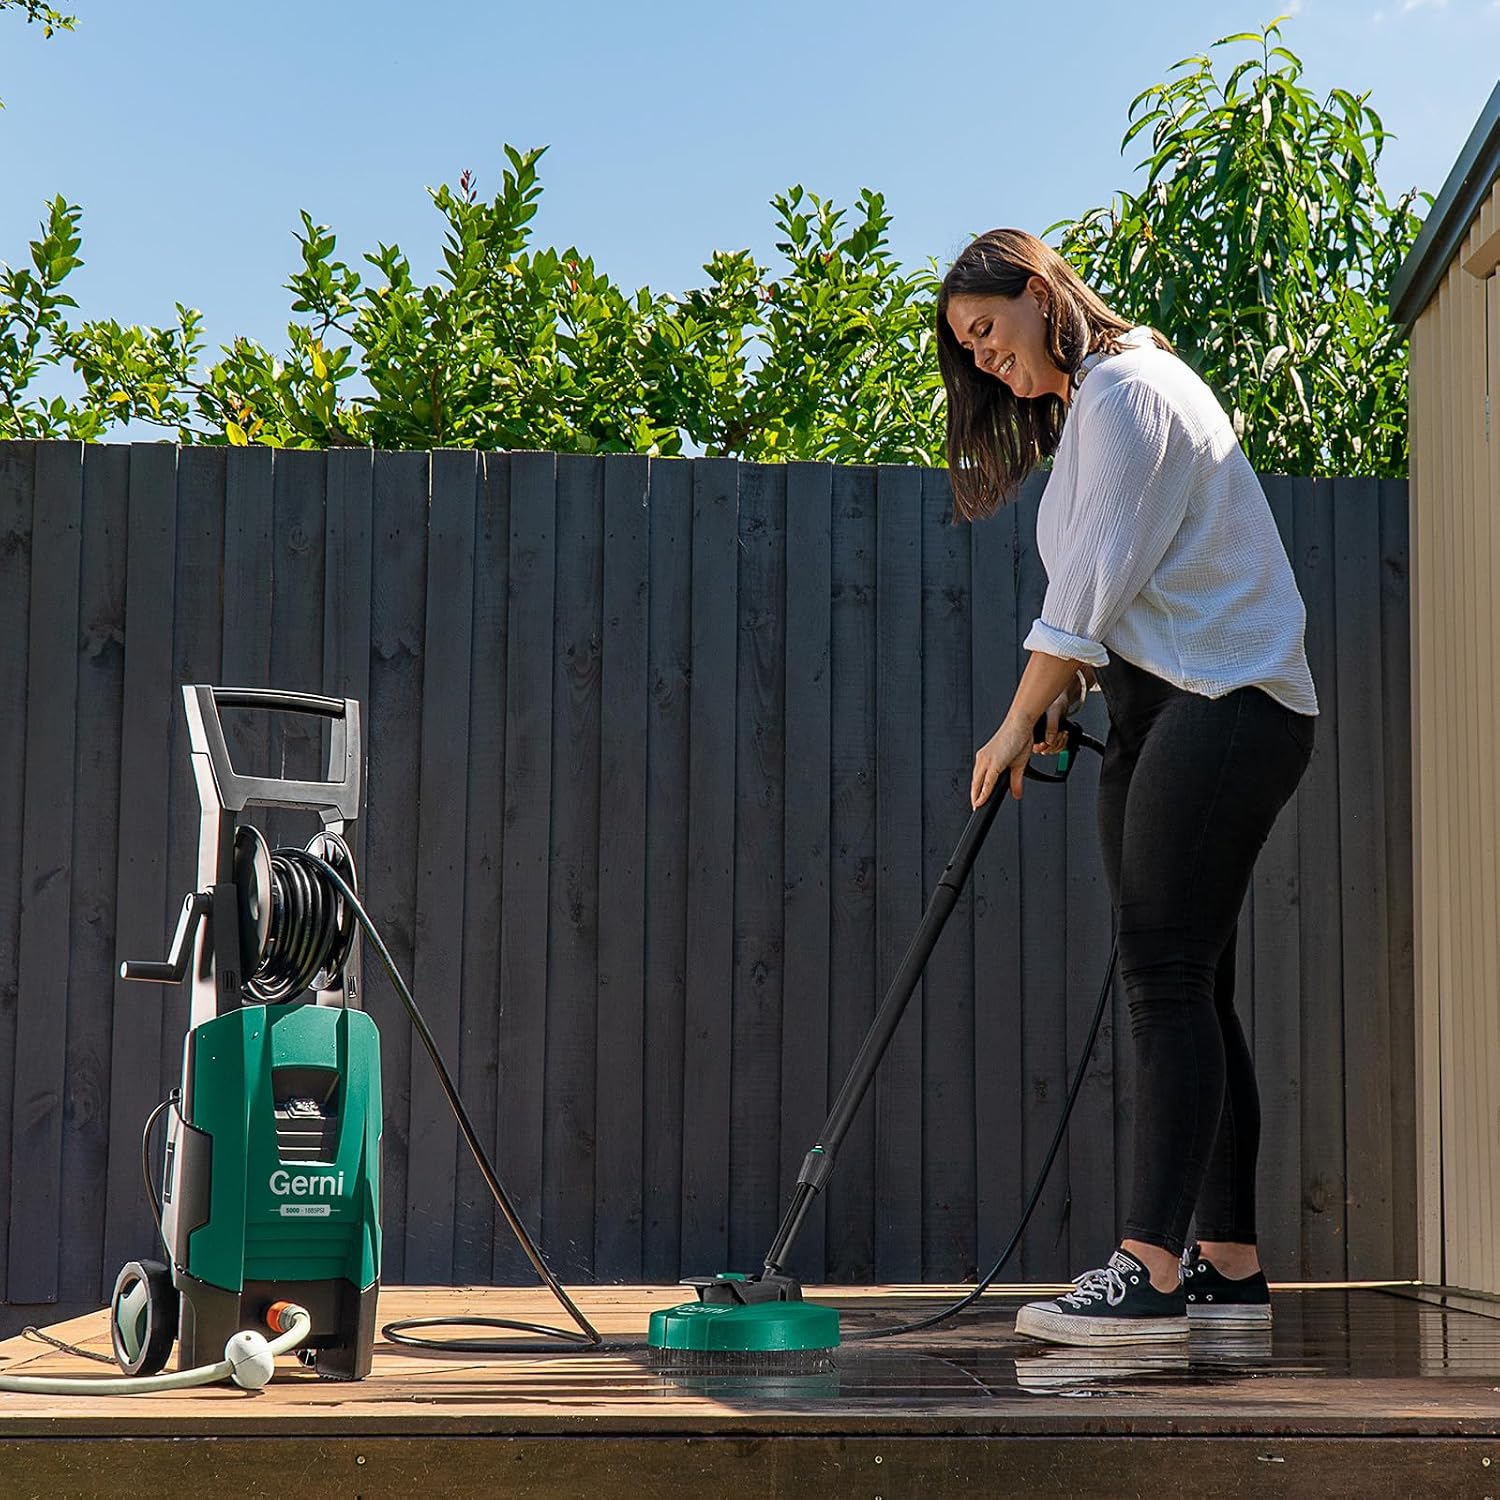
Figure 5.1: Demonstrating the use of the Mid Patio Cleaner attachment for efficient cleaning of outdoor decking.
- Wash Brush: Use with low pressure or detergent for gentle scrubbing of delicate surfaces like car paint or outdoor furniture.

Figure 5.2: A user applying foam to a car using the pressure washer, illustrating its versatility for vehicle cleaning.
- Detergent Application: Fill the detergent bottle with appropriate pressure washer detergent. Attach it to the spray gun/lance as per instructions. The pressure washer will draw detergent at low pressure.
5.4 General Cleaning Tips
- Always test the spray on an inconspicuous area first to avoid damage.
- Start spraying from a distance and move closer as needed, maintaining a safe distance to prevent surface damage.
- Work in sections, overlapping slightly to ensure even cleaning.
- For stubborn dirt, pre-soak the area with detergent before pressure washing.

Figure 5.3: A woman effectively cleaning a wooden patio chair, demonstrating the precision and power of the pressure washer.
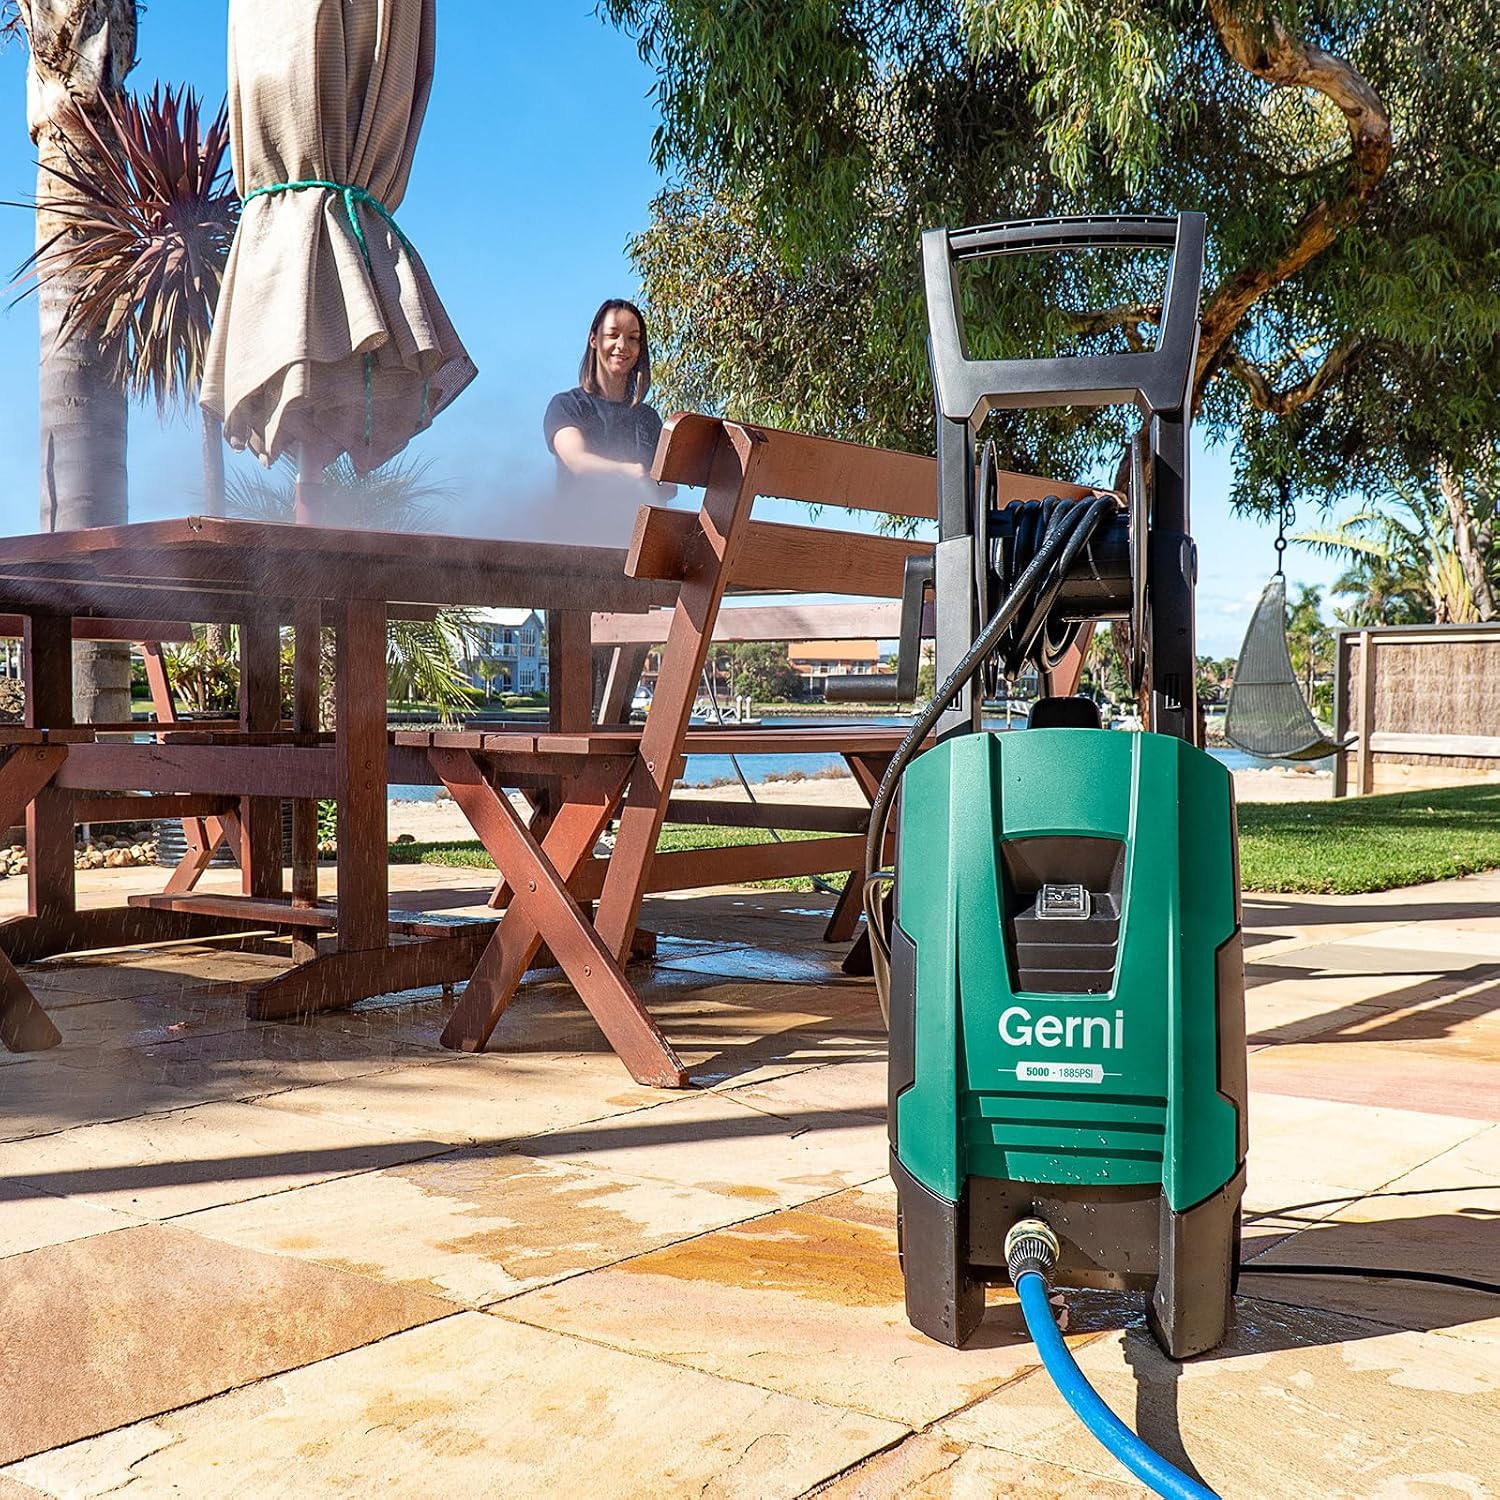
Figure 5.4: The Gerni pressure washer actively cleaning a paved patio area, highlighting its effectiveness on hard surfaces.

Figure 5.5: A man using the Gerni pressure washer to clean a jet ski, showcasing its utility for marine equipment.
6. Maintenance
Regular maintenance ensures the longevity and optimal performance of your Gerni 5000 High Pressure Washer.
6.1 After Each Use
- Turn Off: Switch off the pressure washer and unplug it from the power outlet.
- Release Pressure: Turn off the water supply and squeeze the spray gun trigger to release any remaining pressure in the system.
- Disconnect Hoses: Disconnect the garden hose and high-pressure hose from the unit and spray gun.
- Drain Water: Drain all water from the pump, hoses, and accessories to prevent freezing damage in cold weather.
- Clean Nozzles: Clear any blockages from the nozzles using the provided nozzle cleaning tool or a thin wire.
- Wipe Down: Wipe the exterior of the unit and accessories with a damp cloth.
6.2 Storage
- Store the pressure washer in a dry, frost-free area.
- Ensure all hoses and accessories are neatly coiled and stored to prevent kinks or damage.
- Utilize the on-board storage for accessories if available.
6.3 Winterization (for cold climates)
If storing in an area where temperatures may drop below freezing, it is crucial to winterize your pressure washer to prevent damage to the pump.
- Drain all water as described above.
- Run an anti-freeze solution designed for pressure washers through the pump. Follow the solution manufacturer's instructions.
7. Troubleshooting
This section addresses common issues you might encounter with your pressure washer. For problems not listed here, contact customer support.
| Problem | Possible Cause | Solution |
|---|---|---|
| Motor does not start |
|
|
| Low pressure |
|
|
| Water leaks |
|
|
| Motor cycles on and off |
|
|
8. Specifications
| Attribute | Detail |
|---|---|
| Brand | Gerni |
| Model Number | GPW |
| ASIN | B0D77LN2L5 |
| Power Source | Corded Electric |
| Maximum Pressure | 1885 Pound per Square Inch |
| Motor Wattage | 1800W |
| Product Dimensions | 220.98 x 93.98 x 71 cm |
| Item Weight | 8.7 kg |
| Colour | Green |
| Country of Origin | China |
| Date First Available | 16 June 2024 |
9. Warranty and Support
For warranty information, please refer to the documentation included with your purchase or visit the official Gerni website. For technical support, spare parts, or service inquiries, please contact Gerni customer service through their official channels.
Note: Specific warranty terms and support contact details may vary by region and purchase date.
Related documentsGPW


Ask a question about this manual
Ask about setup, troubleshooting, compatibility, parts, safety, or missing instructions. Manuals+ will review the question and use this page’s manual context to help answer it.