
1. Product Overview
The VANPO 3/8-Inch Drive Digital Torque Wrench is a precision tool designed for accurate torque application. It features a digital display, multiple measurement modes, preset value storage, and audible/visual notifications to prevent over-tightening. This electronic torque wrench is suitable for various applications, including bicycle and motorcycle maintenance.
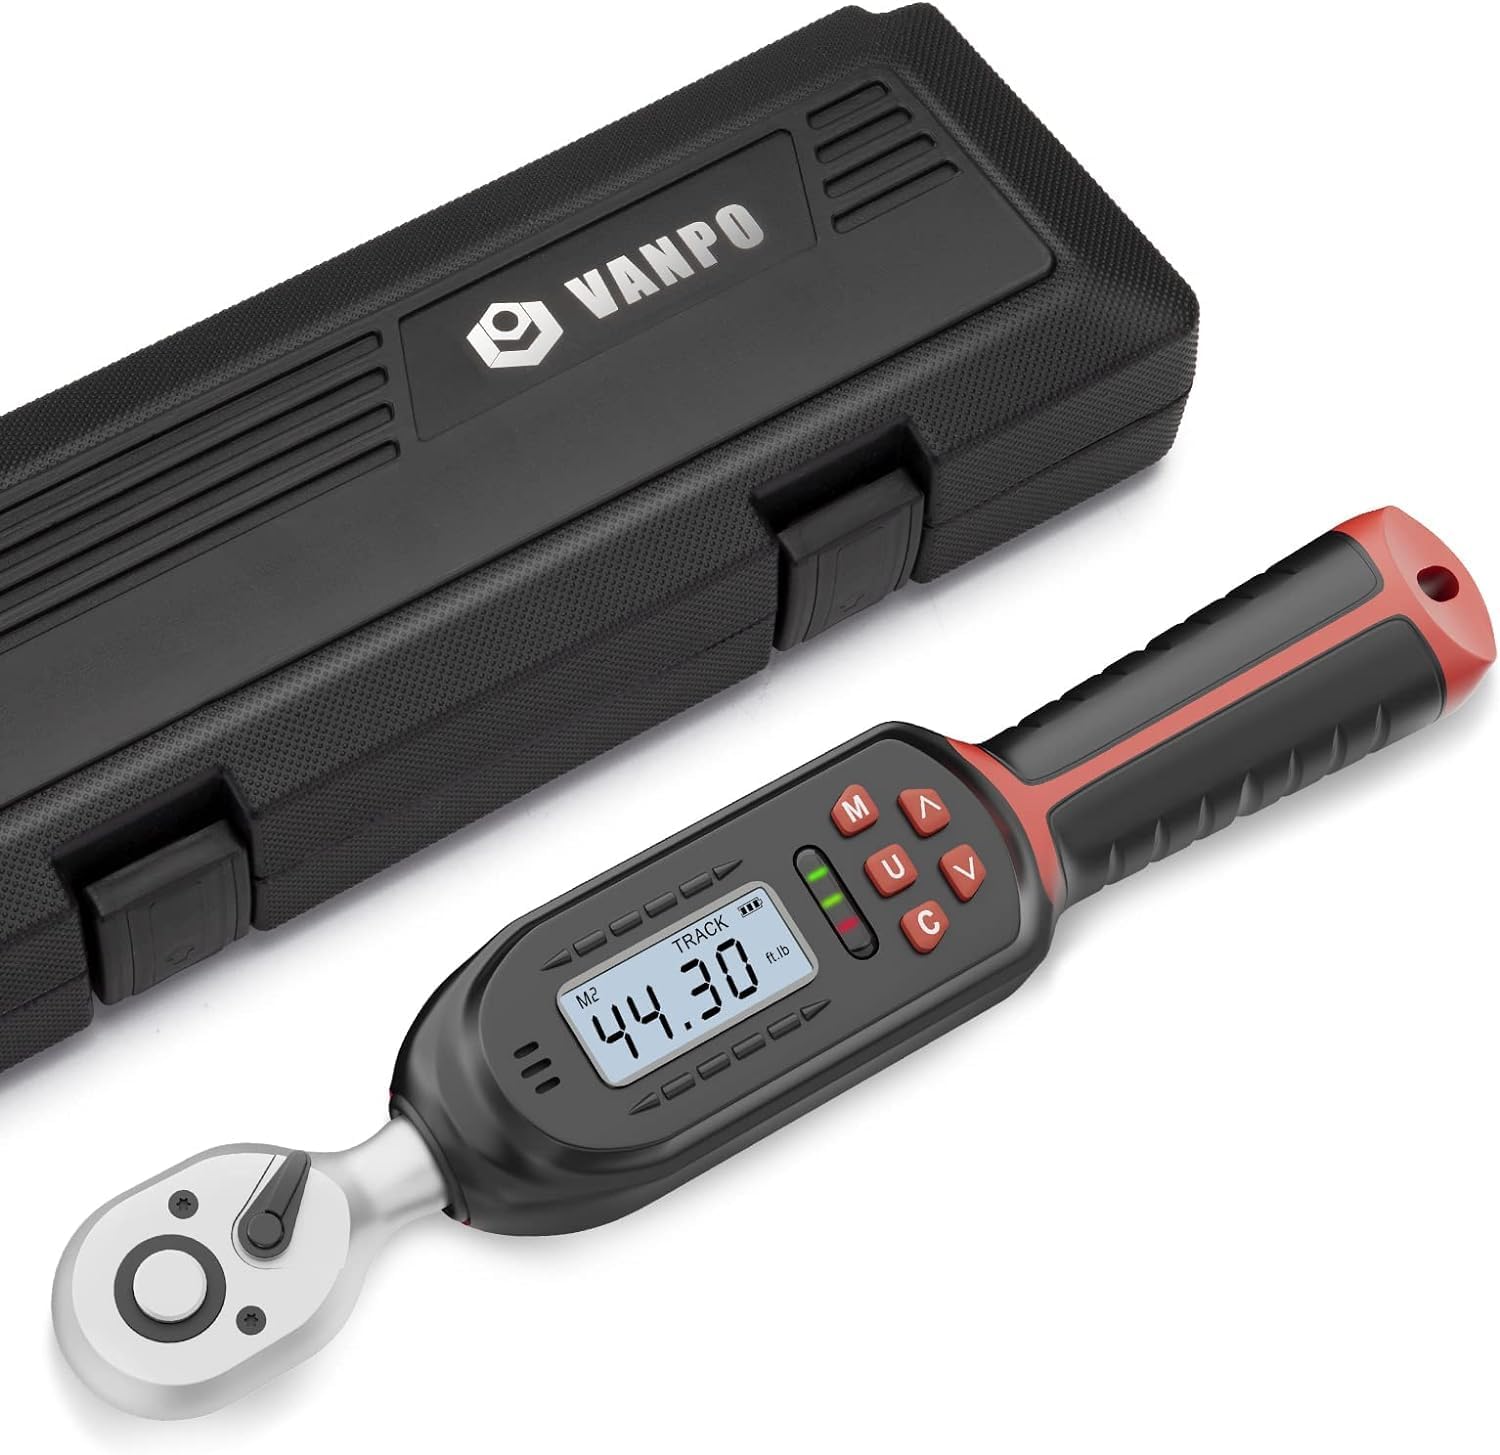
Image 1: VANPO 3/8-Inch Drive Digital Torque Wrench and its protective case.
2. Safety Information
- Do not exceed 120% of the maximum torque value to prevent damage to the tool or fasteners.
- Avoid dropping or subjecting the torque wrench to violent shocks.
- Do not use the digital torque wrench as a tapping tool.
- Store the tool in a stable environment, away from excessive vibration.
- Remove batteries if the product will not be used for an extended period.
3. Package Contents
The package includes:
- VANPO 3/8-Inch Drive Digital Torque Wrench
- Protective Storage Case
- Phillips Head Screwdriver (for battery compartment)
- AAA Batteries (2x)
- Calibration Certificate
- Operating Instruction Manual
4. Setup
4.1 Battery Installation
- Locate the battery compartment cover on the handle of the torque wrench.
- Use the provided Phillips head screwdriver to remove the screws securing the cover.
- Insert two AAA batteries, ensuring correct polarity (+/-).
- Replace the battery compartment cover and secure it with the screws.

Image 2: Steps for installing AAA batteries into the torque wrench handle.
4.2 Attaching Sockets/Adapters
The torque wrench features a 3/8-inch drive. To attach a socket or adapter:
- Press the quick-release button on the ratchet head.
- Slide the desired 3/8-inch drive socket or adapter onto the square drive until it clicks securely into place.
- To remove, press the quick-release button and pull the socket/adapter off.

Image 3: The quick-release button on the ratchet head for easy socket attachment.
5. Operation
5.1 Power On/Off
- To power on, press the 'C' button. The screen will illuminate.
- To power off, press and hold the 'C' button for approximately 2 seconds.
- The device will automatically shut off after 5 minutes of inactivity to conserve battery life.
5.2 Setting Torque Values
Use the '^' (Up) and 'V' (Down) arrow buttons to adjust the desired torque value on the digital display. Holding the buttons will accelerate the value change.
5.3 Changing Measurement Units
The wrench supports four measurement units: Ft.lb, N.m, In.lb, and Kg.cm.
- Press the 'U' button to cycle through the available units. The selected unit will be displayed next to the torque value.

Image 4: The digital display showing various measurement units.
5.4 Memory Presets
The wrench allows for storing up to 6 preset torque values (M1-M6) for quick recall.
- Press the 'M' button to cycle through the memory presets.
- To set a value for a memory slot, select the desired memory slot (e.g., M1), then use the '^' and 'V' buttons to adjust the torque. The new value will be saved automatically to that preset.

Image 5: The wrench's display showing different memory preset groups.
5.5 Peak and Track Modes
The wrench offers two operational modes:
- Track Mode: Displays real-time torque values as force is applied. This allows for stable force application and observation of value changes.
- Peak Mode: Records and displays the maximum torque value achieved during an application. This is useful for checking the peak force applied.
- To switch between Peak and Track modes, press the 'U' button.

Image 6: Visual representation of Preset, Track, and Peak modes.
5.6 Buzzer and LED Indicators
The wrench provides audible and visual feedback:
- When approaching the set torque value (e.g., 85-95%), green LED lights will flash, and a short beeping sound will occur.
- Upon reaching 100% of the set torque value, a red LED light will illuminate, and a continuous buzzer sound will activate, indicating the target torque has been met.

Image 7: The wrench indicating torque with a buzzer and LED lights.
5.7 Locking and Unlocking Settings
- To lock the current torque setting and prevent accidental changes, press and hold the 'M' button for 1 second until "Loc" appears on the display.
- To unlock, press and hold the 'M' button for 1 second until "UnL" appears.
5.8 Direction of Rotation
The ratchet head allows for both clockwise (tightening) and counter-clockwise (loosening) operations. Adjust the small lever on the ratchet head to select the desired direction.
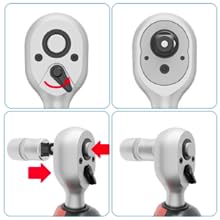
Image 8: The ratchet head with its direction switch.
5.9 Usage Examples

Image 9: The torque wrench in use for bicycle and motorcycle maintenance.

Image 10: Applying torque to various components on a bicycle and motorcycle.
Video 1: Demonstrates unboxing, battery installation, basic button functions (power, unit change, memory, lock), and usage on a bicycle stem bolt.
6. Maintenance
- Cleaning: Wipe the tool with a clean, dry cloth after each use. Do not use abrasive cleaners or solvents.
- Storage: Store the torque wrench in its protective case in a dry, stable environment. Remove batteries if storing for extended periods (e.g., over a month) to prevent leakage and damage.
- Calibration: The accuracy of the digital torque wrench is ±2% clockwise and ±3% counter-clockwise. Regular calibration is recommended, typically once a year or after 10,000 tightening cycles, to maintain optimal precision. Refer to the included calibration certificate for details.

Image 11: Example of a calibration certificate provided with the torque wrench.
7. Troubleshooting
- No Power: Check if batteries are correctly installed and have sufficient charge. Replace if necessary.
- Inaccurate Readings: Ensure the wrench is properly calibrated. Avoid applying force exceeding 120% of the maximum torque.
- No Buzzer/LED: Verify that the torque setting is correctly configured and the batteries are not low.
8. Specifications
| Feature | Detail |
|---|---|
| Brand | VANPO |
| Model Number | VP023 |
| Drive Size | 3/8-Inch |
| Torque Range | 2.2-44.3 Ft-lbs / 3-60 Nm |
| Accuracy | ±2% (Clockwise), ±3% (Counter-clockwise) |
| Measurement Modes | Ft.lb, N.m, In.lb, Kg.cm |
| Display | High-definition Digital Display with Backlight |
| Indicators | Buzzer and LED Light |
| Power Source | 2 x AAA Alkaline Batteries |
| Material | Chrome Vanadium Steel |
| Item Weight | 1.03 kg |
| Dimensions | 34.79 x 12.4 x 6.1 cm (Parcel) |
9. Warranty and Support
VANPO provides a 12-month warranty for this product. If you have any questions or require assistance with your digital torque wrench, please contact VANPO customer support. Our goal is your satisfaction, and we are happy to assist with refunds or replacements as needed.