
ANDYCINE T6
ANDYCINE T6 6-inch DSLR Video Monitor User Manual
Model: T6 | Brand: ANDYCINE
1. Introduction
Welcome to the user manual for the ANDYCINE T6 6-inch DSLR Video Monitor. This monitor is designed to enhance your video production workflow with its high-resolution display, robust aluminum construction, and advanced monitoring features. Please read this manual thoroughly before operating the device to ensure proper use and maintenance.
Key Features
- 6-inch 1920x1080 Full HD Display
- Durable Aluminum Shell
- 4K HDMI Input/Output
- Professional Monitoring Tools: Waveform, Vectorscope, Histogram, 3D LUT
- Rec.709 Color Calibration
- NP-F Battery Slot and DC Power Options

The ANDYCINE T6 monitor features a 6-inch display, providing a clear and detailed view for professional video monitoring.
2. What's in the Box
Verify that all items listed below are included in your package:
- 1x T6 Camera Monitor
- 1x HDMI to Micro HDMI Cable
- 1x Sunshade
- 1x User Manual
- 1x Hot Shoe Mount + Hex Wrench
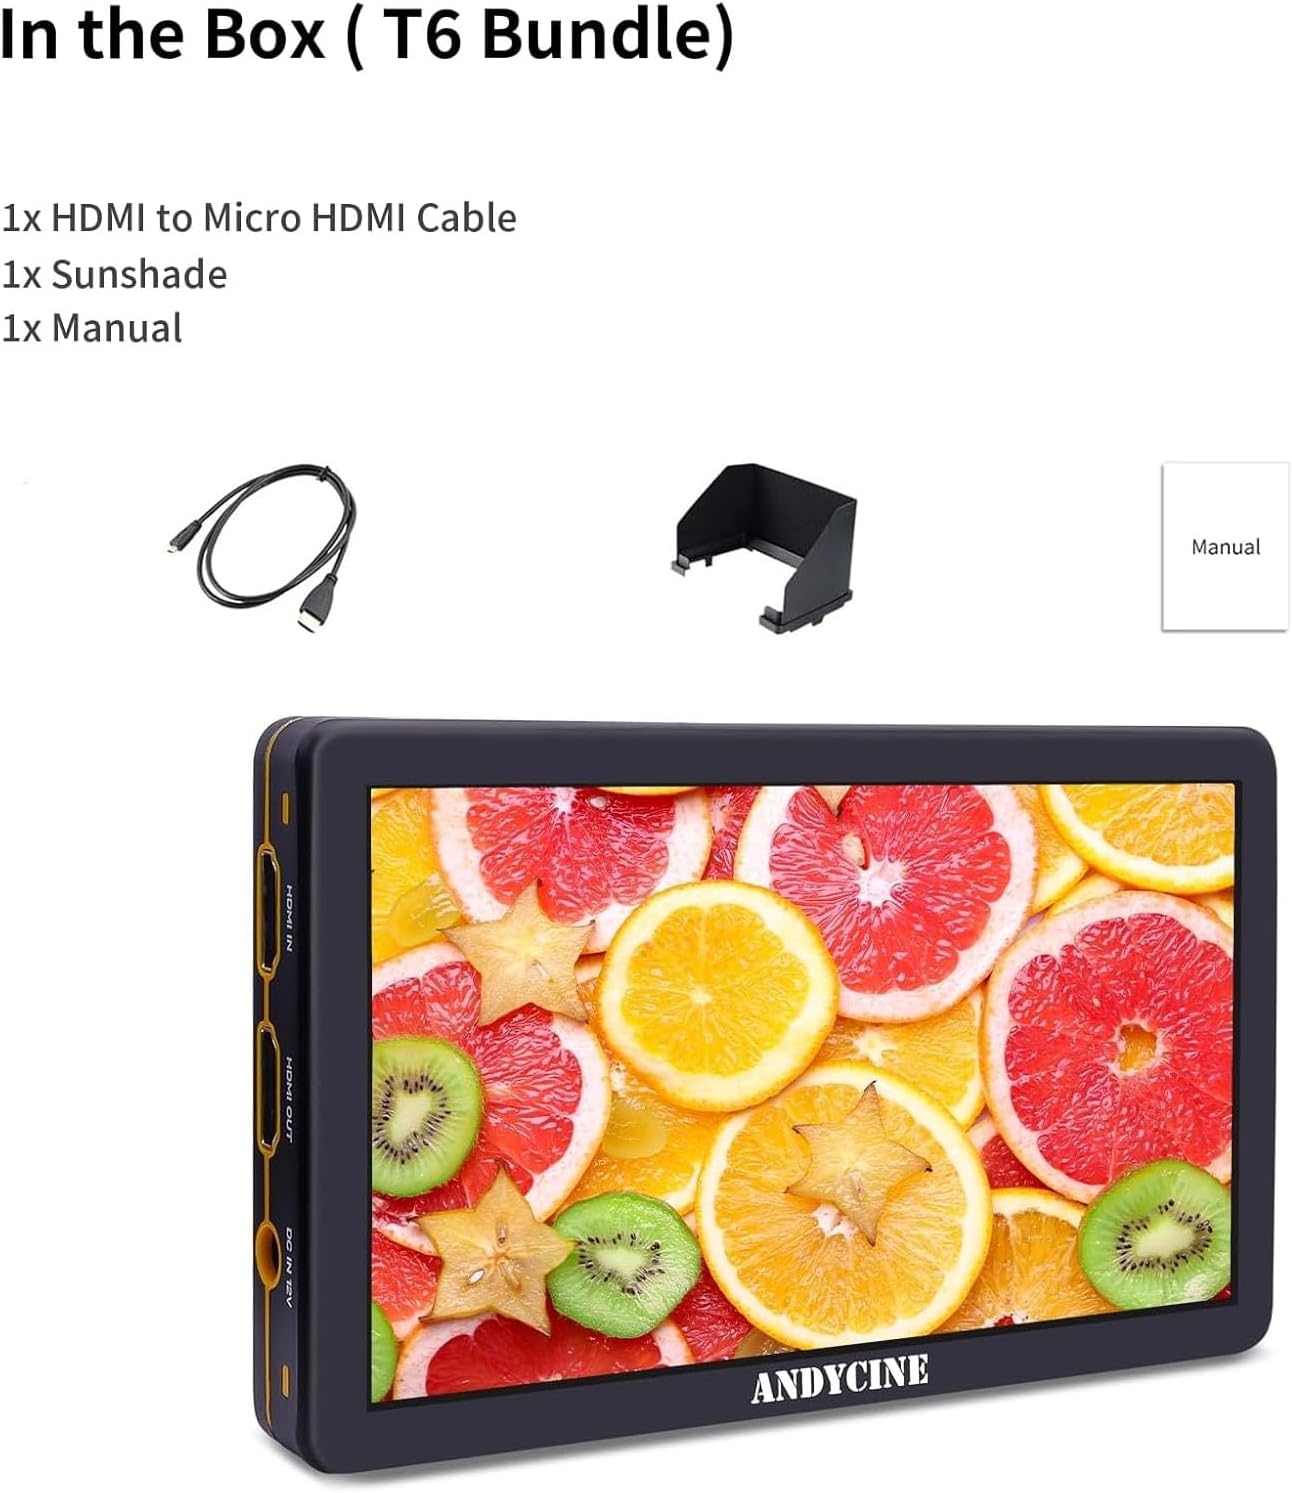
This image shows the complete package contents: the T6 monitor, an HDMI to Micro HDMI cable, a sunshade, and the user manual.
3. Product Overview
Physical Dimensions and Design
The ANDYCINE T6 features a durable aluminum shell, providing protection and efficient heat dissipation for prolonged use.

Detailed view of the ANDYCINE T6 monitor, highlighting its aluminum shell, NP-F battery slot, and overall dimensions (151.2 mm length, 92 mm width, 17 mm thickness).
Ports and Controls
Familiarize yourself with the various ports and control buttons on the monitor for optimal operation.

This image illustrates the connectivity options on the ANDYCINE T6, including HDMI IN (4K 60P), HDMI OUT, DC IN (7-24V), DC OUT (8V), 1/4"-20 Thread, 3.5mm Stereo Headphone jack, and TYPE-C 5V port.
- HDMI IN/OUT: For video signal input and loop-through output. Supports up to 4K 60P.
- DC IN 7-24V: Main power input for the monitor.
- DC OUT 8V: Power output to power other compatible devices.
- NP-F Battery Slot: For compatible NP-F series batteries.
- 3.5mm Stereo Headphone: Audio monitoring output.
- TYPE-C 5V: USB Type-C port, typically for power or firmware updates.
- 1/4"-20 Thread: Standard mounting points for accessories.
- Control Buttons: F1, F2, F3 (customizable function buttons), EXIT, MENU, and navigation buttons for menu control.
4. Setup
Powering the Monitor
The T6 monitor offers flexible power options, supporting both NP-F series batteries and DC power input.
- Battery Installation: Align the NP-F battery with the battery slot on the rear of the monitor and slide it in until it clicks securely into place.
- DC Power: Connect a compatible DC power adapter (7-24V) to the DC IN port on the side of the monitor.
Mounting the Monitor
Use the included hot shoe mount to attach the monitor to your camera's hot shoe or other compatible mounting points. The mount allows for flexible positioning.

The monitor can be easily mounted to a camera using the included hot shoe mount, which allows for 360-degree rotation for optimal viewing angles. The mount features a cold shoe and a 1/4" thread hole.
Connecting to a Camera
Connect your camera's HDMI output to the HDMI IN port on the T6 monitor using the provided HDMI to Micro HDMI cable or another compatible HDMI cable.
For loop-through functionality, connect the HDMI OUT port to another display or recording device if needed.
5. Operating Instructions
Basic Operation
- Power On/Off: Press and hold the power button located on the top of the monitor to turn the unit on or off.
- Menu Navigation: Press the MENU button to access the main menu. Use the navigation buttons (up/down/left/right) to scroll through options and the central button to confirm selections.
- Function Buttons (F1, F2, F3): These buttons can be customized within the menu to quickly access frequently used features such as peaking, false colors, or specific LUTs.
Professional Monitoring Features
The ANDYCINE T6 offers a comprehensive suite of professional monitoring tools to assist with accurate exposure, focus, and color during your video production.

The 'All Scopes Mode' on the ANDYCINE T6 allows simultaneous display of Waveform, Vectorscope, and Histogram, providing comprehensive visual analysis of your video signal for precise adjustments.

This image showcases the array of professional features available on the T6 monitor, including 3D LUT support, various scopes, focus assist, and image manipulation tools.
3D LUT (Look Up Table)
The 3D LUT function allows you to load custom LUTs to preview how your footage will look after color grading, providing an accurate representation of your final output on set.

The 3D LUT output feature demonstrates the ability to apply color lookup tables to your video feed, showing the 'Before Loading' and 'After Loading' states for accurate on-set color preview.
Waveform, Vectorscope, and Histogram
These tools provide graphical representations of your video signal, helping you to achieve correct exposure and color balance:
- Waveform: Displays luminance levels across the image, useful for checking exposure consistency.
- Vectorscope: Shows color hue and saturation, essential for accurate color grading.
- Histogram: Illustrates the distribution of pixel brightness, helping to identify clipped highlights or crushed shadows.
Focus Assist (Peaking)
Highlights in-focus areas of your image with a selectable color, making it easier to achieve sharp focus, especially with manual lenses.
False Colors
Assigns specific colors to different exposure levels, allowing for quick and accurate exposure assessment across the frame.
Exposure (Zebras)
Displays zebra patterns over areas that are overexposed, helping to prevent blown-out highlights in your footage.
Image Flip
Flips the image horizontally or vertically, useful when mounting the monitor in various orientations or for specific shooting setups.
Anamorphic Mode
Desqueezes anamorphic footage to display it correctly on the monitor, providing an accurate preview of the final aspect ratio.
Embedded Audio
Displays audio level meters for monitoring embedded audio signals from your camera, ensuring sound is properly recorded.
6. Maintenance
Cleaning
Use a soft, dry microfiber cloth to gently clean the monitor's screen and body. For stubborn smudges, a slightly damp cloth with a mild, non-abrasive cleaning solution can be used, applied to the cloth, not directly to the monitor.
Avoid using harsh chemicals, solvents, or abrasive materials that could damage the screen coating or the monitor's finish.
Storage
When not in use, store the monitor in a cool, dry place, away from direct sunlight, high humidity, and extreme temperatures.
If storing for an extended period, it is recommended to remove the battery to prevent potential leakage or damage.
7. Troubleshooting
This section addresses common issues you might encounter and provides solutions.
| Problem | Possible Cause | Solution |
|---|---|---|
| Monitor does not power on | Low or dead battery; Power cable not connected; Faulty power source | Charge or replace battery; Ensure power cable is securely connected; Try a different power source |
| No video signal | Incorrect HDMI input selected; Loose HDMI cable; Incompatible resolution/frame rate | Check input settings in the menu; Reconnect HDMI cable securely; Ensure camera output matches monitor's supported resolutions and frame rates |
| Image is distorted or incorrect color | Incorrect color space setting; LUT applied incorrectly; Faulty HDMI cable | Adjust color space settings in the menu; Verify LUT application; Try a different HDMI cable |
| Buttons are unresponsive | Firmware issue; System freeze | Power cycle the monitor (turn off and on); Check the official ANDYCINE website for any available firmware updates |
If problems persist after attempting these solutions, please contact ANDYCINE customer support for further assistance.
8. Specifications
Detailed technical specifications for the ANDYCINE T6 monitor:
| Feature | Detail |
|---|---|
| Model | T6 |
| Screen Size | 6 inches |
| Resolution | 1920 x 1080 |
| Brightness | 450 nit |
| Contrast Ratio | 1000:1 |
| Viewing Angle | 160° |
| Input | HDMI (4K 60P) |
| Output | HDMI, DC OUT 8V |
| Power Input | DC IN 7-24V, NP-F Battery |
| Power Consumption | ≤16W |
| Shell Material | Aluminum |
| Dimensions | 151.2mm x 92mm x 17mm |

This infographic highlights key display specifications of the T6 monitor: 6-inch screen diagonal, 1920x1080 resolution, 367 PPI, 450 nit brightness, 1000:1 contrast ratio, and 160-degree IPS viewing angle.
9. Warranty and Support
For warranty information, technical support, or service inquiries, please refer to the official ANDYCINE website or contact their customer service directly. Keep your purchase receipt as proof of purchase for any warranty claims.
Visit the official ANDYCINE store for more information and support: ANDYCINE Store
Related documentsT6


Ask a question about this manual
Ask about setup, troubleshooting, compatibility, parts, safety, or missing instructions. Manuals+ will review the question and use this page’s manual context to help answer it.