
1. Introduction
Thank you for choosing the EVERSECU 2K 3.0MP Outdoor WiFi PTZ Security Camera. This manual provides detailed instructions for setting up, operating, and maintaining your camera to ensure optimal performance and security. This camera features 2K 3.0MP super-high-definition video, 2.4G WiFi connectivity, auto-tracking, two-way audio, and spot night vision, making it suitable for both indoor and outdoor surveillance.
2. What's in the Box
Please verify that all components are present in your package:
- EVERSECU 2K 3.0MP Outdoor WiFi PTZ Security Camera Unit(s)
- Power Adapter
- Mounting Screws and Wall Anchors
- User Manual (this document)
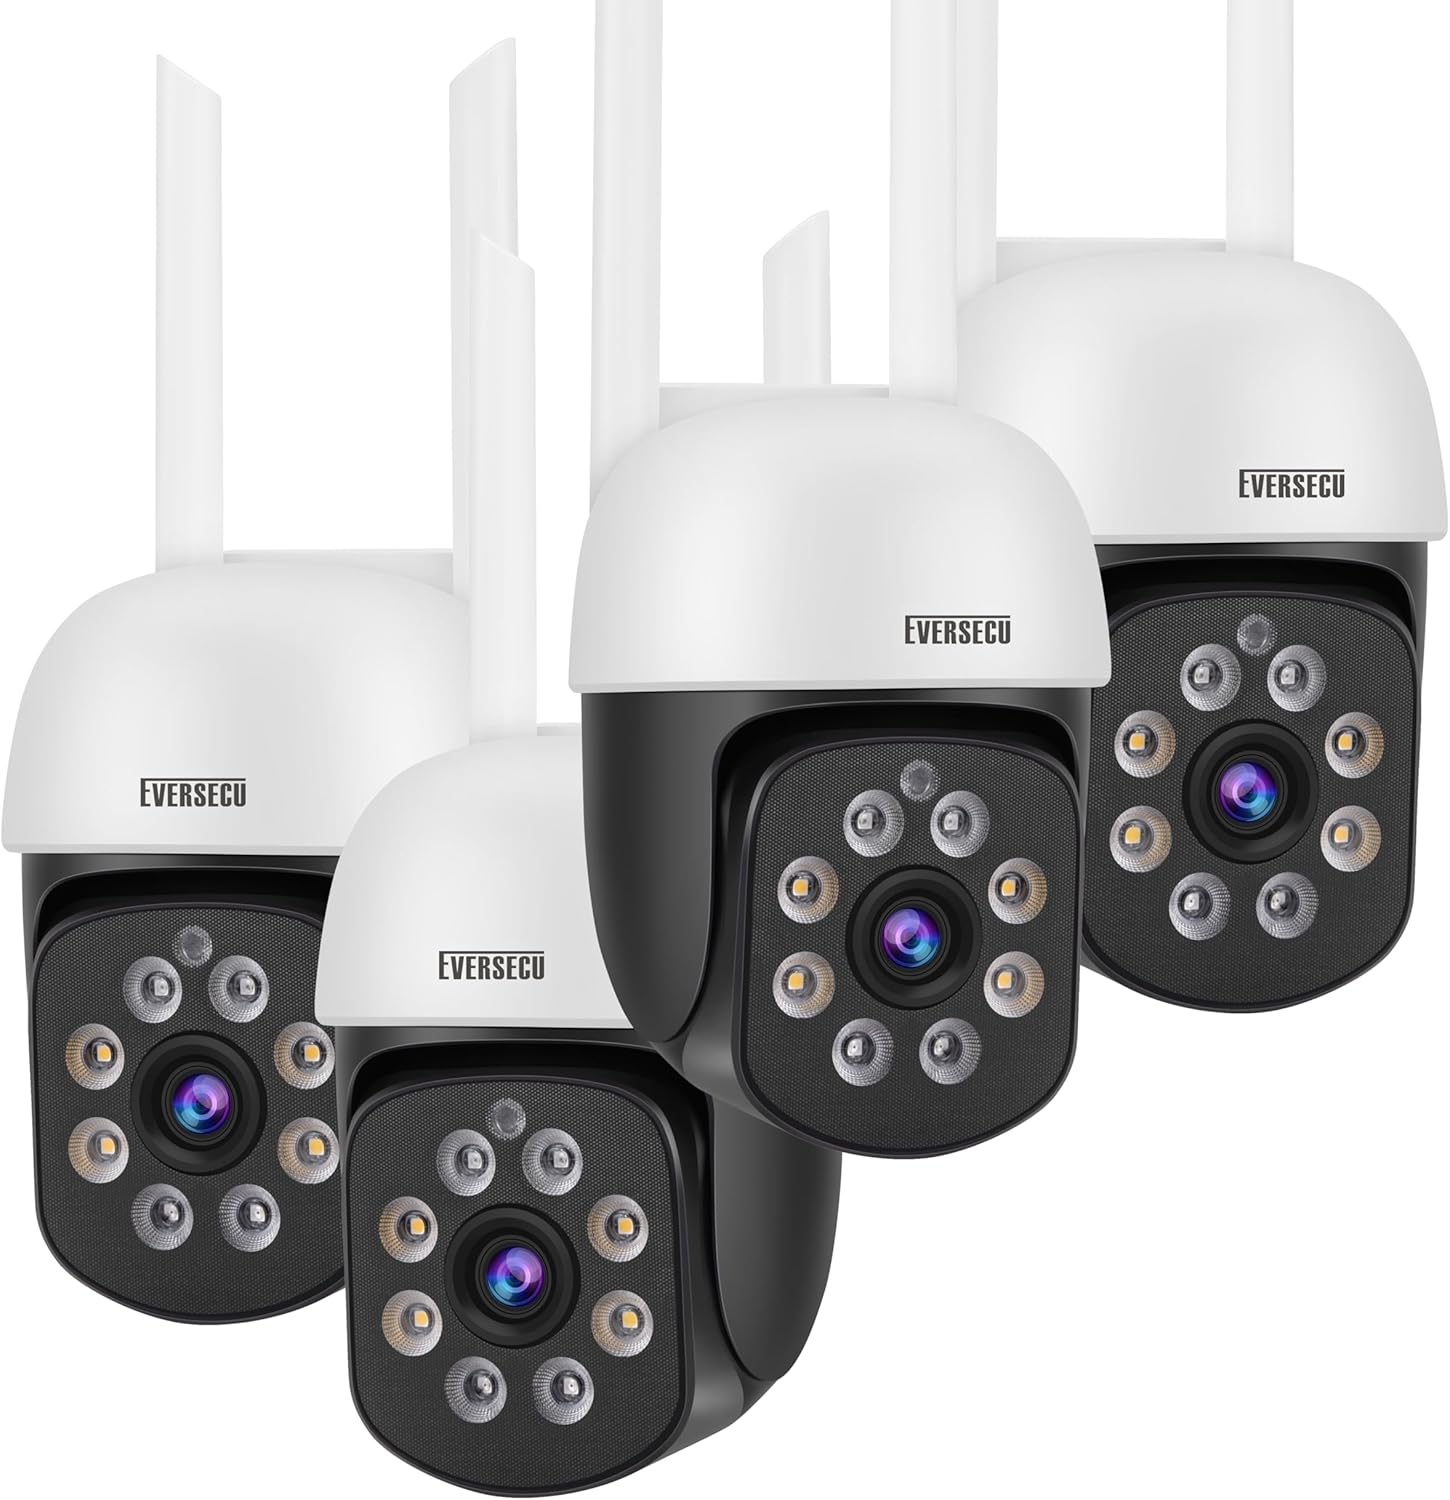
Image: The EVERSECU 2K 3.0MP Outdoor WiFi PTZ Security Camera units and included accessories.
3. Setup Guide
3.1. Before You Begin
- Ensure your Wi-Fi network is 2.4GHz. This camera supports both 2.4GHz and 5GHz Wi-Fi for connection.
- Have your Wi-Fi network name (SSID) and password ready.
- Choose a suitable location for installation, ensuring good Wi-Fi signal strength.
3.2. App Installation
Download the official O-KAM App from your mobile device's app store (iOS App Store or Google Play Store). Follow the on-screen instructions to create an account and log in.
3.3. Camera Connection
- Power on the camera by connecting the power adapter.
- Open the O-KAM App and tap 'Add Device' or the '+' icon.
- Select your camera model or scan the QR code on the camera if prompted.
- Follow the in-app instructions to connect the camera to your 2.4GHz Wi-Fi network. This may involve scanning a QR code displayed on your phone with the camera lens or using the AP hotspot function for direct connection.
- Once connected, you can test the Wi-Fi signal strength within the app to ensure optimal placement.

Image: The camera requires a stable 2.4GHz Wi-Fi connection for optimal performance.
3.4. Physical Installation
After successful network connection, you can proceed with physical installation:
- Mark the desired mounting points on the wall or ceiling using the camera's base as a template.
- Drill pilot holes and insert wall anchors if necessary.
- Secure the camera base using the provided mounting screws.
- Adjust the camera angle as needed.
4. Operating Instructions
4.1. Live View & PTZ Control
Access the live video feed through the O-KAM App. Use the Pan/Tilt/Zoom (PTZ) controls within the app to remotely adjust the camera's viewing angle. The camera supports 355° horizontal rotation and 90° vertical rotation.

Image: Bidirectional Pan & Tilt functionality provides a wide viewing angle.

Image: Pan/Tilt rotation allows you to view every corner clearly.
4.2. Two-Way Audio
The camera features a built-in microphone and speaker, enabling two-way communication. You can speak through the app to anyone near the camera and hear their response.

Image: Two-Way Voice feature for easy communication.

Image: 2-way Audio & Remote Live View capabilities.
4.3. Night Vision Modes
The camera offers both full-color night vision and infrared (IR) night vision. The IR-CUT filter automatically switches between day and night modes. The Sony IMX353 sensor provides excellent low-light performance.

Image: Comparison of Full Color Night Vision and Infrared Night Vision.
4.4. Motion Detection & Alarms
Enable humanoid detection to receive alarm messages on your mobile app when human movement is detected, reducing false alarms from animals or insects. The camera can also trigger a high-decibel sound alarm and flash white lights to deter intruders.
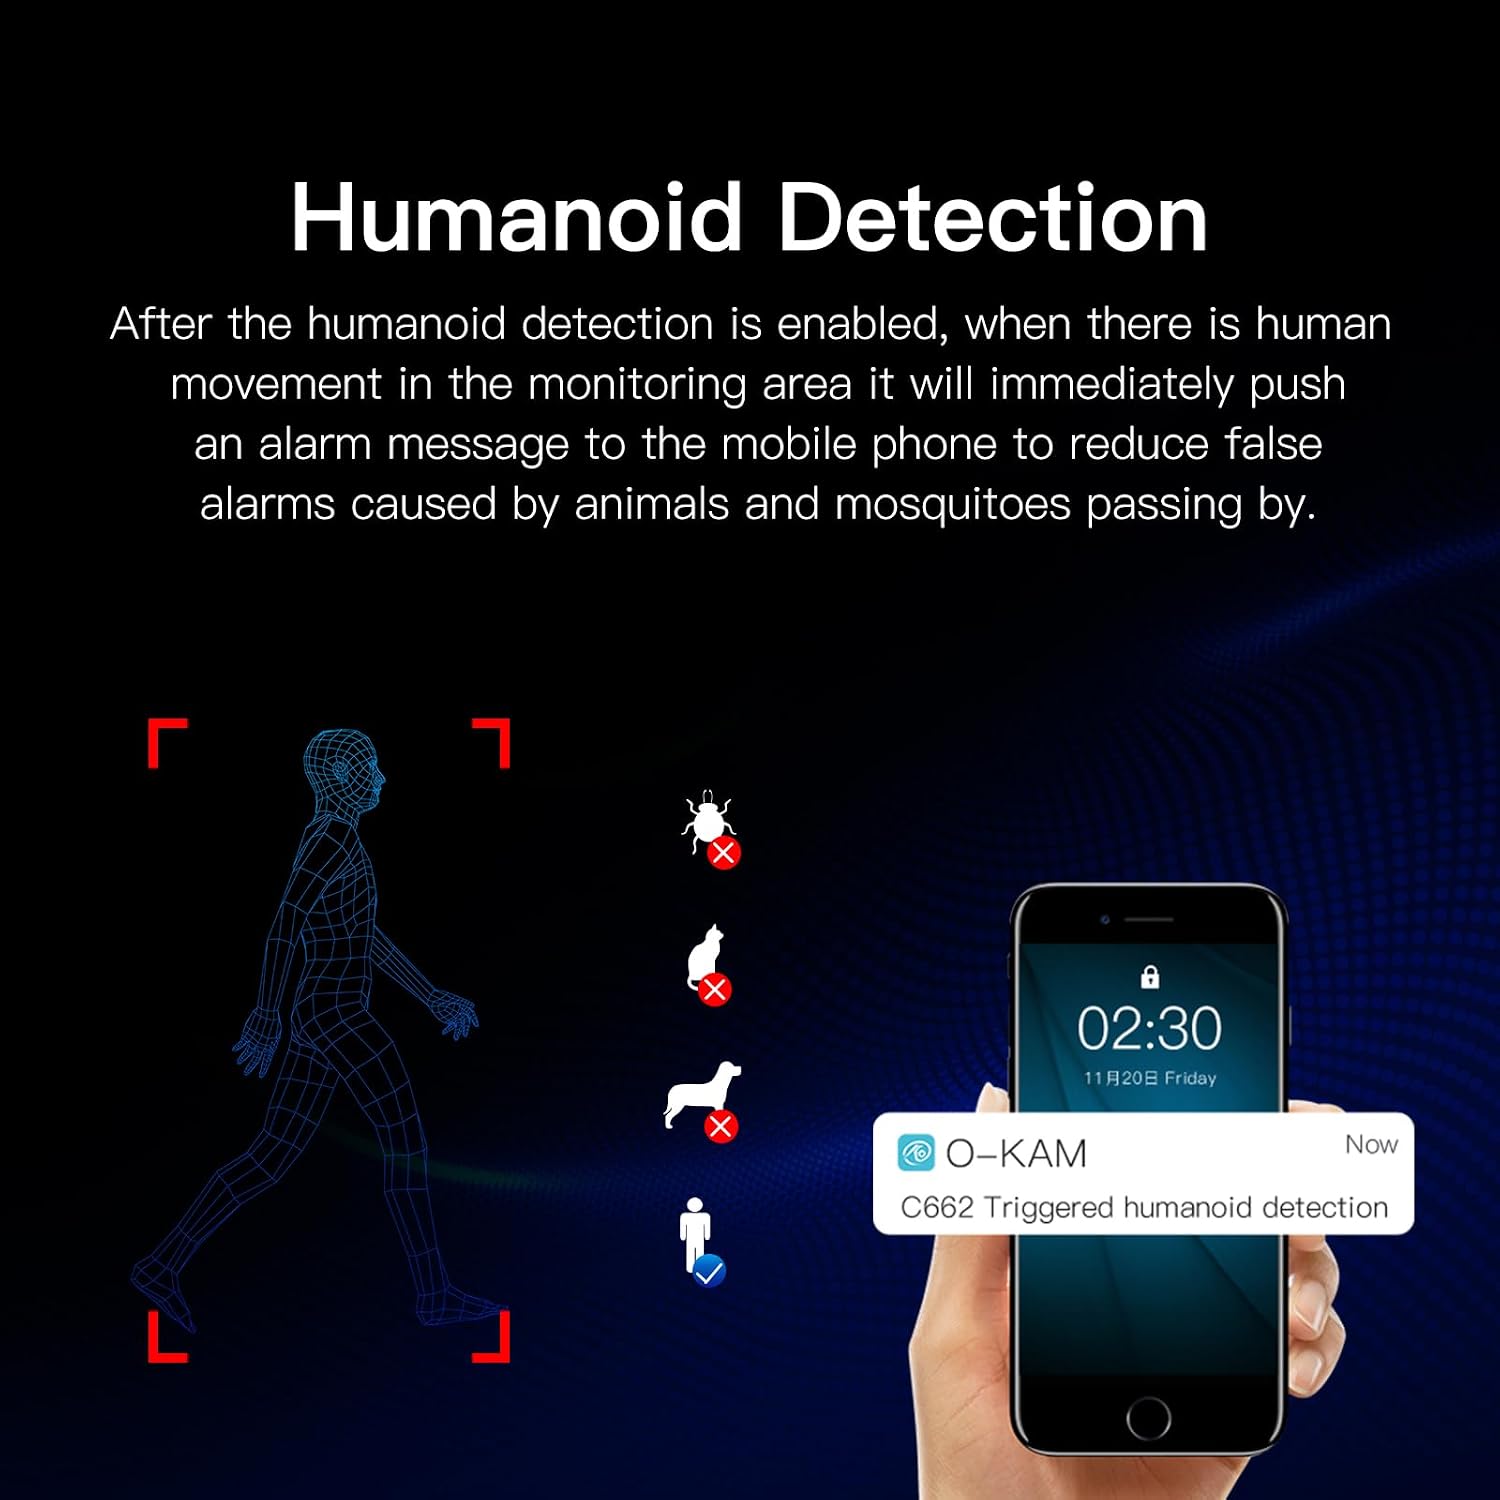
Image: Humanoid Detection feature.

Image: Sound and Light Alarm Dual Warning to Drive Theft.
4.5. Storage Options
Recordings can be saved to a local SD card (not included, supports up to 128GB) or to cloud storage (3 days free trial every month). High-level encryption ensures your videos are secure and accessible only by you.
4.6. Alexa Integration
The camera is compatible with Amazon Alexa for voice control. Follow the instructions in the O-KAM App to link your camera with your Alexa device.
5. Maintenance
- Cleaning: Regularly wipe the camera lens and body with a soft, dry cloth to remove dust and smudges. For outdoor cameras, ensure the lens is clear of water spots or debris after rain.
- Firmware Updates: Check the O-KAM App periodically for firmware updates. Keeping your camera's firmware up-to-date ensures optimal performance and security.
- Connection Check: Periodically verify the camera's Wi-Fi connection strength in the app, especially after environmental changes or network adjustments.
- Weather Resistance: The camera is waterproof and dustproof (IP66 rated), designed to withstand various outdoor weather conditions.

Image: Waterproof and Dustproof design for complex outdoor weather.

Image: The camera is designed to work well in any weather.
6. Troubleshooting
- Camera not connecting to Wi-Fi: Ensure your Wi-Fi is 2.4GHz. Check Wi-Fi signal strength at the camera's location. Restart the camera and your router.
- RTSP connection issues: If using third-party software like Blue Iris or VLC, ensure the correct RTSP address is used:
rtsp://[username]:[password]@[ip]:10554. Note that the default username for RTSP might be "admin" instead of your app username. Set a password on the O-KAM App to enable ONVIF. - Frequent false alarms: Adjust the sensitivity of motion detection in the app. Utilize the "activity zone" feature to define specific areas for detection, ignoring irrelevant movements (e.g., road traffic).
- No audio or poor audio quality: Check microphone and speaker settings in the app. Ensure there are no obstructions blocking the microphone or speaker.
- Night vision not working: Ensure the camera is in a dark environment for night vision to activate. Check for any obstructions blocking the IR lights.
7. Specifications
| Feature | Specification |
|---|---|
| Model Name | C662-4 |
| Video Capture Resolution | 1296p (2K 3.0MP) |
| Indoor/Outdoor Usage | Outdoor, Indoor |
| Connectivity Protocol | Wi-Fi (2.4GHz & 5GHz supported) |
| Power Source | Corded Electric |
| Controller Type | Amazon Alexa |
| Mounting Type | Wall Mount |
| Night Vision Range | 60 Feet |
| Frame Rate | 30 FPS |
| Product Dimensions | 7 x 4.3 x 7.5 inches |
| Item Weight | 4.75 pounds |
| Special Features | HD Resolution, 2-Way Audio, Built-In Light, PTZ Technology, Motion Sensor, Humanoid Detection, Full Color Night Vision |
8. Warranty & Support
For warranty information and technical support, please refer to the manufacturer's official website or contact their customer service directly. Keep your purchase receipt as proof of purchase for any warranty claims.

