1. Introduction
This manual provides essential information for the installation, operation, and maintenance of your Balboa Water Group G8535-01 SpaTouch3 Topside Touchscreen. The SpaTouch3 is a genuine Balboa product designed to provide intuitive control over your spa's functions. Please read this manual thoroughly before installation and use to ensure proper function and longevity of your device.
2. Safety Information
- Always disconnect power to the spa before attempting any installation, maintenance, or service.
- Installation should be performed by a qualified technician in accordance with all local and national electrical codes.
- Do not operate the spa if the topside panel or any electrical components are damaged.
- Keep the topside panel dry and clean. Avoid using abrasive cleaners or solvents.
- Ensure all connections are secure and watertight after installation.
3. Package Contents
Verify that all items are present in the package:
- Balboa Water Group G8535-01 SpaTouch3 Topside Touchscreen
- Connecting Cable (Molex, 4-Pin)
- Installation Gasket (if applicable)
- Mounting Hardware (if applicable)
4. Installation and Setup
Follow these steps for proper installation of the SpaTouch3 topside panel:
- Prepare the Installation Area: Ensure the spa is powered off at the main breaker. Locate the existing topside panel or the designated cutout area on your spa. The required hole size for this panel is 5" x 3-5/16".
- Remove Old Panel (if applicable): Carefully disconnect the old topside panel's cable from the spa pack. Remove any mounting screws or adhesive.
- Connect the New Panel: Route the new SpaTouch3 topside panel's Molex, 4-Pin connector cable through the cutout. Connect the cable securely to the corresponding port on your Balboa spa control pack. Ensure the connection is firm.
- Mount the Panel: Position the SpaTouch3 panel into the cutout. The panel size is 5-3/4" x 4". Apply any provided gasket material to ensure a watertight seal. Secure the panel using the appropriate mounting hardware (screws or adhesive, not included unless specified).
- Verify Installation: Double-check all connections and ensure the panel is securely mounted and sealed.

Figure 1: Front view of the Balboa SpaTouch3 touchscreen panel with its connecting cable. This image shows the clear frame and the Molex 4-pin connector.
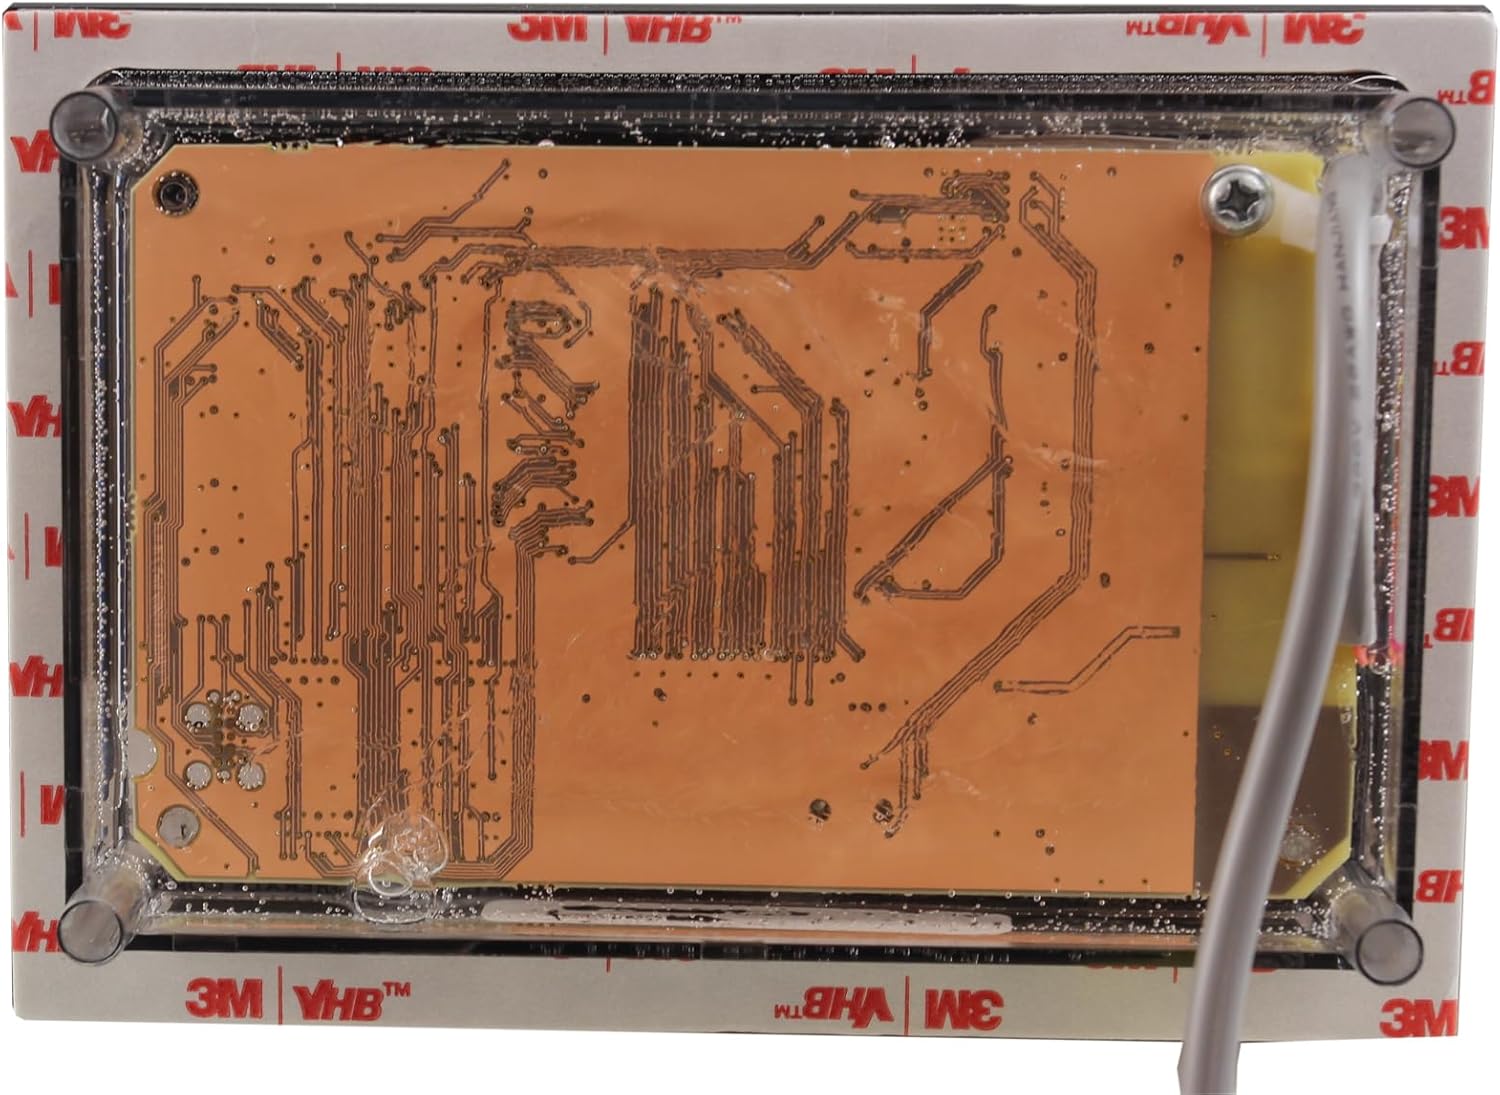
Figure 2: Rear view of the Balboa SpaTouch3 touchscreen panel, showing the circuit board and mounting points. This view is important for understanding how the panel integrates into the spa's shell.
5. Operating Instructions
Once installed and power is restored to the spa, the SpaTouch3 touchscreen will initialize. The interface is designed for intuitive navigation.
- Power On: After restoring power to the spa, the screen will light up.
- Navigation: Tap icons or menu options on the screen to navigate through various spa functions.
- Temperature Control: Adjust the desired water temperature by tapping the temperature display and using the up/down arrows.
- Jet Control: Tap the jet icons to activate or deactivate the spa's jets. Multiple presses may cycle through different jet speeds or configurations.
- Light Control: Tap the light icon to turn spa lights on/off or cycle through color modes (if applicable).
- Filter Cycles: Access the settings menu to adjust filter cycle durations and start times.
- Settings Menu: Look for a gear or wrench icon to access advanced settings such as economy modes, clock settings, and diagnostic information.
Refer to your spa's main control system manual for specific details on available functions and their operation, as the SpaTouch3 acts as the interface for the spa pack.
6. Maintenance
Proper maintenance ensures the longevity and optimal performance of your SpaTouch3 topside panel.
- Cleaning: Gently wipe the touchscreen surface with a soft, damp cloth. Do not use abrasive cleaners, solvents, or harsh chemicals, as these can damage the screen and frame.
- Inspection: Periodically inspect the panel for any signs of damage, cracks, or loose connections. Ensure the seal around the panel remains intact to prevent water ingress.
- Environmental Protection: While designed for spa environments, avoid prolonged direct sunlight exposure or extreme temperatures if possible, as this can affect screen visibility and component lifespan.
7. Troubleshooting
If you encounter issues with your SpaTouch3 topside panel, refer to the following common troubleshooting steps:
| Problem | Possible Cause | Solution |
|---|---|---|
| Screen is blank or unresponsive. | No power to the spa; loose cable connection; panel malfunction. | Check spa's main power breaker. Ensure the Molex cable is securely connected to the spa pack. If issues persist, contact a qualified technician. |
| Touchscreen not responding accurately. | Dirty screen; water on screen; software glitch. | Clean the screen with a soft, damp cloth. Ensure the screen is dry. Power cycle the spa (turn off and on at the breaker) to reset the system. |
| Error codes displayed. | Specific spa system issue. | Refer to your main Balboa spa control system manual for a list of error codes and their corresponding troubleshooting steps. |
If troubleshooting steps do not resolve the issue, contact Balboa Water Group customer support or a certified spa technician.
8. Specifications
| Feature | Detail |
|---|---|
| Model | SpaTouch3 |
| Part Number | G8535-01 |
| Manufacturer | Balboa Water Group |
| Topside Type | Electronic, Complete Topside |
| Interface | Touch Screen |
| Cord Connector Type | Molex, 4-Pin |
| Topside Shape | Square |
| Hole Size Required | 5" x 3-5/16" |
| Panel Size | 5-3/4" x 4" |
| Product Dimensions | 6 x 5 x 2.5 inches (approximate) |
9. Warranty Information
Balboa Water Group products are manufactured to high-quality standards. For specific warranty terms and conditions, please refer to the warranty documentation provided with your spa control system or visit the official Balboa Water Group website. Keep your proof of purchase for warranty claims.
10. Customer Support
For technical assistance, replacement parts, or further inquiries, please contact your spa manufacturer or a certified Balboa Water Group dealer. You may also visit the official Balboa Water Group website for support resources.
Note: Balboa Water Group is not responsible for installation or service performed by unauthorized personnel.


