1. Introduction
The Topeak Elementa GearBag EX is a compact, under-seat bike bag designed to provide essential storage and quick access to an integrated ratchet tool set for on-the-go bicycle maintenance. This manual provides detailed instructions for the proper setup, operation, and maintenance of your GearBag EX.

Image 1.1: The Topeak Elementa GearBag EX attached under a bicycle saddle, with its integrated tool compartment unfolded to reveal a ratchet driver and various bits.
2. Key Features
- Ultra-Compact and Discreet Design: With a 0.3L capacity, the bag fits neatly under the saddle, offering essential storage and tool access without adding bulky weight or interference.
- Innovative Rail Wing Access System: This quick-release system enables fast, effortless reach to stored items and the tool compartment without detaching the entire bag from your bike.
- Fold-Out Tool Compartment: An integrated section unfolds to reveal a full ratchet driver, magnetic bit holder, and 10 precision bits for convenient on-the-go maintenance.
- Heavy-Duty and Weather-Resistant: Constructed from 1000D polyester fabric reinforced with aluminum hooks and rings, ensuring long-term durability and protection against weather elements.
- Secure and Stable Fit: The streamlined profile minimizes movement on rough terrain, keeping contents safe and the bike balanced for smooth performance.
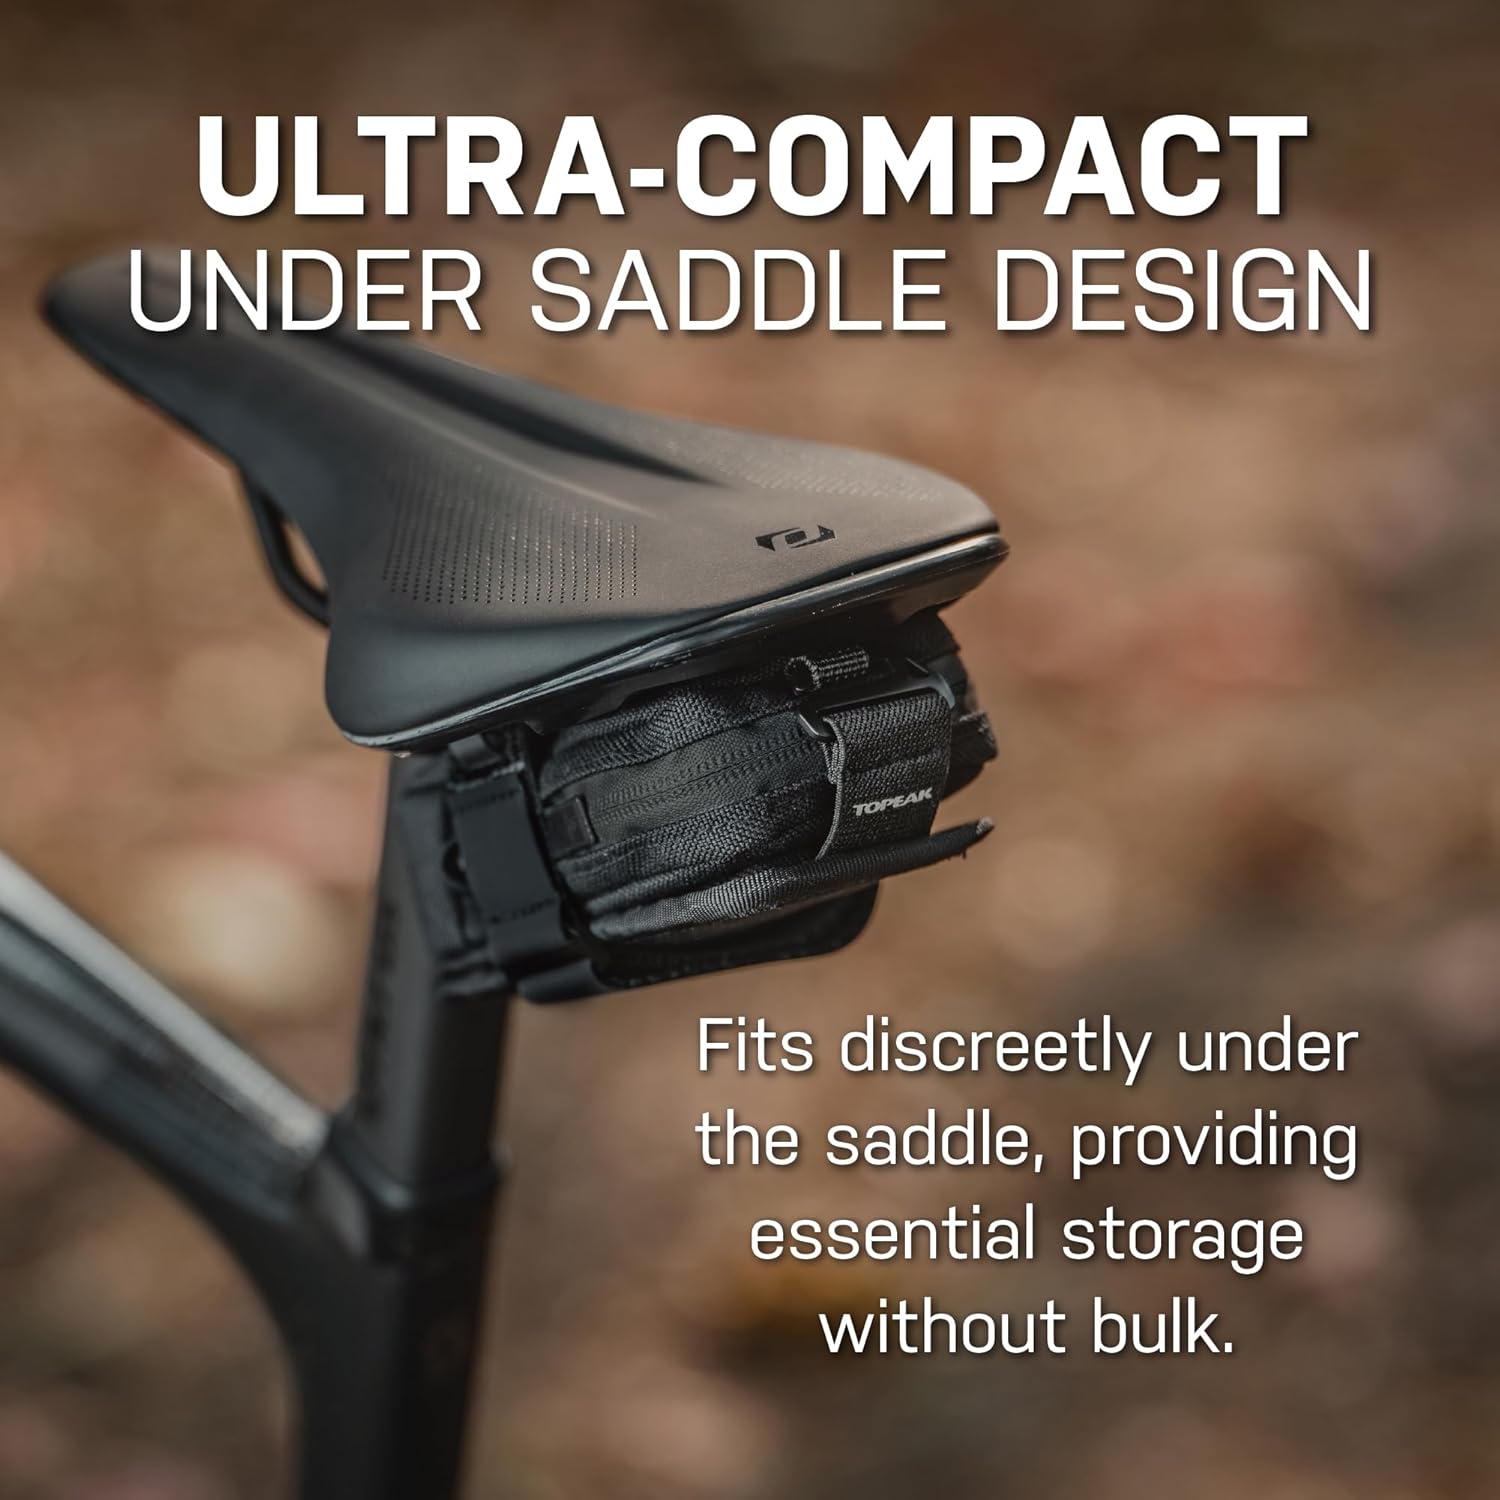
Image 2.1: The Topeak Elementa GearBag EX mounted discreetly under a bicycle saddle, highlighting its compact design.
3. Setup and Installation
Attaching the GearBag EX to your bicycle saddle is a straightforward process. Ensure the bag is securely fastened to prevent movement during rides.
- Position the Bag: Place the GearBag EX directly under your bicycle saddle, aligning the main strap with the saddle rails.
- Secure Main Strap: Wrap the main hook-and-loop strap firmly around the saddle rails. Thread the strap through its buckle and pull tightly to secure the bag in place.
- Engage Rail Wing System: Utilize the additional Rail Wing System straps for enhanced stability. These straps wrap around the saddle rails and provide extra support, minimizing bag sway. Ensure they are also pulled taut.
- Verify Security: Gently tug on the bag to confirm it is firmly attached and does not move excessively. Adjust straps as necessary.

Image 3.1: A hand accessing the fold-out tool compartment of the Topeak Elementa GearBag EX, demonstrating the quick access provided by the Rail Wing System.
4. Operation
The Elementa GearBag EX is designed for quick and easy access to its contents, allowing for efficient on-the-road repairs.
4.1 Accessing the Tool Compartment
The integrated tool compartment folds out from the main bag, providing immediate access to your repair tools.
- Unfold Compartment: Locate the securing strap for the tool compartment on the underside of the bag. Unfasten this strap to allow the compartment to fold down.
- Select Tool: The compartment reveals a ratchet driver, magnetic bit holder, and 10 precision bits. Select the appropriate bit (Hex: 2, 2.5, 3, 4, 5, 6 mm; Torx: T10, T15, T25; Phillips: #2) for your maintenance task.
- Re-secure: After use, place all bits back into their designated slots and fold the compartment back into position, securing it with the strap.

Image 4.1: Detailed view of the 12-piece tool set included with the Topeak Elementa GearBag EX.
4.2 Accessing Main Storage
The main compartment is suitable for carrying small essential items.
- Unzip: Locate the zipper for the main compartment. Unzip it to access items such as a spare inner tube, tire levers, or CO2 cartridges.
- Organize: The main compartment is separate from the tool section, allowing for organized storage.
- Re-zip: After placing or retrieving items, ensure the zipper is fully closed to protect contents from elements and prevent them from falling out.

Image 4.2: A hand placing a rolled inner tube into the main storage compartment of the Topeak Elementa GearBag EX.
5. Care and Maintenance
Proper care will extend the lifespan and maintain the functionality of your Topeak Elementa GearBag EX.
- Cleaning the Bag: Wipe the exterior of the bag with a damp cloth to remove dirt and grime. For stubborn stains, use a mild soap solution. Do not machine wash or tumble dry. Allow to air dry completely before storage.
- Tool Care: Keep the ratchet tool and bits clean and dry. After use, especially in wet conditions, wipe them down to prevent rust. A light application of machine oil to the ratchet mechanism periodically can ensure smooth operation.
- Storage: When not in use, store the GearBag EX in a cool, dry place away from direct sunlight. Ensure all compartments are closed.
- Inspect Straps: Periodically inspect all straps and buckles for wear and tear. Replace the bag if straps become significantly damaged or frayed, compromising security.
6. Troubleshooting
If you encounter issues with your GearBag EX, refer to the following solutions.
- Bag Loosening During Ride:
Solution: Ensure all hook-and-loop straps, including the main strap and the Rail Wing System straps, are securely tightened around the saddle rails during installation. Re-check tightness periodically, especially before long rides or after riding on rough terrain. - Difficulty Accessing Tools:
Solution: Verify that the tool compartment's securing strap is fully unfastened and that the compartment is completely unfolded. Ensure no other items are obstructing its movement. - Tools Falling Out of Slots:
Solution: Ensure each bit is fully seated in its elastic loop within the tool compartment. When folding the compartment, do so carefully to avoid dislodging bits.
7. Specifications
| Feature | Detail |
|---|---|
| Capacity | 0.3 Liters (0.01 oz) |
| Weight | 140 g (4.94 oz) |
| Material | Water-repellent & stain-resistant 1000D Polyester / Aluminum hook and ring |
| Tool Set Included | Ratchet driver, magnetic bit holder, 10 precision bits |
| Bit Types | Hex (2, 2.5, 3, 4, 5, 6 mm), Torx (T10, T15, T25), Phillips (#2) |
| Compatibility (Main Compartment) | Up to 700 x 50c inner tube & 2 tire levers |

Image 7.1: Diagram illustrating key product specifications for the Topeak Elementa GearBag EX.
8. Warranty and Support
Topeak products are manufactured to high-quality standards. For specific warranty information, please refer to the warranty card included with your product or visit the official Topeak website. Retain your proof of purchase for any warranty claims.
For product support, technical assistance, or to inquire about replacement parts, please contact Topeak customer service through their official website or an authorized retailer. Contact information can typically be found on the Topeak website.


