Important Safety Information
Please read and understand all instructions before assembly and use. Keep this manual for future reference.
- Ensure all parts are present and undamaged before beginning assembly.
- Assemble the coffee table on a soft, clean surface to prevent scratches.
- Do not overtighten screws during assembly to avoid damaging the material.
- Keep small parts away from children and pets during assembly.
- Weight Capacity: The lifted tabletop has a maximum weight capacity of 22 lbs (10 kg). The closed tabletop has a maximum weight capacity of 100 lbs (45 kg). Do not exceed these limits.
- Avoid placing hot items directly on the tabletop. Use coasters or protective pads.
- Do not stand or sit on the coffee table.
- When operating the lift-top mechanism, ensure hands and fingers are clear to prevent pinching.

Image: Diagram illustrating the weight capacity for the lifted tabletop (22 lbs) and the closed tabletop (100 lbs).
Package Contents
Verify that all components are present before starting assembly. If any parts are missing or damaged, please contact customer support.
- Tabletop (1)
- Side Panels (2)
- Bottom Shelf (1)
- Internal Dividers (2)
- Sliding Barn Door (1)
- Barn Door Rail and Hardware (1 set)
- Hydraulic Lift Mechanism (2, pre-assembled)
- Legs (4)
- Assembly Hardware (screws, cam locks, dowels, PVC covers, corner protectors)
- Assembly Guide (1)
Assembly Instructions
A power drill is recommended for easier assembly, but ensure to use a low torque setting to prevent damage.
- Prepare Components: Unpack all components and lay them out on a soft, clean surface. Identify each part using the provided parts list.
- Assemble Base Frame: Attach the side panels to the bottom shelf and internal dividers using the provided cam locks and dowels. Ensure all connections are secure.
- Attach Legs: Secure the four legs to the assembled base frame.
- Install Sliding Barn Door: Mount the barn door rail to the front of the table's base. Attach the sliding barn door to the rail according to the instructions in the assembly guide.
- Mount Lift-Top Mechanism: The hydraulic lift mechanisms are pre-assembled. Attach these mechanisms to the main table frame and the underside of the tabletop using the designated screws. Ensure they are securely fastened and aligned.
- Secure Tabletop: Carefully lower the tabletop onto the lift mechanisms and secure it. Test the lift function to ensure smooth operation.
- Apply Finishing Touches: Place the provided PVC covers over visible screw holes for a smooth finish. Attach the corner protectors to the table corners for added safety.
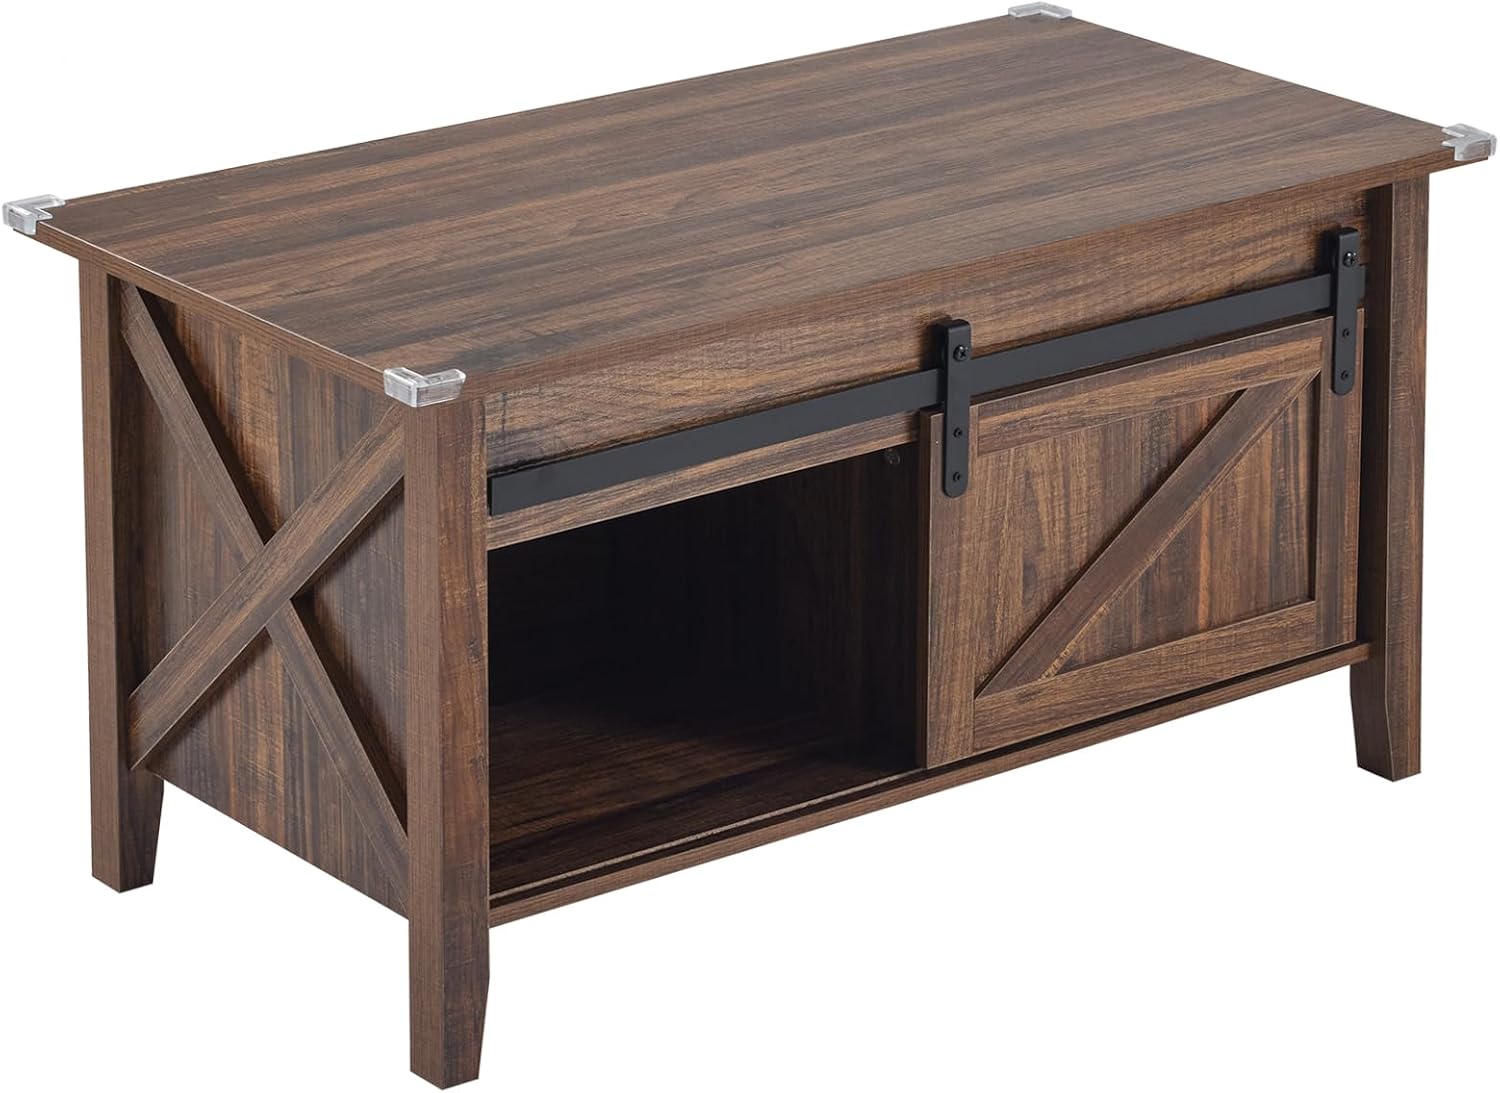
Image: Details of the upgraded design features, including pre-assembled hydraulic lifters, PVC screw covers, and round corner pads for enhanced cushioning.

Image: Illustration of the table's sturdy construction, highlighting the upgraded legs and premium waterproof P2 particle wood material.
Operating Instructions
Using the Lift-Top Mechanism:
- To Lift: Gently pull the front edge of the tabletop upwards. The hydraulic mechanism will assist in a smooth and controlled lift. Continue lifting until the tabletop locks into its elevated position.
- To Lower: Gently push down on the front edge of the tabletop. The hydraulic mechanism will provide resistance, allowing the tabletop to lower slowly and safely back into its closed position. Ensure hands and fingers are clear of the mechanism and edges.
Accessing Storage:
- Hidden Compartment: The area beneath the lift-top provides a spacious hidden compartment for storing items like remote controls, magazines, or small blankets.
- Open Shelves: The bottom section of the table features open shelves, ideal for displaying decorative items or storing books.
- Sliding Barn Door: The sliding barn door allows flexible access to the open shelves, enabling you to conceal or reveal items as desired.

Image: The hidden compartment revealed when the tabletop is lifted, suitable for storing various items.
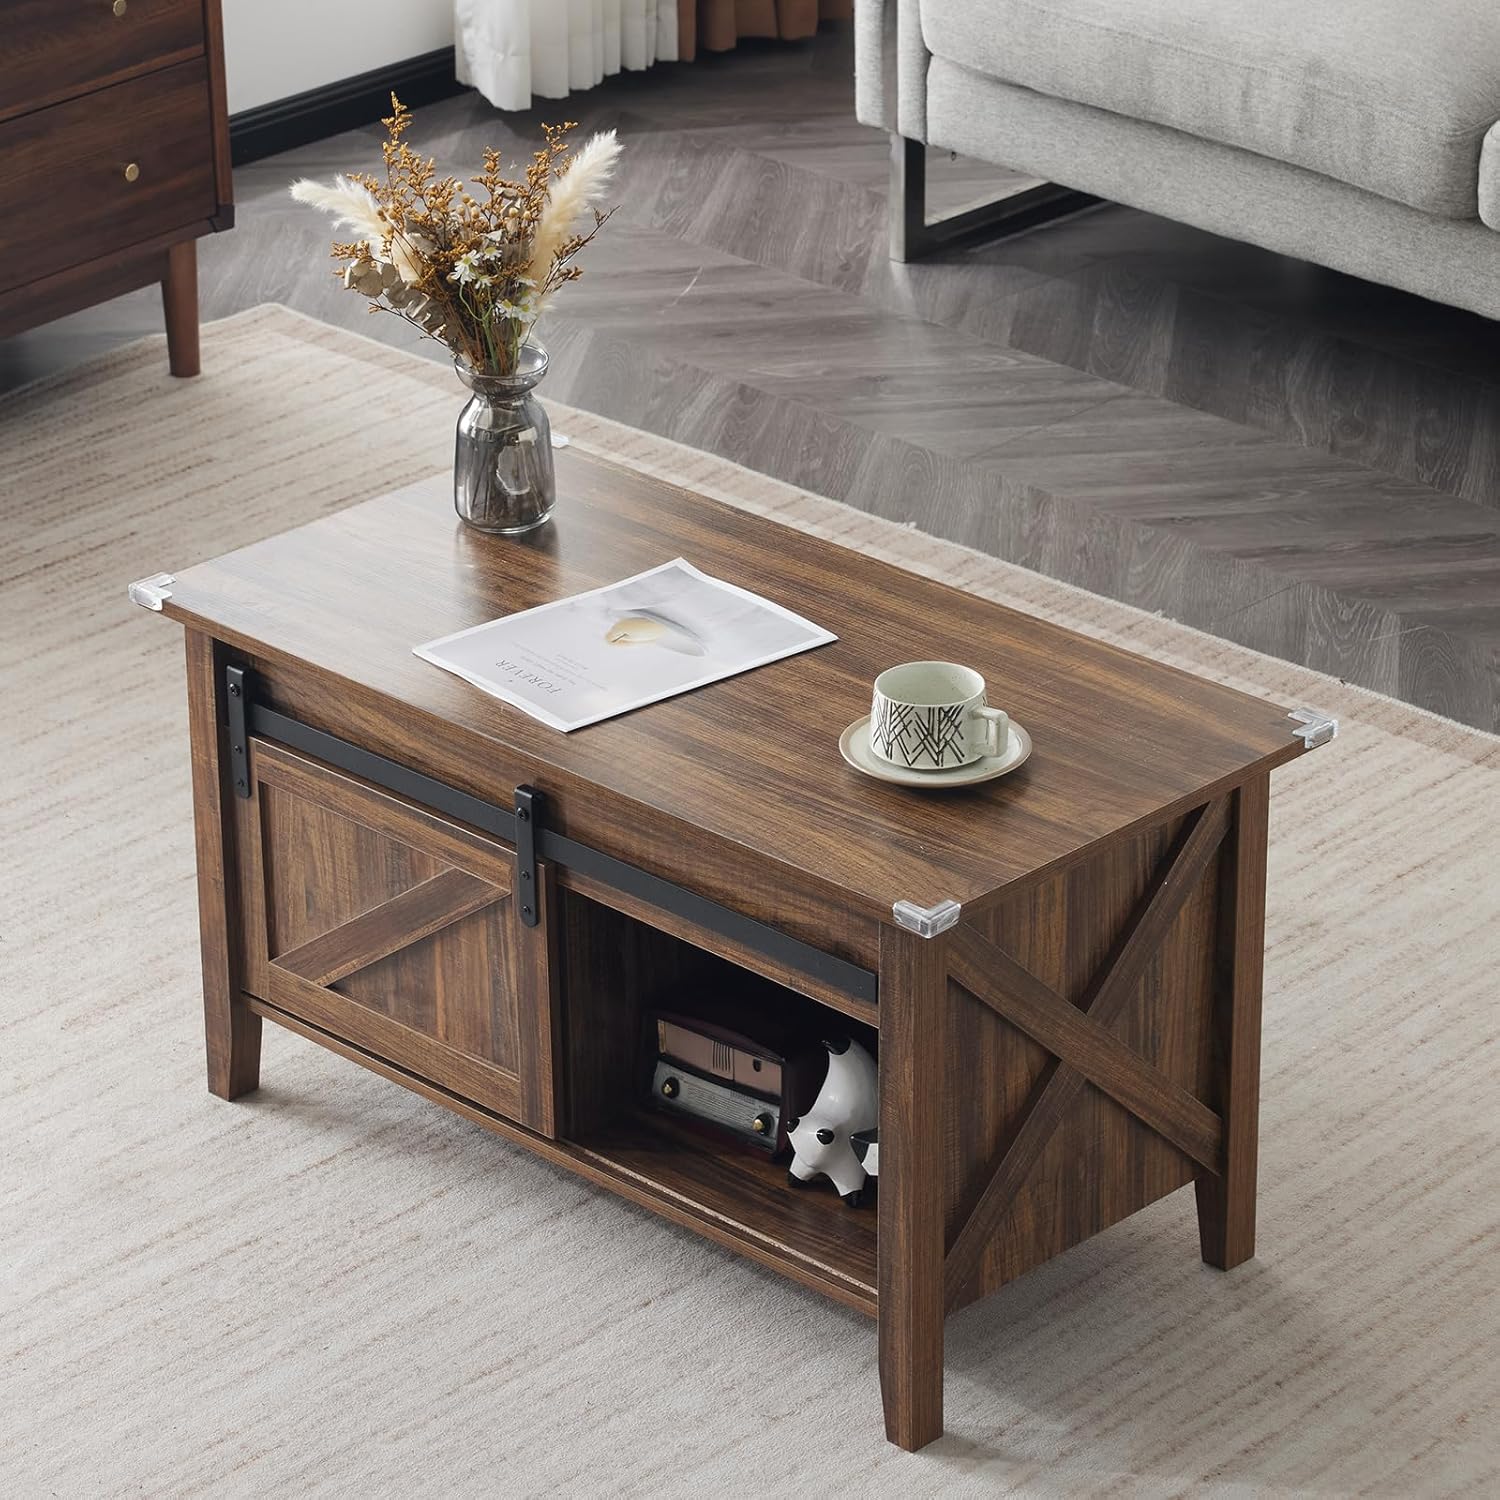
Image: The sliding barn door design providing access to the open storage shelves.
Maintenance
- Cleaning: Wipe the table surfaces with a soft, damp cloth. Avoid harsh chemicals or abrasive cleaners, which can damage the finish.
- Spills: Clean spills immediately to prevent staining, especially on the engineered wood surfaces.
- Hardware Check: Periodically check all screws and fasteners to ensure they are tight. Retighten if necessary.
- Lift Mechanism: The hydraulic lift mechanism is designed for durability. Avoid applying excessive force or sudden movements when operating it.
Troubleshooting
- Issue: Table feels unstable or wobbly.
- Solution: Check all assembly hardware (screws, cam locks) and tighten them securely. Ensure the table is placed on a flat, even surface. Adjust leg levelers if applicable (not specified, but common for tables).
- Issue: Lift-top mechanism is stiff or difficult to operate.
- Solution: Ensure no objects are obstructing the mechanism. Apply a small amount of silicone-based lubricant to the moving parts of the hydraulic lifters if needed, avoiding contact with wood surfaces. Do not force the mechanism.
- Issue: Missing or damaged parts.
- Solution: Refer to the "Package Contents" section and contact VINGLI customer support with your model number (G52009110) and a description of the missing/damaged part.
Specifications
| Brand: | VINGLI |
| Model Number: | G52009110 |
| Color: | Espresso Brown |
| Product Dimensions (D x W x H): | 18.72" x 37.64" x 24.4" |
| Material: | Engineered Wood, Metal Frame |
| Lifted Tabletop Weight Capacity: | 22 lbs (10 kg) |
| Closed Tabletop Weight Capacity: | 100 lbs (45 kg) |
| Assembly Required: | Yes (Hydraulic lifters pre-assembled) |
| Recommended Tools for Assembly: | Drill |
| Indoor/Outdoor Usage: | Indoor |
Warranty and Support
For warranty information, replacement parts, or technical assistance, please contact VINGLI customer support directly. Please have your model number (G52009110) and purchase details available when contacting support.
Visit the official VINGLI store for more products and support: VINGLI Store


