
1. Introduction
Thank you for choosing the Flama Steam Iron 5396FL. This manual provides essential information for the safe and efficient operation, maintenance, and troubleshooting of your new steam iron. Please read these instructions carefully before first use and keep them for future reference.
2. Important Safety Instructions
When using electrical appliances, basic safety precautions should always be followed to reduce the risk of fire, electric shock, and injury to persons.
- Always ensure the voltage on the rating label corresponds to your mains voltage.
- Do not leave the iron unattended while it is connected to the power supply or on an ironing board.
- Unplug the iron from the outlet before filling with water, emptying, or when not in use.
- Do not operate any appliance with a damaged cord or plug, or after the appliance malfunctions or has been dropped or damaged in any manner.
- Keep the iron and its cord out of reach of children.
- Never immerse the iron, cord, or plug in water or other liquids.
- Use the iron only for its intended household use.
- Do not touch hot surfaces. Use handles or knobs.
- Always place the iron on a stable, heat-resistant surface when resting.
3. Product Overview
Familiarize yourself with the components of your Flama Steam Iron 5396FL.
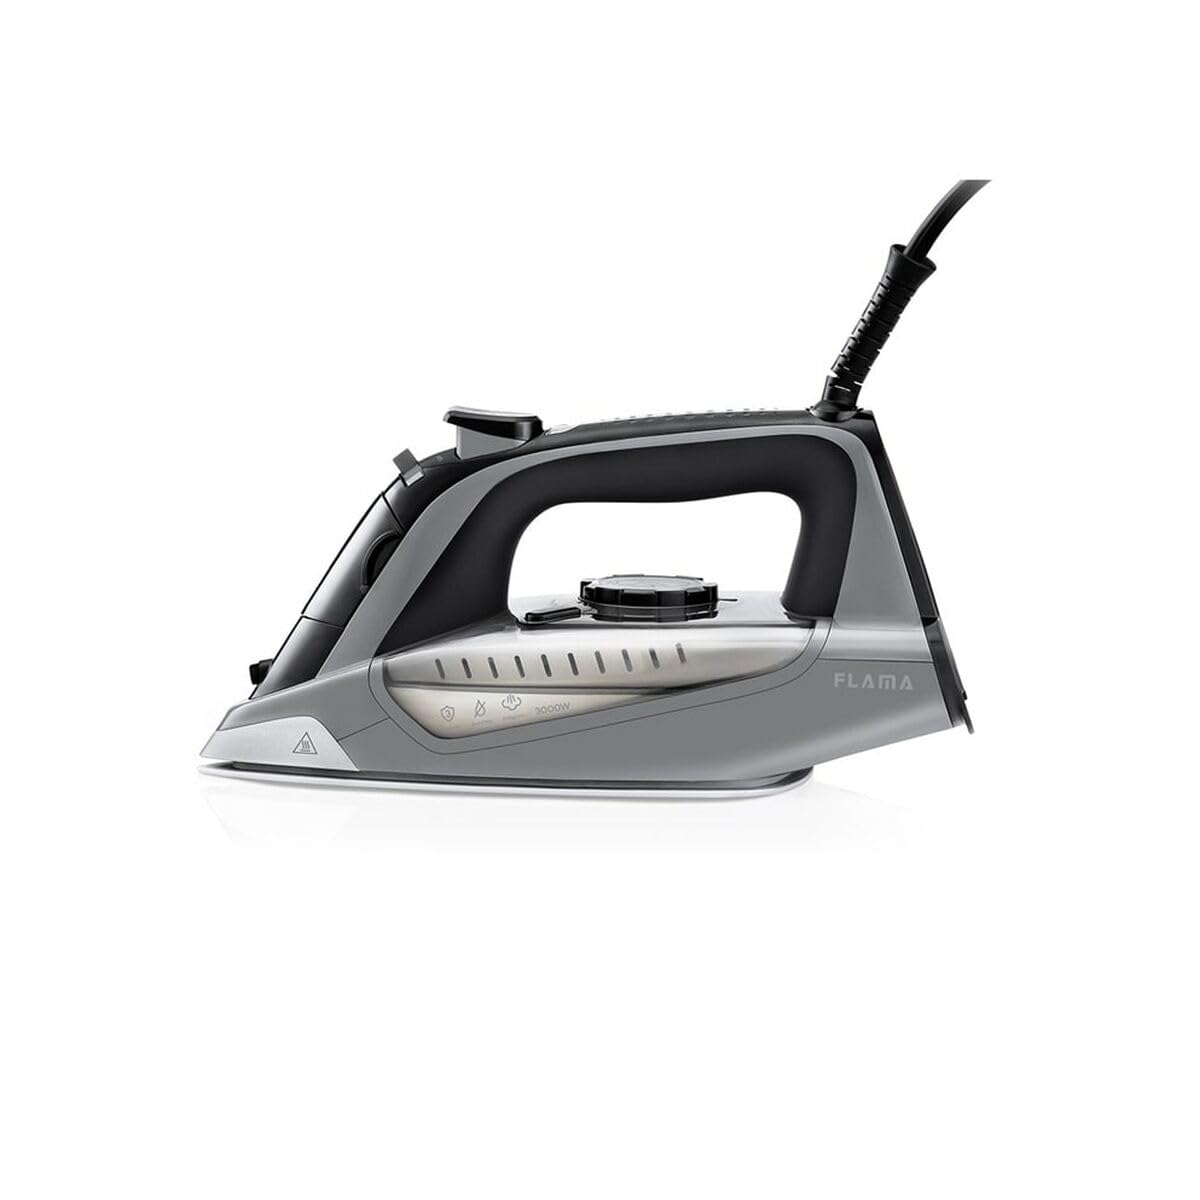
Image 1: Flama Steam Iron 5396FL. This image displays the steam iron from a slight angle, highlighting its soleplate, water tank, temperature dial, steam button, and ergonomic handle. The multicolor design is visible.
- Soleplate: The heated surface that glides over fabric.
- Water Tank: Reservoir for water used to generate steam.
- Water Filling Inlet: Opening for adding water to the tank.
- Spray Nozzle: Emits a fine mist of water.
- Steam Button/Selector: Controls steam output.
- Temperature Control Dial: Adjusts the soleplate temperature for different fabrics.
- Power Cord: Connects the iron to the electrical outlet.
- Handle: For gripping and maneuvering the iron.
4. Setup and First Use
4.1 Before First Use
- Remove any labels or protective film from the soleplate.
- It is normal for a slight odor or smoke to occur during the first few minutes of use as manufacturing residues burn off. This is harmless and will disappear.
- To ensure the soleplate is clean, iron an old piece of fabric (e.g., a cotton cloth) for a few minutes.
4.2 Filling the Water Tank
- Ensure the iron is unplugged from the power outlet.
- Set the steam selector to the "Dry Ironing" or "No Steam" position.
- Open the water filling inlet cover.
- Using a measuring cup, carefully pour tap water into the water tank up to the "MAX" fill line. Do not overfill.
- Close the water filling inlet cover securely.
5. Operating Instructions
5.1 Dry Ironing
- Ensure the water tank is empty or the steam selector is set to "Dry Ironing".
- Plug the iron into a suitable power outlet.
- Set the temperature control dial to the desired setting for your fabric type. Refer to the fabric care labels on your garments.
- The indicator light will illuminate, indicating the iron is heating. It will turn off when the desired temperature is reached.
- Begin ironing.
5.2 Steam Ironing
- Fill the water tank as described in Section 4.2.
- Plug the iron into a suitable power outlet.
- Set the temperature control dial to the "Steam" range (usually marked with three dots or a steam symbol). Steam ironing is only effective at higher temperatures.
- Wait for the indicator light to turn off, signifying the iron has reached the correct temperature.
- Adjust the steam selector to the desired steam level.
- Begin ironing. For an extra burst of steam, press the steam shot button (if available).
5.3 Spray Function
The spray function can be used for both dry and steam ironing to moisten stubborn creases. Press the spray button to emit a fine mist of water.
6. Maintenance and Care
6.1 Cleaning the Soleplate
- Ensure the iron is unplugged and completely cool.
- Wipe the soleplate with a damp cloth and a non-abrasive cleaner if necessary.
- Do not use abrasive scourers or chemical cleaners as they can damage the soleplate.
6.2 Descaling (Self-Clean Function)
Regular descaling helps maintain optimal steam performance. Refer to your iron's specific self-clean instructions, typically involving:
- Fill the water tank to the MAX line.
- Set the temperature to maximum and plug in the iron.
- Once the indicator light turns off, unplug the iron.
- Hold the iron horizontally over a sink and press the self-clean button (if available) or rapidly move the steam selector back and forth to flush out scale and impurities.
- Repeat if necessary.
6.3 Storage
- Unplug the iron and allow it to cool completely.
- Empty any remaining water from the tank.
- Store the iron upright on its heel rest in a safe, dry place.
7. Troubleshooting
| Problem | Possible Cause | Solution |
|---|---|---|
| Iron does not heat up. | Not plugged in; power outlet faulty; temperature dial set to MIN. | Check power connection; try another outlet; set temperature dial to desired heat. |
| No steam or insufficient steam. | Water tank empty; temperature too low; steam selector set to "Dry"; scale buildup. | Fill water tank; set temperature to steam range; adjust steam selector; perform descaling. |
| Water leaks from soleplate. | Temperature too low for steam; water tank overfilled; iron left horizontal too long. | Increase temperature; do not overfill; store upright; ensure steam selector is off when cooling. |
| White flakes coming from soleplate. | Mineral deposits (scale) in the water tank. | Perform descaling procedure. |
8. Specifications
- Model: S0457144
- Power: 3000 W
- Voltage: EU Plug (Standard European Voltage)
- Dimensions: 26.78 x 20.18 x 18.93 cm
- Weight: 1.56 kg
- Color: Multicolor
9. Warranty and Support
This Flama Steam Iron 5396FL comes with a two-year manufacturer's warranty from the date of purchase. Please retain your proof of purchase for warranty claims.
The warranty covers manufacturing defects and faults under normal household use. It does not cover damage caused by misuse, neglect, accidental damage, or unauthorized modifications.
For technical support, warranty claims, or spare parts, please contact your retailer or the Flama customer service department. Contact information can typically be found on the Flama official website or on your product packaging.
Online Support: www.flama.pt
