
1. Introduction
The OLIGHT PL-Mini 3 Valkyrie is a compact, rail-mounted tactical weaponlight designed for various firearms. It features a powerful 600-lumen output, a long-lasting rechargeable and removable battery system, and a durable, waterproof construction. This manual provides detailed instructions for the proper setup, operation, and maintenance of your PL-Mini 3 Valkyrie.
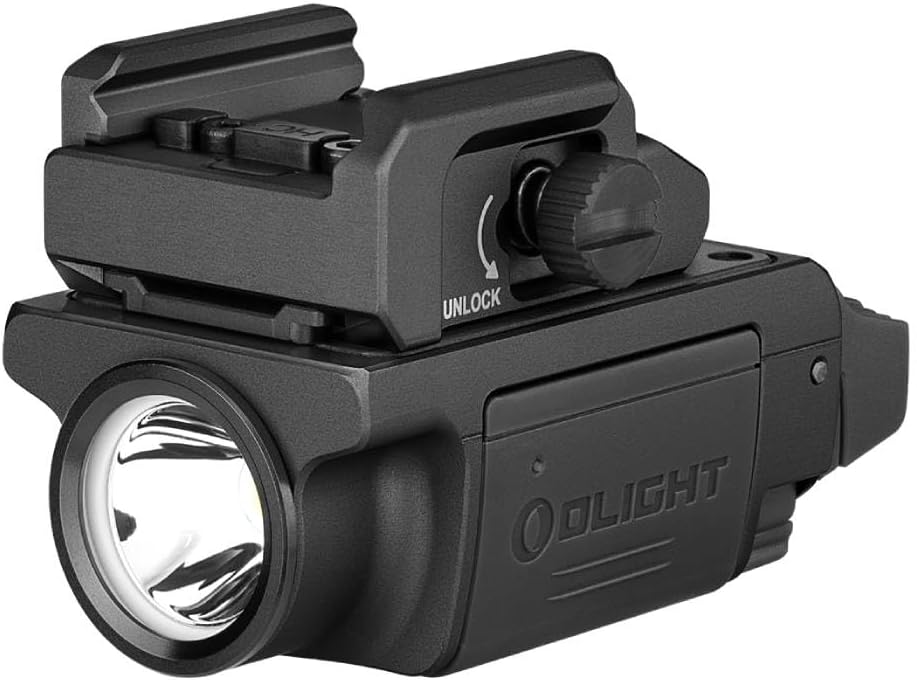
Figure 1: The OLIGHT PL-Mini 3 Valkyrie weaponlight.
2. Package Contents
Please verify that all the following items are included in your package:
- PL-Mini 3 Valkyrie x 1 (Battery Included)
- 260mAh Lithium Polymer Battery x 1 (Spare)
- MCC Magnetic Charging Cable x 1
- Hellcat Adapter x 1 (Preinstalled)
- GL Adapter x 1
- 1913 Adapter x 1
- Battery Box x 1
- M3x4 Socket Screw x 2
- H1.5mm L-Shaped Allen Wrench x 1
- HM2.5*4.5 Screw x 2
- User Manual x 1

Figure 2: Included accessories and components.
3. Setup and Installation
3.1 Rail Compatibility and Mounting
The PL-Mini 3 Valkyrie is designed for high compatibility with various rail systems. It comes with a preinstalled Picatinny rail mount, along with Hellcat, GL, and 1913 rail adapters. Optional adapters for G43X MOS, P365, and QR rails are available for separate purchase to enhance adaptability for specific firearm models.

Figure 3: Compatible firearm models and required adapters.

Figure 4: Included mounts versus separately sold optional mounts.
3.2 Adjustable Mount
The patented adjustable mount allows the weaponlight to be easily positioned forward or backward along the rail. This ensures optimal access to the control buttons, accommodating different hand sizes and preferences. The installation space between the rail adapter and the end of the light measures between 1.09 and 1.68 inches.

Figure 5: Adjustable mount for optimal positioning.

Figure 6: Measurement for installation space.
4. Operating Instructions
4.1 Basic Operation
The PL-Mini 3 Valkyrie features dual switches for easy operation with either hand. A single tap on either side switch will turn the light on or off.
4.2 Strobe Mode
The strobe function can be easily enabled or disabled. To enable or disable the Strobe function, quickly press either side switch five times or more, and hold it for more than 1 second at the last press. Once the Strobe function is enabled, double pressing either side switch will activate it.

Figure 7: Dual switch operation and strobe activation.
5. Battery and Charging
The PL-Mini 3 Valkyrie is powered by a removable and rechargeable 260mAh Lithium Polymer battery. The inclusion of a spare battery allows for immediate power restoration when the primary battery runs out, ensuring continuous operation.
Charging is facilitated by the included MCC Magnetic Charging Cable. Simply attach the magnetic end of the cable to the charging port on the light. The battery compartment features a lock and extra magnetism to securely hold the battery in place.
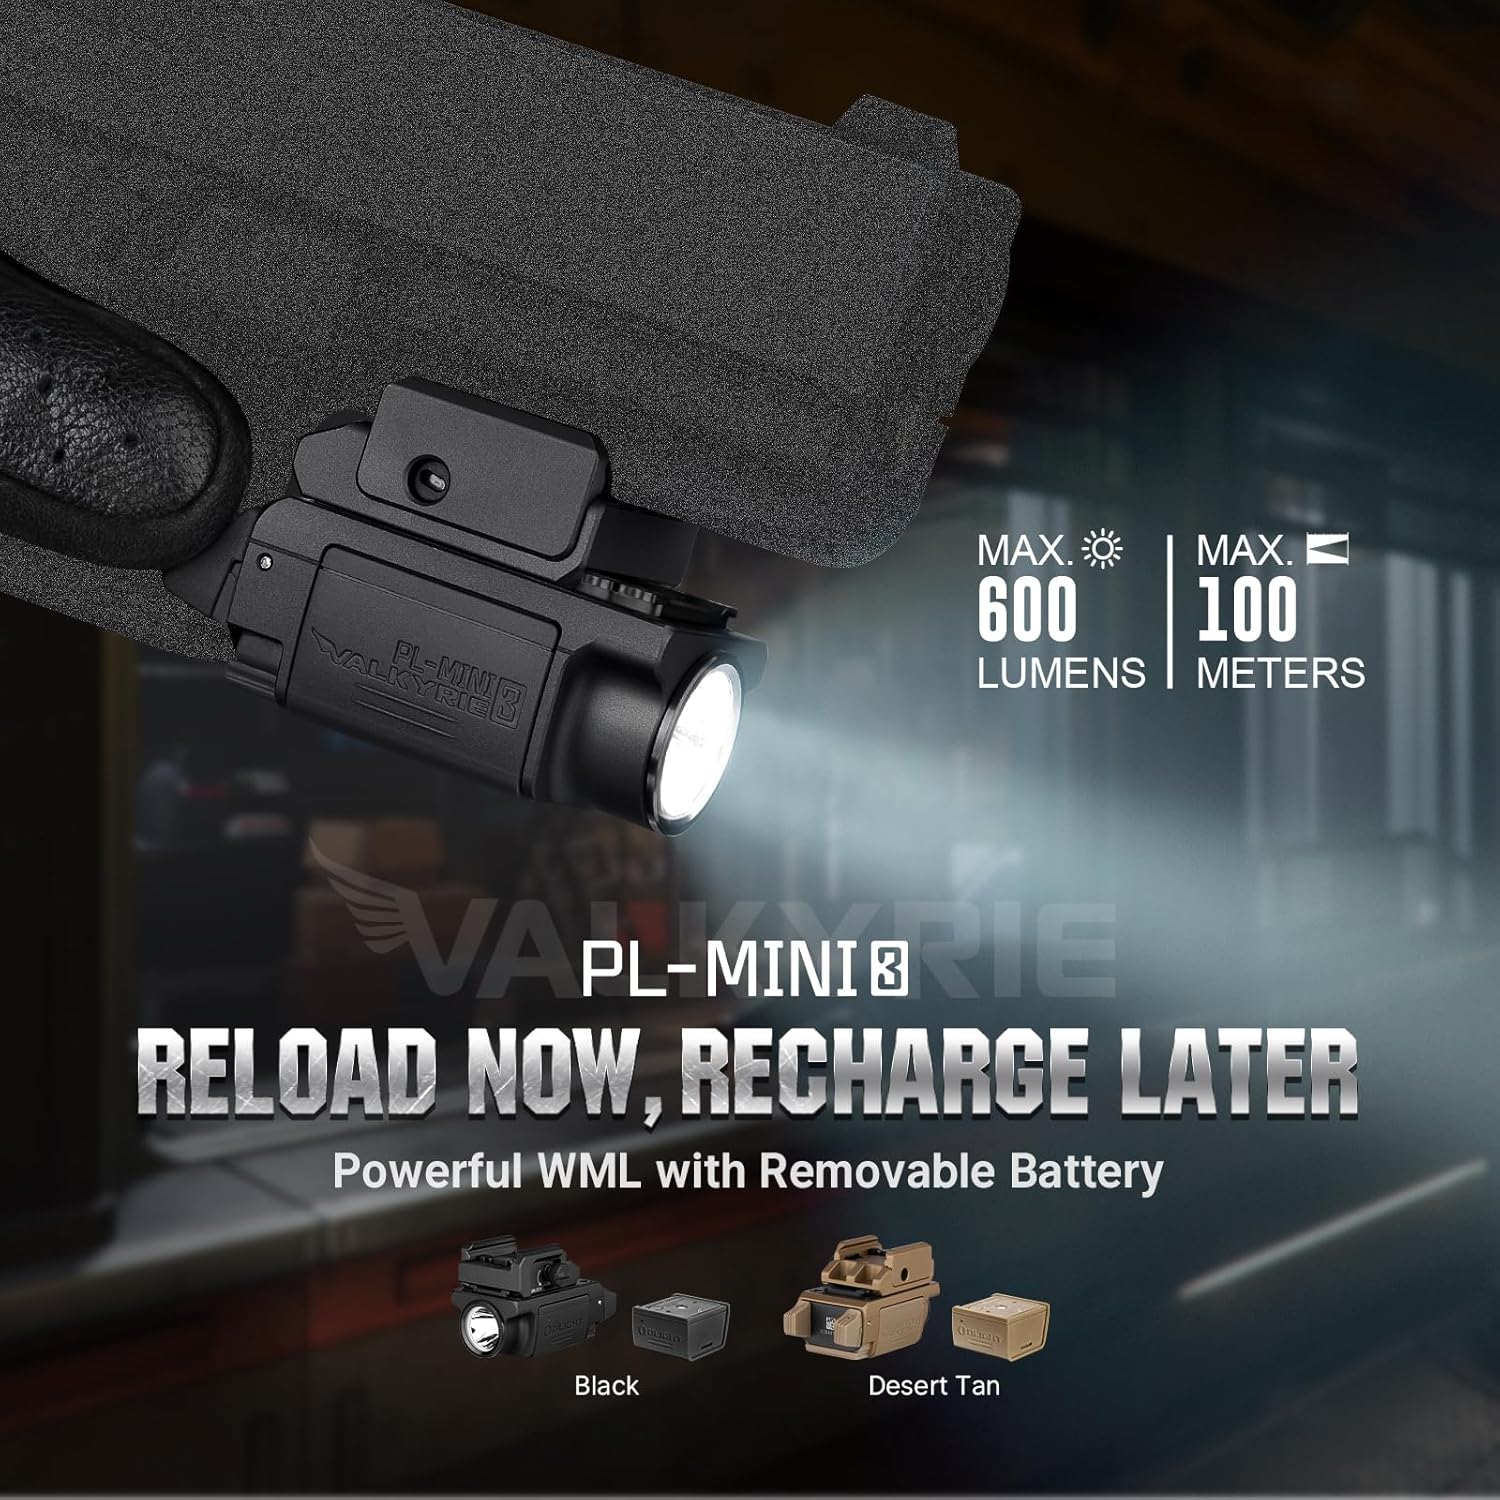
Figure 8: Battery removal, charging, and power indicator.
6. Maintenance
The PL-Mini 3 Valkyrie is built with potted electronics, ensuring IPX6 waterproof, shock-resistant, and corrosion-proof performance. This design minimizes the need for extensive maintenance.
- Cleaning: Periodically wipe down the light with a soft, damp cloth to remove dirt and debris. Avoid using harsh chemicals or abrasive materials.
- Battery Care: Ensure the battery and charging contacts are clean and free of obstructions. Store the spare battery in the provided battery box when not in use.
- Storage: Store the weaponlight in a cool, dry place away from direct sunlight and extreme temperatures.

Figure 9: The PL-Mini 3 Valkyrie is designed for durability and water resistance.
7. Troubleshooting
If you encounter any issues with your OLIGHT PL-Mini 3 Valkyrie, please consider the following common solutions:
- Light Not Turning On:
- Ensure the battery is fully charged.
- Check that the battery is correctly inserted and the compartment lock is secured.
- Verify that the magnetic charging cable is properly connected during charging.
- Strobe Function Not Activating:
- Confirm that the strobe function has been enabled by pressing the side switch five times or more and holding on the last press for over 1 second.
- Once enabled, double-tap the side switch to activate strobe.
- Mounting Issues:
- Ensure you are using the correct rail adapter for your specific firearm model. Refer to the compatibility section.
- Check that all screws are tightened securely.
If problems persist after attempting these steps, please contact OLIGHT customer support for further assistance.
8. Specifications
| Feature | Detail |
|---|---|
| Max Output | 600 Lumens |
| Max Throw | 100 Meters |
| Runtime | 76 minutes (doubles to 2.5 hours with spare battery) |
| Battery Type | 260mAh Lithium Polymer (2 included) |
| Water Resistance | IPX6 Waterproof |
| Drop Test | 1 Meter |
| Material | Aluminum (Type III hardcoat anodized) |
| Dimensions (L x W x H) | 2.07" x 1.09" x 1.33" |
| Weight | 2.4 ounces (including battery) |
| Light Source Type | LED |
| Color Temperature | 6500 Kelvin |
| Mounting Type | Gun Mount (Picatinny, Hellcat, GL, 1913 adapters included) |

Figure 10: Key specifications and dimensions.
9. Warranty and Support
OLIGHT offers a Lifetime Warranty on the PL-Mini 3 Valkyrie, reflecting their commitment to quality and durability. For detailed warranty information or technical support, please visit the official OLIGHT website or contact their customer service department.
OLIGHT Official Website: www.olightstore.com


