
1. Important Safety Information
Please read and understand all safety warnings and instructions before operating this welding machine. Failure to follow these instructions may result in electric shock, fire, serious injury, or death. Keep this manual for future reference.
- Electric Shock Can Kill: Do not touch live electrical parts. Wear dry, insulating gloves and protective clothing. Ensure the welding machine is properly grounded.
- Fumes and Gases Can Be Hazardous: Keep your head out of the fumes. Use ventilation or exhaust to remove fumes from the breathing zone.
- Arc Rays Can Burn Eyes and Skin: Wear a welding helmet with a proper shade filter. Wear protective clothing to protect skin.
- Fire and Explosion Hazard: Remove all flammable materials from the welding area. Have a fire extinguisher readily available.
- Hot Parts Can Cause Severe Burns: Allow the machine and welded materials to cool before handling.
- Magnetic Fields: Pacemaker wearers should consult their doctor before operating.
- Always disconnect power before servicing or moving the machine.
2. Product Overview
The WYYHAA 250A 110V Portable MMA Stick Welder is designed for mild steel welding, suitable for both professional and home DIY use. It incorporates advanced IGBT inverter technology for stable current and efficient welding.
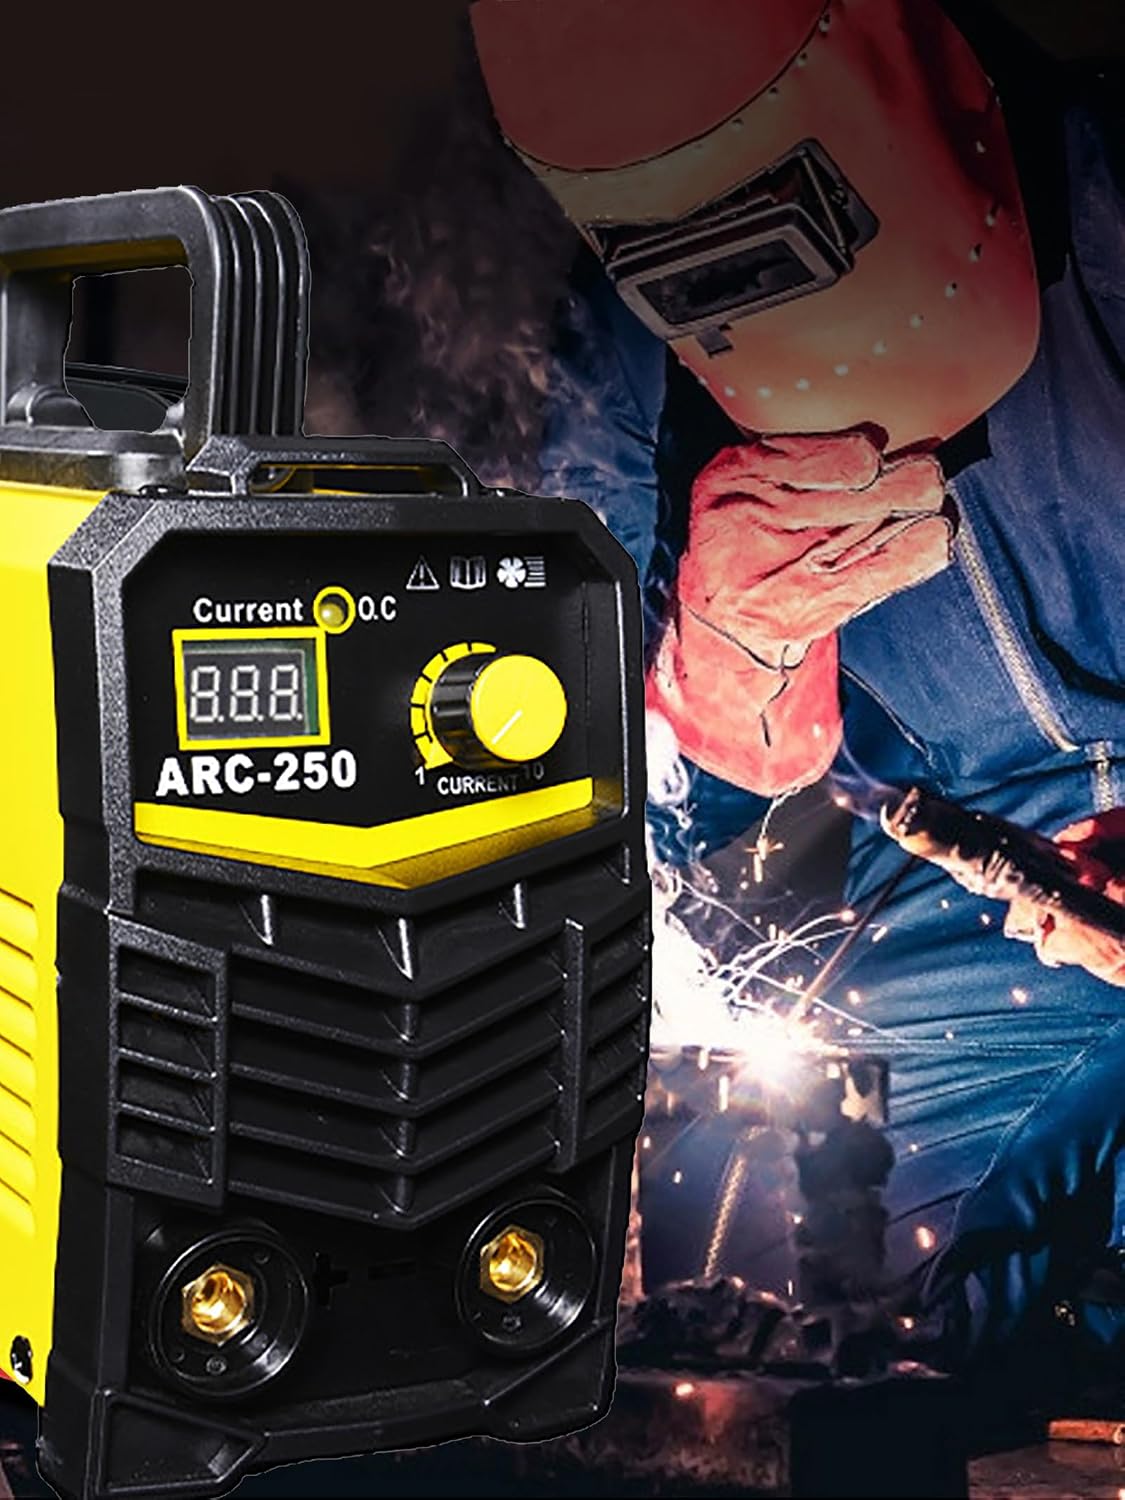
Image: Front view of the WYYHAA 250A 110V Portable MMA Stick Welder, showing the digital display and control knob.
Key Features:
- Advanced IGBT Inverter Technology: Provides stable 250A current for smoother welding and deeper penetration.
- Hot Start Function: Ensures quick arc ignition and minimizes electrode sticking.
- Arc Force: Automatically adapts to maintain arc stability.
- Anti-Stick Function: Prevents electrode sticking and device overload.
- Digital Display: Clear LCD display for precise current adjustment.
- Portable and Lightweight: Compact design with a handle, weighing only 3.5 kg (7.7 lbs) for easy transport.
- Full Protection: Built-in over-current, over-voltage, and over-heat protection mechanisms.
- Efficient Cooling Fan: Reduces noise, prevents overheating, and extends machine life.
3. Package Contents
Verify that all items listed below are included in your package. If any items are missing or damaged, please contact customer support.
- 1 x WYYHAA 110V Welding Machine (ARC-250)
- 1 x 1.2m Ground Wire with Ground Clamp
- 1 x 1.8m Welding Grip Pliers (Electrode Holder)
- 1 x Slag Hammer
- 1 x Face Shield
- Some Welding Rods (starter pack)

Image: Illustration showing the welding machine dimensions and all included accessories: ground clamp, electrode holder, slag hammer, face shield, and welding rods.
4. Setup and Connections
- Prepare the Work Area: Ensure your welding area is clean, dry, well-ventilated, and free from flammable materials.
- Connect the Ground Clamp: Attach the ground clamp cable to the negative (-) terminal on the front panel of the welding machine. Securely clamp the ground clamp to the workpiece or a sturdy metal workbench that is in direct contact with the workpiece. Ensure good electrical contact.
- Connect the Electrode Holder: Attach the welding grip pliers (electrode holder) cable to the positive (+) terminal on the front panel of the welding machine.
- Insert Welding Rod: Insert a suitable welding rod (electrode) into the electrode holder. Ensure it is held firmly.
- Power Connection: Ensure the welding machine's power switch is in the "OFF" position. Plug the power cord into a grounded 110V AC power outlet.
- Personal Protective Equipment (PPE): Before turning on the machine, put on all necessary PPE, including a welding helmet, welding gloves, and protective clothing.
5. Operating Instructions
- Turn On the Machine: Flip the power switch to the "ON" position. The digital display will illuminate.
- Adjust Welding Current: Use the control knob on the front panel to adjust the welding current (Amperage). The LCD digital display will show the selected current. Refer to the welding rod manufacturer's recommendations for appropriate current settings for your specific rod and material thickness.
- Start Welding:
- Bring the tip of the welding rod into contact with the workpiece to initiate the arc. The built-in Hot Start function will assist in quick arc ignition.
- Maintain a consistent arc length and travel speed. The Arc Force feature will help maintain a stable arc.
- If the electrode sticks, the Anti-Stick function will reduce the current to prevent overheating and facilitate removal.
- Monitor Welding Process: Observe the weld pool and adjust your technique as needed.
- Finish Welding: Once welding is complete, lift the electrode from the workpiece.
- Turn Off the Machine: Flip the power switch to the "OFF" position and unplug the machine from the power outlet.
- Cool Down: Allow the welded material and the machine to cool down before handling or storing.

Image: A close-up of a welding operation, illustrating the arc and sparks generated during the process.
6. Maintenance
Regular maintenance ensures the longevity and optimal performance of your welding machine. Always disconnect the power before performing any maintenance.
- Cleaning: Periodically clean the exterior of the machine with a dry, soft cloth. Use compressed air to blow out dust and debris from the ventilation openings. Do not use solvents or abrasive cleaners.
- Cable Inspection: Regularly inspect all cables (power, ground, electrode holder) for cuts, fraying, or damage. Replace damaged cables immediately.
- Terminal Connections: Ensure all terminal connections are tight and free from corrosion.
- Storage: Store the welding machine in a clean, dry, and dust-free environment when not in use. Protect it from extreme temperatures and humidity.
7. Troubleshooting
If you encounter issues with your welding machine, refer to the table below for common problems and solutions.
| Problem | Possible Cause | Solution |
|---|---|---|
| Machine does not power on. | No power from outlet; power cord damaged; internal fuse blown. | Check power outlet; inspect power cord; contact service center if fuse is suspected. |
| No arc or weak arc. | Poor ground connection; incorrect current setting; damp or incorrect electrode; workpiece coated. | Ensure good ground contact; adjust current; use dry, correct electrode; clean workpiece surface. |
| Electrode sticks frequently. | Low current setting; incorrect electrode angle; workpiece too cold. | Increase current; adjust electrode angle; preheat workpiece if necessary. |
| Machine overheats (protection light on). | Exceeded duty cycle; poor ventilation; fan blocked. | Allow machine to cool down; ensure adequate ventilation; clear fan obstructions. |
For problems not listed here or if solutions do not resolve the issue, please contact WYYHAA customer support.
8. Specifications
| Feature | Specification |
|---|---|
| Model | ARC-250 |
| Input Voltage | 110V |
| Frequency | 50/60 Hz |
| Current Adjustment Range | 20-250A |
| Applicable Welding Rod | 1.6-3.2MM (1/16" - 1/8") |
| No-load Voltage | 62V |
| Duty Cycle | 80% |
| Insulation Grade | F |
| Enclosure Protection Grade | IP21 |
| Weight | 3.5 KG (7.7 lbs) |
| Dimensions (L x W x H) | Approx. 23cm x 10.5cm x 17cm (9.0" x 4.1" x 6.7") |
9. Warranty and Support
WYYHAA products are manufactured to high-quality standards. For warranty information, technical support, or service inquiries, please contact the retailer where you purchased the product or visit the official WYYHAA website. Please have your model number (ARC-250) and ASIN (B0D5MDPSMR) ready when contacting support.