
1. Introduction
This manual provides comprehensive instructions for the safe and efficient operation, assembly, maintenance, and troubleshooting of your Fretta f5000 Cold Press Slow Masticating Juicer. Please read this manual thoroughly before first use and retain it for future reference.
The Fretta f5000 is designed to extract juice from various fruits and vegetables using a slow masticating process, which helps preserve nutrients and enzymes. Its large feed chute and efficient design aim to simplify your juicing experience.
2. Important Safety Instructions
When using electrical appliances, basic safety precautions should always be followed to reduce the risk of fire, electric shock, and injury.
- Read all instructions before operating the juicer.
- Do not immerse the motor base in water or other liquids.
- Ensure the juicer is properly assembled and the lid is securely closed before powering on. The juicer features a safety interlock system that prevents operation if not correctly assembled.
- Keep hands and utensils away from moving parts during operation to prevent injury. Use the provided food pusher for feeding ingredients.
- Unplug the juicer from the outlet when not in use, before assembling or disassembling parts, and before cleaning.
- Do not operate any appliance with a damaged cord or plug, or after the appliance malfunctions or has been damaged in any manner.
- This appliance is for household use only. Do not use outdoors.
- The juicer is constructed from BPA-free materials, ensuring safe contact with food.

Image: Automatic Safety Sensor. This image illustrates the juicer's safety mechanism, which ensures the device operates only when fully assembled and automatically stops if the lid is opened during use.
3. Product Components
Familiarize yourself with the various parts of your Fretta f5000 juicer:
- Motor Base (with control knob)
- Juicing Bowl
- Auger (spiral propeller)
- Filter/Strainer
- Feed Chute Assembly (with lid and large opening)
- Pulp Container
- Juice Container
- Cleaning Brush
- Food Pusher

Image: Fretta f5000 Juicer Overview. This image displays the fully assembled Fretta f5000 juicer, showcasing its main components including the motor base, juicing assembly, and collection containers for juice and pulp.
4. Assembly Instructions
Follow these steps to assemble your juicer before use:
- Place the motor base on a stable, flat surface.
- Align the juicing bowl with the motor base and rotate until it locks into place.
- Insert the filter/strainer into the juicing bowl.
- Place the auger into the center of the filter/strainer, ensuring it sits firmly.
- Open the cover of the feed chute assembly. Align the feed chute assembly with the juicing bowl and rotate it clockwise until it clicks into a locked position. Ensure the cover remains open during this step.
- Close the feed chute cover securely. The juicer will not operate if the cover is not fully closed and locked.
- Position the juice container under the juice spout and the pulp container under the pulp outlet.

Image: Feed Chute Assembly and Safety Check. This image illustrates the correct method for installing the feed chute with the cover open and emphasizes the importance of closing the cover securely before operating the juicer for safety.
5. Operating Instructions
5.1. Food Preparation
The Fretta f5000 features a 4.25-inch large feed chute, allowing for minimal pre-cutting of ingredients. For best results:
- Wash all fruits and vegetables thoroughly.
- Remove large seeds, pits, or hard cores (e.g., from peaches, avocados, mangoes).
- For fibrous vegetables like celery or kale, cut them into shorter lengths (approx. 2 inches) to prevent clogging.
- You can add whole-sized apples or larger pieces of vegetables directly into the feed chute.
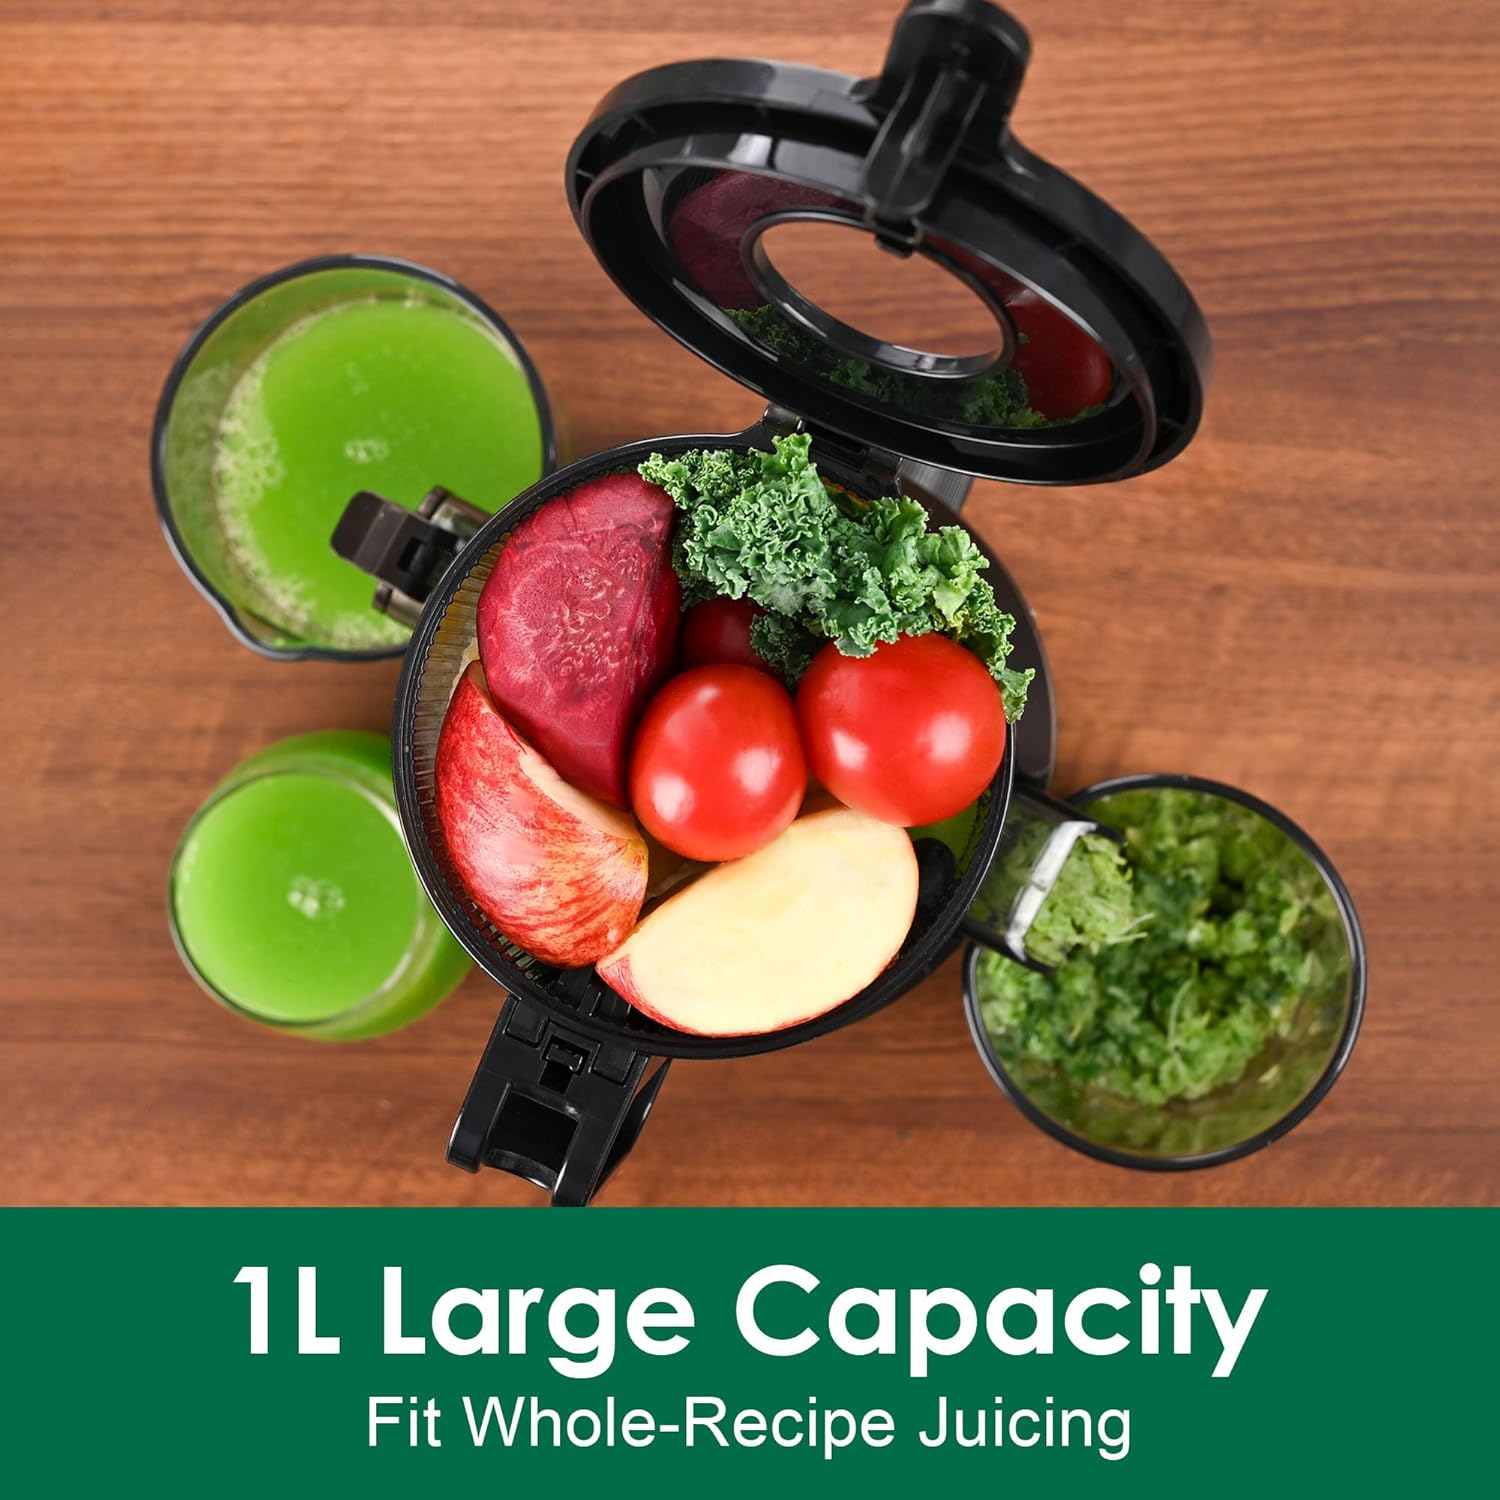
Image: Large Capacity Feed Chute. This image shows the juicer's wide feed chute filled with a variety of fruits and vegetables, demonstrating its capacity for whole or large pieces of produce.

Image: 4.25-inch Large Feed Chute. This image highlights the generous size of the juicer's feed chute, allowing users to insert whole fruits like apples with minimal preparation.
5.2. Juicing Process
- Plug the juicer into a power outlet.
- Turn the control knob to the 'ON' position.
- Slowly feed prepared ingredients into the feed chute. Allow the juicer to process the ingredients at its own pace. Do not force ingredients down.
- Use the food pusher only if necessary to gently guide ingredients.
- The juicer will separate juice into the juice container and pulp into the pulp container.
- Once juicing is complete, turn the control knob to the 'OFF' position and unplug the appliance.

Image: High Juice Yield. This image showcases two glasses of fresh juice, demonstrating the efficient extraction capabilities of the Fretta juicer.

Image: Drip-Proof Design and Separation. This image highlights the juicer's design features that prevent drips and effectively separate juice from pulp.
5.3. Reverse Function
If ingredients become jammed or the juicer stops during operation, use the reverse function:
- Turn the control knob to the 'REV' (Reverse) position and hold it for a few seconds. This will rotate the auger in the opposite direction to clear obstructions.
- Release the knob to return to the 'OFF' position, then switch back to 'ON' to resume juicing.
- If the blockage persists, disassemble the juicer, clear the obstruction manually, and reassemble.
6. Maintenance and Cleaning
Regular cleaning ensures optimal performance and longevity of your juicer. Always unplug the juicer before cleaning.
- Turn the control knob to 'OFF' and unplug the juicer.
- Disassemble the juicer by reversing the assembly steps.
- Rinse all removable parts (feed chute, auger, filter, juicing bowl, containers) under running water immediately after use to prevent pulp from drying.
- Use the provided cleaning brush to remove any stubborn pulp residue from the filter and other components.
- For the juicing bowl, open the sealing plug at the bottom to ensure all residues are removed.
- Wash parts with warm, soapy water. All removable parts are top-rack dishwasher safe, but hand washing is recommended for longevity.
- Wipe the motor base with a damp cloth. Never immerse the motor base in water.
- Dry all parts thoroughly before reassembling or storing.

Image: Easy Cleaning. This image shows a juicer component being rinsed under a faucet, illustrating the straightforward cleaning process.
7. Troubleshooting
Refer to the following common issues and their solutions:

Image: Common Problems and Solutions. This graphic provides a quick reference for troubleshooting typical issues such as the juicer not starting, assembly difficulties, unexpected stops, and advice on juicing techniques.
- Juicer doesn't start: Ensure the lid is securely closed and locked. The safety interlock prevents operation if not properly assembled. Check if the power cord is firmly plugged in.
- Juicer stops unexpectedly: This may indicate overheating. Allow the juicer to cool down for approximately 40 minutes before attempting to use it again. Over-feeding or continuous use for more than 20 minutes can cause overheating.
- Fruit stuck/Juicer jammed: Use the 'REV' (Reverse) function to dislodge ingredients. If the issue persists, disassemble and clear the obstruction manually.
- Low juice yield: Soft fruits generally yield less juice than harder fruits and vegetables. For optimal yield, mix hard and soft ingredients. Ensure ingredients are fresh.
8. Specifications
| Model Number | f5000 |
| Product Dimensions | 6.2 x 7.5 x 15.8 inches |
| Item Weight | 7.85 pounds |
| Manufacturer | Fretta |
| Feed Chute Size | 4.25 inches |
| Material | BPA-Free Tritan (Auger) |
9. Warranty and Customer Support
The Fretta f5000 Cold Press Slow Masticating Juicer comes with a 1-year warranty from the date of purchase. This warranty covers manufacturing defects under normal household use.
For warranty claims, technical assistance, or any questions regarding your product, please contact Fretta customer support directly through the retailer's platform or the official Fretta website. Please have your model number (f5000) and proof of purchase ready when contacting support.


