1. Package Contents
Please inspect the package contents to ensure all items are present and in good condition.
- AZDOME M01 Pro Dual Dash Cam (Front Unit)
- Rear Camera
- 128GB SD Card
- Mini USB OBD Hardwire Kit
- Suction Cup Mount
- Adhesive Mount
- USB Power Cable
- Pry Tool
- User Manual

Image 1.1: All components included in the AZDOME M01 Pro Dual Dash Cam package.
2. Setup
2.1 Inserting the SD Card
Locate the SD card slot on the side of the main dash cam unit. Gently insert the provided 128GB micro SD card until it clicks into place. Ensure the card is inserted correctly to avoid damage.
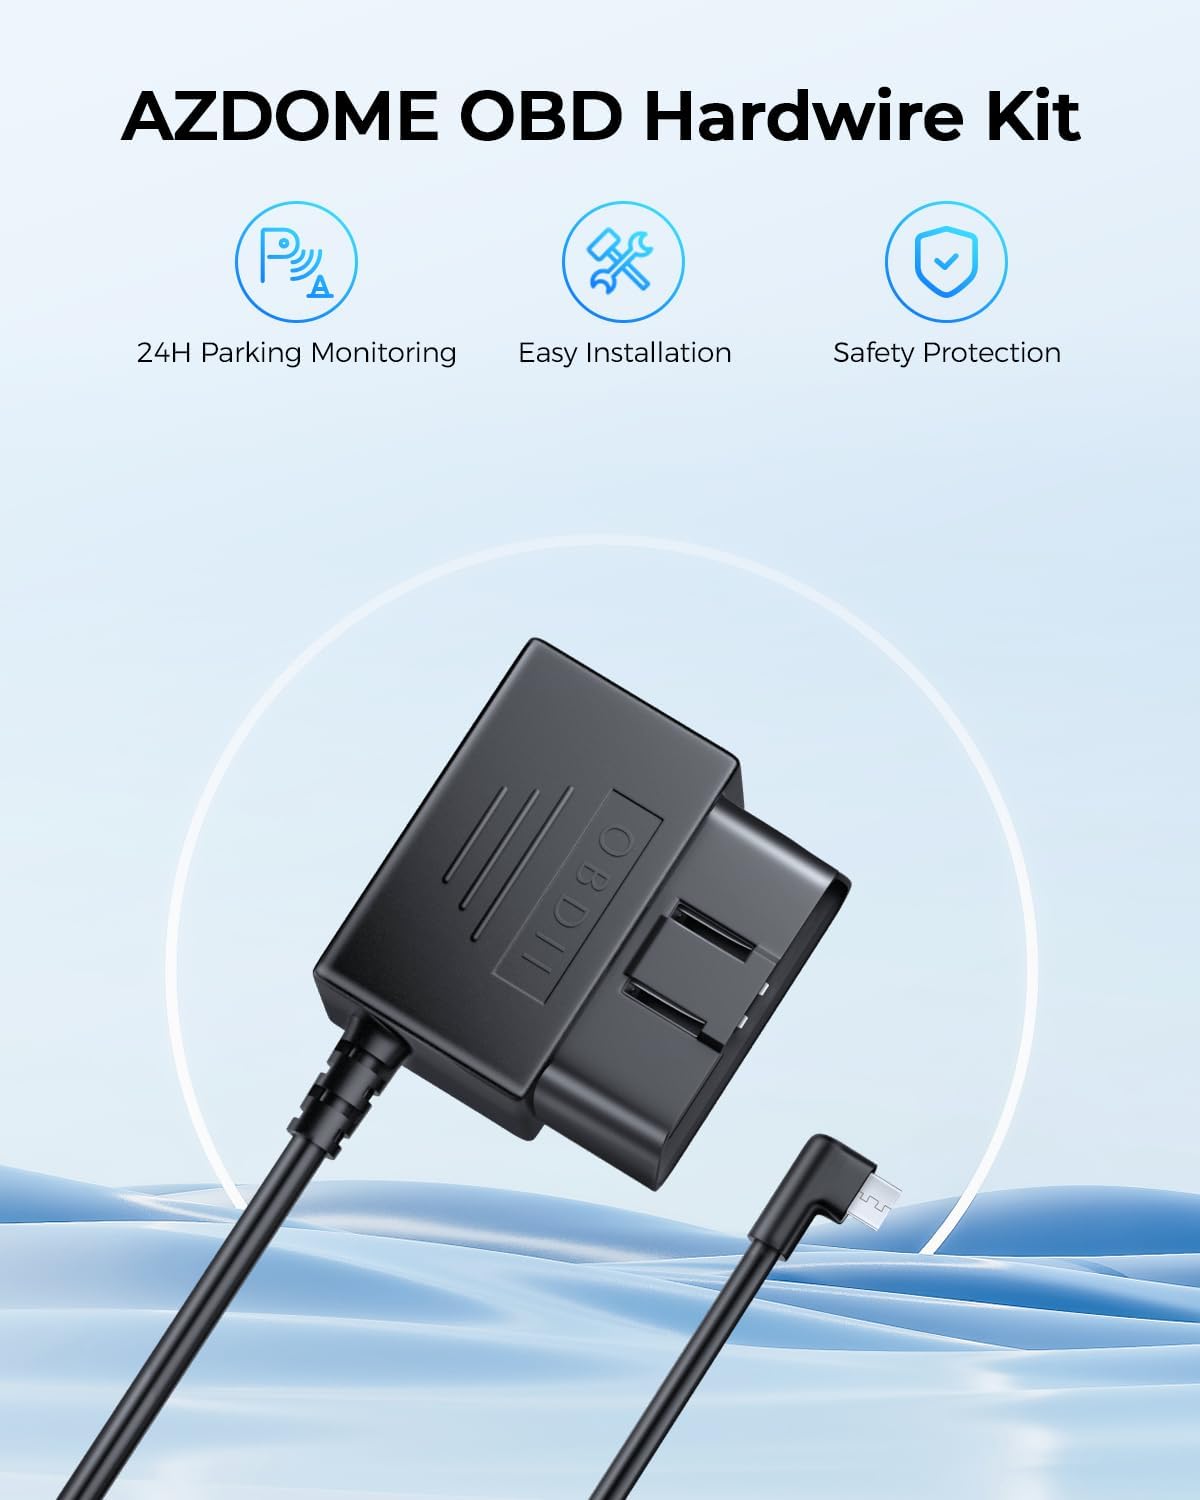
Image 2.1: The included 128GB micro SD card for video storage.
2.2 Mounting the Front Dash Cam
- Clean the area on your windshield where you intend to mount the dash cam. Ensure it is free from dust and grease.
- Attach the suction cup mount or adhesive mount to the main dash cam unit.
- Press the mount firmly against the windshield and secure it. Adjust the angle to ensure a clear view of the road ahead.

Image 2.2: Front dash cam mounted on the windshield using the suction cup mount.
2.3 Installing the Rear Camera
- Identify a suitable location on your rear windshield for the rear camera, ensuring a clear view.
- Clean the chosen area thoroughly.
- Attach the rear camera using its adhesive backing.
- Connect the rear camera cable to the main dash cam unit. Route the cable discreetly along the vehicle's headliner and A-pillar using the provided pry tool to tuck it under trim panels.
2.4 Connecting Power
The AZDOME M01 Pro comes with a Mini USB OBD Hardwire Kit for continuous power and parking mode functionality.
- Locate your vehicle's OBD-II port (usually under the dashboard on the driver's side).
- Plug the OBD connector of the hardwire kit into the vehicle's OBD-II port.
- Connect the Mini USB end of the hardwire kit to the main dash cam unit.
- Route the power cable discreetly, similar to the rear camera cable, to avoid obstructing your view or interfering with driving.
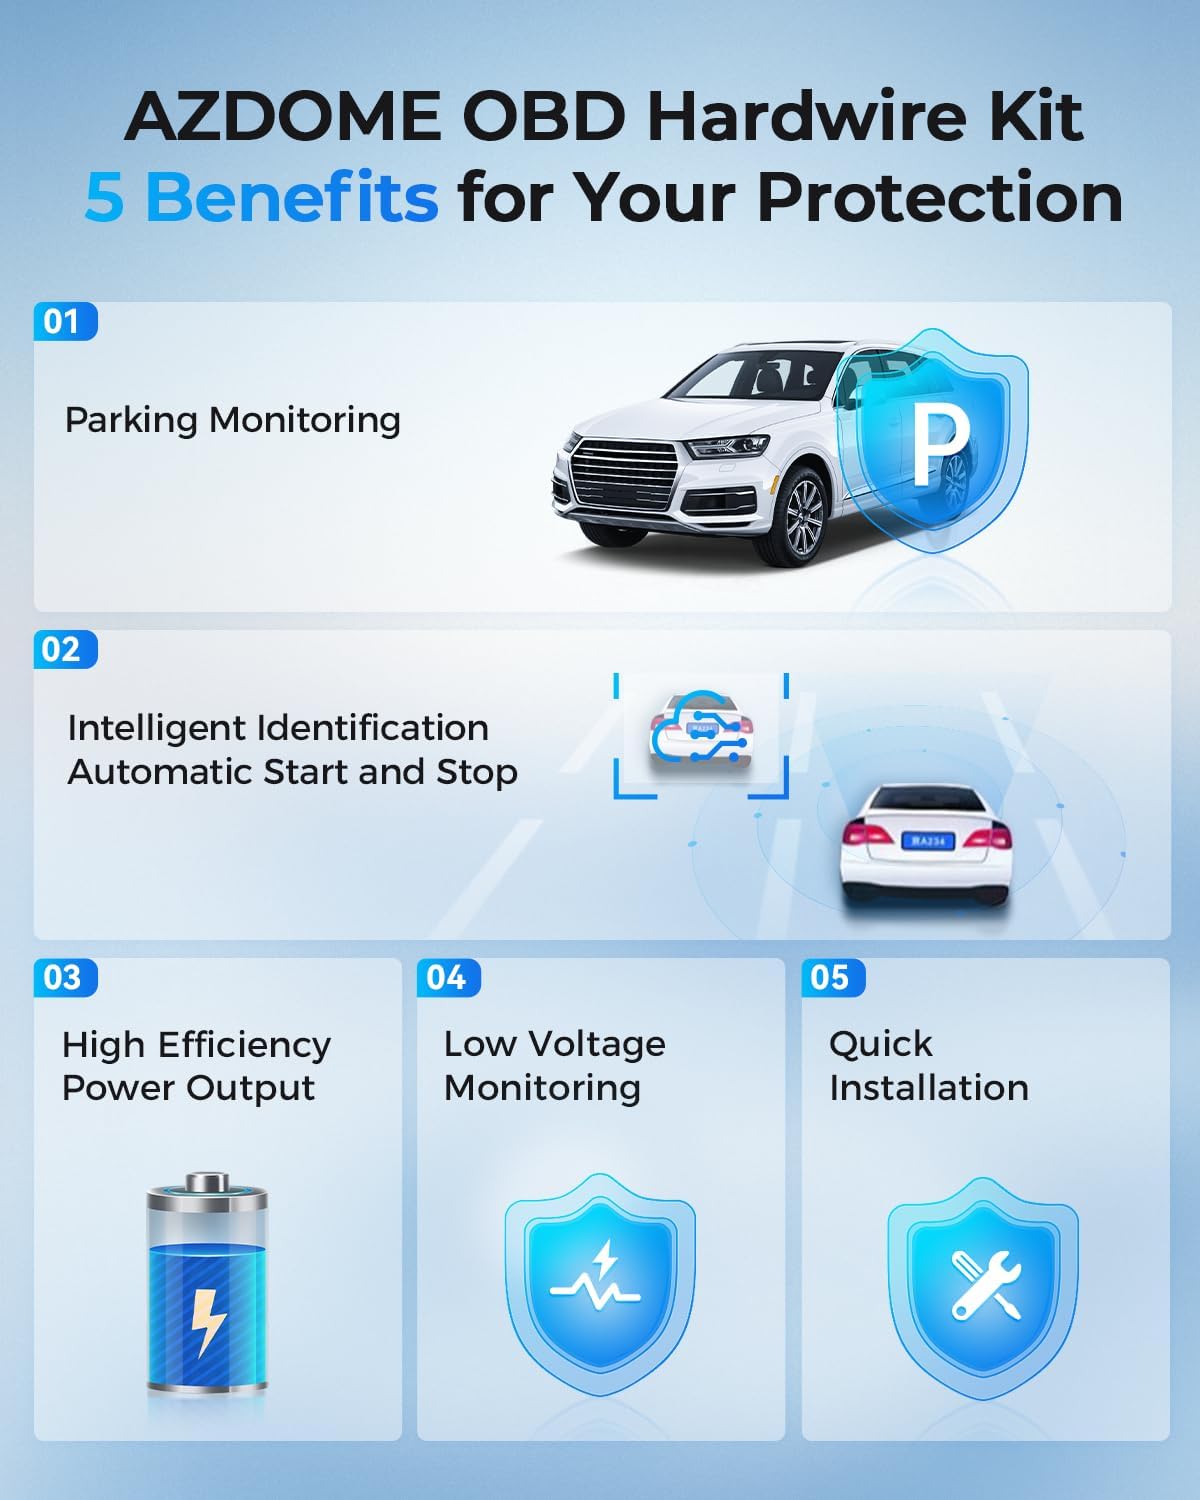
Image 2.3: The Mini USB OBD Hardwire Kit for power connection.

Image 2.4: Key benefits of using the OBD Hardwire Kit, including 24H parking monitoring and easy installation.
3. Operating Instructions
3.1 Powering On/Off
The dash cam will automatically power on and begin recording when your vehicle's ignition is turned on (if connected via OBD hardwire kit). It will power off automatically when the ignition is turned off.
3.2 Basic Controls
The dash cam features a 3-inch 2.5D curved IPS screen and intuitive buttons for navigation and control. Refer to the on-screen interface for specific menu options.
3.3 Loop Recording
The dash cam continuously records video in short segments (e.g., 1, 3, or 5 minutes). When the SD card is full, the oldest unlocked video files will be automatically overwritten by new recordings. This ensures continuous recording without manual intervention.
3.4 G-Sensor & Emergency Lock
The built-in G-sensor detects sudden movements or impacts (e.g., collisions). When an event is detected, the current video segment is automatically locked and saved to a protected folder, preventing it from being overwritten by loop recording.
3.5 24H Parking Mode
With the Mini USB OBD Hardwire Kit, the dash cam supports 24-hour parking monitoring. There are two primary modes:
- Collision Detection Parking Mode: The G-sensor detects impacts while parked and records a short video segment.
- Time-lapse Parking Mode: The dash cam records continuously at a low frame rate (e.g., 1fps) for 24 hours, compressing long periods into short videos.

Image 3.1: Explanation of 24H Parking Monitoring modes: Collision Detection and Time-Lapse recording.
3.6 ADAS (Advanced Driver-Assistance Systems)
The M01 Pro features ADAS functions, including a Lane Departure Warning System and Forward Collision Warning. These systems provide timely alerts to help reduce the risk of driving accidents.
3.7 Dual Recording & Reverse View
The dash cam records simultaneously from both the front (Full HD 1080P, 150° wide-angle) and rear (120° wide-angle) cameras. The display can show both views, and when reversing, it can provide a reverse view with parking guidelines.

Image 3.2: Dual recording display showing front and rear views, with reverse view parking guidelines.
3.8 Super Night Vision
Equipped with a Starvis Sensor and F2.0 large aperture, the dash cam provides enhanced night vision capabilities, capturing clear footage even in low-light conditions.

Image 3.3: Super Night Vision technology details, including 6-Glass Lens, Starvis Sensor, and F2.0 Aperture for clear low-light recording.
4. Maintenance
4.1 SD Card Management
Regularly format your SD card (at least once a month) to maintain optimal performance and prevent data corruption. Back up any important video files before formatting.
4.2 Cleaning
Use a soft, dry cloth to clean the dash cam lenses and screen. Avoid using abrasive cleaners or solvents that could damage the device.
5. Troubleshooting
- Dash Cam Not Powering On: Ensure the OBD hardwire kit is correctly installed and receiving power from the vehicle. Check the Mini USB connection to the dash cam.
- Recording Issues: Verify the SD card is properly inserted and not full. Format the SD card if necessary. Ensure loop recording is enabled.
- Poor Video Quality: Clean the camera lenses. Check the resolution settings in the menu. Ensure the protective film has been removed from the lenses.
- Rear Camera Not Displaying: Check the cable connection between the front and rear cameras. Ensure the rear camera is properly installed.
- Parking Mode Not Working: Confirm the OBD hardwire kit is correctly installed and providing continuous power. Check parking mode settings in the menu.
6. Specifications
| Brand | AZDOME |
| Model Name | AZDOME Dual Dash Cam (M01 Pro) |
| Connectivity Technology | USB |
| Video Capture Resolution | 1080p (Front: Full HD 1080P, Rear: 1080P) |
| Mounting Type | Windshield Mount (Suction Cup / Adhesive) |
| Control Method | Touch / Buttons |
| Flash Memory Type | SD (128GB included) |
| Special Features | Dual Dash Cam, ADAS, Loop Recording, 24H Parking Mode, G-Sensor, Super Night Vision, 150° Front Lens, 120° Rear Lens |
7. Warranty and Support
For warranty information or technical support, please refer to the official AZDOME website or contact their customer service directly. Contact details are typically found in the packaging or on the product's official support page.


