
Introduction
Thank you for choosing the AODK 75-inch Reversible L-Shaped Desk. This manual provides detailed instructions for the assembly, operation, and maintenance of your new desk. Please read all instructions carefully before beginning assembly and retain this manual for future reference. This desk is designed to offer a versatile workspace with ample storage, integrated power, and customizable LED lighting.

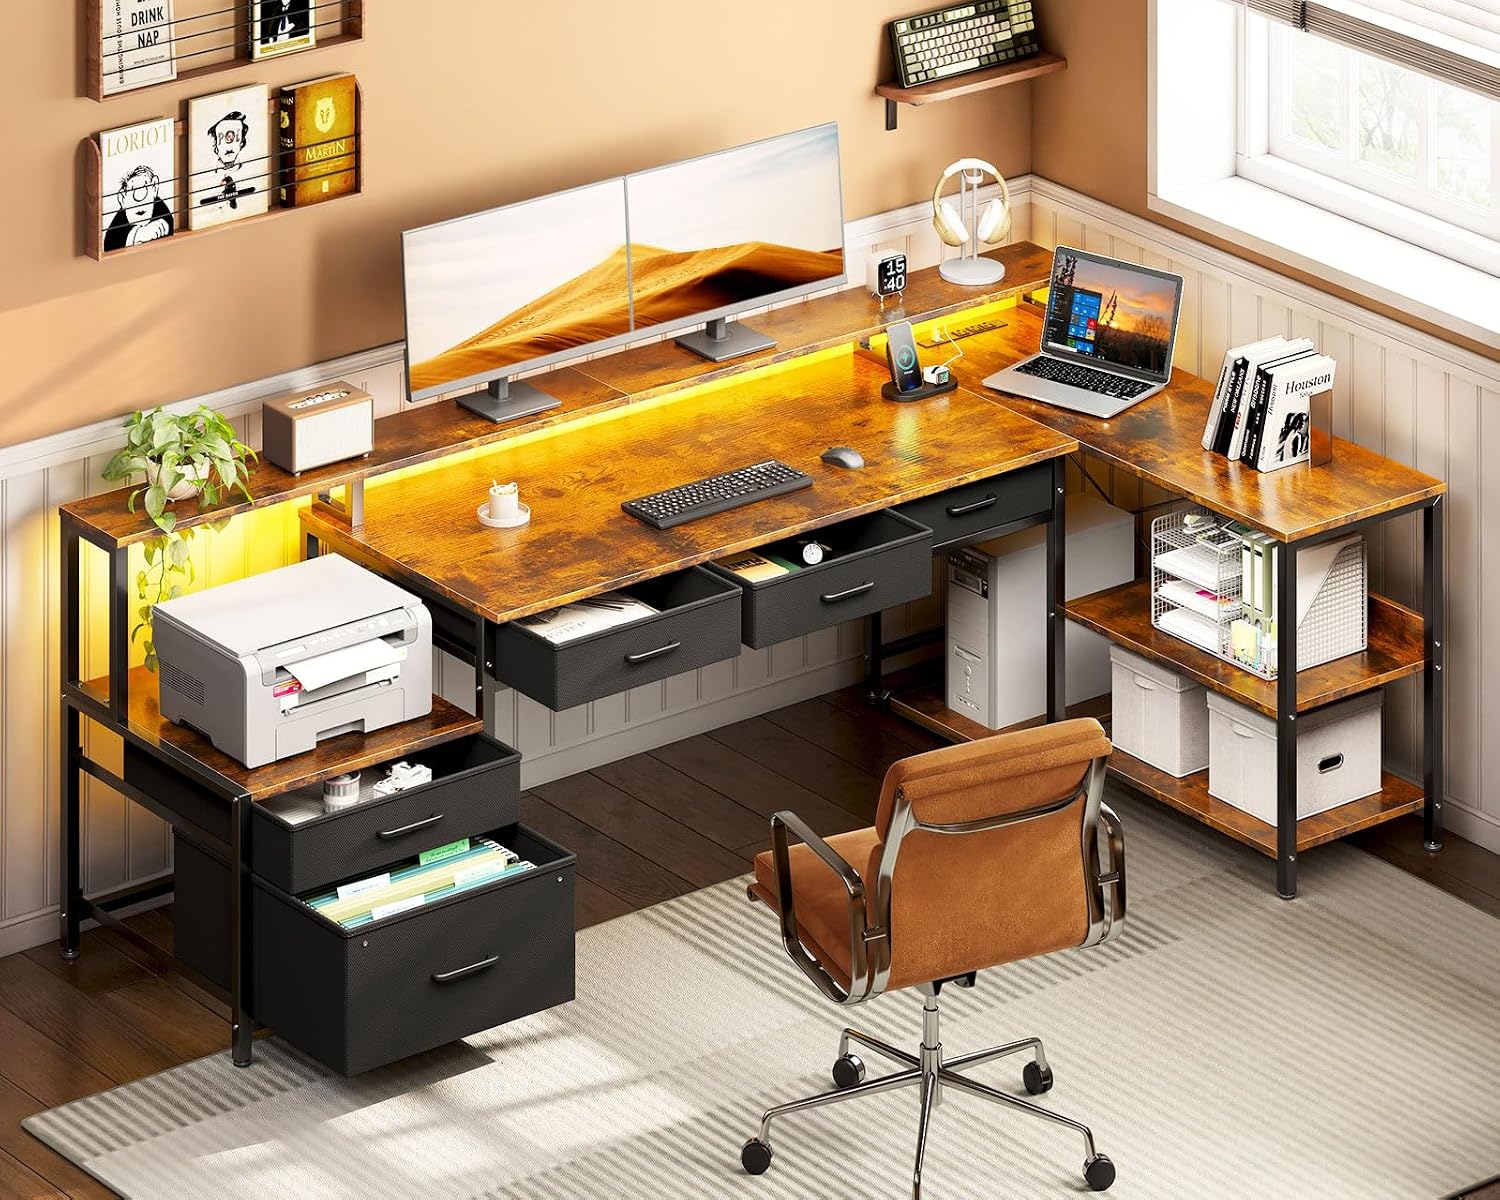
An overview of the AODK L-shaped desk, highlighting its spacious design, monitor shelf, LED lighting, and various storage compartments including drawers and shelves.
Setup and Assembly
Before assembly, ensure all parts are present and undamaged. Refer to the included hardware list and diagrams. Assembly typically requires two people.
1. Unpacking and Part Identification
- Carefully unpack all components and lay them out on a clean, soft surface to prevent scratches.
- Identify each part using the provided diagrams and hardware list.
2. Reversible Configuration
The AODK L-shaped desk features a reversible design, allowing you to configure the longer side to either the left or right. Decide on your preferred orientation before starting assembly.

A visual representation demonstrating how the L-shaped desk can be assembled in either a left-hand or right-hand configuration to adapt to different room layouts.
3. Frame Assembly
- Assemble the metal frame components according to the numbered steps in the assembly guide. Ensure all screws are tightened securely.
- Attach the adjustable foot pads to the bottom of the desk legs to ensure stability and protect your floor.
4. Desktop and Shelf Installation
- Place the main desktop and side shelves onto the assembled frame. Secure them with the provided fasteners.
- Install the long monitor stand on the main desktop. This stand is designed for ergonomic viewing and provides additional storage space.

This image highlights the integrated power outlet with USB ports for convenient device charging and the elevated monitor stand designed for ergonomic viewing and additional storage.
5. Drawer and Cabinet Assembly
- Assemble the three under-desk fabric drawers and the two file drawers for the printer cabinet.
- Insert the assembled drawers into their respective compartments.

A detailed view of the three fabric drawers located under the main desktop, designed for organizing office supplies and personal items.

A view of the storage cabinet featuring two file drawers suitable for legal/A4 documents and a top shelf designed to accommodate a printer.
6. Power Outlet and LED Strip Connection
- Connect the integrated power outlet and LED strip to a power source.
- Ensure all cables are neatly managed to prevent tripping hazards.
7. Movable CPU Stand
Place the movable CPU stand in your desired location under the desk. This stand keeps your computer tower off the floor and allows for easy repositioning.
A dedicated movable stand for a computer tower, designed to keep the CPU off the floor and easily accessible for cleaning or repositioning.
Operating Instructions
1. Using the Integrated Power Outlet
- The desk features 3 standard AC plug outlets and 2 USB ports.
- Plug your devices (laptop, phone, gaming devices) directly into the outlets for convenient charging.
- Ensure the desk is plugged into a functional wall outlet.
2. Controlling the LED Lighting
- The LED strip offers 7 colors, 13 modes, 8 adjustable brightness levels, and 9 flicker frequencies.
- Use the inline controller to cycle through colors and modes, and adjust brightness.
- The LED strip has a memory function that recalls the last used setting when turned on.
The image displays the LED lighting strip installed beneath the monitor shelf, along with its remote control for adjusting colors, modes, and brightness.
3. Utilizing Storage Features
- Under-Desk Drawers: Use the three fabric drawers for quick access to office supplies, stationery, or personal items.
- File Drawers: The two larger drawers in the printer cabinet are suitable for organizing legal or A4-sized documents.
- Shelves: The 2-tier under-desk bookshelf and other open shelves provide space for books, decorative items, or additional equipment.
Maintenance
1. Cleaning
- Wipe down the desk surfaces (engineered wood) with a soft, damp cloth. Avoid harsh chemicals or abrasive cleaners.
- For the metal frame, use a mild soap and water solution if necessary, then dry thoroughly.
- Periodically dust the LED strip and power outlet area.
2. General Care
- Regularly check all screws and fasteners to ensure they remain tight. Retighten as needed.
- Avoid placing excessively heavy items on the monitor shelf or side shelves to prevent damage.
- Keep liquids away from electrical components, especially the power outlet and LED strip.
Troubleshooting
1. LED Lights Not Functioning
- Check Power: Ensure the LED strip is properly plugged into the power outlet and the desk is receiving power.
- Controller Check: Verify the inline controller is connected correctly and not damaged. Try pressing the power button on the controller.
- Brightness Settings: Ensure the brightness level is not set to minimum.
2. Power Outlet Not Working
- Verify Connection: Confirm the desk's main power cord is securely plugged into a working wall outlet.
- Test Device: Try plugging a different device into the outlet to rule out a faulty device.
- Circuit Breaker: Check your home's circuit breaker if multiple outlets are affected.
3. Desk Instability
- Tighten Screws: Re-check and tighten all assembly screws.
- Adjust Foot Pads: Use the adjustable foot pads on the bottom of the legs to level the desk on uneven floors.
- Even Weight Distribution: Ensure weight is distributed evenly across the desk surface.
Specifications
| Brand | AODK |
| Model Name | 7507 |
| Model Number | B02022401007UUD6E5023U679 |
| Shape | L-Shape |
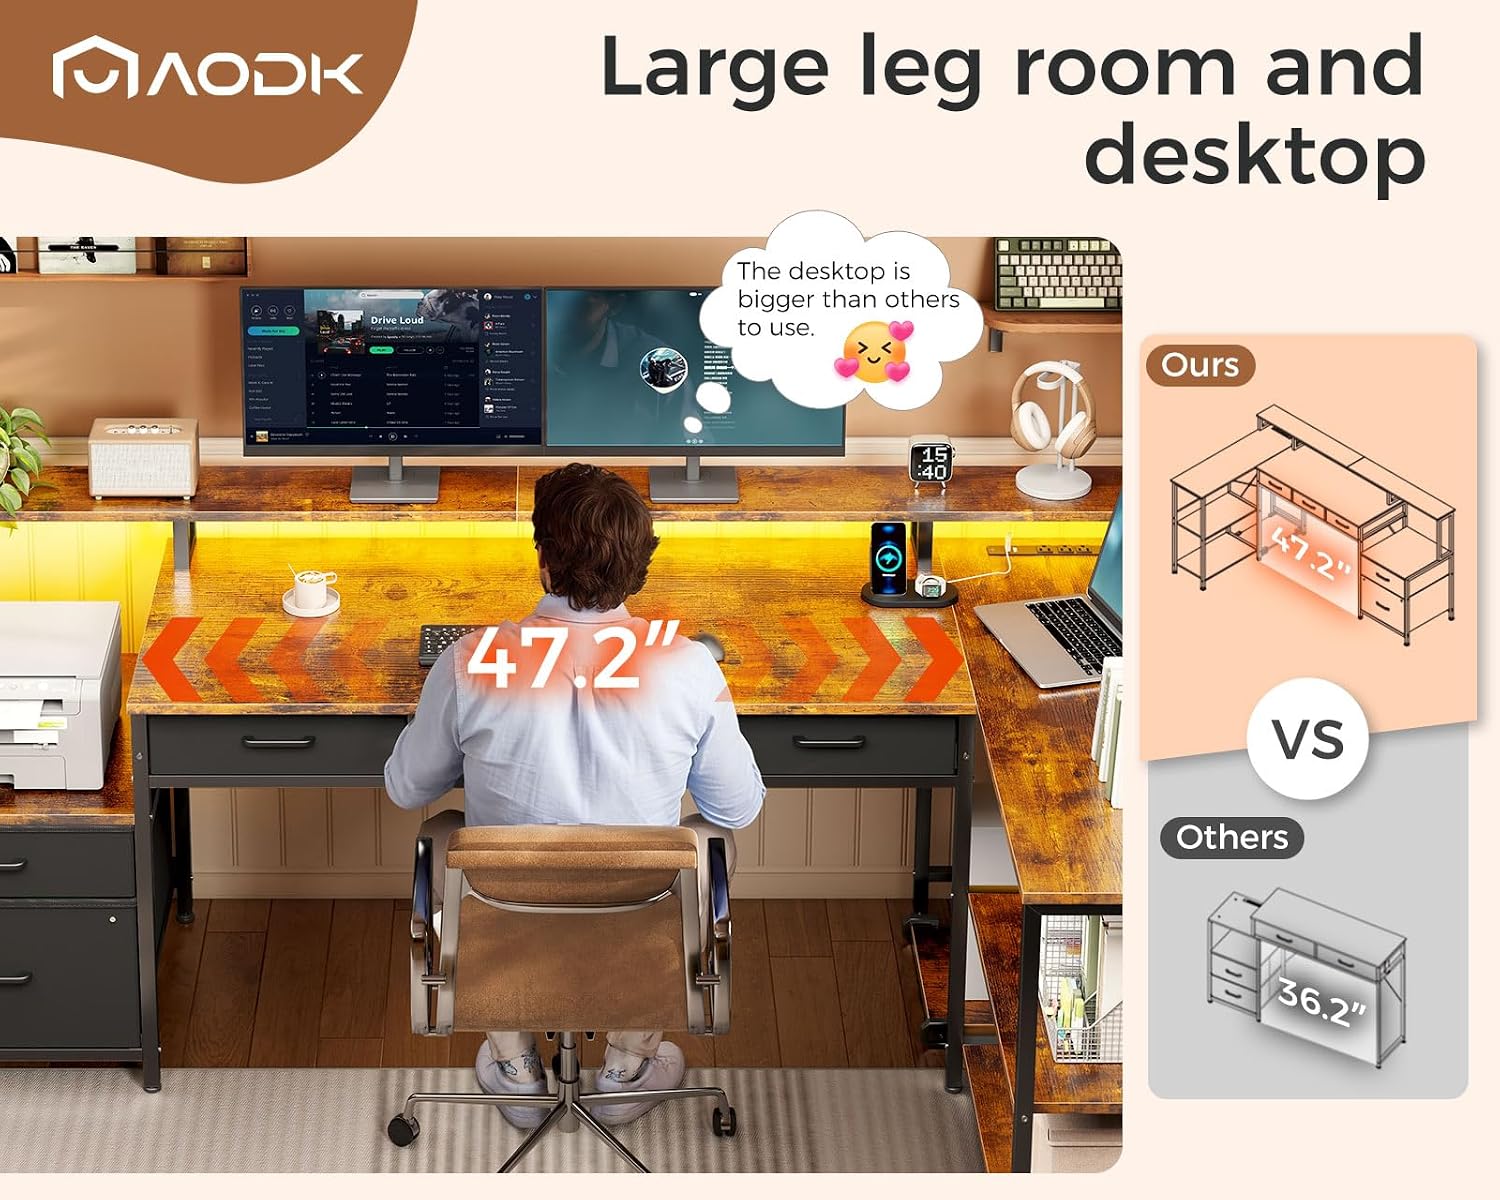
| Product Dimensions | 48"D x 35.31"W x 34.25"H |
| Color | Vintage |
| Style | Vintage |
| Base Material | Alloy Steel |
| Top Material Type | Engineered Wood |
| Special Feature | Reversible, Built-in Outlet, LED Strip, Monitor Shelf, File Drawers, Movable CPU Stand |
| Number of Drawers | 5 (3 under-desk, 2 file) |
| Number of Shelves | 2 (under-desk bookshelf) |
| Item Weight | 68.8 Pounds |
| UPC | 850064516289 |

A diagram illustrating the precise measurements of each section of the AODK L-shaped desk, including the main desktop, monitor shelf, and storage units, to aid in space planning.
Warranty and Support
AODK products are manufactured to high-quality standards. For any questions, concerns, or assistance with your AODK L-Shaped Desk, please contact our customer support team. Please refer to your purchase documentation for specific warranty details and contact information.
Customer Support: Refer to the contact information provided with your purchase or visit the AODK official website.
