
VITCOCO DQ-DE-W70-P30
VITCOCO Ear Wax Removal Kit User Manual
Model: DQ-DE-W70-P30
Introduction
The VITCOCO Ear Wax Removal Kit is an advanced system designed for safe and effective ear cleaning at home. It combines a water-powered irrigation system with a high-definition visual otoscope, providing a comprehensive solution for personal ear hygiene. This manual provides detailed instructions for the proper use, maintenance, and troubleshooting of your device.

Image: Overview of the VITCOCO Ear Wax Removal Kit, showcasing the main irrigation device, the visual otoscope, and a variety of ear cleaning tools and nozzles.
Product Components
Your VITCOCO Ear Wax Removal Kit includes the following items:
- Electric Ear Irrigator
- 1080P HD Visual Otoscope
- Water Collection Basin
- Replaceable Nozzles (various types)
- Ear Spoons/Picks (various designs)
- USB Type-C Charging Cable
- Cleaning Brush
- User Manual (this document)
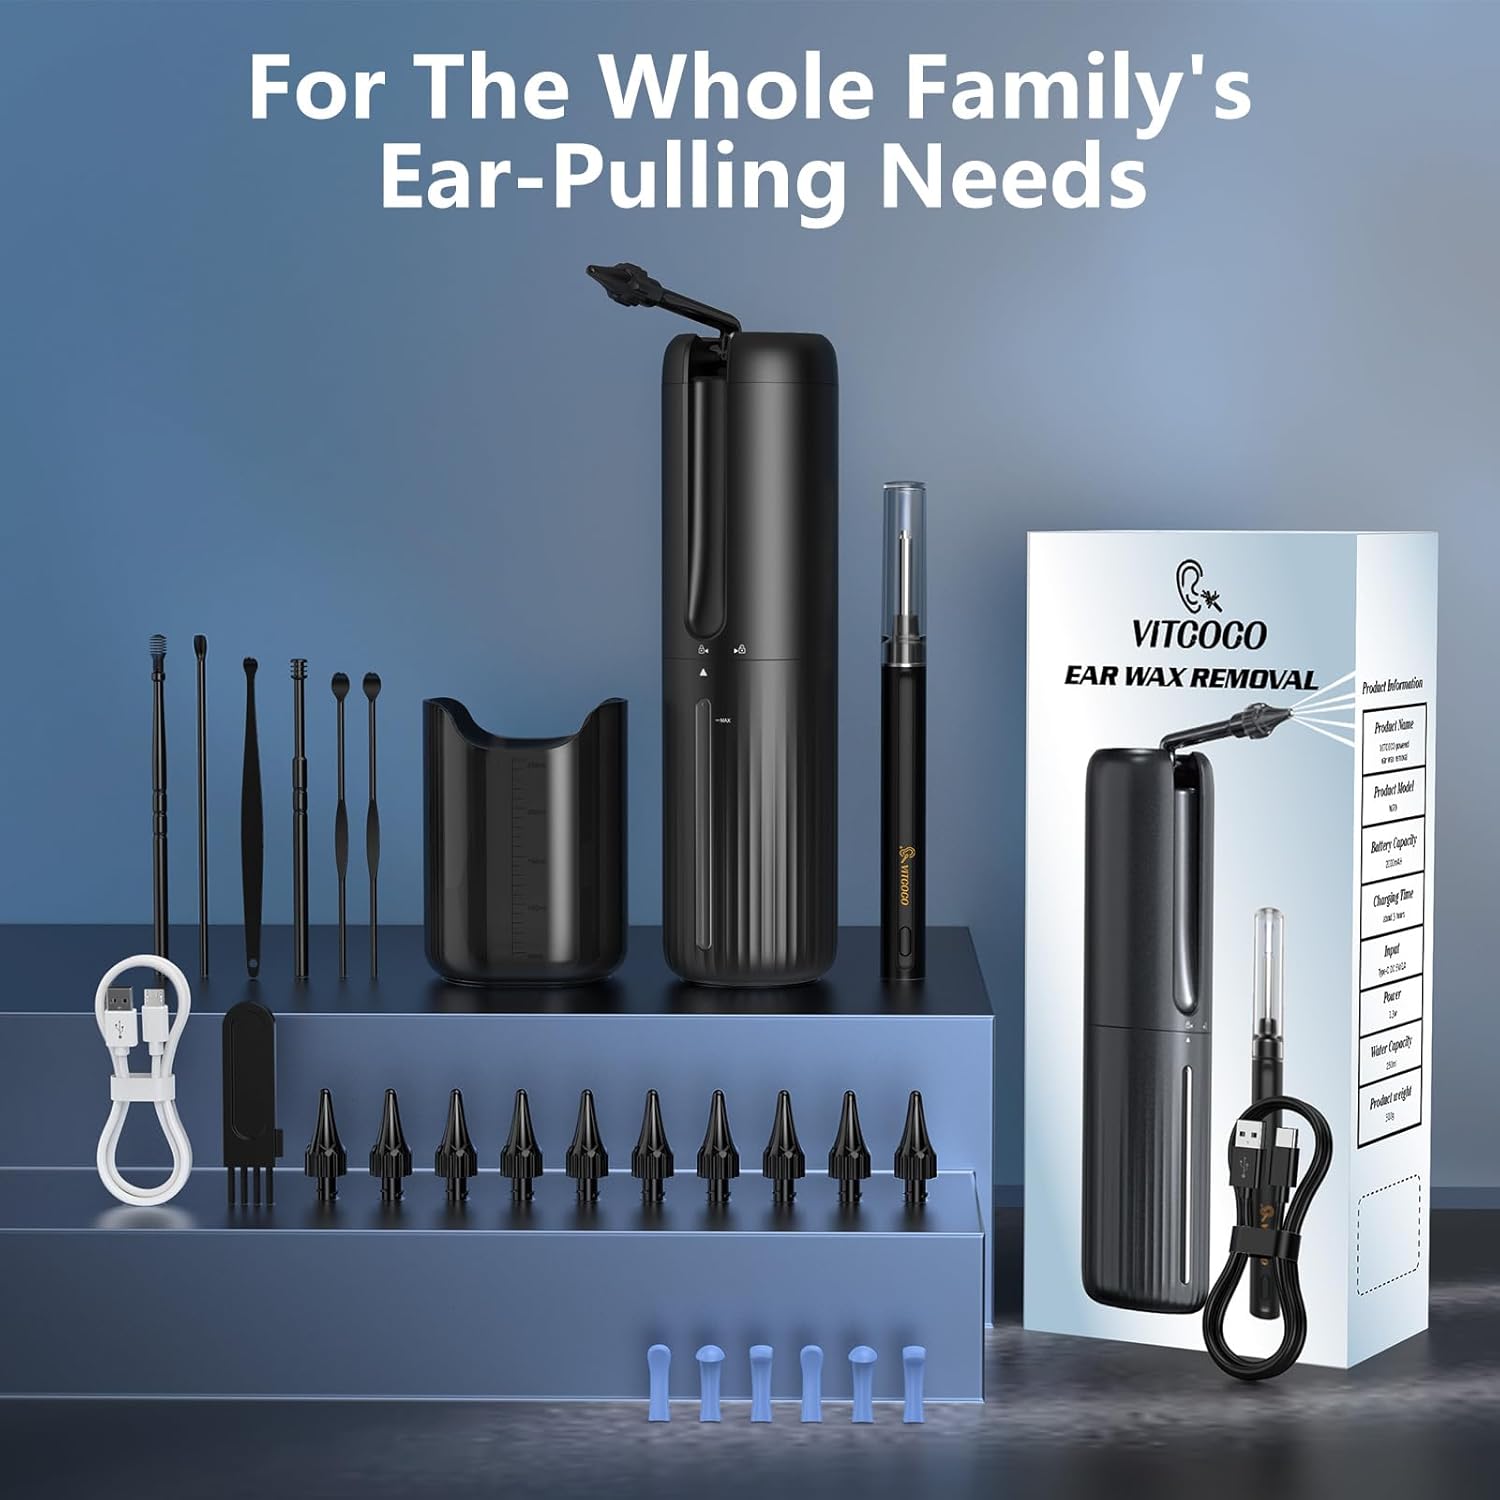
Image: A detailed view of all items included in the VITCOCO Ear Wax Removal Kit, neatly arranged.
Setup
1. Charging the Device
Before first use, fully charge both the electric ear irrigator and the visual otoscope. Use the provided USB Type-C cable. The irrigator has a 2000mAh battery, and the otoscope has a 350mAh battery.

Image: Illustration of the irrigator's internal components, highlighting the 2000mAh battery, 250ml water tank, and the Type-C charging port.
2. Filling the Water Tank
To fill the irrigator's water tank (250ml capacity), gently twist the bottom half of the device counter-clockwise to open. Fill with warm water (recommended temperature: 37°C ± 2°C / 98°F ± 4°F). Do not inject water above 50°C. After filling, twist clockwise to securely close.

Image: Step-by-step guide on how to open, fill with warm water, and securely close the water tank of the ear irrigator.
3. Attaching the Nozzle
Select a suitable nozzle from the 10 replaceable options provided. Gently push and twist the nozzle onto the irrigator's spray arm until it clicks into place.

Image: Illustration of the two types of replaceable nozzles (3-hole and 5-hole) and their attachment mechanism.
4. Otoscope App Installation
For the 1080P HD Visual Otoscope, download the companion app. Scan the QR code provided in the image below or search for "LMECHN" in your device's app store (compatible with Android 4.4+ and iOS 9.0+). Connect the otoscope to your device via Wi-Fi (network name "LMECHN-xxx").

Image: Step-by-step instructions for downloading the app, powering on the otoscope, connecting to its Wi-Fi network, and using the app for visual inspection.
App Download Link: https://qr19.cn/DTdpCy
Operating Instructions
Using the Electric Ear Irrigator
- Prepare: Ensure the water tank is filled with warm water and a nozzle is securely attached. Position yourself over a sink or use the provided water collection basin.
- Power On: Long press the power button to turn on the device.
- Select Mode: Short press the mode selection button to cycle through the four cleaning modes:
- Normal: Daily cleaning mode.
- Soft: Gentle cleaning for sensitive ears.
- Pulse: Alternate water spray for efficient cleaning.
- Strong: For removing stubborn earwax.
- Start Spray: Short press the start/pause button to begin the water spray.
- Irrigation: Gently insert the irrigation tip into the ear canal. Direct the water flow towards the ear canal walls, not directly at the eardrum. Allow the water and dislodged wax to drain into the basin.
- Pause/Stop: Short press the start/pause button to pause or stop the spray. Long press the power button to turn off the device.

Image: Detailed explanation of the four cleaning modes and the function of each button on the ear irrigator.

Image: Simple visual steps demonstrating the process of using the ear irrigator for cleaning.
Using the 1080P HD Visual Otoscope
- Connect: Ensure the otoscope is charged and connected to your smartphone/tablet via the "LMECHN" Wi-Fi network as per the setup instructions.
- Open App: Launch the "LMECHN" application on your device. You should see a live feed from the otoscope camera.
- Insert: Gently and slowly insert the otoscope tip into your ear canal. The 3.5mm inner diameter lens with 6 high-brightness LED lights provides a clear 1080P full HD view.
- Observe: Use the live feed to observe the ear canal and identify earwax buildup or other conditions. The app allows you to save images or videos.
- Ear Spoons: If necessary, attach a removable ear spoon to the otoscope tip for gentle wax removal under direct visual guidance. Three types of ear cushions are included for comfort and safety.
- Caution: Always proceed with extreme caution. Do not insert too deeply. If you experience pain or discomfort, stop immediately.

Image: Technical details of the 1080P HD Otoscope, emphasizing its high-definition capabilities and wireless transmission.

Image: Features of the Visual Otoscope, including its 3.5mm diameter, IP67 water resistance, removable ear spoon, and different ear cushion types.

Image: Close-up shots highlighting the otoscope's IP67 waterproof rating, 6 LED illumination, and the removable ear scoop design.
Maintenance
Cleaning the Device
- Irrigator: The electric ear cleaner features IPX7 waterproof technology. After each use, rinse the nozzle and the irrigator's tip thoroughly with clean water. The main body can be rinsed under running water. Ensure the water tank is emptied and dried.
- Otoscope: The otoscope is IP67 water resistant. Clean the lens and ear spoon attachments with a soft, damp cloth. Do not submerge the entire otoscope in water.
- Accessories: Use the provided cleaning brush to clean any earwax from the ear spoons and other tools. Wash all reusable accessories with soap and water, then dry thoroughly.
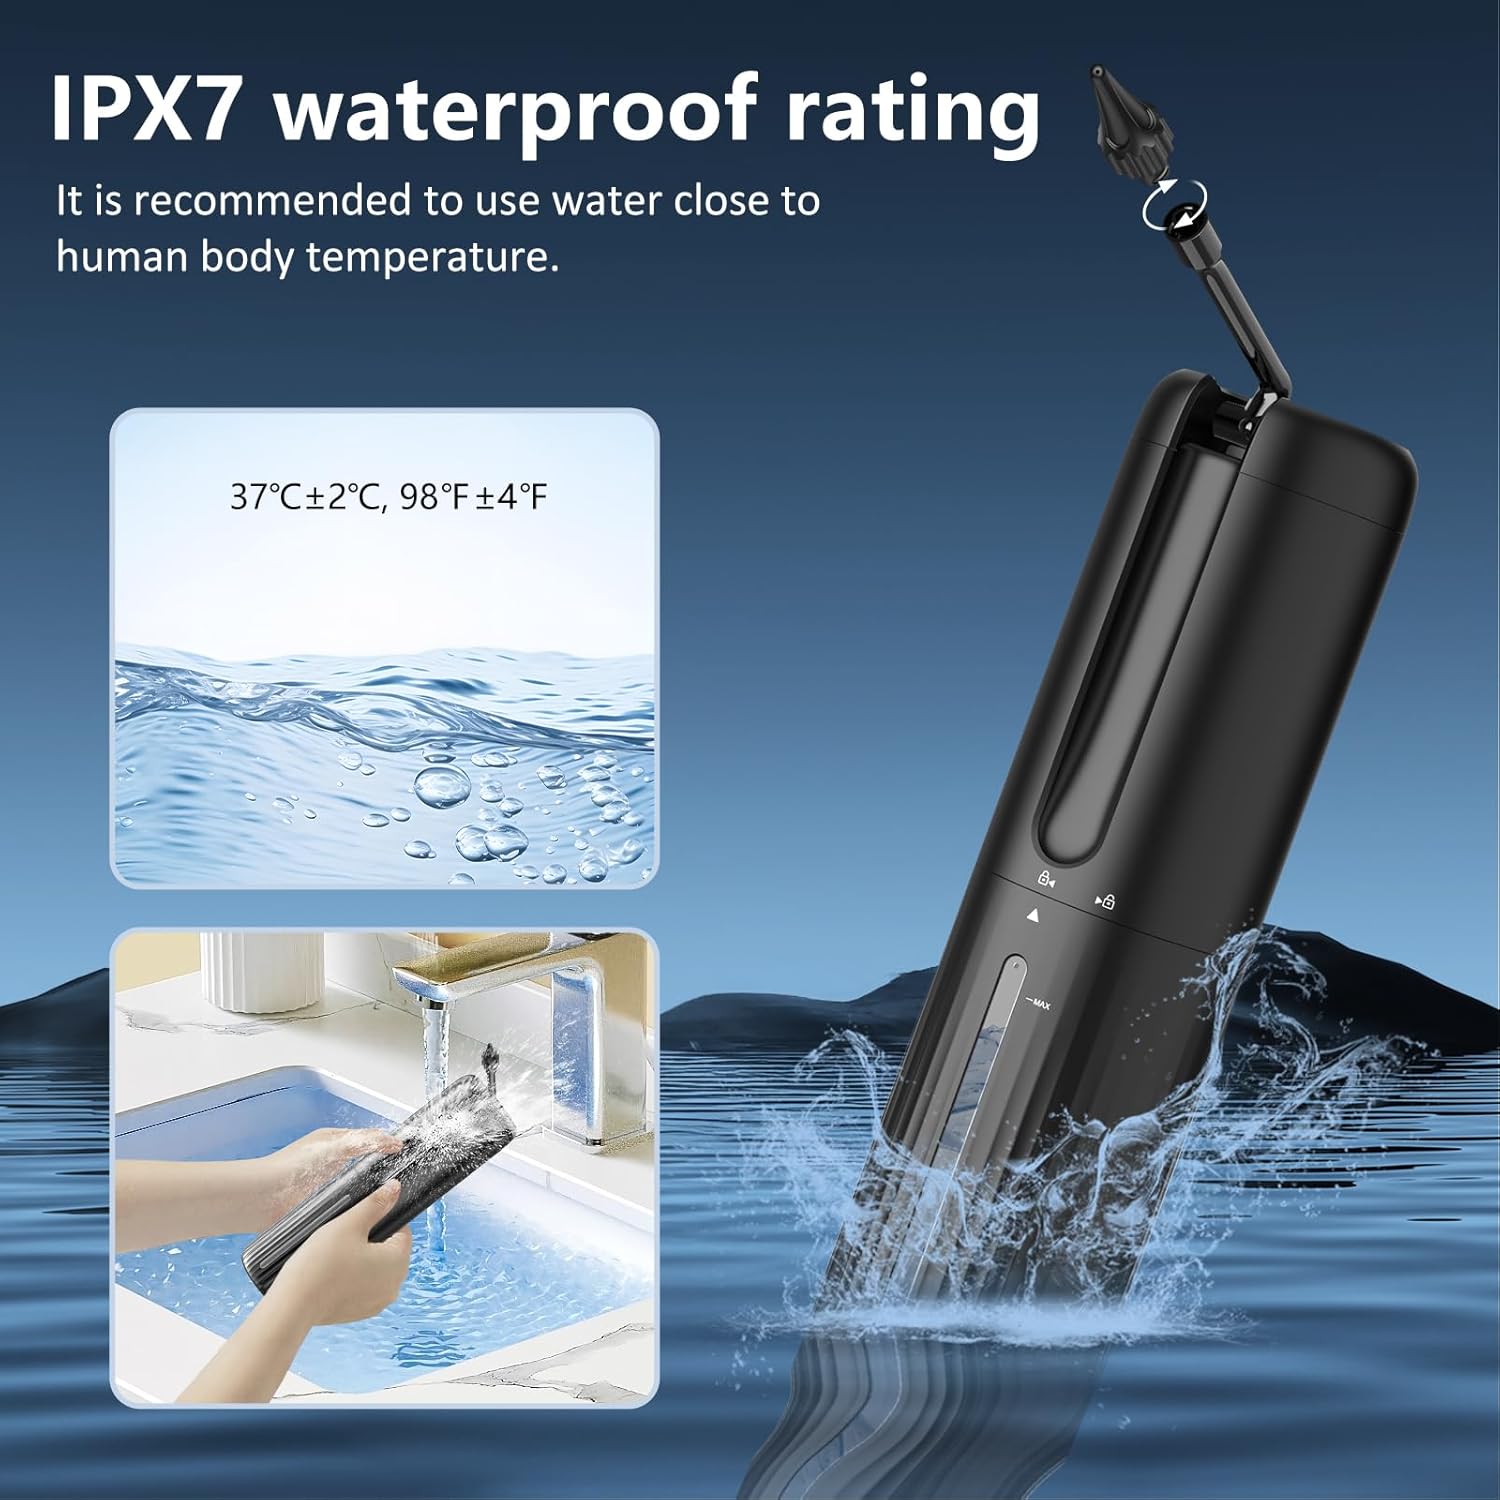
Image: Demonstration of the irrigator's IPX7 waterproof capability, showing it being rinsed under a faucet.
Storage
Store the device and all accessories in a clean, dry place away from direct sunlight and extreme temperatures. Keep out of reach of children.
Troubleshooting
| Problem | Possible Cause | Solution |
|---|---|---|
| Device not turning on. | Low battery. | Charge the device fully using the provided USB Type-C cable. |
| No water spray. | Water tank empty; Nozzle clogged; Device not powered on. | Refill water tank; Clean or replace nozzle; Ensure device is powered on and mode is selected. |
| Otoscope app not connecting to Wi-Fi. | Incorrect Wi-Fi network selected; Otoscope not powered on; App permissions. | Ensure you are connecting to the "LMECHN-xxx" network; Power on the otoscope; Check app permissions for Wi-Fi access on your device. Restart both the otoscope and your phone. |
| Poor image quality from otoscope. | Lens dirty; Insufficient lighting; Wi-Fi interference. | Clean the otoscope lens; Ensure the 6 LED lights are functioning; Move closer to the otoscope or reduce other Wi-Fi interference. |
| Dizziness during ear cleaning. | Water temperature too cold or too hot. | Always use warm water (37°C ± 2°C / 98°F ± 4°F) to avoid dizziness. |
Specifications
- Model: DQ-DE-W70-P30
- Brand: VITCOCO
- Ear Irrigator Water Tank Capacity: 250ml
- Ear Irrigator Battery: 2000mAh
- Ear Irrigator Waterproof Rating: IPX7
- Otoscope Camera Resolution: 1080P Full HD
- Otoscope Lens Diameter: 3.5mm
- Otoscope Lighting: 6 High-brightness LED lights
- Otoscope Waterproof Rating: IP67
- Otoscope Battery: 350mAh
- Otoscope Operating Frequency: 2.4Ghz
- Otoscope Image Transmission: 30fps
- Charging Port: USB Type-C
- Recommended Water Temperature: 37°C ± 2°C (98°F ± 4°F)
- Product Dimensions (Parcel): 38.5 x 12.1 x 7.2 cm
- Product Weight (Parcel): 610 g
Safety Information
- Always use warm water for irrigation to prevent dizziness.
- Do not insert the irrigator nozzle or otoscope too deeply into the ear canal.
- If you experience pain, discomfort, or bleeding, stop use immediately and consult a medical professional.
- This device is intended for personal home use. It is not a substitute for professional medical advice or treatment.
- Children should use the device only under adult supervision.
- Do not use if you have ear infections, perforated eardrums, ear tubes, or have recently had ear surgery.
- Keep the device and all accessories out of reach of small children to prevent choking hazards.

Image: Depiction of the otoscope being used gently on a child, highlighting its suitability for safe observation and cleaning for all ages under supervision.

Image: Visual comparison demonstrating the proper use of the ear irrigator versus unsafe methods like cotton swabs or fingers for ear cleaning.
Warranty and Support
For warranty information and customer support, please refer to the product packaging or contact VITCOCO customer service directly through their official website or the platform where the product was purchased. Keep your purchase receipt for warranty claims.
Ask a question about this manual
Ask about setup, troubleshooting, compatibility, parts, safety, or missing instructions. Manuals+ will review the question and use this page’s manual context to help answer it.