
ELEGOO Mars 5
Contents
ELEGOO Mars 5 MSLA Resin 3D Printer User Manual
Model: Mars 5 | Brand: ELEGOO
1. Introduction
This manual provides essential instructions for the safe and efficient operation, setup, and maintenance of your ELEGOO Mars 5 MSLA Resin 3D Printer. Please read this manual thoroughly before using the printer to ensure optimal performance and longevity.

Image 1.1: The ELEGOO Mars 5 MSLA Resin 3D Printer with a printed model.
2. Safety Information
Always observe the following safety precautions when operating the ELEGOO Mars 5 3D Printer:
- Wear appropriate personal protective equipment (PPE), including gloves and a mask, when handling resin.
- Operate the printer in a well-ventilated area to minimize exposure to resin fumes.
- Keep the printer away from direct sunlight and heat sources.
- Do not allow children or pets near the printer during operation.
- Ensure the power supply is correctly connected and the voltage matches local requirements.
- Avoid touching the LCD screen directly to prevent damage.
- In case of resin contact with skin or eyes, rinse immediately with plenty of water and seek medical attention if irritation persists.
- Dispose of uncured resin and contaminated materials according to local regulations.
3. What's in the Box
Upon unpacking, verify that all components are present:
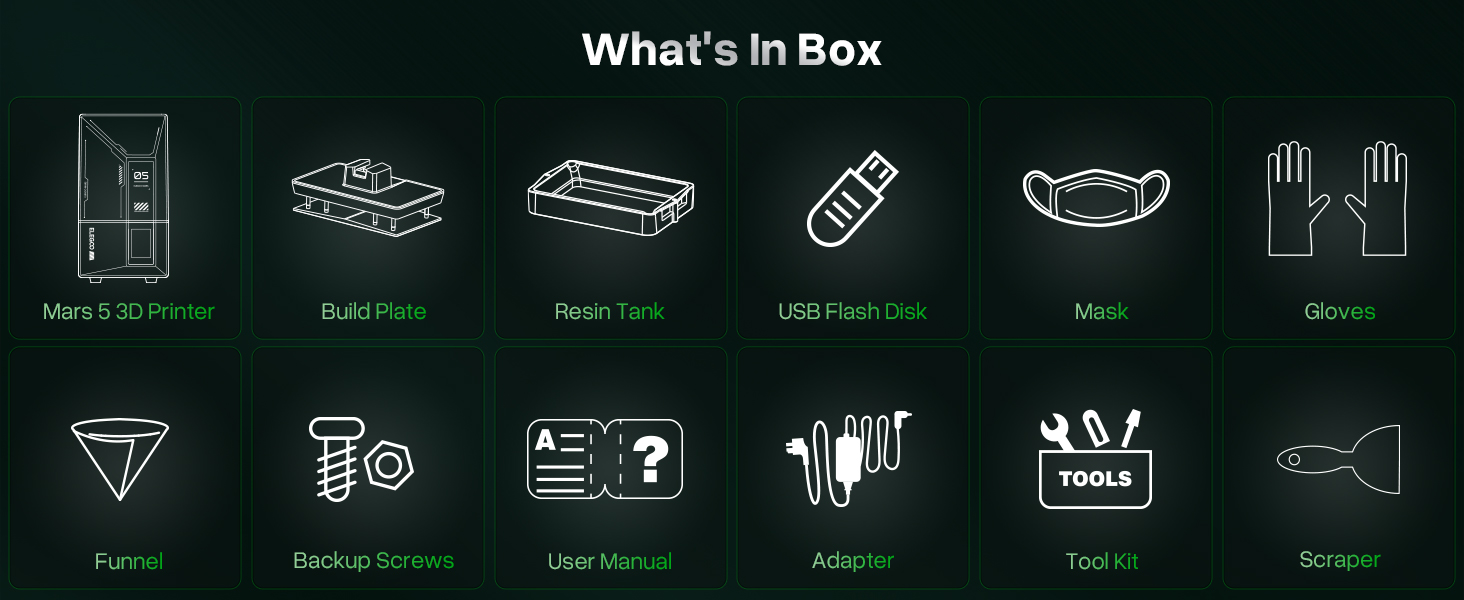
Image 3.1: Diagram showing the contents included with the ELEGOO Mars 5 3D Printer.
- Mars 5 3D Printer
- Build Plate
- Resin Tank
- USB Flash Disk
- Mask
- Gloves
- Funnel
- Backup Screws
- User Manual (this document)
- Power Adapter
- Tool Kit
- Scraper
4. Product Overview and Features
The ELEGOO Mars 5 is an advanced MSLA resin 3D printer designed for high-precision and efficient printing. Key features include:
- Intelligent Mechanical Sensor: Detects low resin levels, foreign objects, and issues with the release film or overheating, enhancing print reliability.
- Intelligent Automatic Leveling: Simplifies setup by automatically leveling the build plate, requiring no manual calibration.
- 6.6-inch Mono 4K LCD Screen: Offers a resolution of 4098x2560 pixels and 35x35µm XY resolution for detailed prints.
- COB Light Source: Provides 92% light uniformity for consistent and precise curing.
- Efficient Heat Dissipation: Features large cooling fans and copper tubes to maintain optimal operating temperature and extend component lifespan.
- User-Friendly Design: Includes adjustable foot pads, one-touch build plate locking, replaceable tank locks, dual chute pouring spouts, and a laser-engraved platform for improved adhesion.

Image 4.1: Visual representation of the ELEGOO Mars 5's key features.
4.1 Intelligent Detection System
The printer incorporates a comprehensive intelligent detection system to ensure smooth and safe operation.
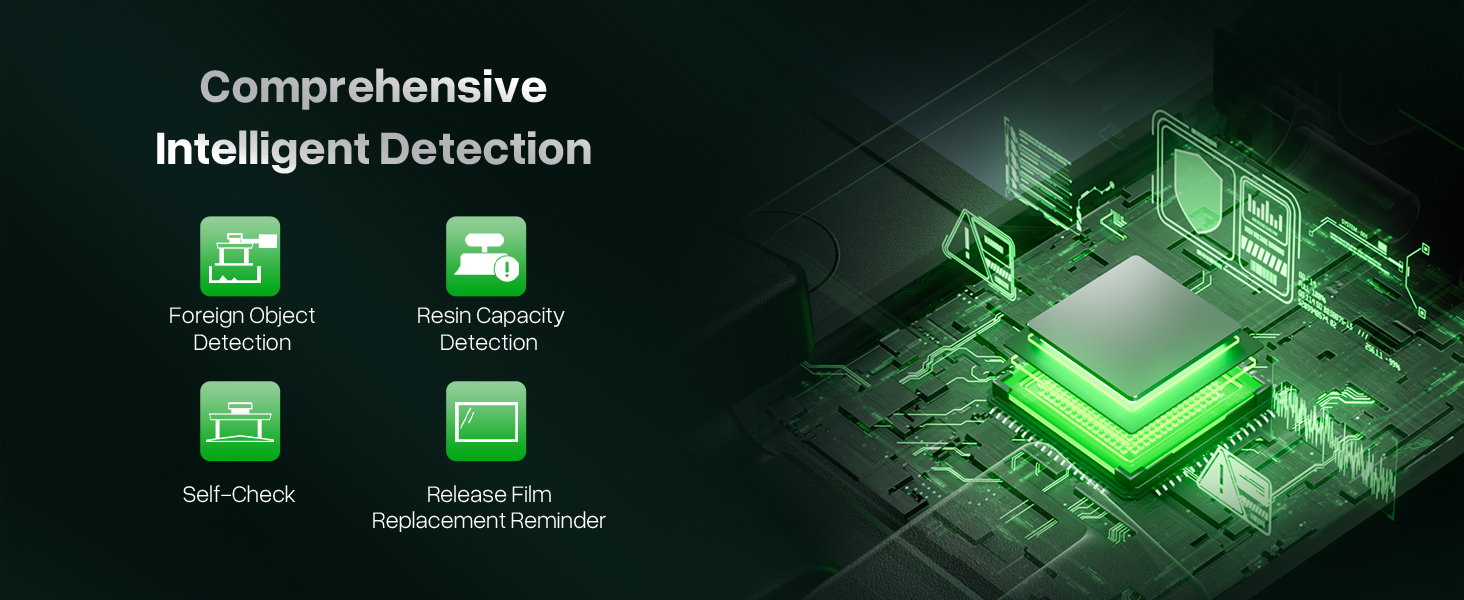
Image 4.2: Details of the comprehensive intelligent detection system, including foreign object and resin capacity detection.
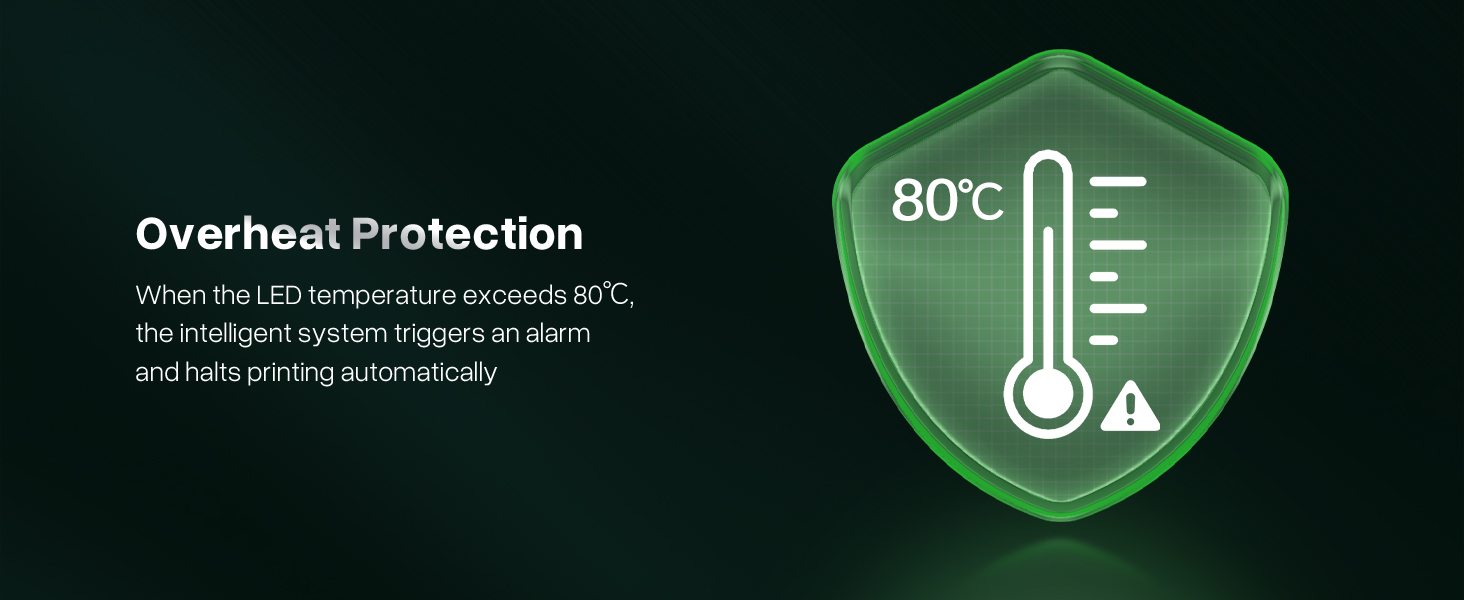
Image 4.3: Overheat protection mechanism, showing automatic shutdown at 80°C.
4.2 High-Resolution Printing
The Mars 5 is equipped with a 6.6-inch 4K monochrome LCD screen for exceptional detail and a large build volume.

Image 4.4: Specifications of the 6.6-inch 4K Mono LCD screen and print size.

Image 4.5: Illustration of the large print volume: 143.43 x 89.6 x 150 mm³.
4.3 High-Speed Printing and COB Light Source
Achieve faster print times with optimized technology and a uniform light source.
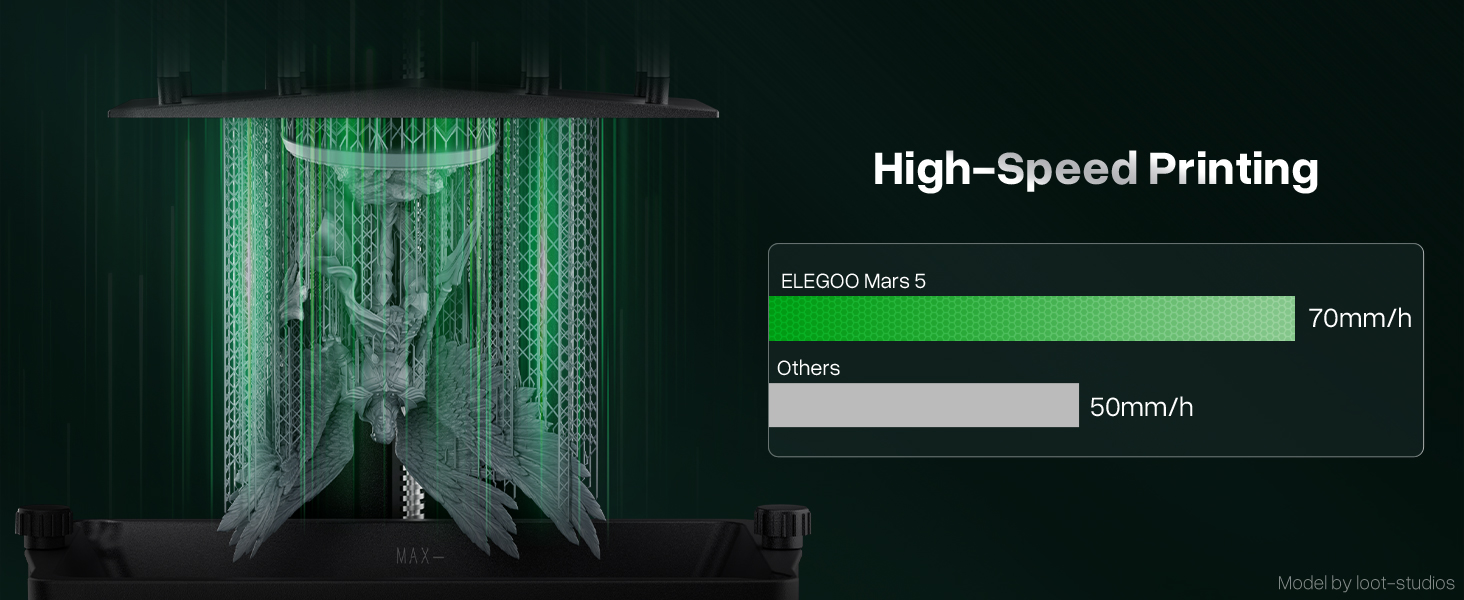
Image 4.6: Comparison showing the Mars 5's high printing speed of up to 70mm/h.

Image 4.7: Illustration of the COB light source with less than 5° light angle and 92% uniformity.
4.4 Efficient Cooling System
The integrated cooling system ensures stable performance and extends the printer's lifespan.
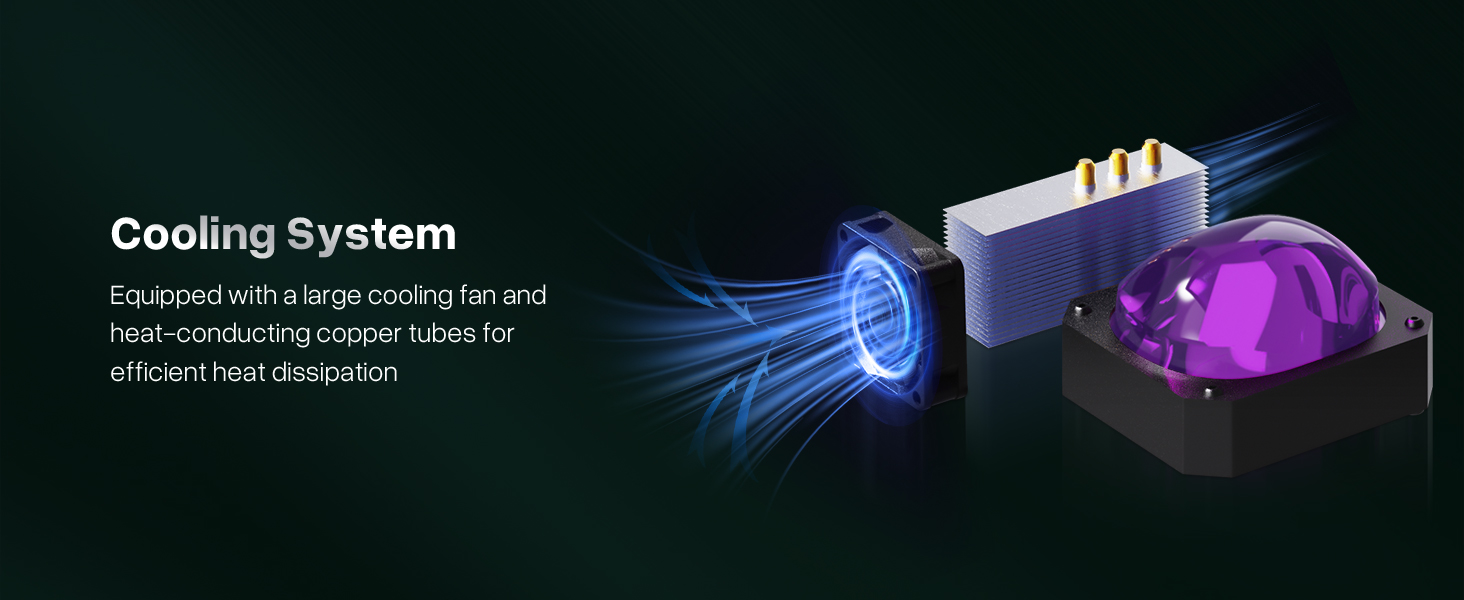
Image 4.8: Depiction of the cooling system with large fan and copper heat pipes.
5. Setup
5.1 Unpacking and Placement
Carefully remove the printer and all accessories from the packaging. Place the printer on a stable, level surface in a well-ventilated room, away from direct sunlight and dust.
5.2 Initial Assembly (if required)
The Mars 5 is largely pre-assembled. Ensure the resin tank is properly seated and the build plate is securely attached to the Z-axis arm.
5.3 Power Connection
Connect the power adapter to the printer and then to a suitable power outlet. Turn on the printer using the power switch.
5.4 Automatic Leveling
The ELEGOO Mars 5 features intelligent automatic leveling. Simply power on the device, and the printer will perform the leveling process automatically. No manual calibration is typically required for initial setup.
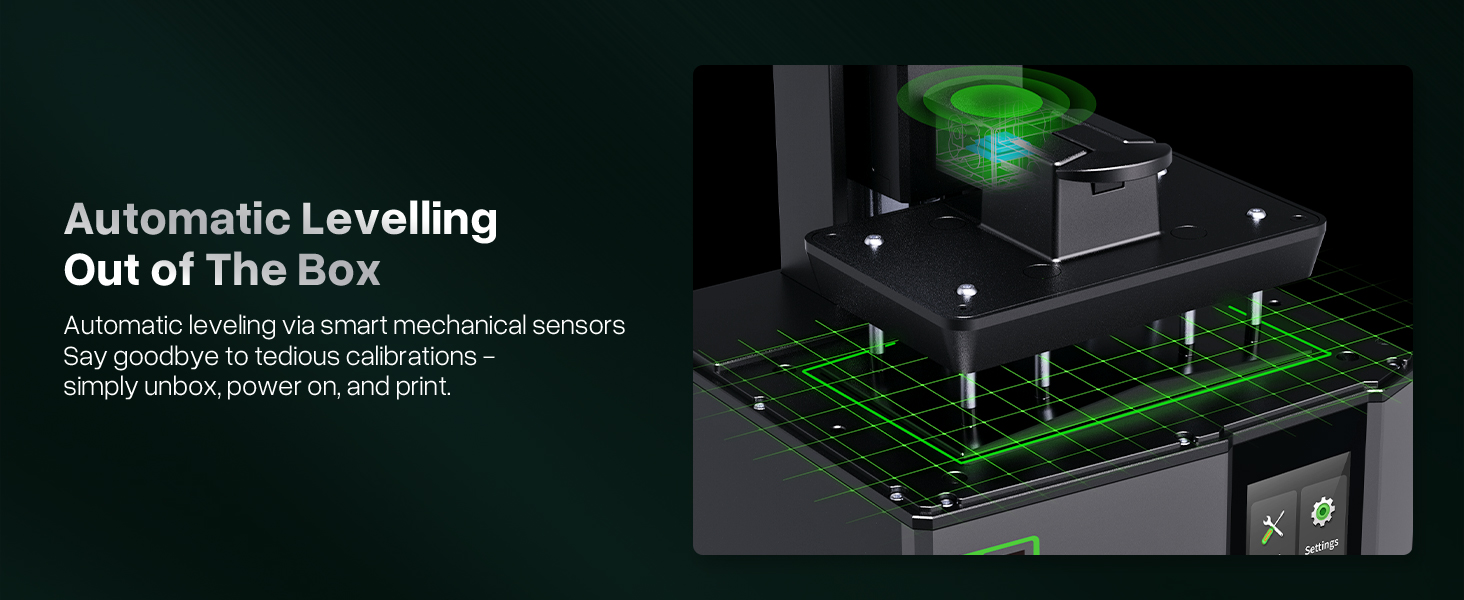
Image 5.1: Illustration of the automatic leveling feature.
6. Operating Instructions
6.1 Slicing Software
The ELEGOO Mars 5 is compatible with popular slicing software such as Chitubox and Voxeldance Tango. Install the software on your computer and select the Mars 5 profile for optimal settings. Prepare your 3D models by adding supports and hollowing if necessary.
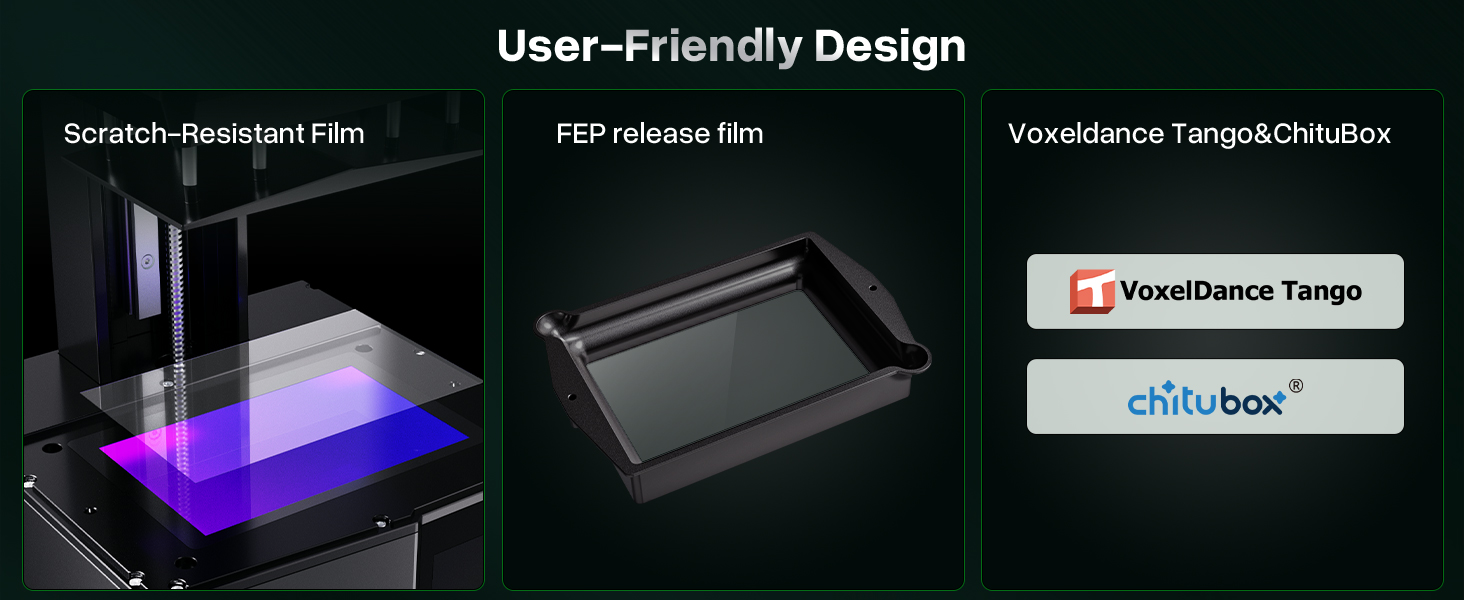
Image 6.1: Displaying compatibility with Chitubox and Voxeldance Tango slicing software.
6.2 Adding Resin
Before printing, ensure the resin tank is clean and free of debris. Carefully pour the desired resin into the tank, ensuring it does not exceed the maximum fill line. Wear gloves and a mask during this process.
6.3 Starting a Print
- Save your sliced .ctb or .fdg file to the provided USB flash drive.
- Insert the USB drive into the printer's USB port.
- On the printer's touchscreen, navigate to the "Print" menu.
- Select your file and confirm to start printing.
6.4 Monitoring and Intelligent Detection
The Mars 5 features an intelligent mechanical sensor system that monitors the printing process. It can detect:
- Low resin levels: The printer will pause and alert you to add more resin.
- Foreign objects: Detection of debris in the resin tank can prevent damage.
- Release film issues: Alerts for potential film replacement.
- Overheating: The system will automatically halt printing if the LED temperature exceeds 80°C to prevent damage.

Image 6.2: Depiction of the intelligent mechanical sensor and self-check functions.
6.5 Removing Printed Models
Once printing is complete:
- Raise the build plate.
- Use the provided scraper to carefully detach the model from the build plate.
- Clean the model using isopropyl alcohol (IPA) or a dedicated resin cleaner, then cure it under UV light.
7. Maintenance
7.1 Cleaning the Resin Tank
After each print, or if changing resin types, clean the resin tank. Pour any unused resin back into its original bottle using a funnel with a filter. Clean the tank with IPA and a soft cloth. Inspect the FEP film for damage.
7.2 Release Film Replacement
The printer's intelligent sensor will remind you when the release film (FEP) needs replacement. Follow the instructions provided with the replacement film for proper installation. Ensure the film is taut and free of wrinkles.
7.3 General Cleaning
Regularly clean the printer's exterior with a soft, dry cloth. Avoid using abrasive cleaners. Keep the LCD screen free of dust and resin spills. If resin spills on the LCD, clean it immediately with IPA and a soft cloth to prevent curing and damage.
8. Troubleshooting
| Problem | Possible Cause | Solution |
|---|---|---|
| Print fails to adhere to build plate | Improper leveling, insufficient bottom exposure time, cold resin, worn build plate surface. | Ensure automatic leveling is performed correctly. Increase bottom exposure time in slicer. Warm resin to room temperature. Ensure build plate is clean and laser-engraved surface is intact. |
| Layer separation or cracks | Insufficient support, incorrect exposure time, Z-axis wobble, resin temperature fluctuations. | Add more supports in slicing software. Adjust normal exposure time. Check Z-axis for stability. Maintain stable room temperature. |
| Printer stops mid-print with error message | Low resin detected, foreign object in tank, overheating, USB drive issue. | Check resin level and add more if needed. Inspect resin tank for debris. Allow printer to cool if overheating. Reformat USB drive or try another one. |
| Poor print detail or blurry layers | Overexposure, underexposure, dirty LCD screen, worn FEP film. | Adjust exposure settings in slicer. Clean LCD screen. Inspect and replace FEP film if necessary. |
9. Specifications

Image 9.1: Comprehensive technical specifications for the ELEGOO Mars 5.
| Feature | Detail |
|---|---|
| Build Volume | 143.43 x 89.6 x 150 mm³ (5.65 x 3.53 x 5.91 inches) |
| Printing Speed | Max 70mm/h |
| Layer Thickness | 0.01-0.2mm |
| XY Resolution | 35x35µm (4098x2560) |
| Z Axis Accuracy | 0.02mm |
| Light Source | COB Light Source (wavelength 405nm) |
| LCD Screen Size | 6.6-inch 4K Mono LCD |
| LCD Screen Protector | PET scratch-resistant film |
| Connection Method | USB Interface (compatible with Mars Mate air purifier) |
| Slicer Software | Chitubox & Voxeldance Tango |
| Heat Dissipation Method | 3 copper heat pipes + single fan |
| Operation Screen | 3.5-inch Resistive Touch Screen |
| Printer Dimensions | 230 x 230 x 433.5 mm³ (approx. 9.06 x 9.06 x 17.07 inches) |
| Overall Product Dimensions | 20.98"D x 11.73"W x 13.3"H (from product listing) |
| Net Weight | 6.6 kg (approx. 14.55 lbs) |
| Gross Weight | 8.6 kg (approx. 18.96 lbs) |
| Power Requirements | 100-240V 50/60Hz 24V 3A |
| Compatible Resins | Water-washable, standard, ABS-like, plant-based, etc. |
| System | EL3D-3.0.1 |
10. Warranty and Support
ELEGOO products typically come with a manufacturer's warranty. Please refer to the warranty card included with your product or visit the official ELEGOO website for detailed warranty terms and conditions.
For technical support, troubleshooting assistance, or spare parts, please contact ELEGOO customer service through their official website or the contact information provided in your product packaging.
Online Resources:
- Official ELEGOO Website: www.elegoo.com
- Product Support Page: (Check ELEGOO website for specific Mars 5 support page)
Ask a question about this manual
Ask about setup, troubleshooting, compatibility, parts, safety, or missing instructions. Manuals+ will review the question and use this page’s manual context to help answer it.