
Introduction
This manual provides detailed instructions for the setup, operation, and maintenance of your KMMKGG 18.4-inch Large Digital Wall Clock (Model 3039-plus). Please read this manual thoroughly before using the product to ensure proper function and longevity.
The KMMKGG 3039-plus is a battery-operated digital wall clock featuring a large display for time, day, date, and temperature. It includes multiple modes such as clock, alarm, and timer, designed for clear readability and ease of use.
Package Contents
Verify that all items are present in the package:
- KMMKGG 18.4-inch Large Digital Wall Clock (Model 3039-plus)
- 4 x AAA Batteries (for main clock operation)
- 2 x AAA Batteries (for backup/additional functions)
- Instruction Manual
- Wall Mounting Hardware (e.g., double-sided tape, bubble spirit level, screws/anchors)
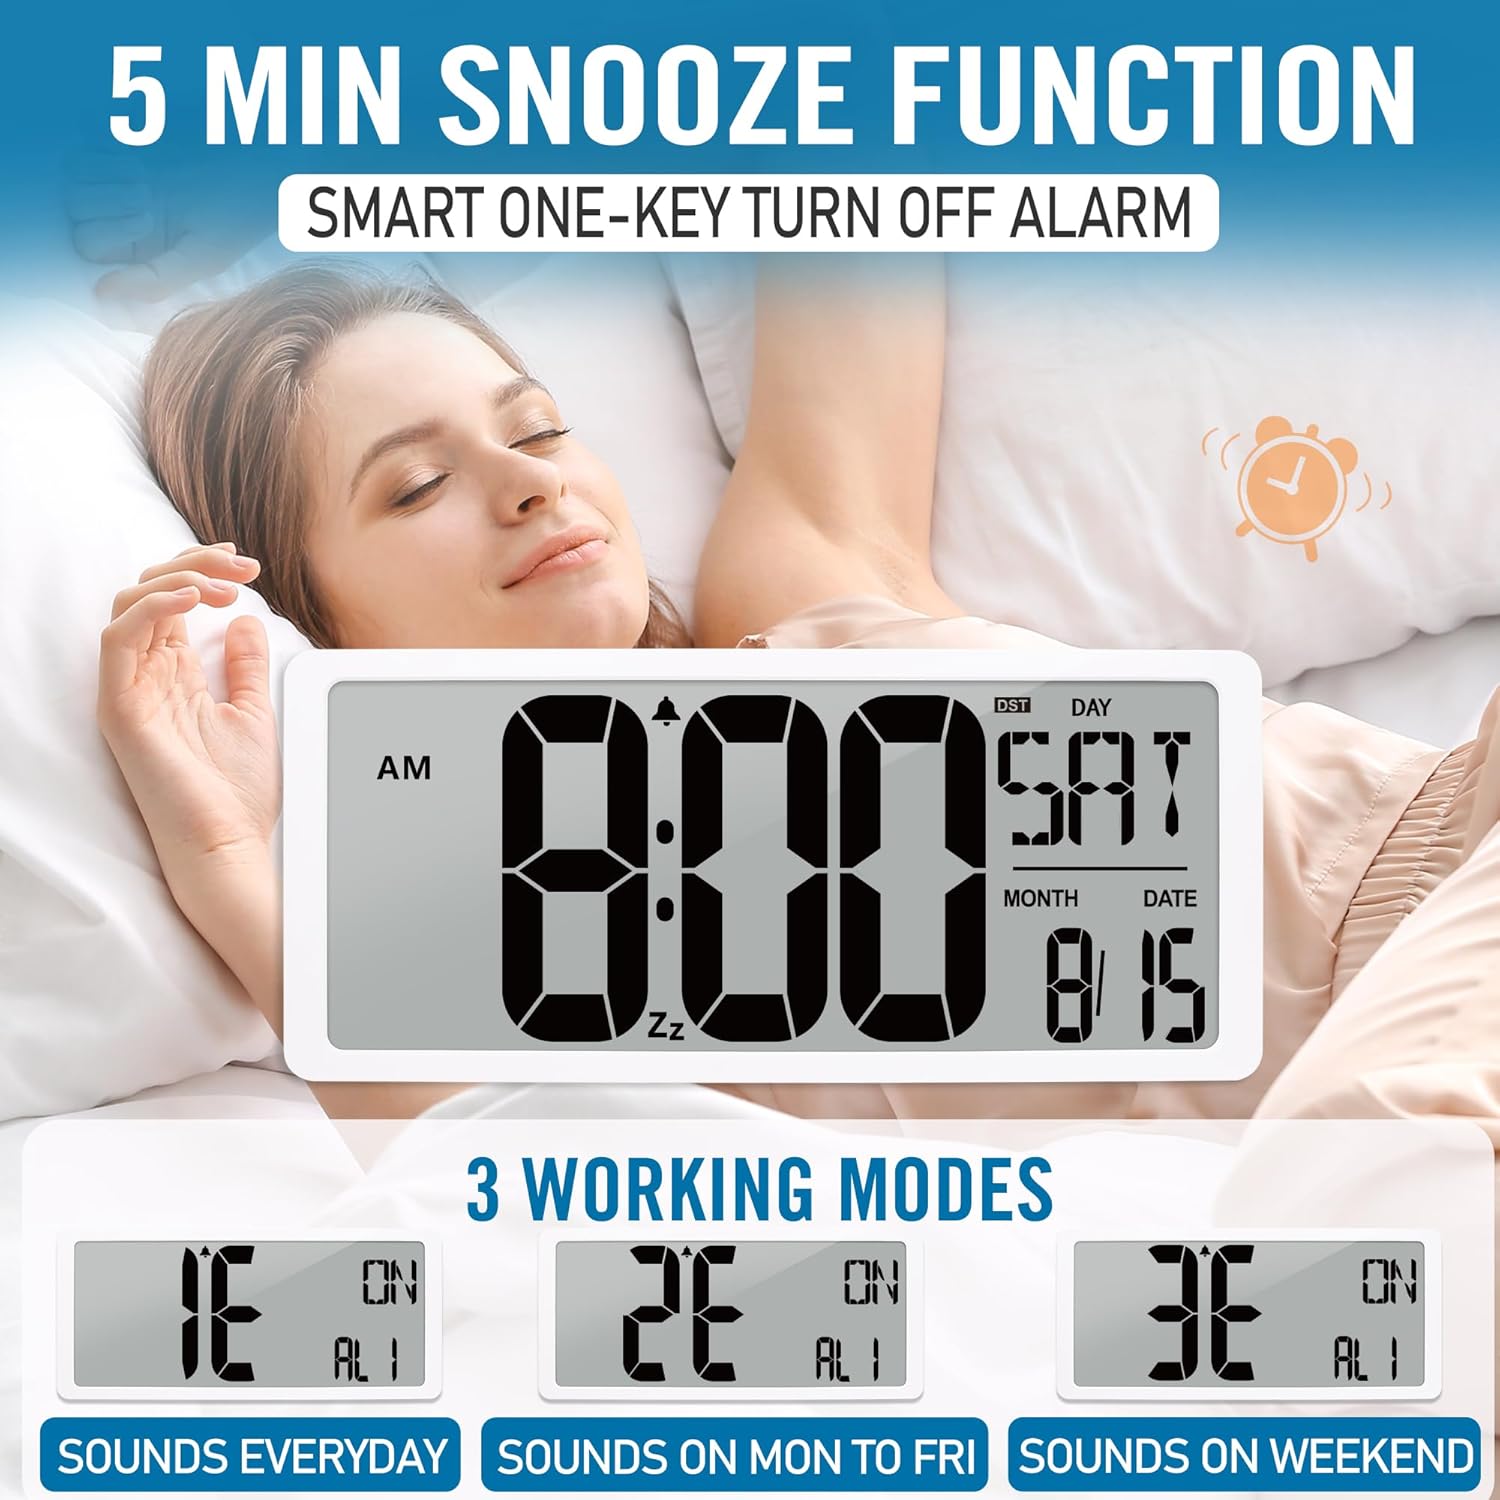
Image: Rear view of the KMMKGG digital wall clock, highlighting the battery compartments and the included AAA batteries. The clock requires 4 AAA batteries for main operation and 2 AAA batteries for additional functions.
Product Features
- Large Display: 18.4-inch screen with 6-inch tall numbers for clear visibility.
- Multi-function Display: Shows time (12/24 hour format), day of the week, date (month/day), and indoor temperature (°C/°F).
- Battery Operated: Powered by 4 AAA batteries (included) for approximately one year of use.
- Multiple Modes: Clock, Alarm, and Timer functions.
- Alarm Settings: Three alarm settings for weekdays, weekends, or everyday.
- Snooze Function: 5-minute snooze.
- Timer Function: Countdown/count-up timer from 0 to 29 hours, 59 minutes, 59 seconds.
- Language Options: Day of the week display in eight languages (English, German, French, Italian, Dutch, Spanish, Danish, Russian).
- Mounting Options: Wall mountable or desk stand.

Image: Front view of the KMMKGG digital wall clock, illustrating its large 18.4-inch display with 6-inch numbers, showing time, day, and date. Dimensions are indicated as 16.9 inches wide and 7.5 inches high.

Image: A visual comparison demonstrating the large size of the clock's 6-inch digital display numbers next to a standard cell phone, emphasizing readability.
Setup
1. Battery Installation
- Locate the battery compartments on the back of the clock.
- Insert 4 AAA batteries into the main compartment, observing the correct polarity (+/-).
- Insert 2 AAA batteries into the secondary compartment, observing the correct polarity (+/-).
- Close the battery covers securely.
Image: Rear view of the clock with battery compartments open, showing where to insert the 4 AAA and 2 AAA batteries. Ensure correct polarity during installation.
2. Initial Power On and Time Setting
Upon battery installation, the clock will power on. You may need to set the time, date, and other preferences manually.
- Press the SET button to enter time setting mode.
- Use the +/12/24 and -/°C/°F buttons to adjust values.
- Press SET again to confirm each setting and move to the next.
- Settings typically include: Hour, Minute, Year, Month, Day, 12/24-hour format, Temperature unit (°C/°F).
3. Mounting Options
The clock can be placed on a desk using its integrated stand or mounted on a wall.
Desk Placement:
Extend the built-in kickstand on the back of the clock to place it on any flat surface.
Wall Mounting:
Use the provided wall mounting hardware for secure installation.
- Identify a suitable location on the wall.
- Use the bubble spirit level to ensure the mounting bracket is level.
- Mark the positions for drilling using the bracket's holes.
- Drill pilot holes and insert wall anchors if necessary.
- Secure the mounting bracket to the wall with screws.
- Hang the clock onto the bracket using the hanging holes on the back of the clock.

Image: Detailed diagram illustrating the wall mounting process. It shows the included double-sided tape, bubble spirit level, and how the clock's hanging holes align with the wall bracket for tool-free installation.
Operating Instructions
Mode Selection
Press the MODE button to cycle through the available modes: Clock, Alarm, and Timer.

Image: Visual representation of the clock's three main modes: Timer, Clock, and Alarm, demonstrating its versatility for different uses.
Clock Mode
In Clock mode, the display shows the current time, day, date, and temperature.
- Setting Time/Date: Press and hold the SET button to enter setting mode. Use +/12/24 and -/°C/°F to adjust. Press SET to confirm.
- 12/24 Hour Format: In Clock mode, press the +/12/24 button to switch between 12-hour and 24-hour time formats.
- Temperature Unit: In Clock mode, press the -/°C/°F button to switch between Celsius (°C) and Fahrenheit (°F).
- Day of Week Language: Press and hold the -/°C/°F button to cycle through the 8 language options for the day of the week display.

Image: The clock display showing the day of the week in various languages, including English, German, French, Italian, Dutch, Spanish, Danish, and Russian, demonstrating the language customization feature.
Alarm Mode
The clock features three independent alarm settings. In Alarm mode, the display will show "AL1", "AL2", or "AL3".
- Setting an Alarm:
- Press the ALARM SET button to select AL1, AL2, or AL3.
- Press and hold ALARM SET to enter alarm time setting.
- Use +/12/24 and -/°C/°F to adjust the hour and minute.
- Press ALARM SET to confirm each setting.
- After setting the time, you can choose the alarm frequency:
- 1E: Alarm sounds everyday.
- 2E: Alarm sounds Monday to Friday.
- 3E: Alarm sounds on weekends (Saturday and Sunday).
- Activating/Deactivating Alarm: In Alarm mode, press the ALARM SET button to toggle the selected alarm ON or OFF. An alarm icon will appear when active.
- Snooze Function: When an alarm sounds, press the SNOOZE button to activate a 5-minute snooze.
- Stopping an Alarm: To stop an alarm from sounding without snooze, press any other button except SNOOZE.

Image: The clock displaying an alarm setting with options for three working modes: "1E" for everyday, "2E" for Monday to Friday, and "3E" for weekends, along with the snooze function.
Timer Mode
The Timer mode allows for both countdown and count-up timing.
- Setting the Timer:
- In Timer mode, press and hold the TIMER button to enter timer setting.
- Use +/12/24 and -/°C/°F to set the desired hours, minutes, and seconds for the countdown.
- Press TIMER to confirm each setting.
- Starting/Pausing Timer: Press the TIMER button to start or pause the countdown/count-up.
- Resetting Timer: When the timer is paused, press and hold the TIMER button to reset it to zero or the last set countdown value.
- Count-Up Function: If the timer is started from 0:00:00, it will function as a count-up timer.

Image: The clock demonstrating its timer capabilities, showing a count-up timer from 0:00:00 and a countdown timer set to 29:59:59, suitable for various activities.
Maintenance
- Cleaning: Wipe the clock surface with a soft, dry cloth. Do not use abrasive cleaners or solvents.
- Battery Replacement: Replace all batteries when the display dims or functions become erratic. Ensure to use fresh AAA batteries and observe correct polarity.
- Storage: If storing the clock for an extended period, remove all batteries to prevent leakage.
Troubleshooting
| Problem | Possible Cause | Solution |
|---|---|---|
| Display is blank or dim. | Batteries are low or incorrectly installed. | Replace all batteries with new AAA batteries. Check polarity. |
| Clock not keeping accurate time. | Batteries are low; initial time setting was incorrect. | Replace batteries. Reset the time manually following the "Initial Power On and Time Setting" instructions. |
| Alarm does not sound. | Alarm is not activated or set incorrectly. | Ensure the alarm is set to ON and the time/frequency are correct in Alarm mode. |
| Buttons are unresponsive. | Temporary software glitch; low batteries. | Remove and reinsert batteries to perform a soft reset. Replace batteries if necessary. |
Specifications
- Model: 3039-plus
- Brand: KMMKGG
- Display Type: Digital LCD
- Product Dimensions: 16.9" W x 7" H (approximately 42.9 cm x 17.8 cm)
- Screen Size: 14.9 inches (diagonal)
- Number Height: 6 inches (time digits)
- Power Source: 4 x AAA batteries (main), 2 x AAA batteries (additional/backup) - included
- Material: Plastic
- Mounting Type: Wall Mount or Desk Stand
- Special Features: Day, Date, Temperature display, Alarm, Timer, Snooze, 8-language day of week.
Official Product Video
Video: An official product video from KMMKGG demonstrating the features and operation of the 18.4-inch Large Digital Wall Clock. This video provides a visual guide to setting up and using the clock's various functions.
Warranty and Support
This product is covered by a limited warranty. For specific warranty details, please refer to the product packaging or contact the retailer.
For technical support, troubleshooting assistance, or inquiries regarding your KMMKGG Large Digital Wall Clock, please contact KMMKGG customer service through the retailer's platform or the contact information provided with your purchase.
Return Policy: This product is eligible for returns within 30 days of receipt, subject to the retailer's return policy.